Log in with ZITADEL on Auth0 through SAML 2.0
This guide shows how to enable login with ZITADEL on Auth0.
It covers how to:
- create and configure the application in your project
- create and configure the connection in your Auth0 tenant
Prerequisites:
- existing ZITADEL Instance, if not present follow this guide
- existing ZITADEL Organization, if not present follow this guide
- existing ZITADEL project, if not present follow the first 3 steps here
- existing Auth0 tenant as described here
We have to switch between ZITADEL and Auth0. If the headings begin with "ZITADEL" switch to the ZITADEL Management Console and if the headings start with "Auth0" please switch to the Auth0 GUI.
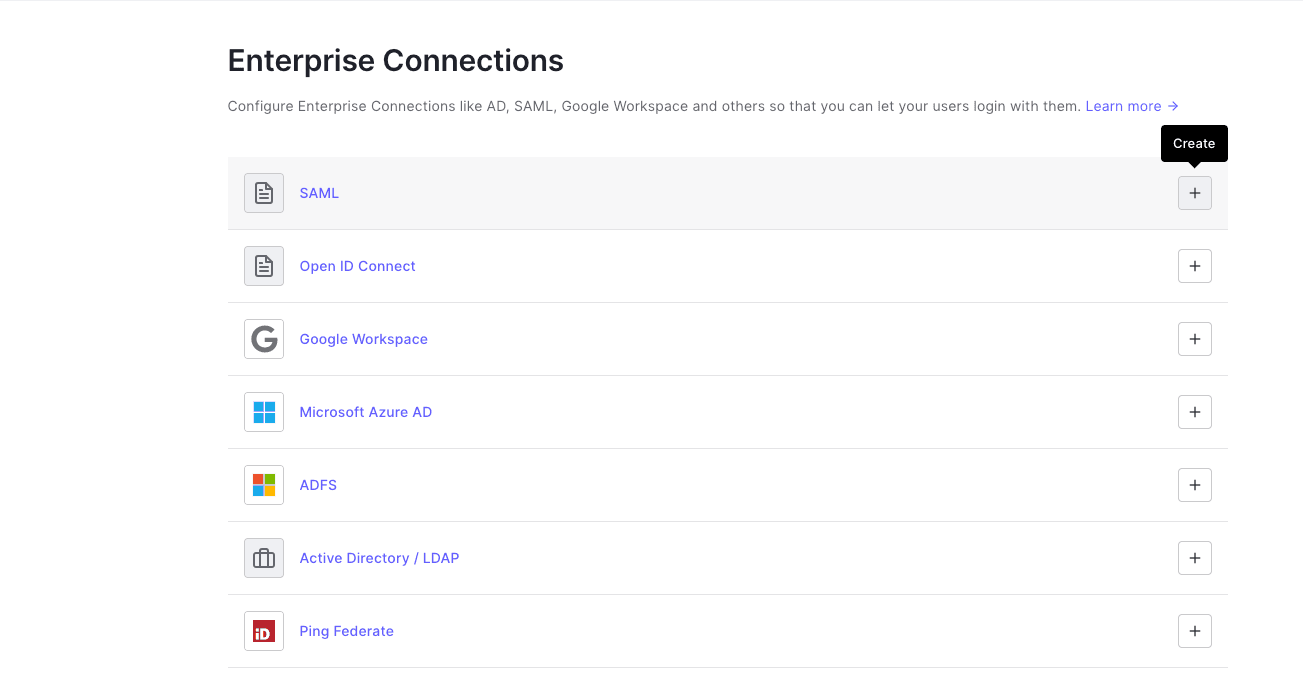
Auth0: Create a new connection
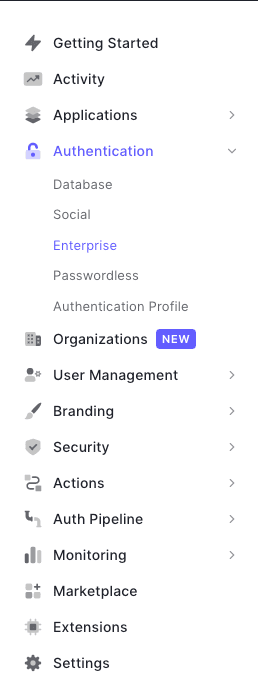
In Authentication -> Enterprise
- Press the "+" button right to "SAML"
- Fill out the fields as follows in the SAML Connection:
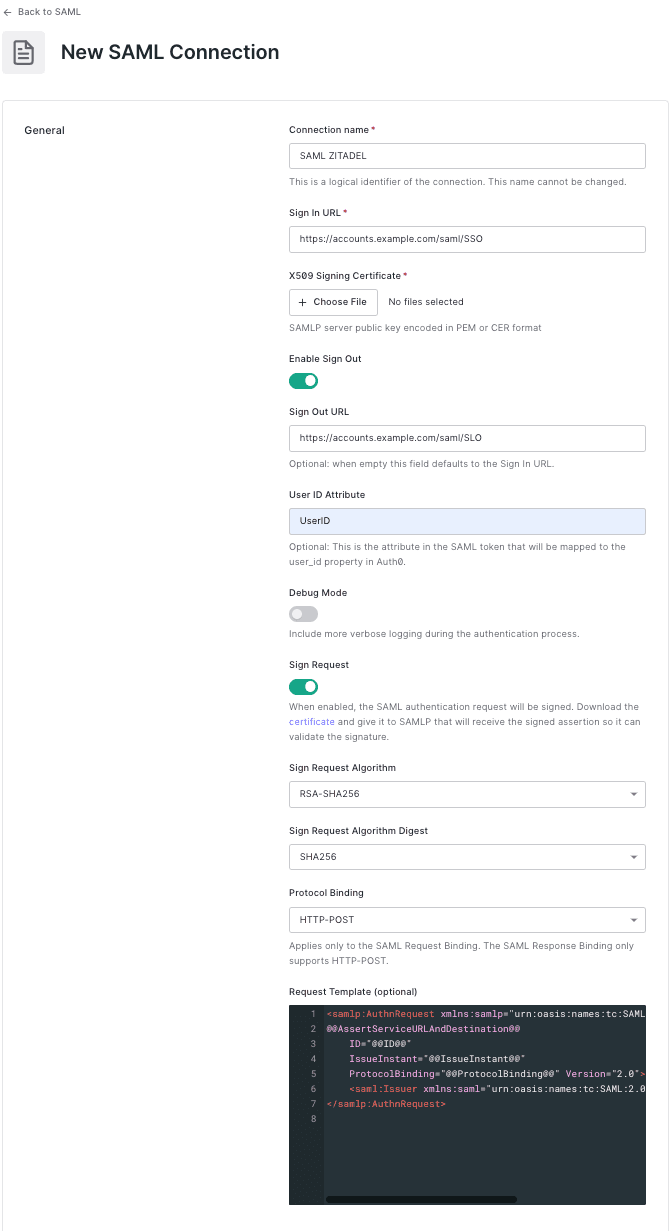
This includes:
- a unique "Connection name"
- the "Sign In URL"
- the "Sign Out URL"
- used "User ID Attribute"
- the definition how the request should be signed
- which binding should be used to call ZITADEL
All the information is filled out as an example, and to connect with any other environment you only have to change the used domain, for example "example.com" with "zitadel.cloud". Lastly, upload the certificate used to sign the responses, provided for you under the URL {your_instance_domain}/saml/v2/certificate.
Then just press the button "Create" and the connection on Auth0 is configured.
ZITADEL: Create the application
You need to upload the SAML metadata to ZITADEL for it to recognize this newly created connection. Under this link are all necessary information to correctly fill out the metadata or download the metadata-file directly under the URL https://YOUR_AUTH0_DOMAIN/samlp/metadata?connection=YOUR_CONNECTION_NAME, which in this example would be https://example.auth0.com/samlp/metadata?connection=SAML-ZITADEL.
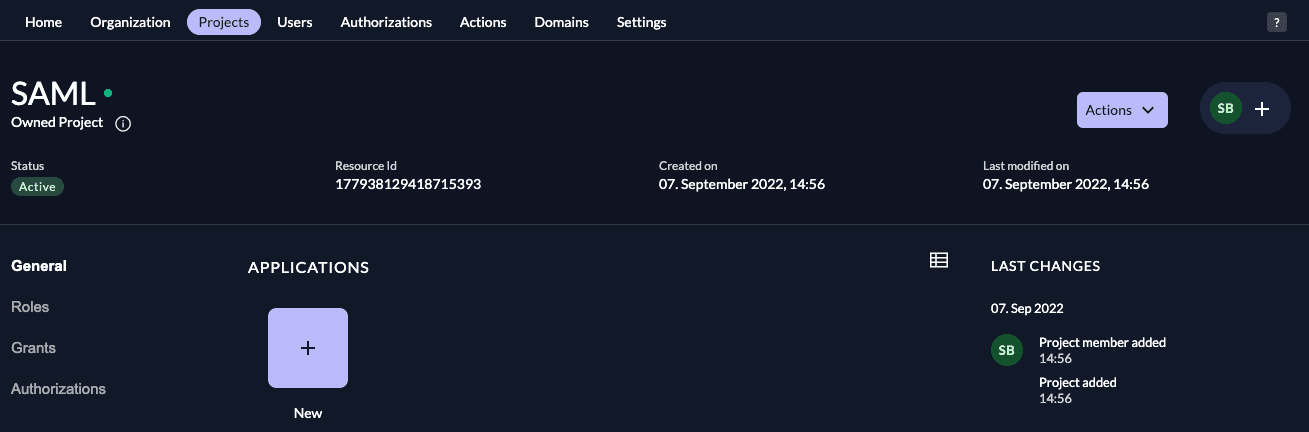
In your existing project:
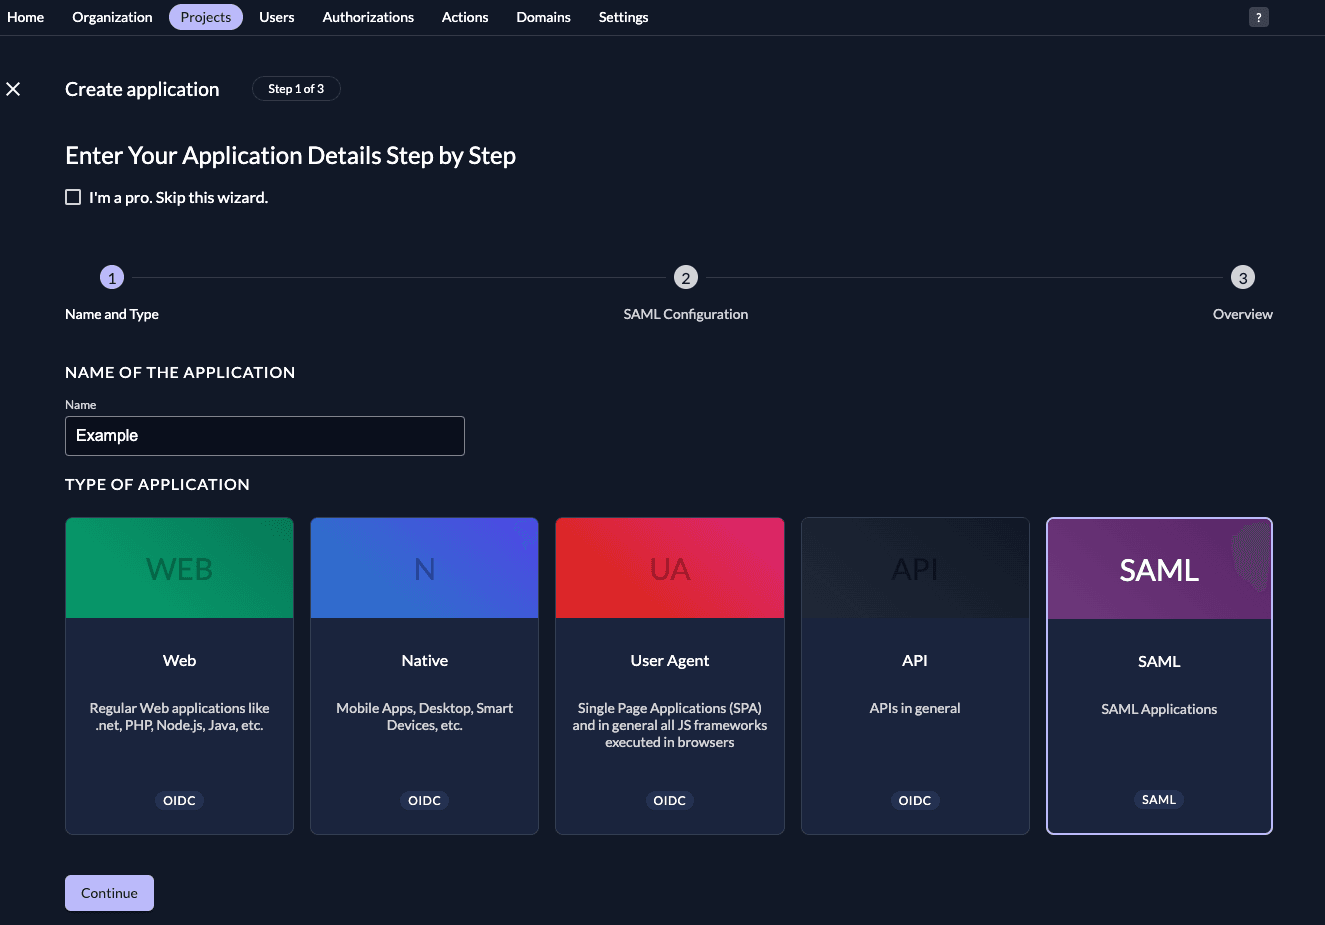
- Press the "+"-button to add an application
- Fill in a name for the application and chose the SAML type, then click "Continue".
- Either fill in the URL where ZITADEL can read the metadata from, or upload the metadata XML directly, then click "
Continue".
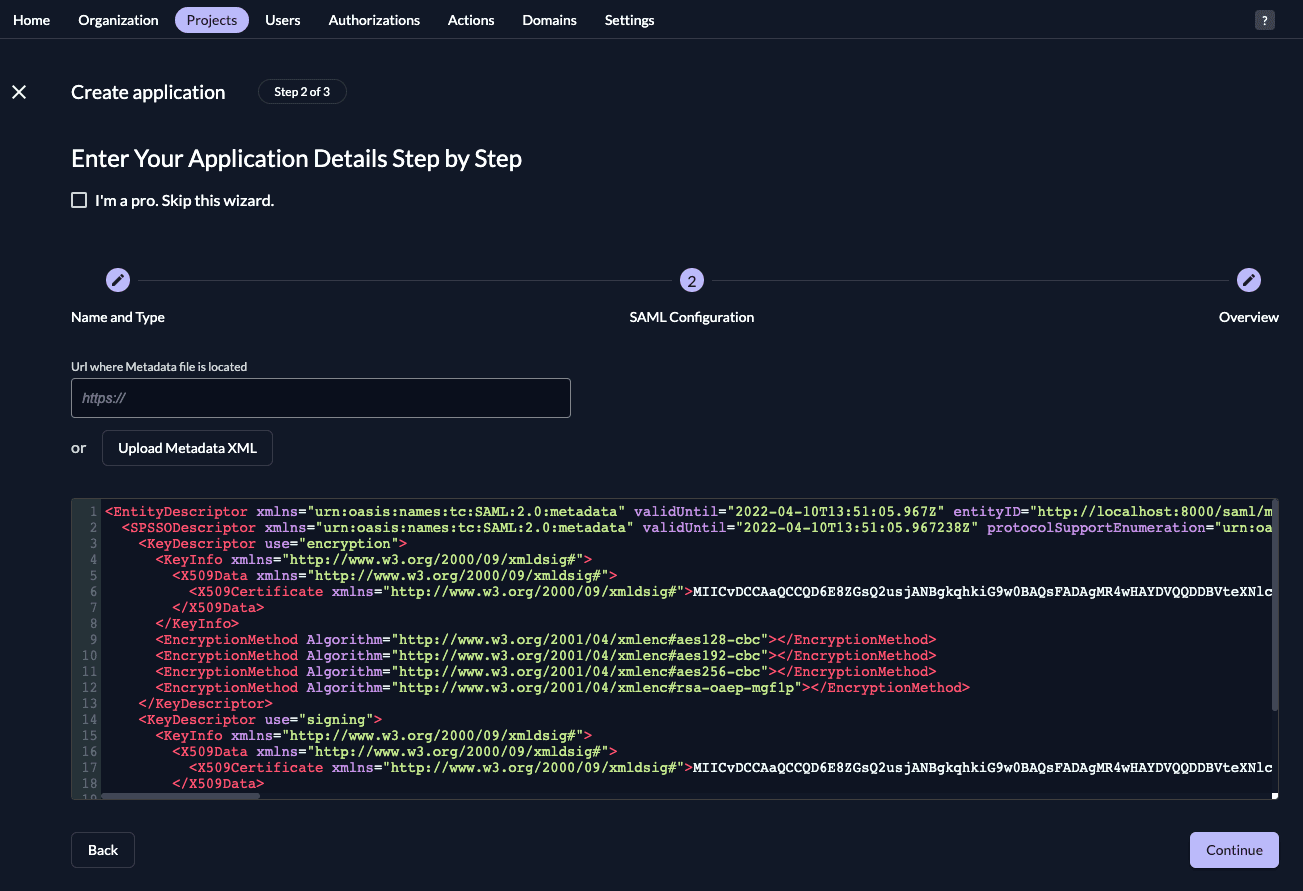
- Check your application, if everything is correct, press "Create".

Everything on the side of ZITADEL is done if the application is correctly created.
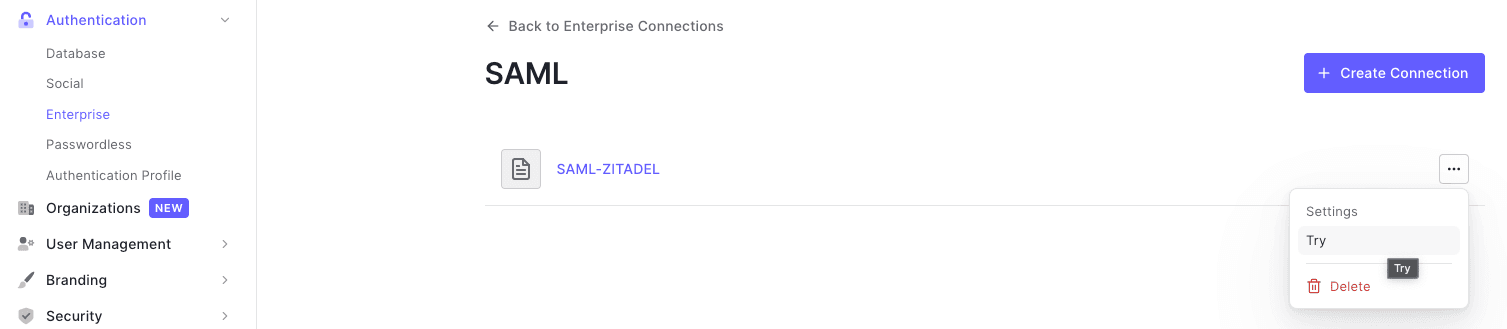
Auth0: Try the connection
To then test the connection you only have to press "Try" on the created connection in the Authentication → Enterprise screen.
To further customize the requests you can also customize the SAML communication as described here
Was this page helpful?