Log in with ZITADEL on Atlassian through SAML 2.0
This guide shows how to enable login with ZITADEL on Atlassian.
It covers how to:
- create and configure the application in your project
- create and configure the connection in Atlassian Access
Prerequisites:
- existing ZITADEL Instance, if not present follow this guide
- existing ZITADEL Organization, if not present follow this guide
- existing ZITADEL project, if not present follow the first 3 steps here
- existing Atlassian Access setup, including verified domain
We have to switch between ZITADEL and Atlassian. If the headings begin with "ZITADEL" switch to the ZITADEL Management Console and if the headings start with "Atlassian" please switch to the Atlassian Admin GUI.
Atlassian: Create a new external identity provider
Please follow the instructions on Atlassian's support page to configure a SAML identity provider for SSO. The following instructions give you a quick overview of the most important steps.
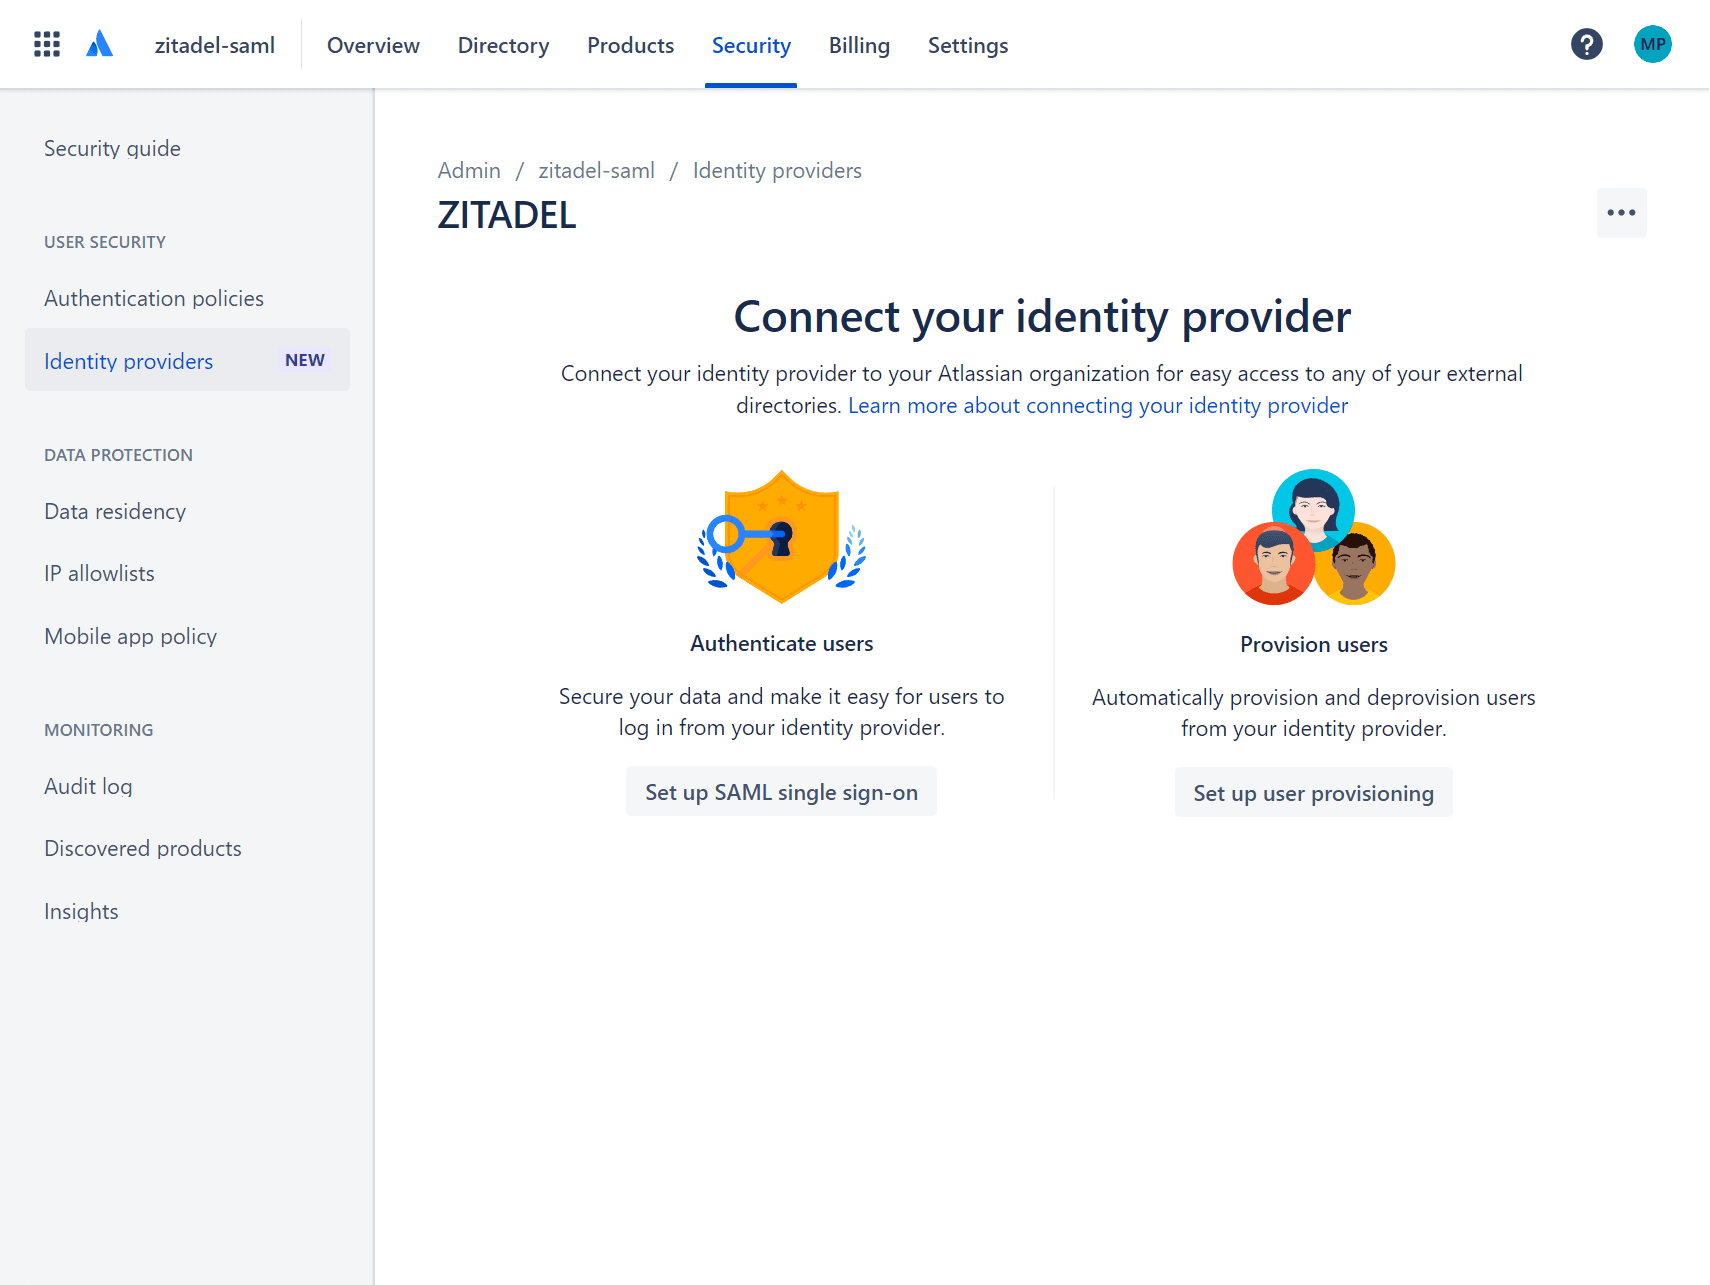
Login to Atlassian's security center and select Identity providers.
Select the option to Set up SAML single sign-on.
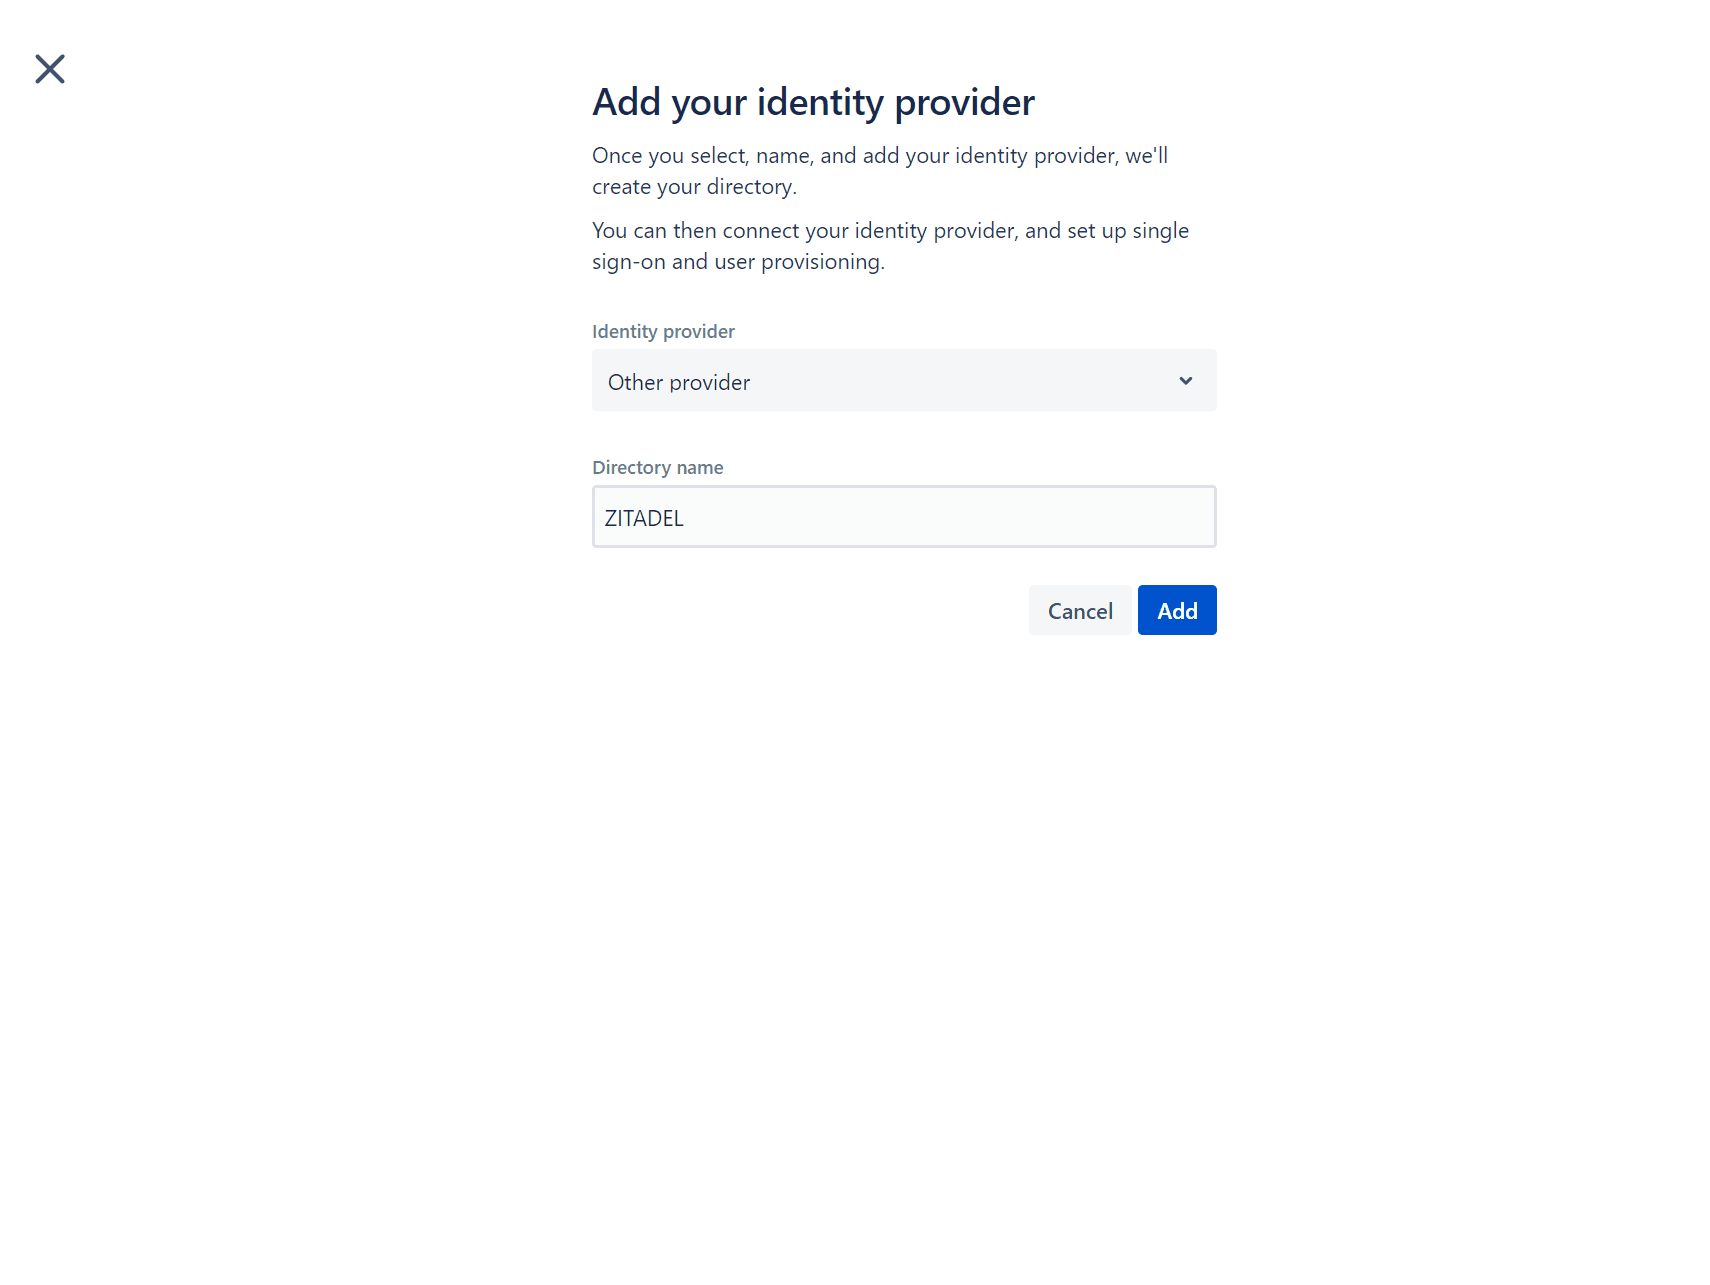
For Identity Provider select "Other provider" and enter a Directory Name.
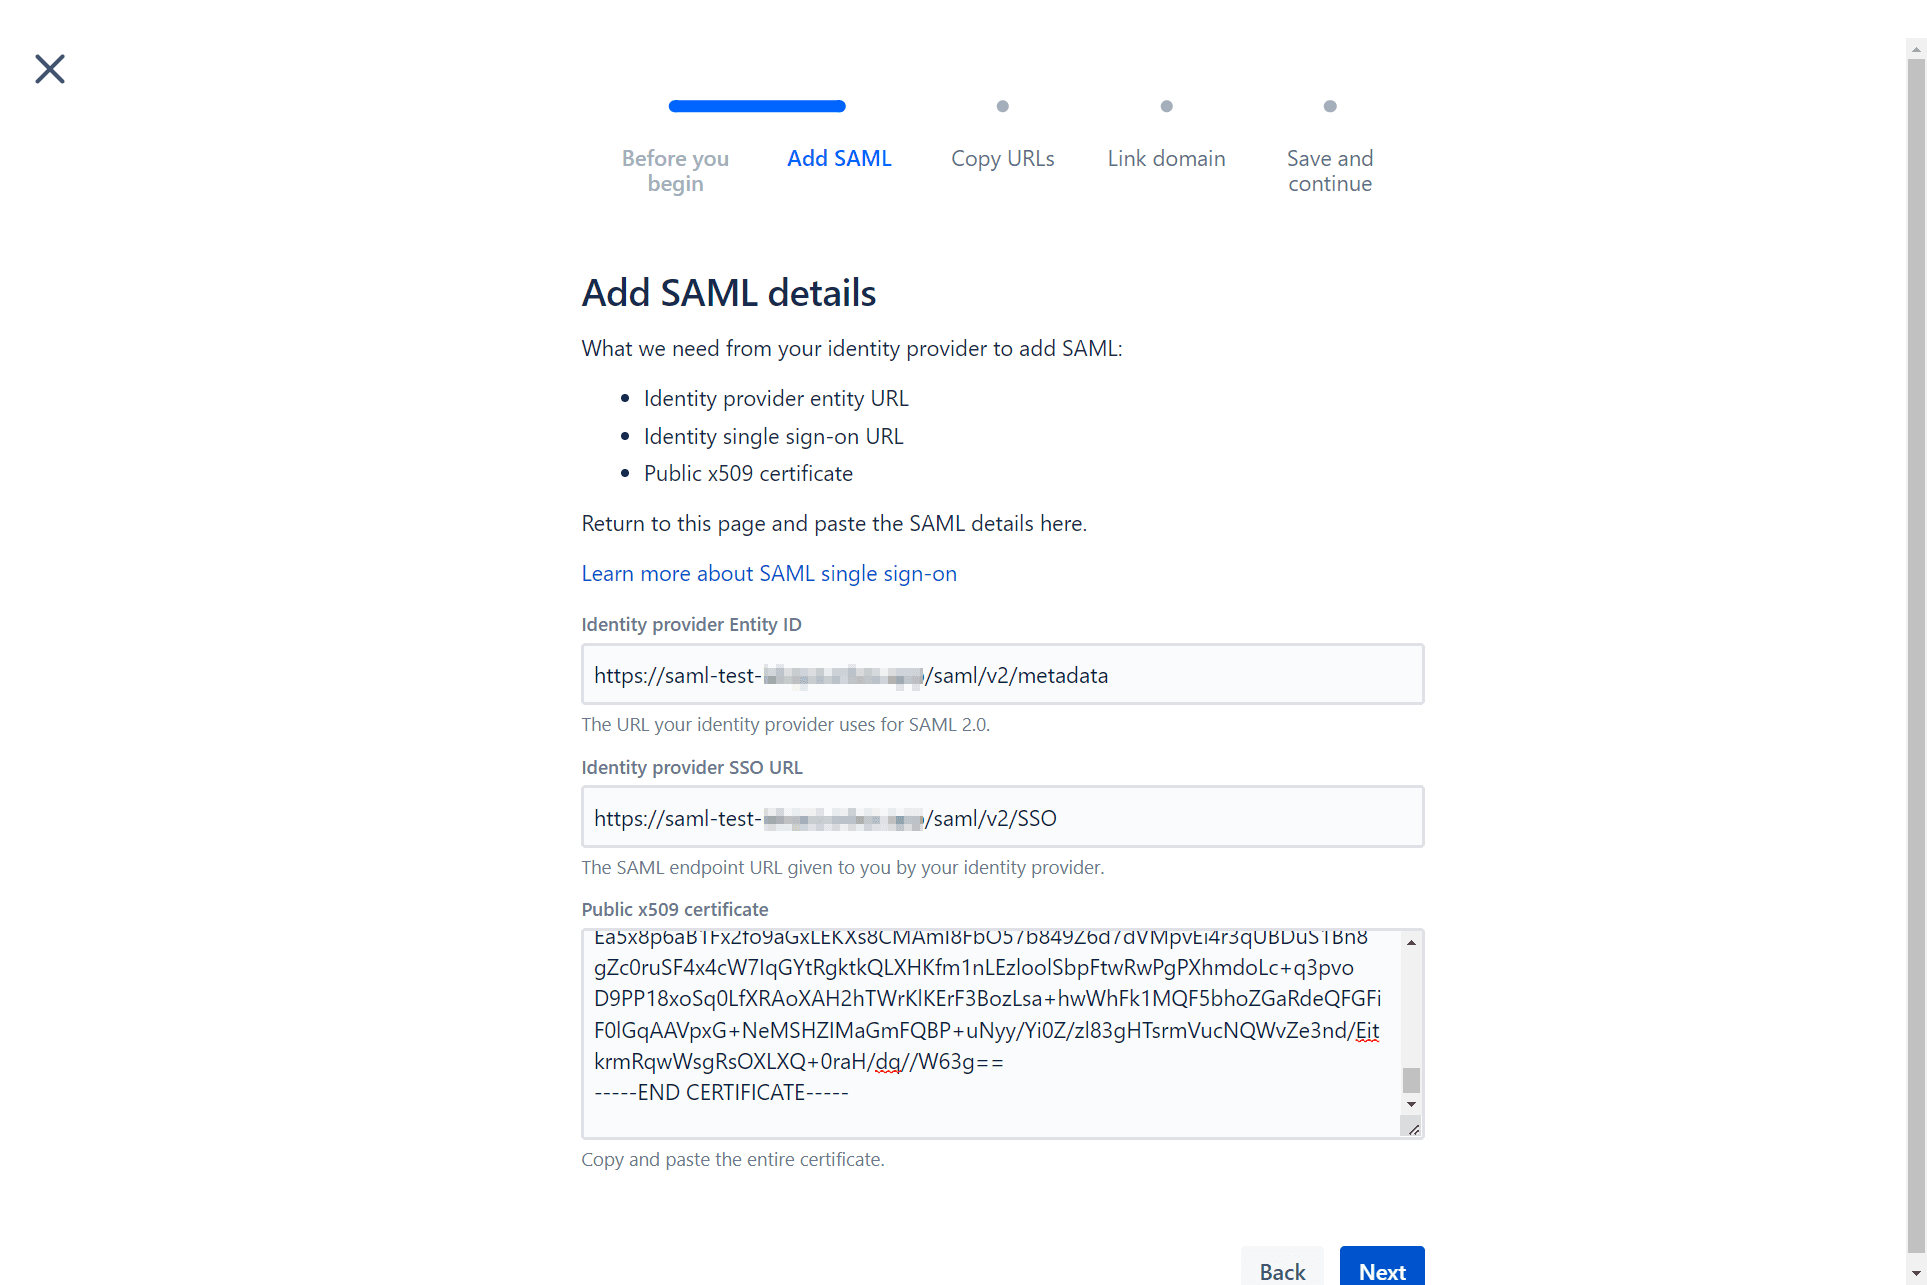
Follow the wizard. Fill in the following information:
Identity provider Entity ID: {your_instance_domain}/saml/v2/metadataIdentity provider SSO URL: {your_instance_domain}/saml/v2/SSOPublic x509 certificate: You need to download and paste the value of the certificate from {your_instance_domain}/saml/v2/certificate
Create a new .xml file with the following minimal SAML metadata contents:
<?xml version="1.0"?>
<md:EntityDescriptor xmlns:md="urn:oasis:names:tc:SAML:2.0:metadata" entityID="${ENTITYID}">
<md:SPSSODescriptor protocolSupportEnumeration="urn:oasis:names:tc:SAML:2.0:protocol urn:oasis:names:tc:SAML:1.1:protocol">
<md:AssertionConsumerService Binding="urn:oasis:names:tc:SAML:2.0:bindings:HTTP-POST" Location="${ACSURL}" index="0"/>
</md:SPSSODescriptor>
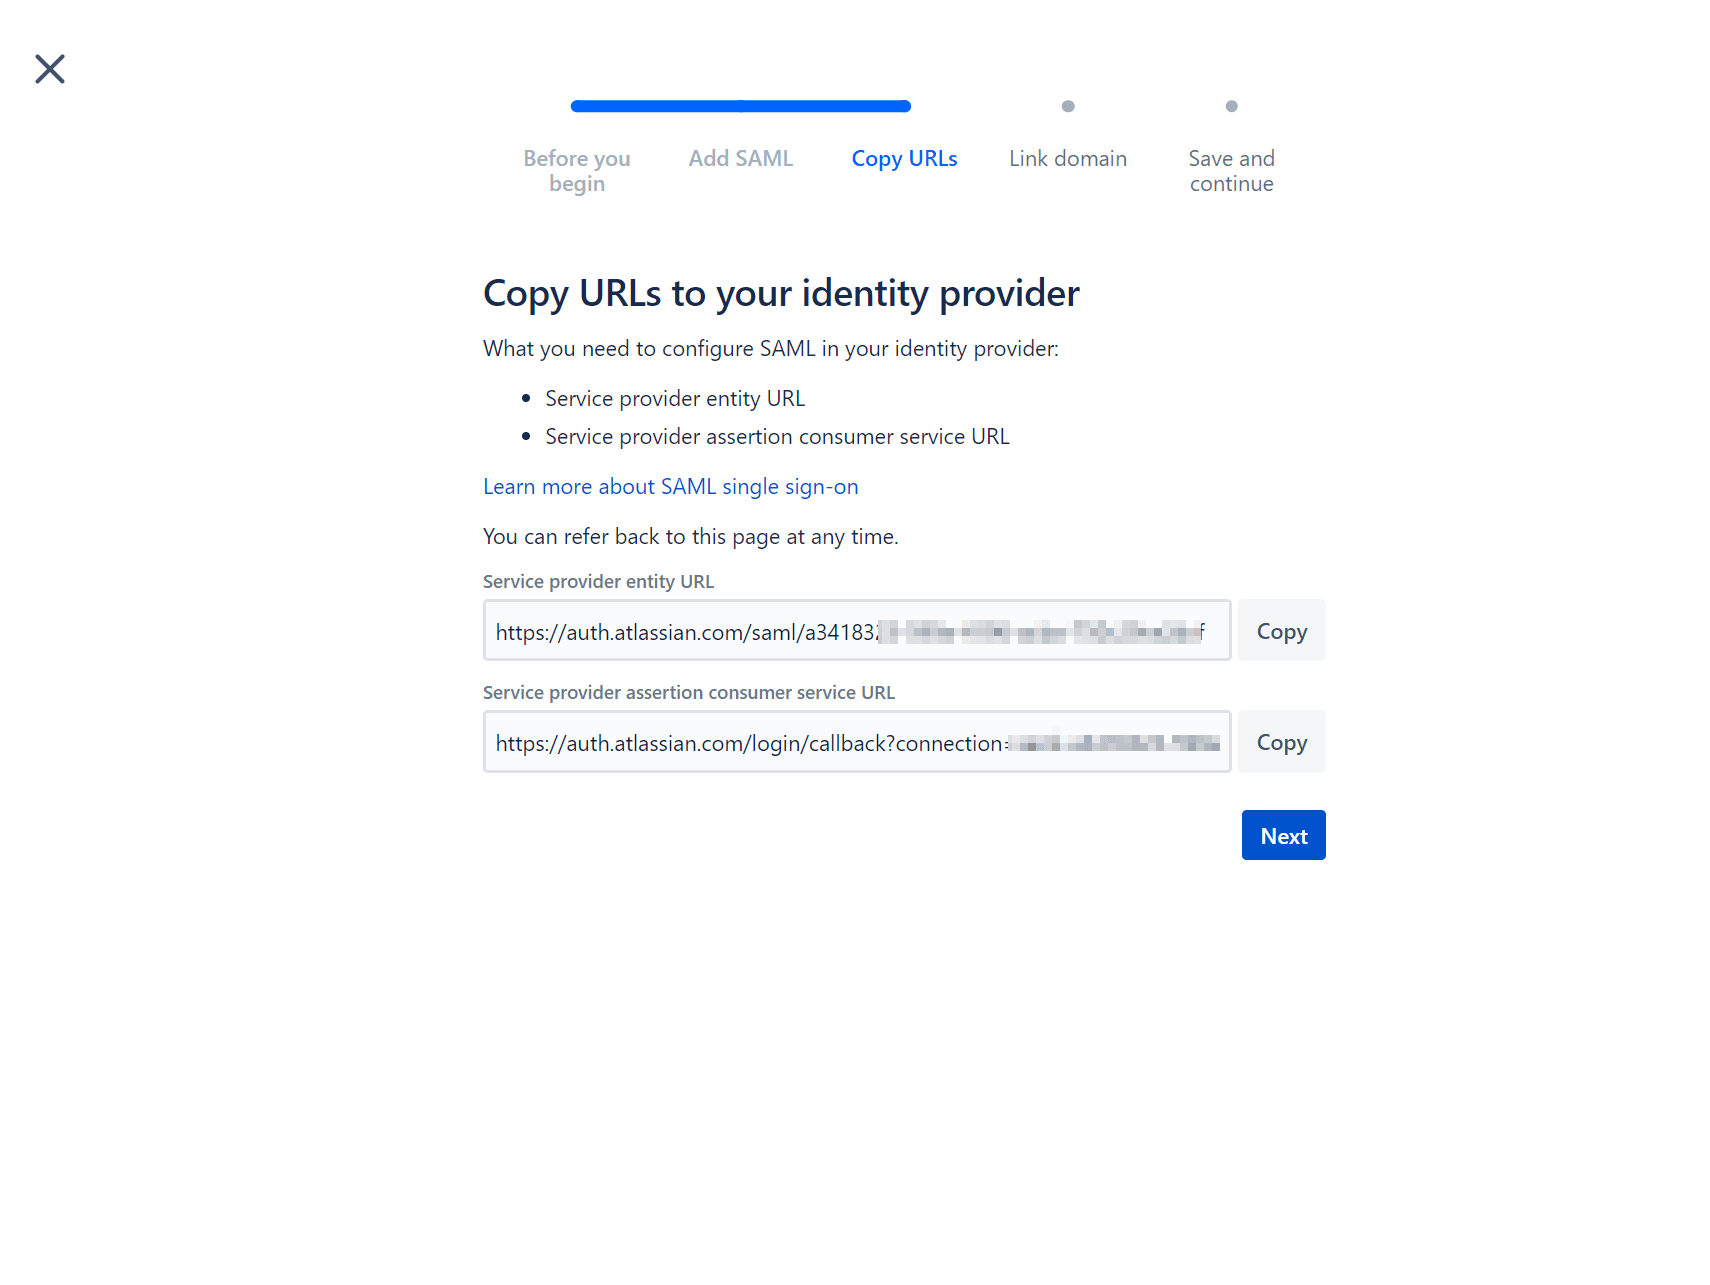
</md:EntityDescriptor>Set or replace the variables with the values from the next screen as follows:
${ENTITYID}: Copy the value from "Service provider entity URL"${ACSURL}: Copy the value from "Service provider assertion consumer service URL"
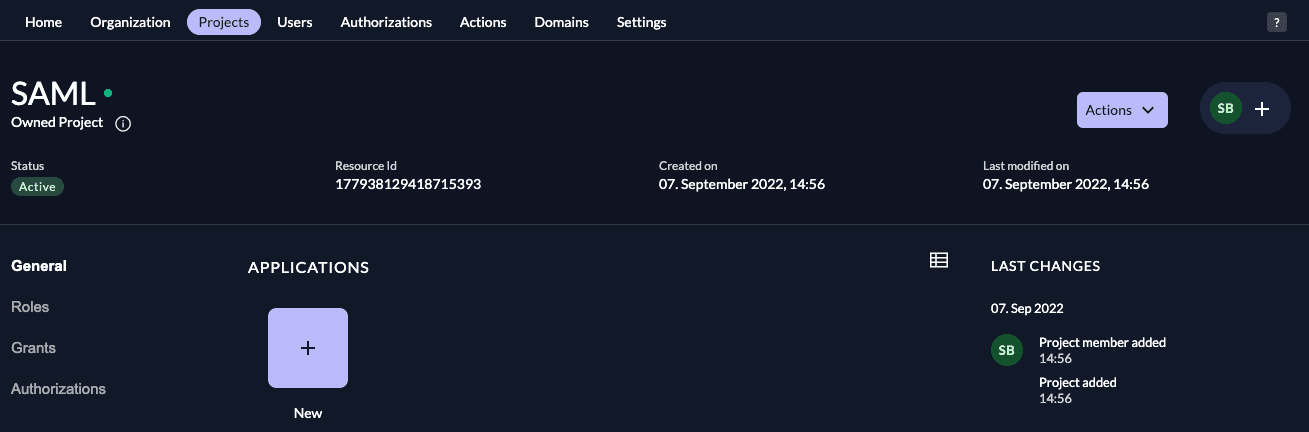
ZITADEL: Create the application
In your existing project:
Press the "+"-button to add an application
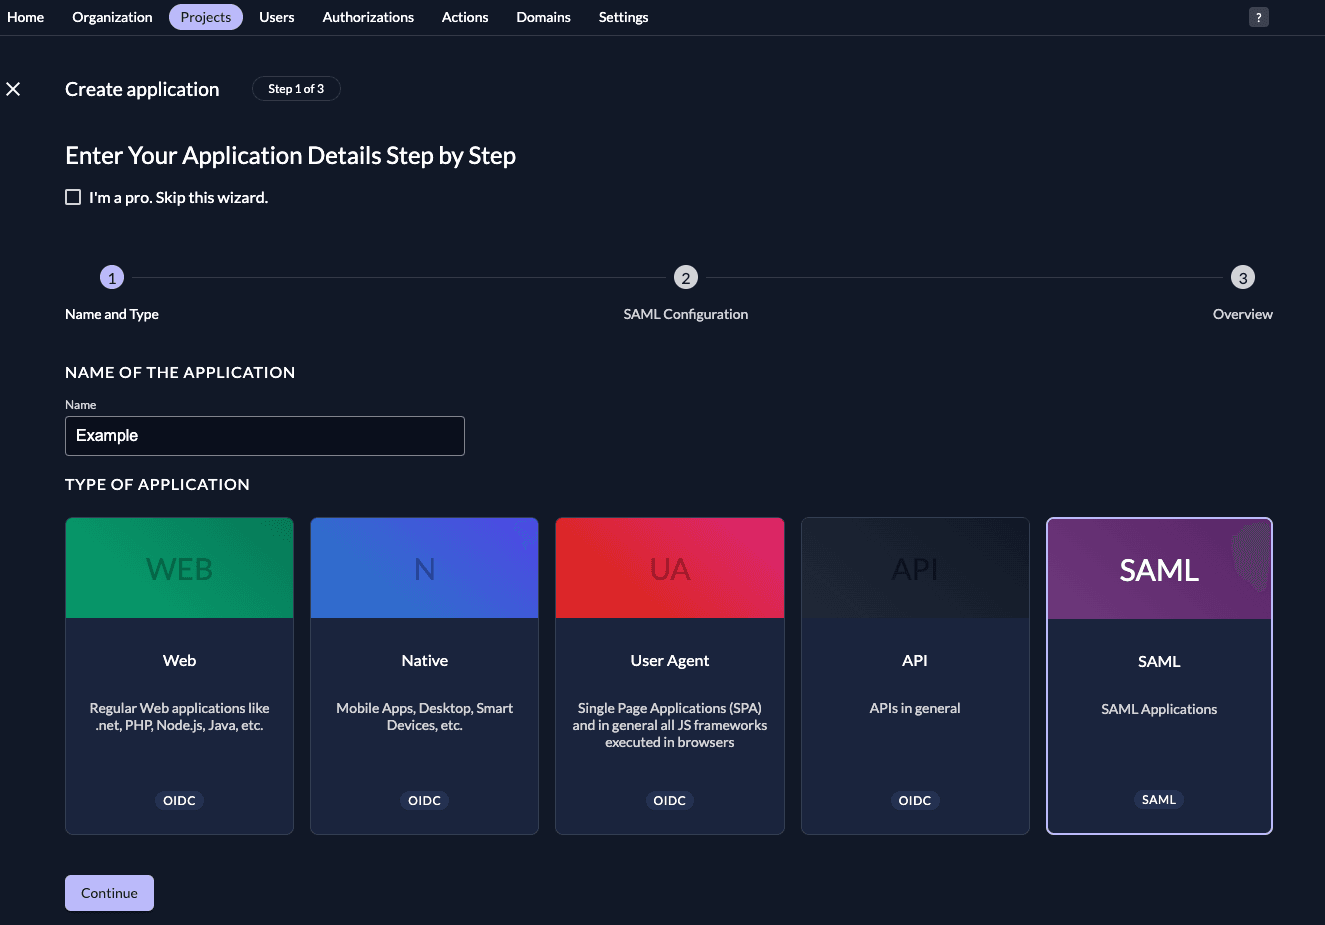
Fill in a name for the application and chose the SAML type, then click "Continue".
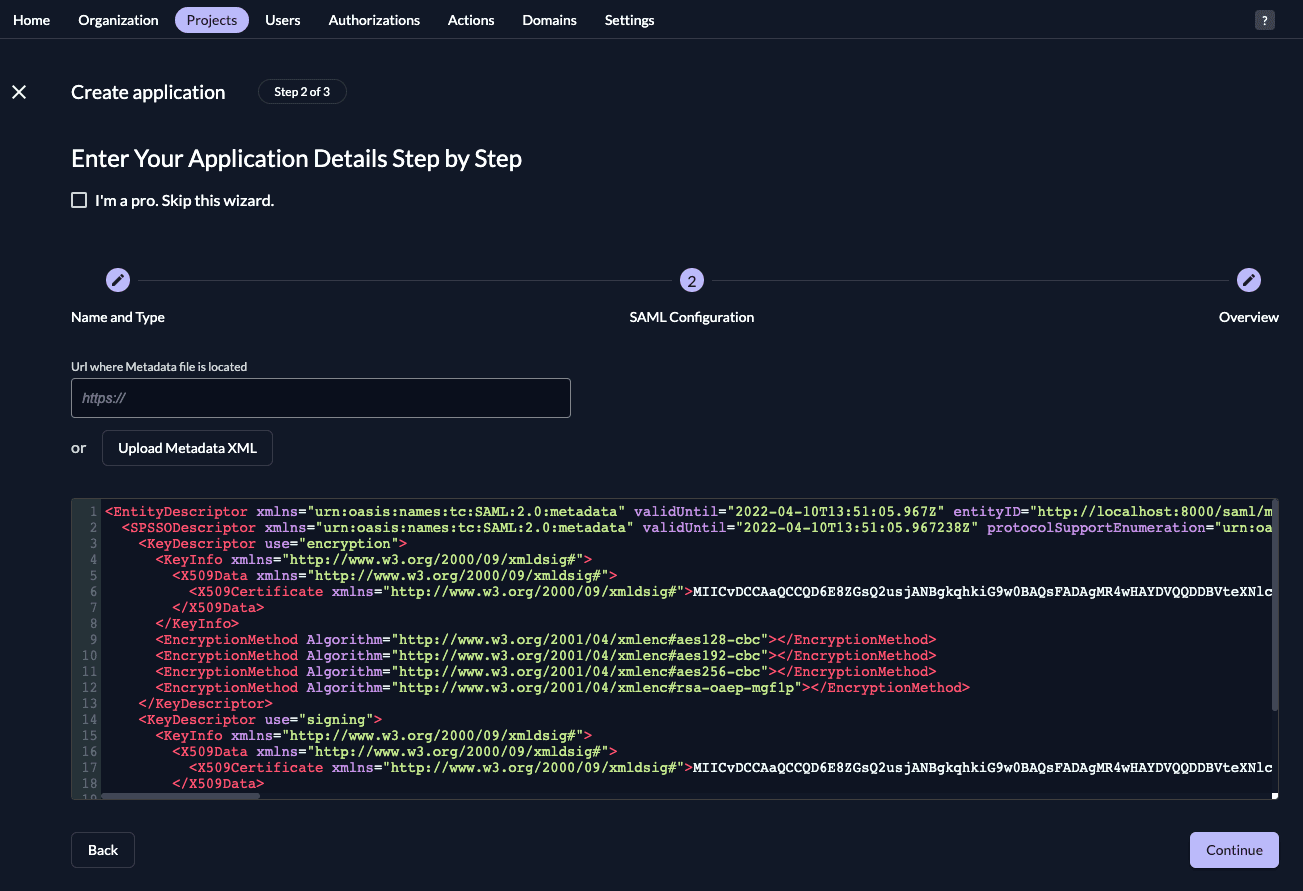
Either fill in the URL where ZITADEL can read the metadata from, or upload the metadata XML directly, then click "Continue".
Check your application, if everything is correct, press "Create".

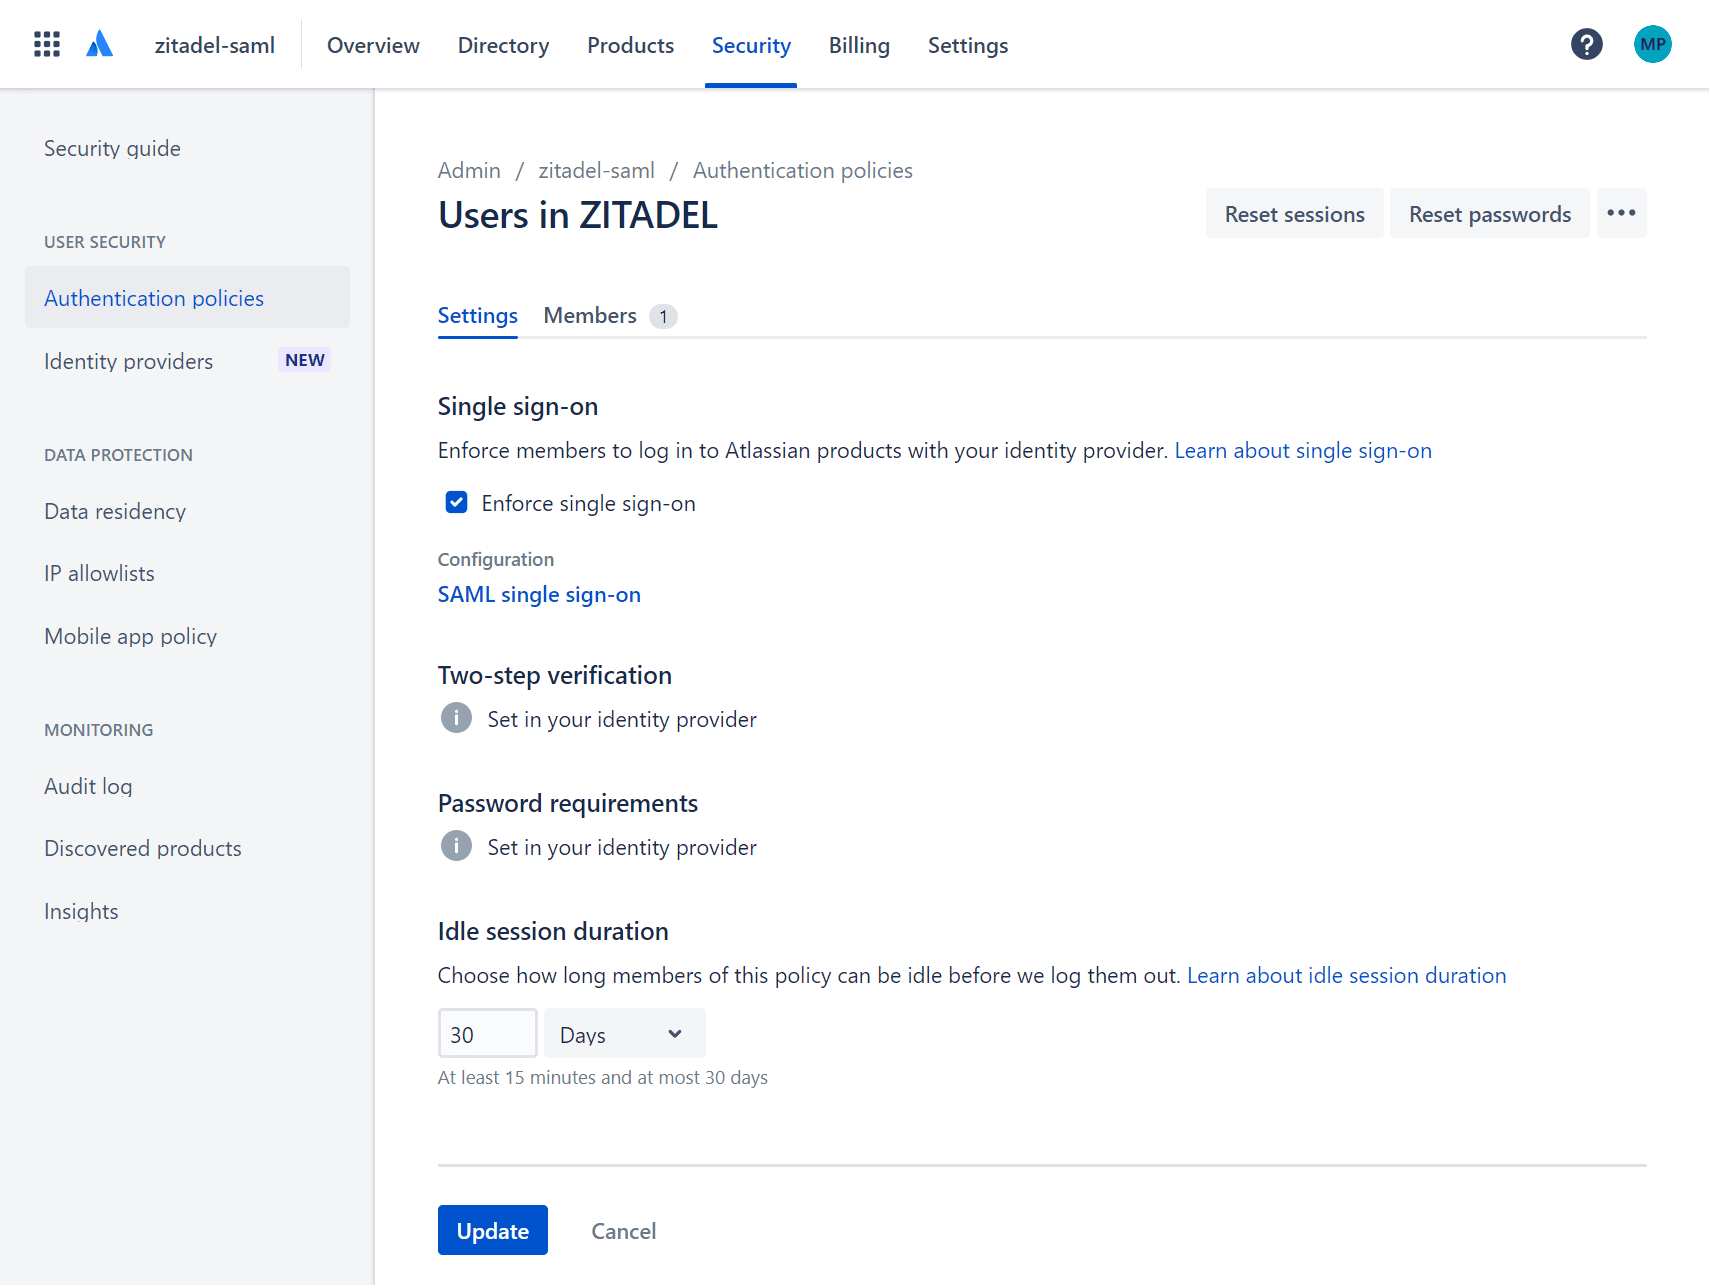
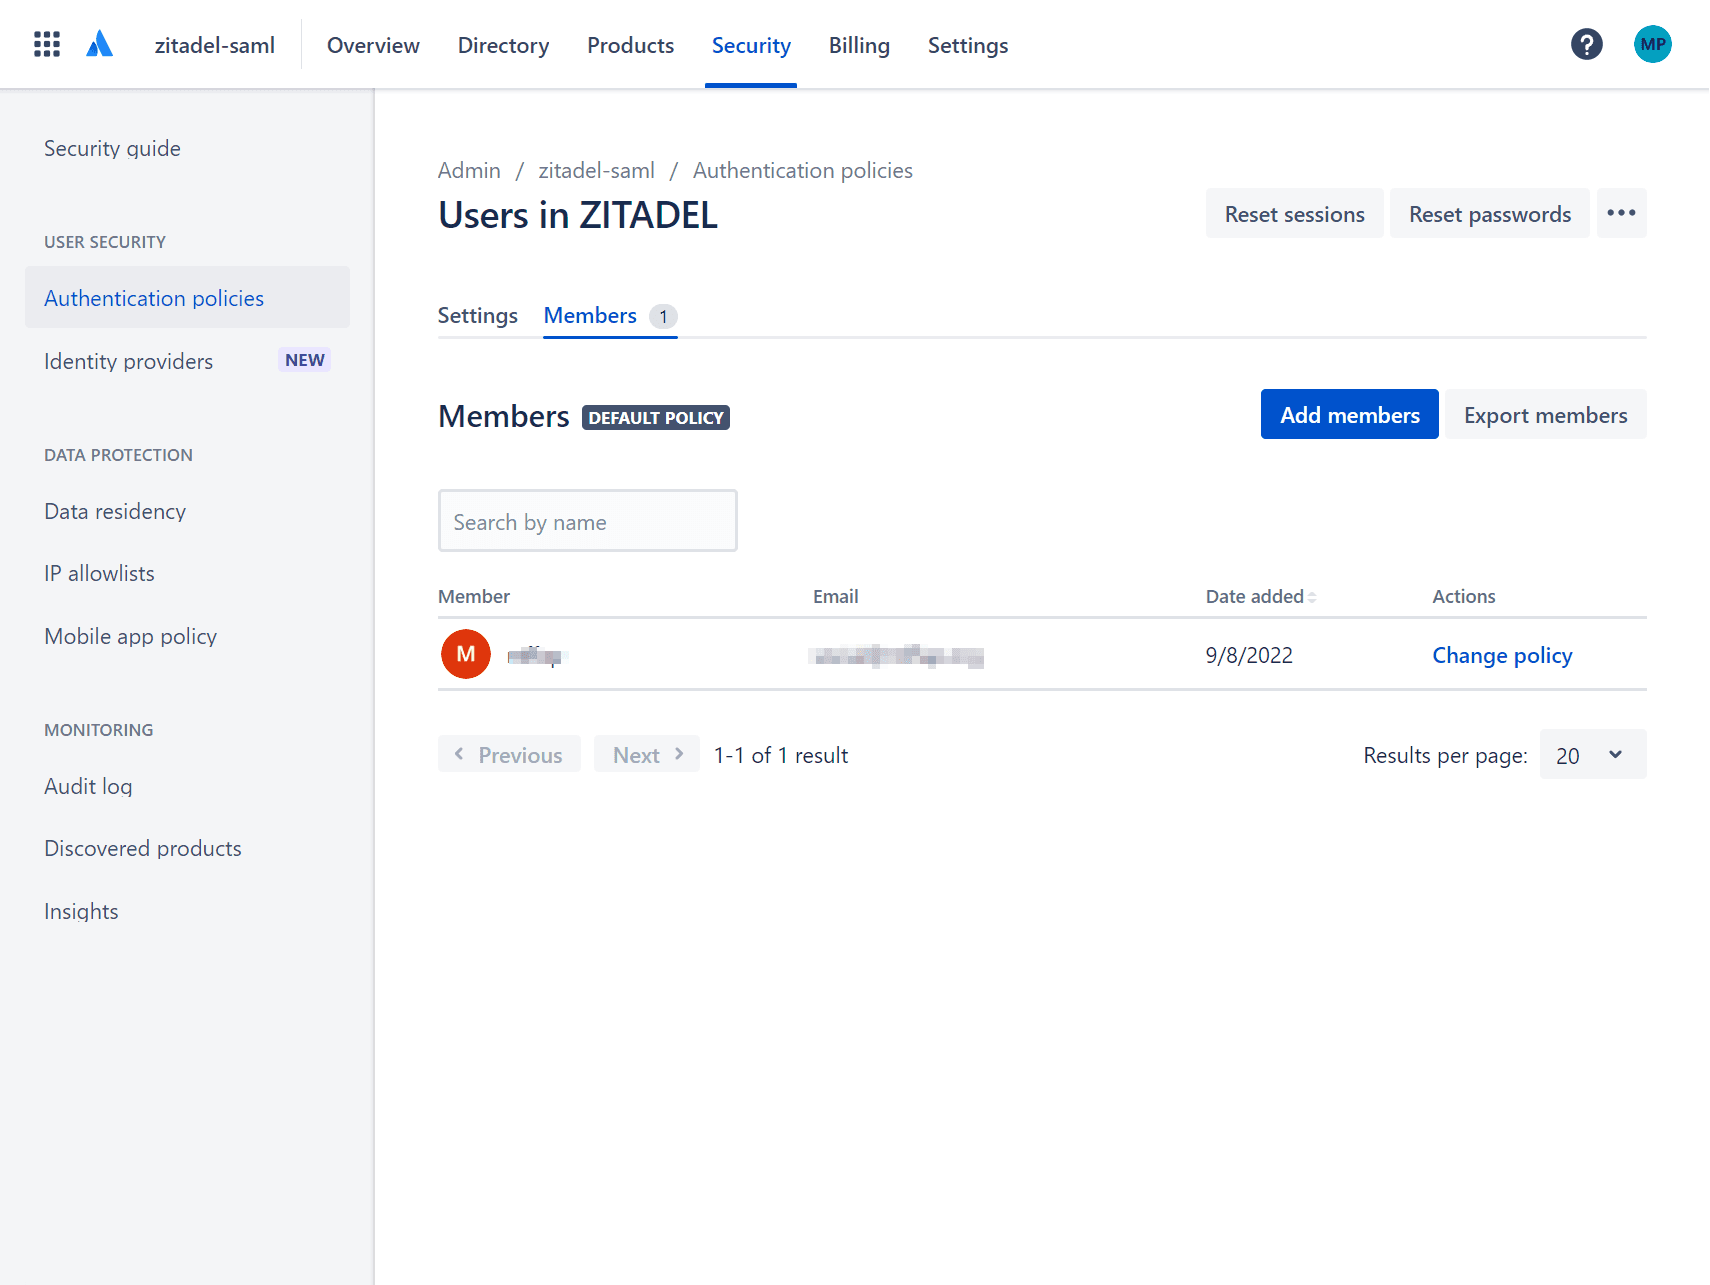
Atlassian: Setup authentication policies
Under Authentication policies, select "Edit" on the directory that you have created.
Then check the box "Enforce single sign-on" and confirm by clicking "Update".
Add members to your policy.
Verify settings
Now you should be all set to verify your setup:
- Create a user in ZITADEL with the same email address as a member in your authentication policy.
- In a new browser session go to https://id.atlassian.com
- Enter the user's email address
- You should be redirected to ZITADEL's Login screen
- Enter the email address and password
- Continue and you should be redirected back to Atlassian
Was this page helpful?