Log in with ZITADEL on Auth0 through OIDC
This guide shows how to enable login with ZITADEL on Auth0.
It covers how to:
- create and configure the application in your project
- create and configure the connection in your Auth0 tenant
Prerequisites:
- existing ZITADEL Instance, if not present follow this guide
- existing ZITADEL Organization, if not present follow this guide
- existing ZITADEL project, if not present follow the first 3 steps here
- existing Auth0 tenant as described here
We have to switch between ZITADEL and Auth0. If the headings begin with "ZITADEL" switch to the ZITADEL Management Console and if the headings start with "Auth0" please switch to the Auth0 GUI.
Auth0: Create a new connection
In Authentication > Enterprise
- Press the "+" button right to "OpenID Connect"
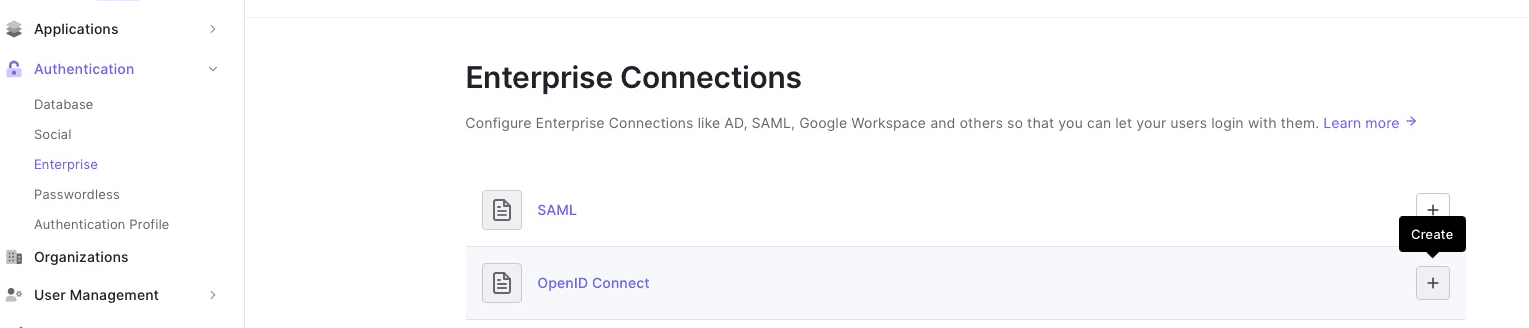
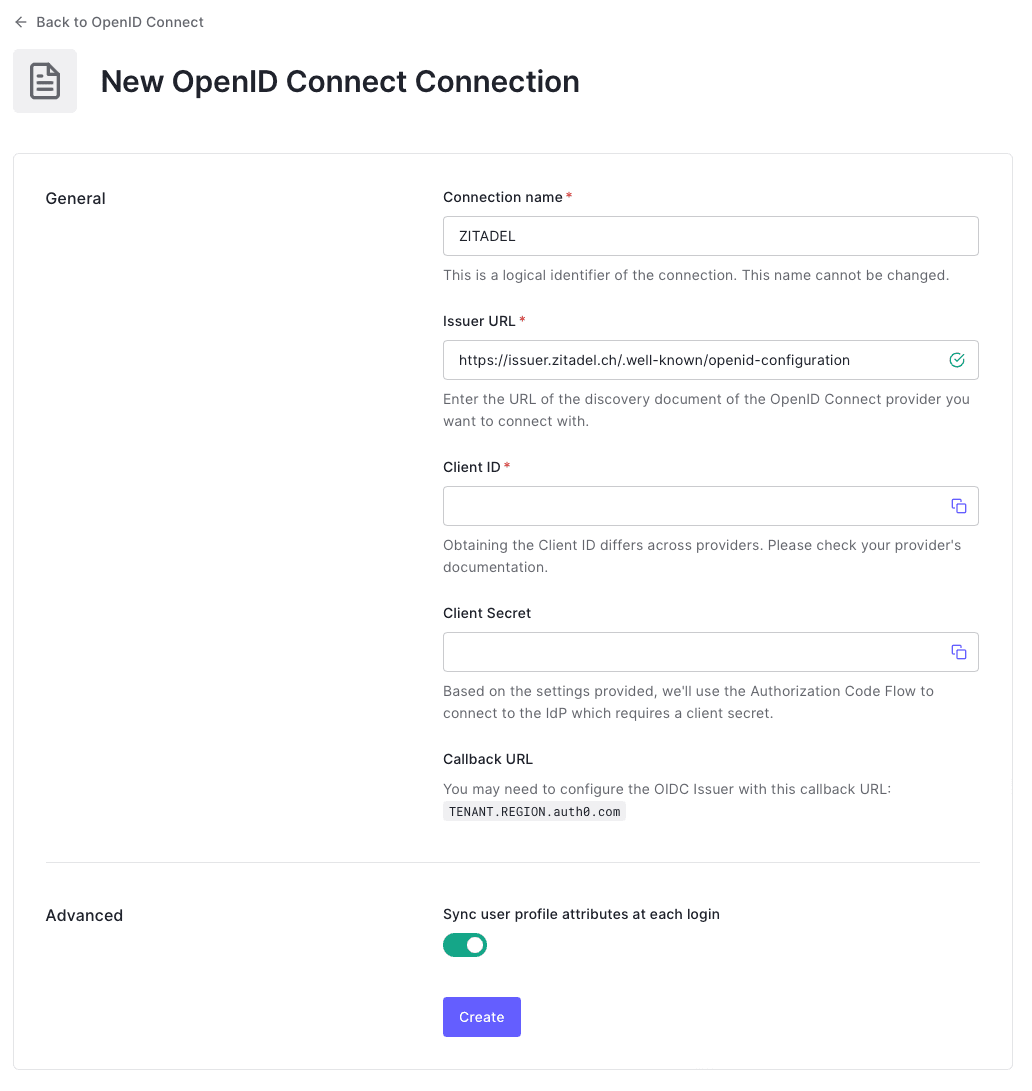
- Set a connection name for example "ZITADEL"
- The issuer url is
https://${CUSTOM_DOMAIN}/.well-known/openid-configuration - Copy the callback URL (ending with
/login/callback)
The settings should look like this:
Next we have to switch to the ZITADEL Management Console.
ZITADEL: Create the application
First of all we create the application in your project.
Create the Auth0 app
Go to the detail page of your project and click the "+"-button in the application-section. This will lead you to the the creation wizard.

Create the app by setting a name and select the application type "Web"

Select the authentication method
The authentication method defines the communication flow during a login
CodeUse if your application needs client id and client secret |
Redirect URIs
During the login flow the application defines where a user is redirected to after login or logout.
ZITADEL verifies if the URL the user gets redirected to is valid by checking if one of the redirect URIs match.
- Redirect URIs are verified during the login process.
- The default redirect uri of your app is
https://<TENANT>.<REGION>.auth0.com/login/callback - Post Logout URIs are verified during the logout process.
The default redirect uri of your app is https://<TENANT>.<REGION>.auth0.com/login/callback

Review your settings
The last page of the stepper shows a summary of what will be created. After you have reviewed the settings you can create the application.
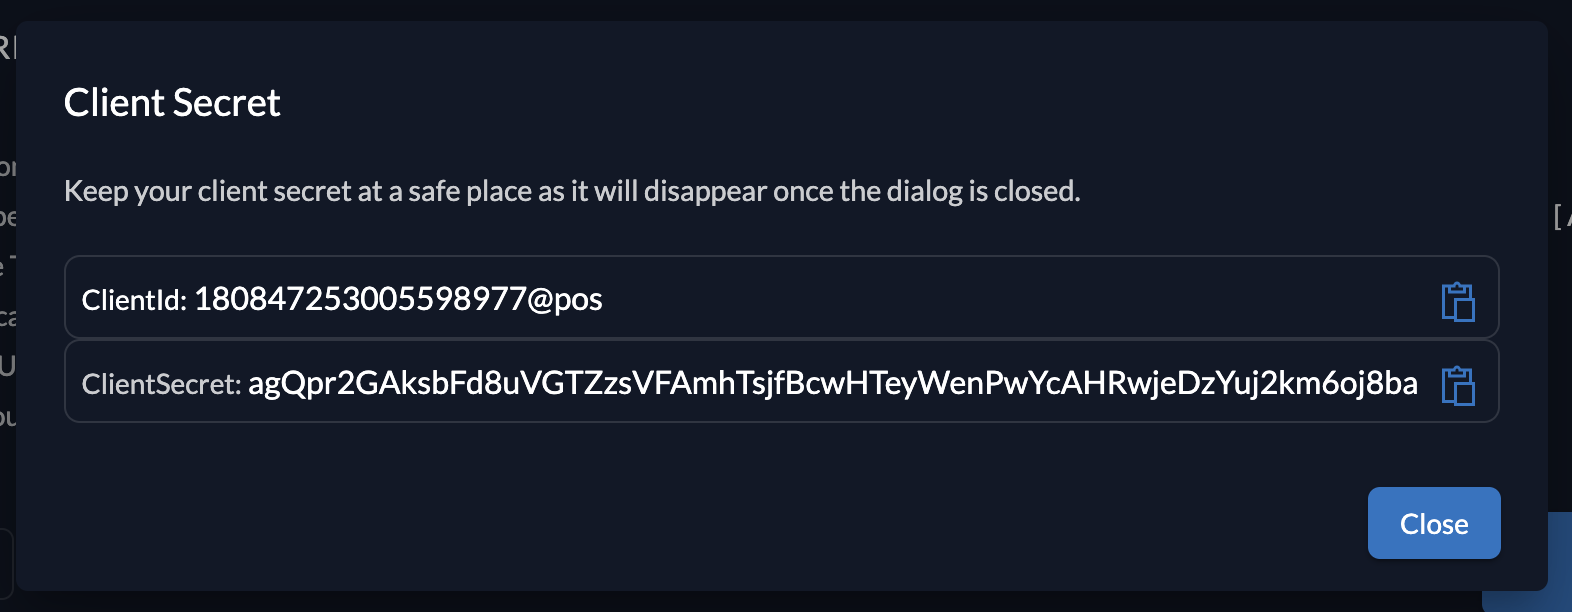
Client information
Please make sure to safe the client id and secret for later use in the application.
Auth0: Connect ZITADEL
- Copy the client id from ZITADEL and paste it into the Client ID field
- Copy the client secret from ZITADEL and paste it into the Client Secret field
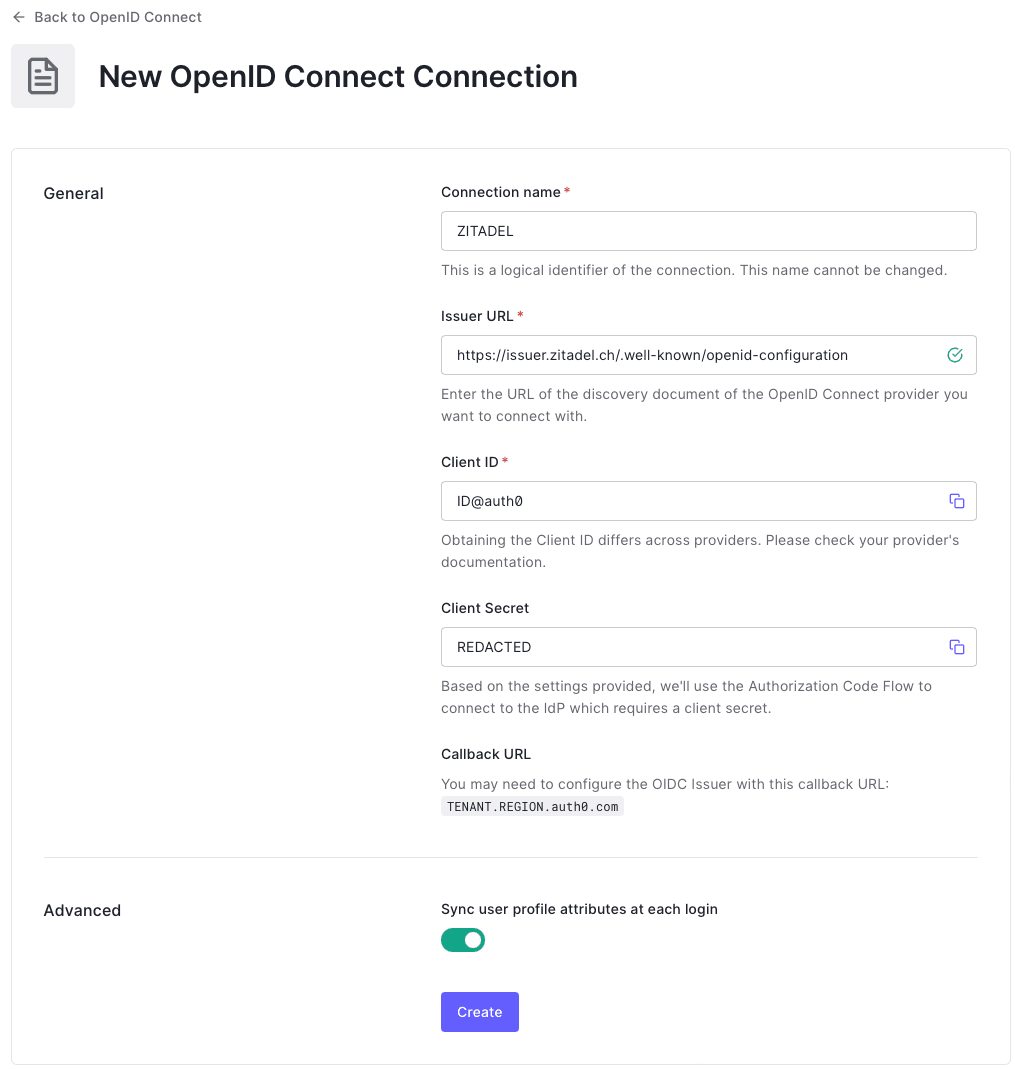
- click Create
- To verify the connection go to the "Applications" tab and enable the Default App
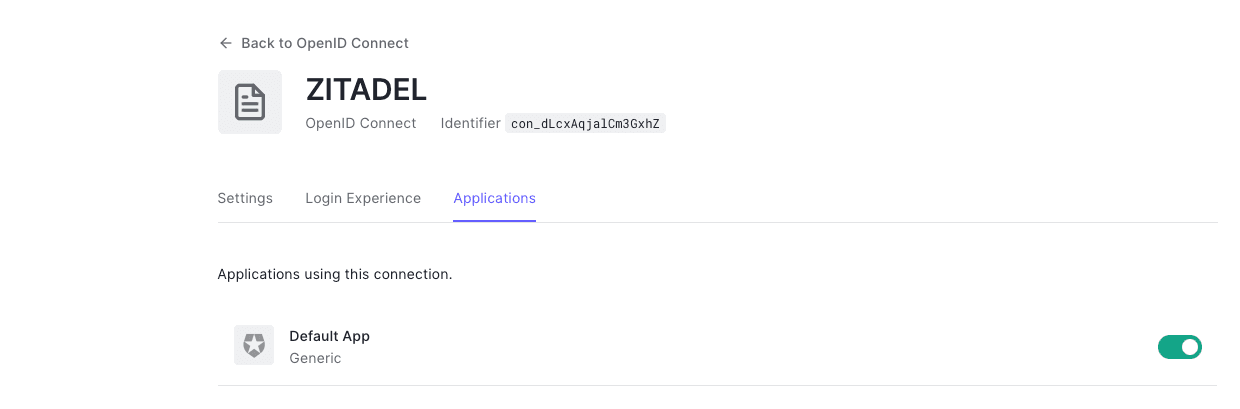
- Click "Back to OpenID Connect"
- Click on the "..." button right to the newly created connection and click "Try"
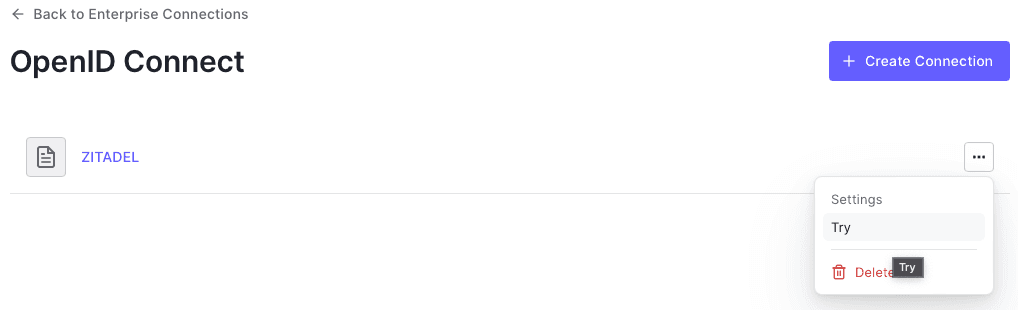
- ZITADEL should open on a new tab, and you can enter your login information
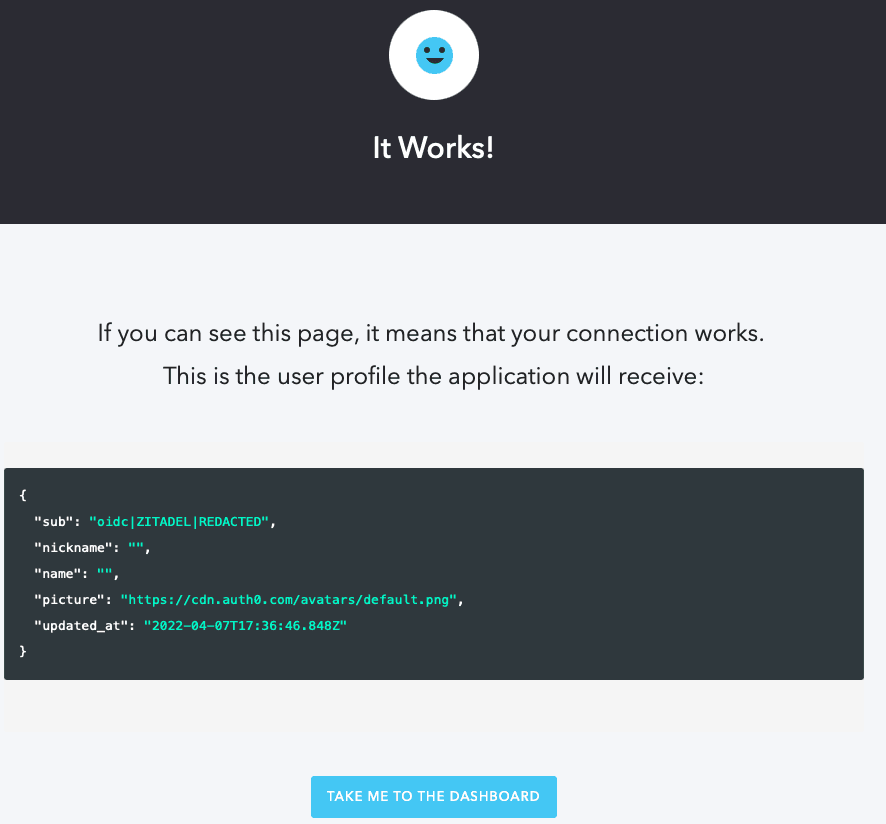
- After you logged in you should see the following:
Was this page helpful?