Secure Go API Application with ZITADEL
This integration guide shows you how to integrate ZITADEL into your Go API. It demonstrates how to secure your API using OAuth 2 Token Introspection.
ℹ️ These examples and guides are based on our official Go SDK.
The SDK is a convenient wrapper around our low-level OIDC library. For most use cases, using the helpers provided in our Go SDK is the recommended approach for implementing authentication.
At the end of the guide you should have an API with a protected endpoint.
This documentation references our HTTP example. There's also one for GRPC. Check them out on GitHub.
Prerequisites
This will handle the OAuth 2.0 introspection request including authentication using JWT with Private Key using our Go SDK. All that is required, is to create your API, create a private key and a personal access token for a service account.
Set up application and obtain keys
Before we begin developing our API, we need to perform a few setup steps in the ZITADEL Console. You'll need to provide some information about your app. We recommend creating a new app to start from scratch.
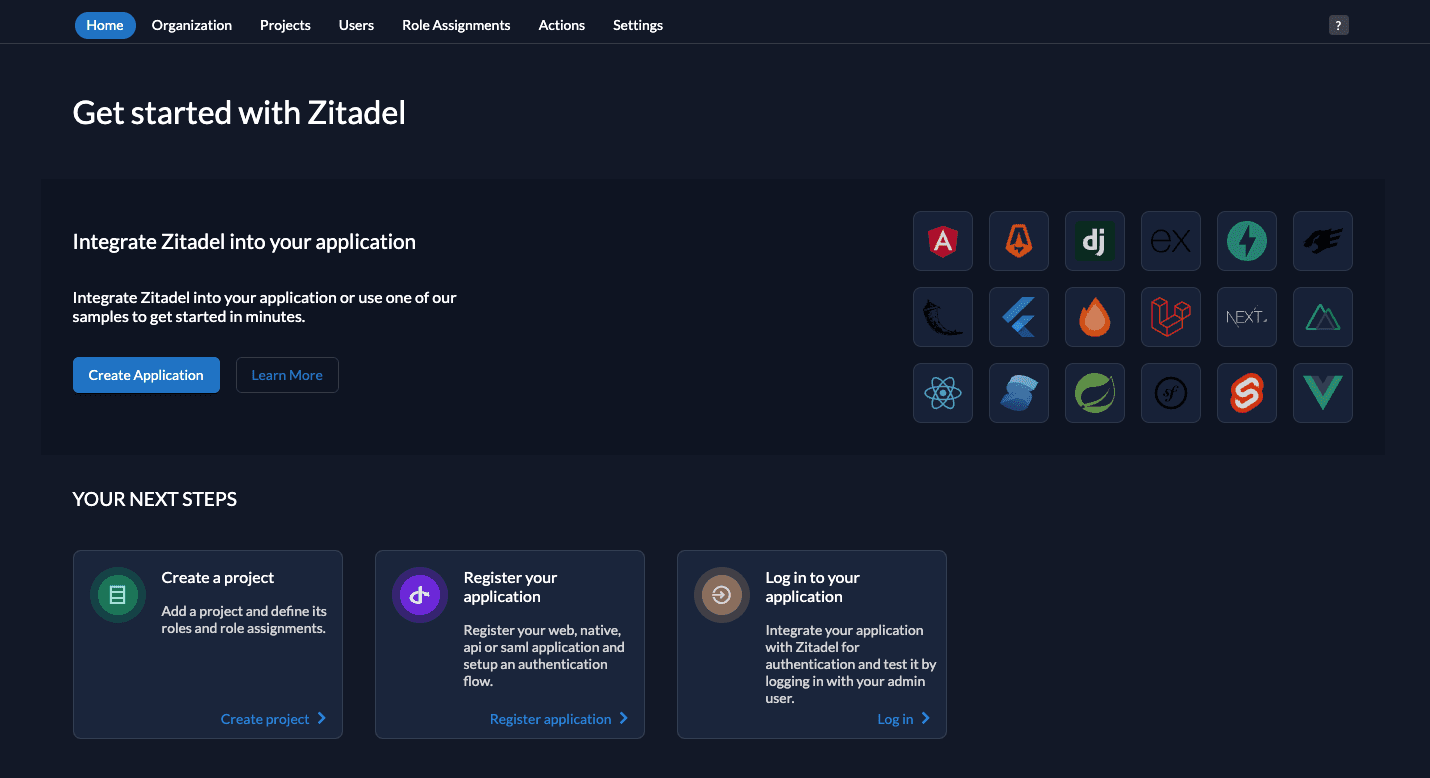
Starting from the homepage of your management console, click on Create Application
Select a project from the dropdown and select Other as framework, then continue.

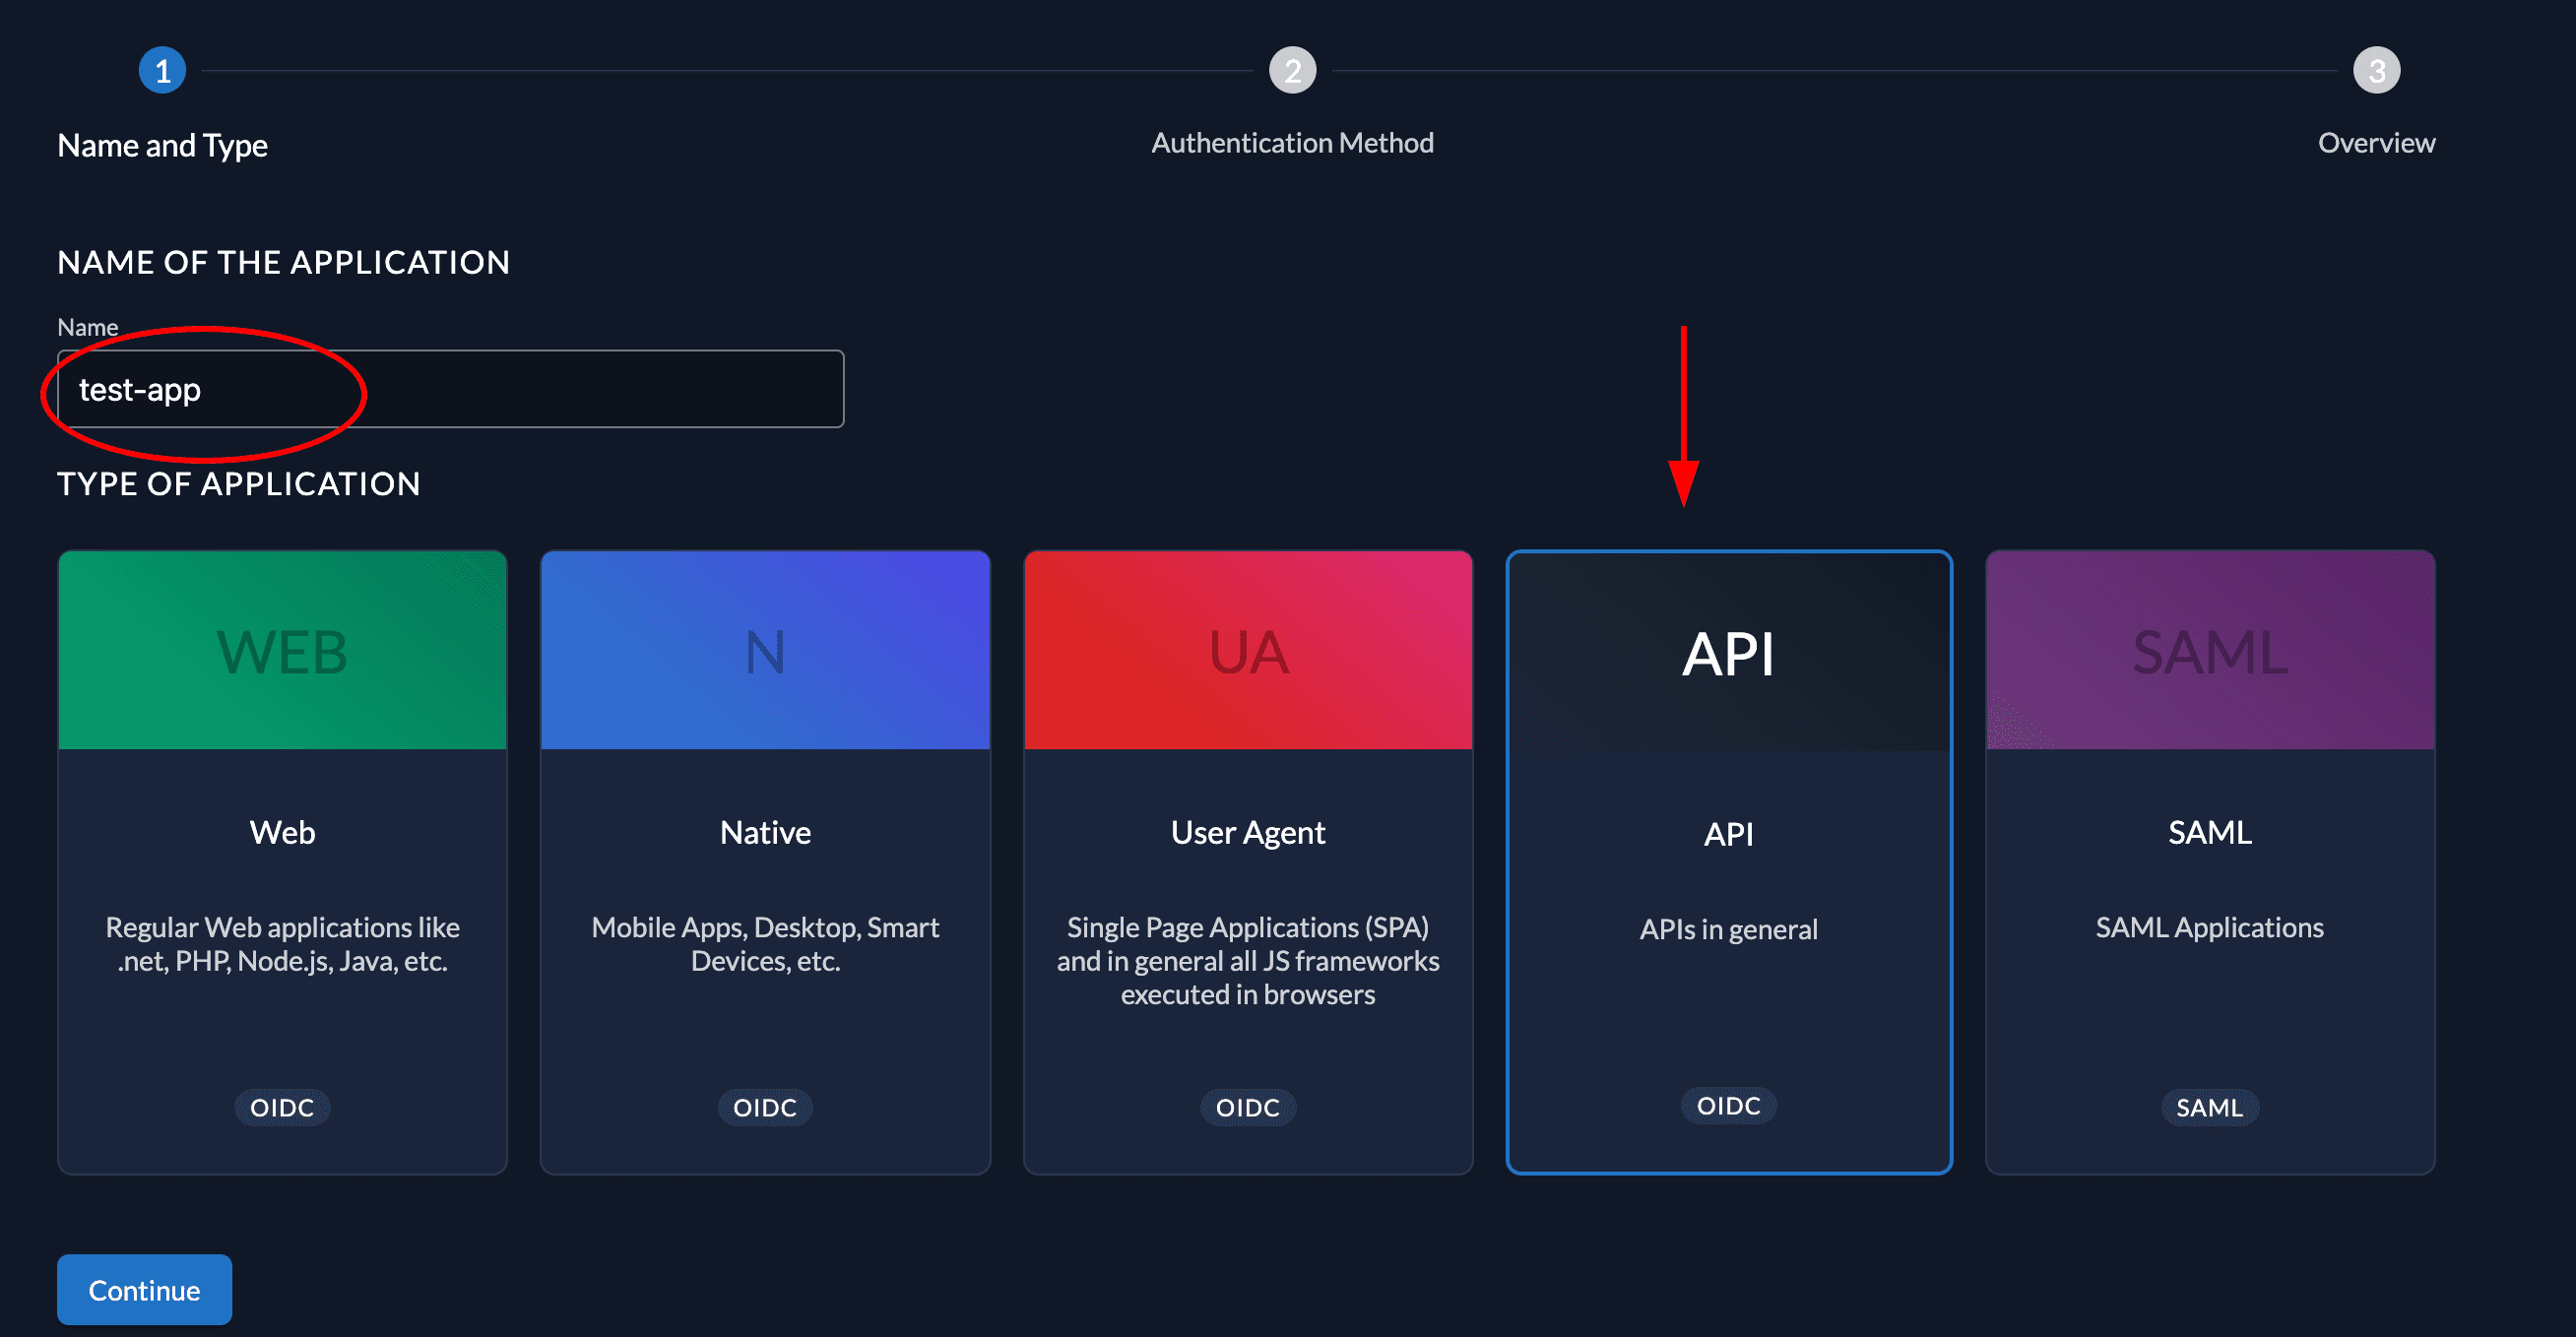
Add your app name and select API as application type, then continue.
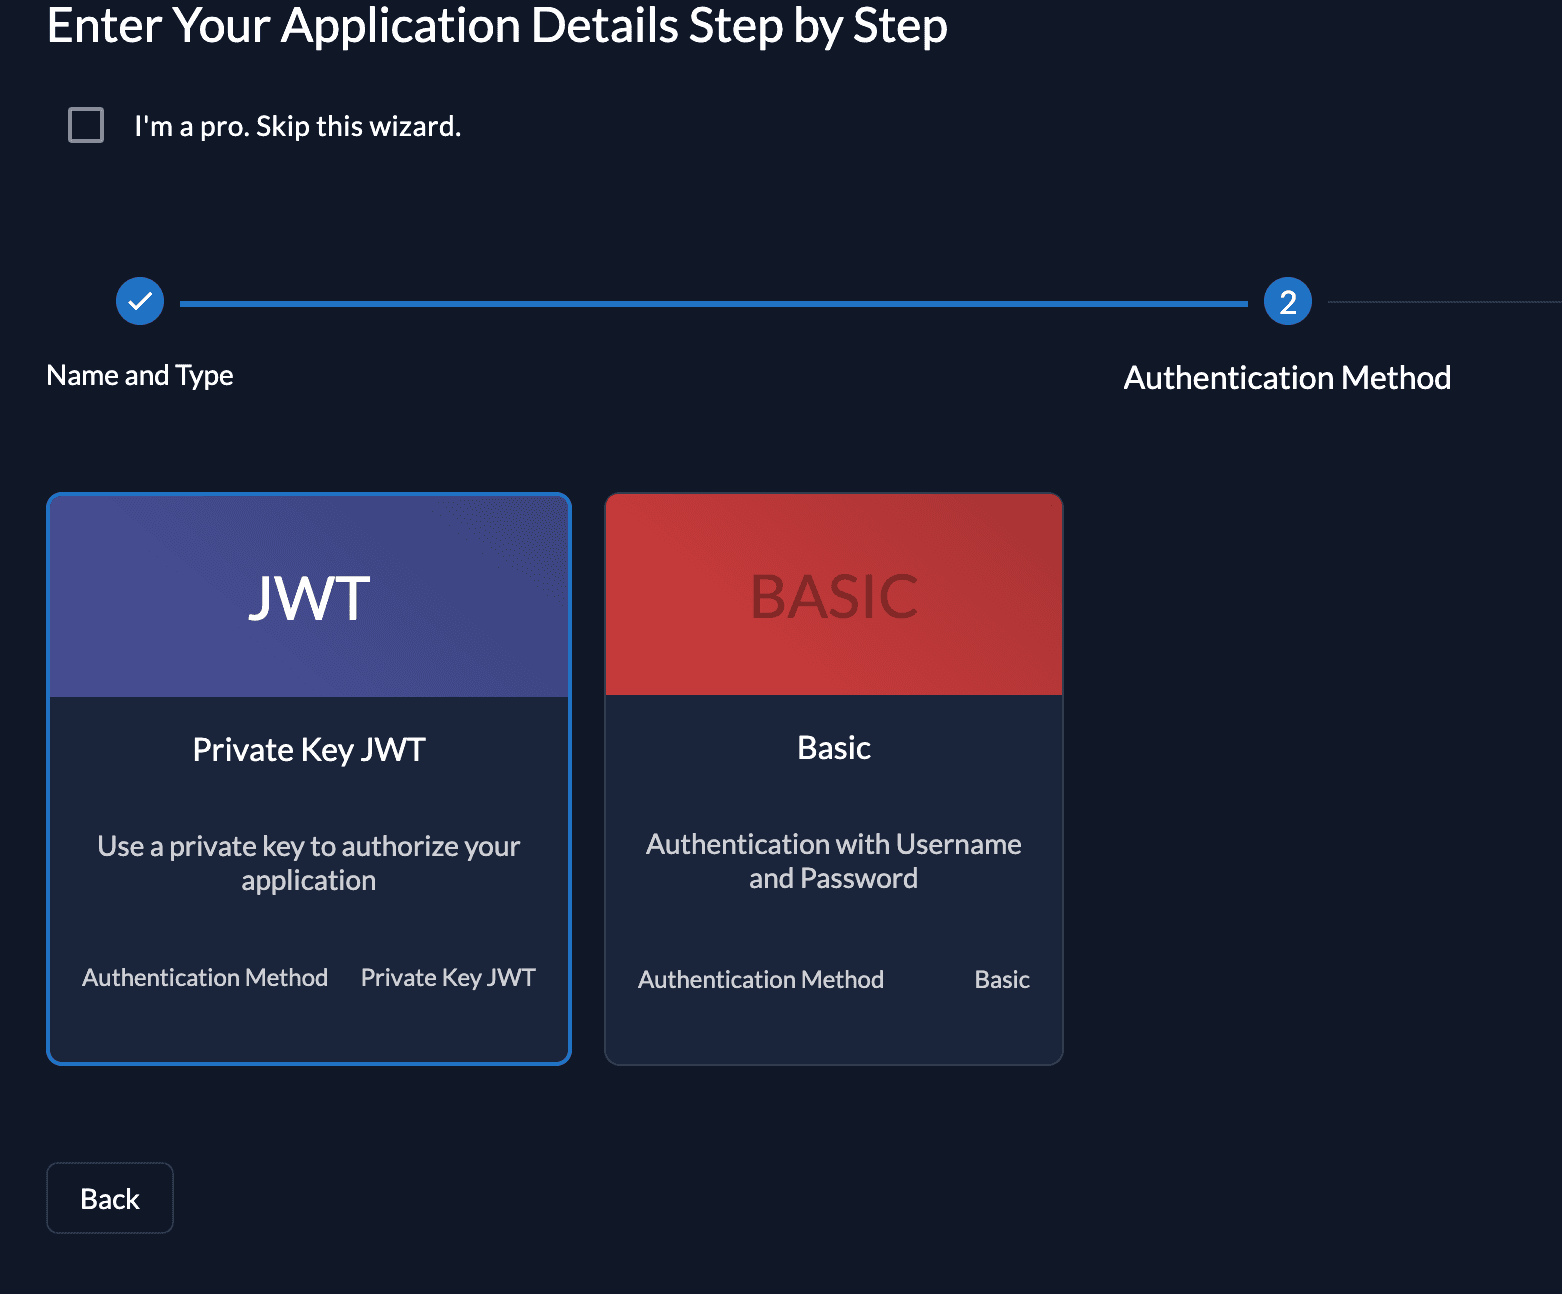
We recommend that you use JWT Profile for authenticating at the Introspection Endpoint. So select JWT as authentication method
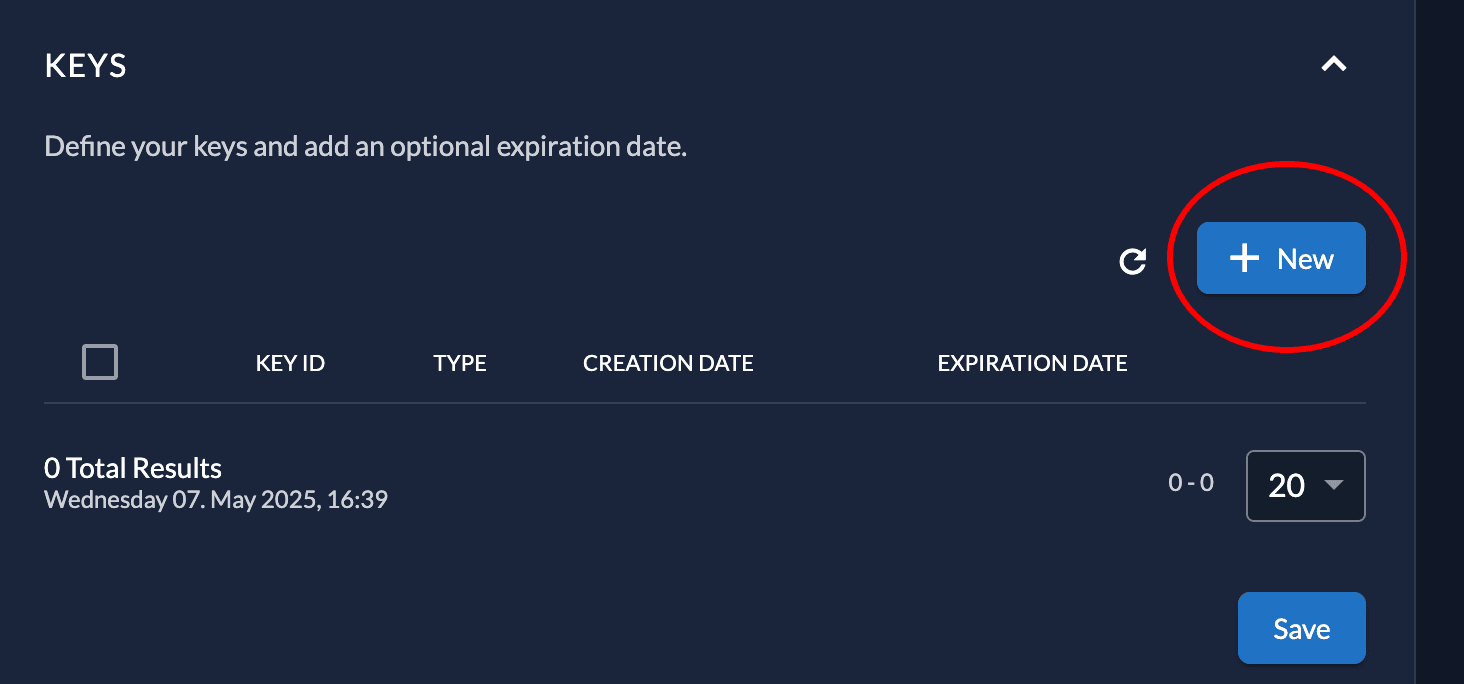
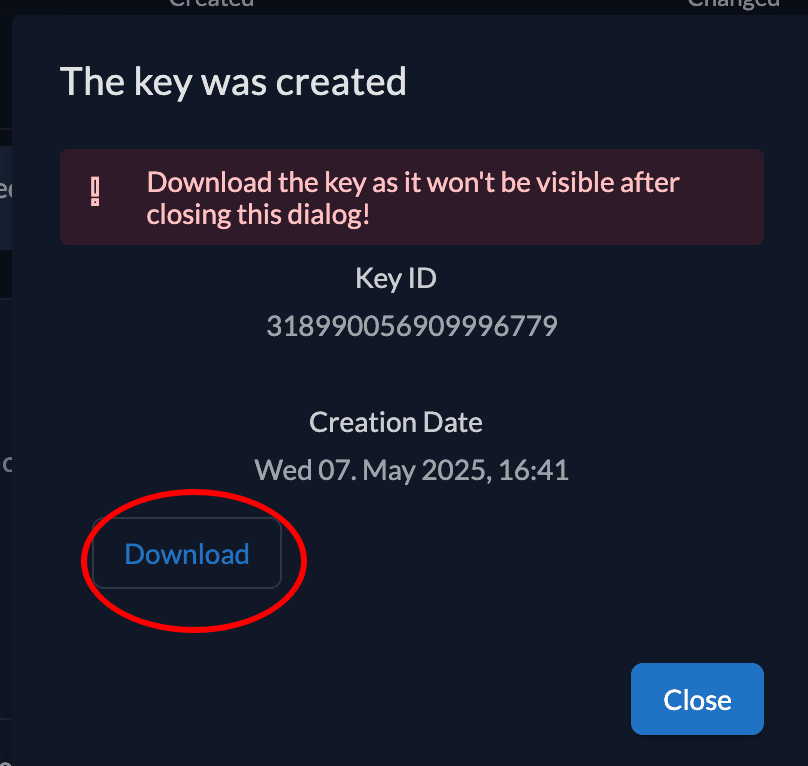
You then need to create a new JSON key.
Select an expiration date that suits you.

And make sure to download it, as you won't be able to retrieve it again.
Now we need to create a Personal Access Token to authenticate the application requests.
On the user view, switch to Service Accounts and create a new one.
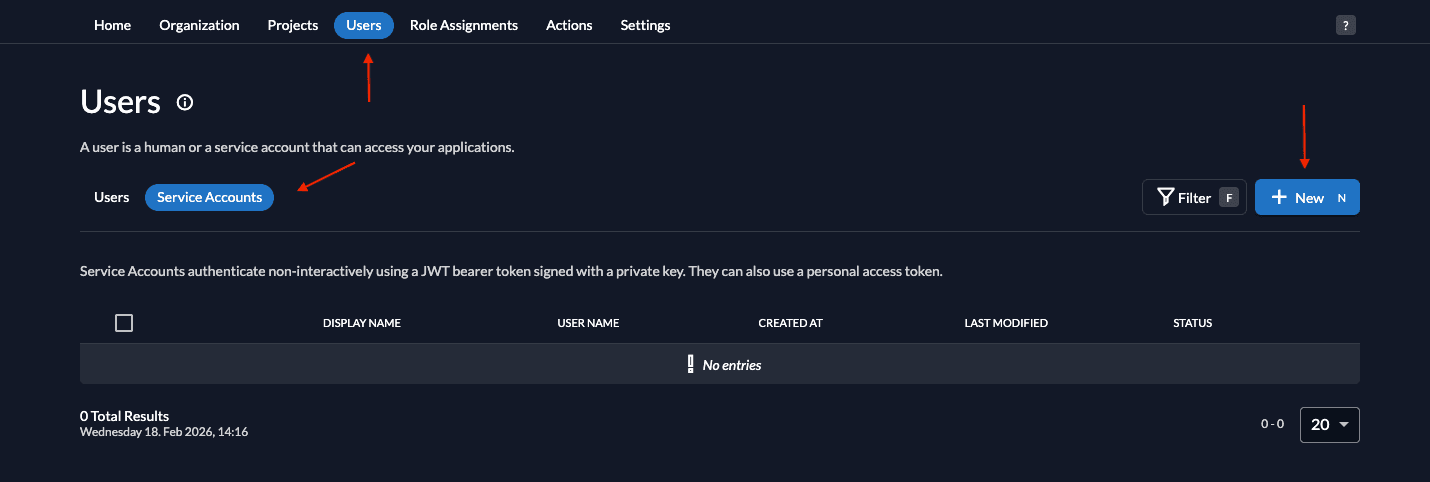
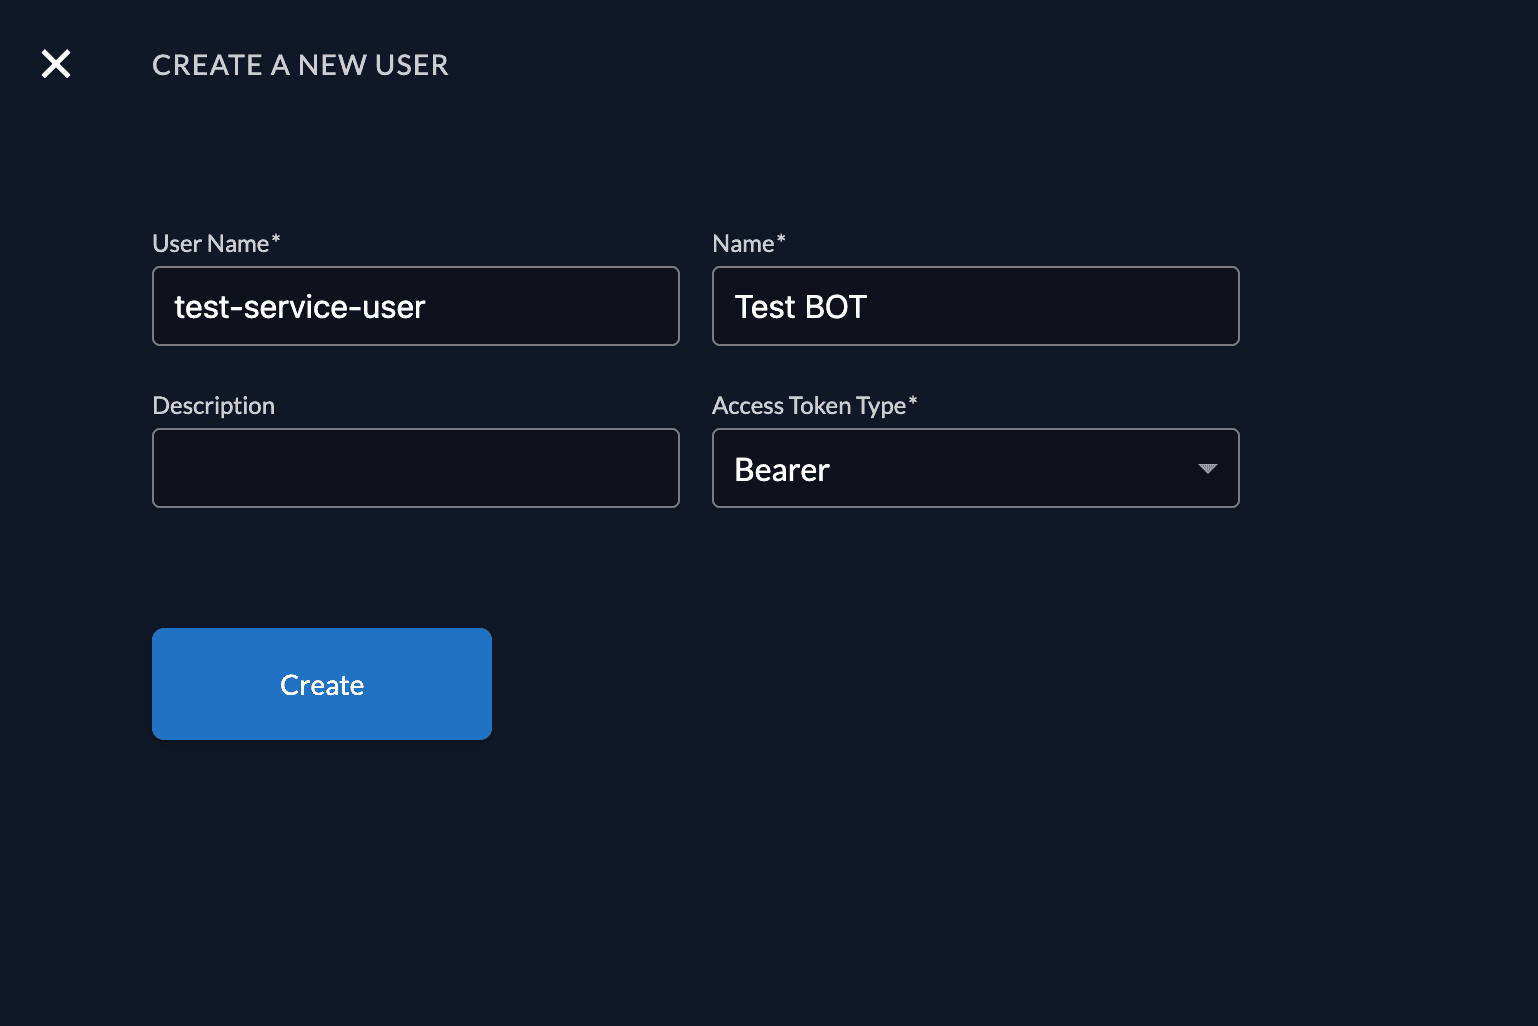
Give the service account a name and a username. Select Bearer as Access Token Type.
Create a service account and a personal access token (PAT)
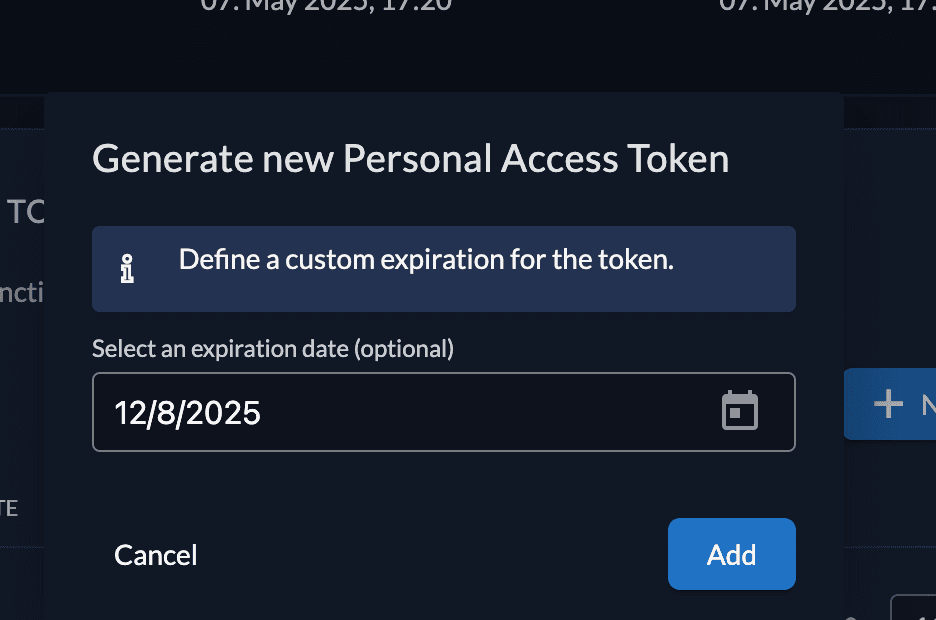
Once done, from the left panel of the user management, click on Personal Access Token and create a new one.
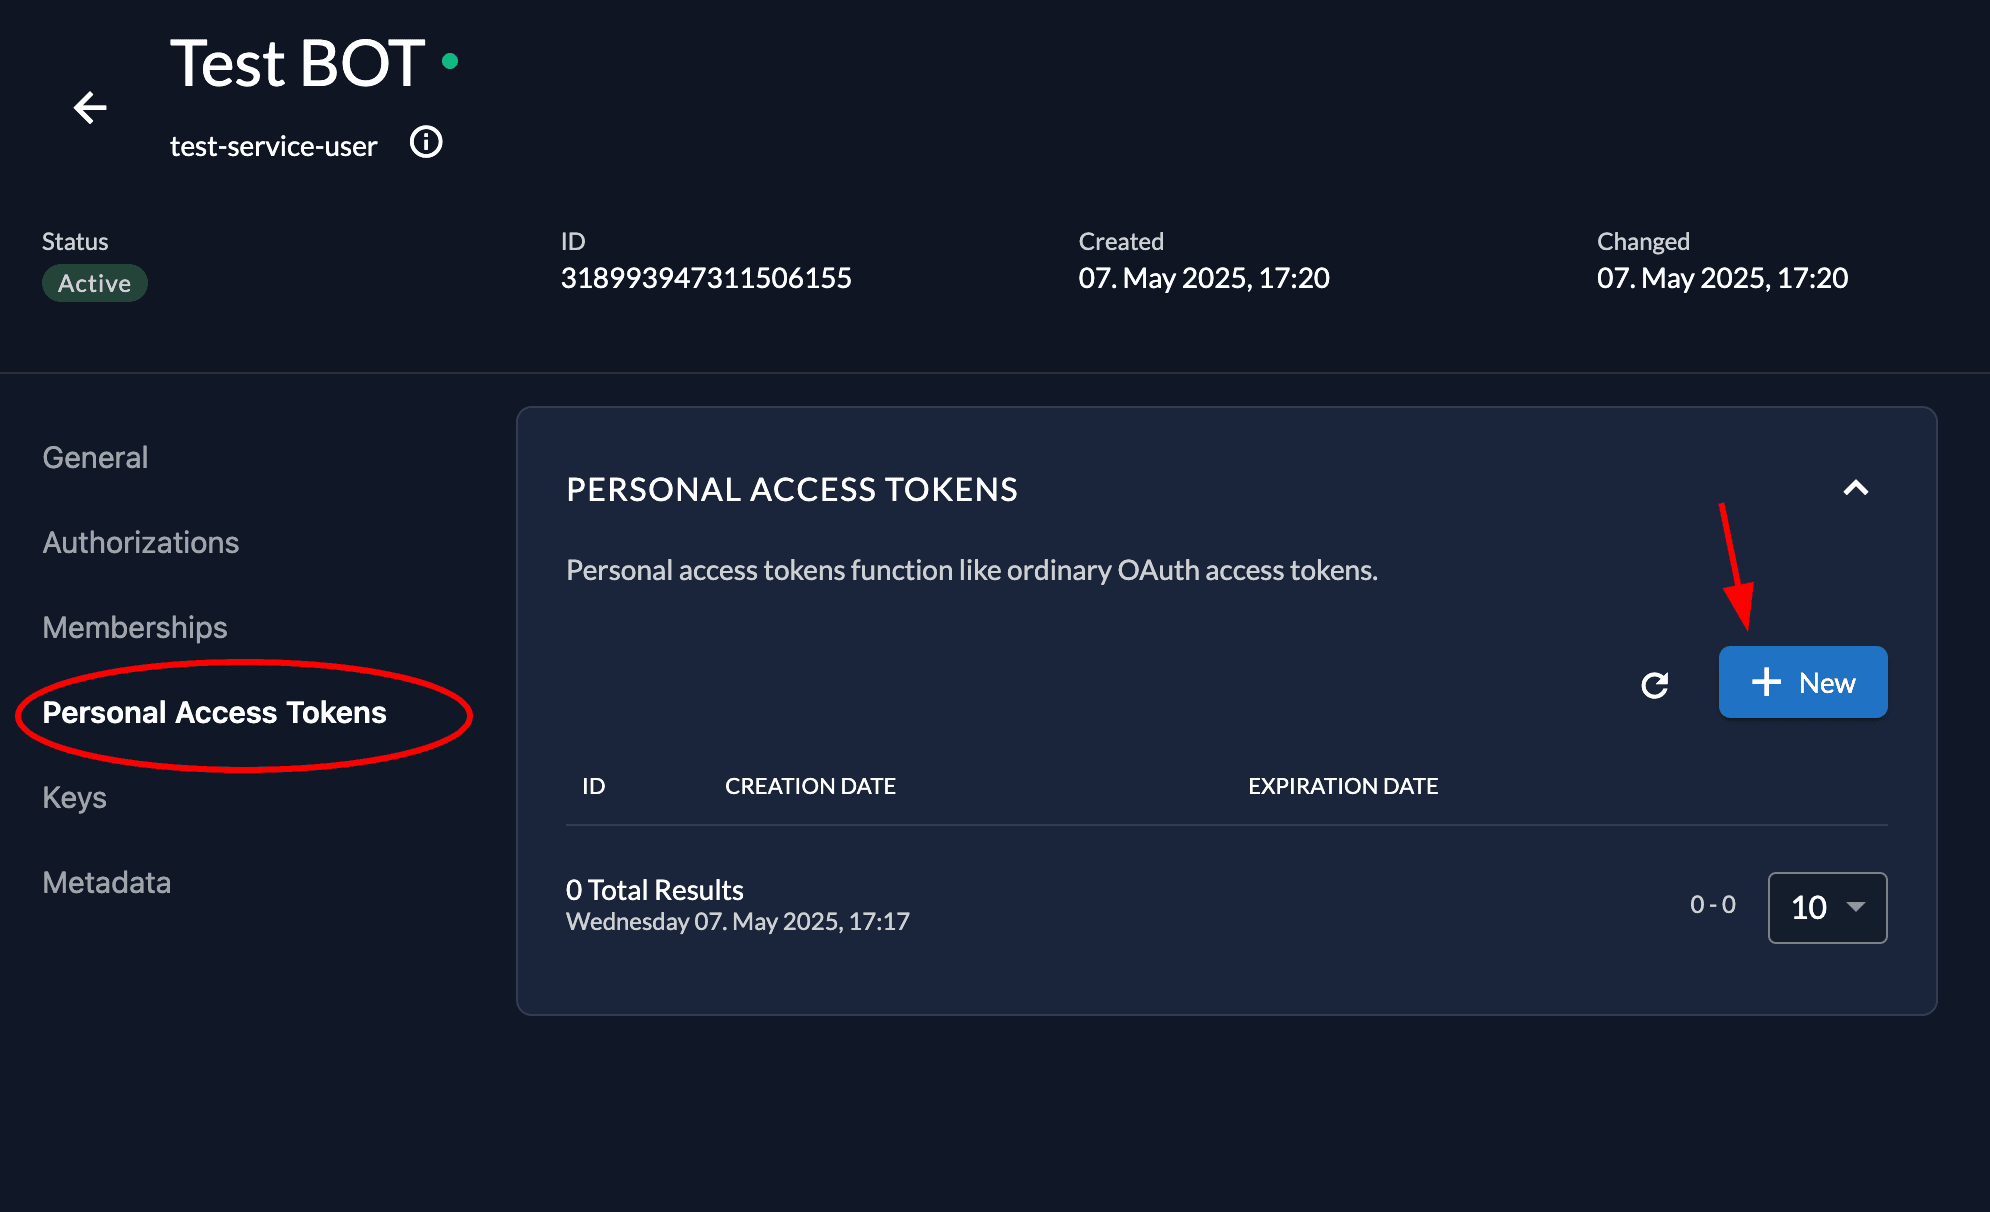
Set an expiration date and then copy the PAT generated to somewhere safe. We will need it later.
Go Setup
Add Go SDK to your project
You need to add the SDK into Go Modules by:
go get -u github.com/zitadel/zitadel-go/v3Create example API
Create a new go file with the content below. This will create an API with three endpoints:
/api/healthz: can be called by anyone and always returnsOK/api/tasks: requires authorization and returns the available tasks/api/add-task: requires authorization with grantedadminrole and adds the task to the list
If authorization is required, the token must not be expired and the API has to be part of the audience (either client_id or project_id).
For tests, we will use a Personal Access Token.
package mainimport ( "context" "encoding/json" "errors" "flag" "fmt" "net/http" "os" "strings" "golang.org/x/exp/slog" "github.com/zitadel/zitadel-go/v3/pkg/authorization" "github.com/zitadel/zitadel-go/v3/pkg/authorization/oauth" "github.com/zitadel/zitadel-go/v3/pkg/http/middleware" "github.com/zitadel/zitadel-go/v3/pkg/zitadel")var ( // flags to be provided for running the example server domain = flag.String("domain", "", "your ZITADEL instance domain (in the form: <instance>.zitadel.cloud or <yourdomain>)") key = flag.String("key", "", "path to your key.json") port = flag.String("port", "8089", "port to run the server on (default is 8089)") // tasks are used to store an in-memory list used in the protected endpoint tasks []string)/* This example demonstrates how to secure an HTTP API with ZITADEL using the provided authorization (AuthZ) middleware. It will serve the following 3 different endpoints: (These are meant to demonstrate the possibilities and do not follow REST best practices): - /api/healthz (can be called by anyone) - /api/tasks (requires authorization) - /api/add-task (requires authorization with granted `admin` role)*/func main() { flag.Parse() ctx := context.Background() // Initiate the authorization by providing a zitadel configuration and a verifier. // This example will use OAuth2 Introspection for this, therefore you will also need to provide the downloaded api key.json authZ, err := authorization.New(ctx, zitadel.New(*domain), oauth.DefaultAuthorization(*key)) if err != nil { slog.Error("zitadel sdk could not initialize", "error", err) os.Exit(1) } // Initialize the HTTP middleware by providing the authorization mw := middleware.New(authZ) router := http.NewServeMux() // This endpoint is accessible by anyone and will always return "200 OK" to indicate the API is running router.Handle("/api/healthz", http.HandlerFunc( func(w http.ResponseWriter, r *http.Request) { err = jsonResponse(w, "OK", http.StatusOK) if err != nil { slog.Error("error writing response", "error", err) } })) // This endpoint is only accessible with a valid authorization (in this case a valid access_token / PAT). // It will list all stored tasks. In case the user is granted the `admin` role it will add a separate task telling him // to add a new task. router.Handle("/api/tasks", mw.RequireAuthorization()(http.HandlerFunc( func(w http.ResponseWriter, r *http.Request) { // Using the [middleware.Context] function we can gather information about the authorized user. // This example will just print the users ID using the provided method, and it will also // print the username by directly access the field of the typed [*oauth.IntrospectionContext]. authCtx := mw.Context(r.Context()) slog.Info("user accessed task list", "id", authCtx.UserID(), "username", authCtx.Username) // Although this endpoint is accessible by any authorized user, you might want to take additional steps // if the user is granted a specific role. In this case an `admin` will be informed to add a new task: list := tasks if authCtx.IsGrantedRole("admin") { list = append(list, "create a new task on /api/add-task") } // return the existing task list err = jsonResponse(w, &taskList{Tasks: list}, http.StatusOK) if err != nil { slog.Error("error writing response", "error", err) } }))) // This endpoint is only accessible with a valid authorization, which was granted the `admin` role (in any organization). // It will add the provided task to the list of existing ones. router.Handle("/api/add-task", mw.RequireAuthorization(authorization.WithRole(`admin`))(http.HandlerFunc( func(w http.ResponseWriter, r *http.Request) { // get the provided task and do not accept an empty value task := strings.TrimSpace(r.FormValue("task")) if task == "" { err = jsonResponse(w, "task must not be empty", http.StatusBadRequest) if err != nil { slog.Error("error writing invalid task response", "error", err) return } return } // since it was not empty, let's add it to the existing list tasks = append(tasks, task) // since we only want the authorized userID and don't need any specific data, we can simply use [authorization.UserID] slog.Info("admin added task", "id", authorization.UserID(r.Context()), "task", task) // inform the admin about the successful addition err = jsonResponse(w, fmt.Sprintf("task `%s` added", task), http.StatusOK) if err != nil { slog.Error("error writing task added response", "error", err) return } }))) // start the server on the specified port (default http://localhost:8089) lis := fmt.Sprintf(":%s", *port) slog.Info("server listening, press ctrl+c to stop", "addr", "http://localhost"+lis) err = http.ListenAndServe(lis, router) if !errors.Is(err, http.ErrServerClosed) { slog.Error("server terminated", "error", err) os.Exit(1) }}// jsonResponse is a simple helper function to return a proper JSON responsefunc jsonResponse(w http.ResponseWriter, resp any, status int) error { w.Header().Set("content-type", "application/json") w.WriteHeader(status) data, err := json.Marshal(resp) if err != nil { return err } _, err = w.Write(data) return err}type taskList struct { Tasks []string `json:"tasks,omitempty"`}You will need to provide some values for the program to run:
domain: Your ZITADEL Custom Domain, e.g. https://my-domain.zitadel.cloudkey: The path to the downloaded key.jsonport: The port on which the API will be accessible, default it 8089
Test API
After you have configured everything correctly, you can simply start the example by:
go run main.go --domain <custom domain> --key <path>This could look like:
go run main.go --domain my-domain.zitadel.cloud --key ./api.jsonAfter you get a successful log:
2023/12/04 10:27:42 INFO server listening, press ctrl+c to stop addr=http://localhost:8089Public endpoint
Now you can call the API by browser or curl. Try the healthz endpoint first:
curl -i http://localhost:8089/api/healthzit should return something like:
HTTP/1.1 200 OK
Content-Type: application/json
Date: Mon, 04 Dec 2023 09:29:38 GMT
Content-Length: 4

"OK"
Task list
and the task list endpoint:
curl -i http://localhost:8089/api/tasksit will return:
HTTP/1.1 401 Unauthorized
Content-Type: text/plain; charset=utf-8
X-Content-Type-Options: nosniff
Date: Mon, 04 Dec 2023 09:41:54 GMT
Content-Length: 44

unauthorized: authorization header is empty
We need to use the personal access token generated previously.
If you provide a valid Bearer Token:
curl -i -H "Authorization: Bearer ${token}" http://localhost:8089/api/tasksit will return an empty list:
HTTP/1.1 200 OK
Content-Type: application/json
Date: Mon, 04 Dec 2023 09:49:06 GMT
Content-Length: 2

{}
Try to add a new task
Let's see what happens if you call the AddTask endpoint:
curl -i -H "Authorization: Bearer ${token}" http://localhost:8089/api/add-taskit will complain about the missing admin role:
HTTP/1.1 403 Forbidden
Content-Type: text/plain; charset=utf-8
X-Content-Type-Options: nosniff
Date: Mon, 04 Dec 2023 09:52:00 GMT
Content-Length: 50

permission denied: missing required role: `admin`
Add administrator role
So let's create the role and grant it to the user. To do so, go to your project in ZITADEL Management Console
and create the role by selecting Roles in the navigation and then clicking on the New Role button.
Finally, create the role as shown below:

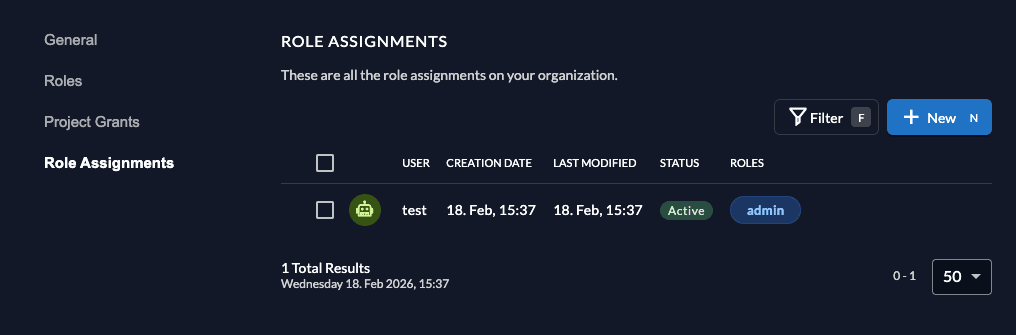
After you have created the role, let's grant it to the user who requested the tasks.
Click on Role Assignments in the navigation and create a new one by selecting the user and the admin role.
After successful creation, it should look like:
So you should now be able to add a new task:
curl -i -H "Authorization: Bearer ${token}" http://localhost:8089/api/add-task --data "task=My new task"which will report back the successful addition:
HTTP/1.1 200 OK
Content-Type: application/json
Date: Mon, 04 Dec 2023 10:06:29 GMT
Content-Length: 26

"task `My new task` added"
Let's now retrieve the task list again:
curl -i -H "Authorization: Bearer ${token}" http://localhost:8089/api/tasksAs you can see your new task ist listed. And since you're an admin now, you will always get an additional create a new task on /api/add-task:
HTTP/1.1 200 OK
Content-Type: application/json
Date: Mon, 04 Dec 2023 10:08:38 GMT
Content-Length: 62

{"tasks":["My new task","create a new task on /api/add-task"]}
Was this page helpful?