Migrate Users from Keycloak to ZITADEL

Information Technologist
- Introduction
- Why ZITADEL?
- Set up Keycloak
- Configure the web application
- Set up ZITADEL
- Import Keycloak user into ZITADEL
- Conclusion
Introduction
In the ever-evolving world of development, adaptability is key. If you're a developer who has been leveraging Keycloak for user management, you might be familiar with its default use of PBKDF2 for hashing passwords. The desire to smoothly transition users between systems, without compromising on their password integrity, is a common challenge. ZITADEL has now integrated support for PBKDF2, paving the way for a hassle-free migration of your users from Keycloak. This tutorial will guide you step-by-step, starting from creating a user in Keycloak to seamlessly migrating them over to ZITADEL. This tutorial will use Docker installation for the prerequisites. However, both Keycloak and ZITADEL offer different installation methods. As a result, this guide won't include any required production tuning or security hardening for either system. However, it's advised you follow recommended guidelines before putting those systems into production.
Why ZITADEL?
ZITADEL is a modern Keycloak alternative that supports cloud-native applications. Both are open source, but ZITADEL specializes in integration and auditing features that provide improved experience and flexibility for developers. Instead of building your their own authentication and authorization solution, developers can leverage ZITADEL to securely and flexibly support their users and provide access security. This means when you're building a new application, ZITADEL implements authentication and authorization protocols with multiple identity providers, helping developers save time in their deployment.
ZITADEL implements the OAuth 2 protocol, OpenID Connect (OIDC) protocol (check supported grant types) and SAML, which are the industry-standard protocols for authentication. SAML is another standard designed to authenticate users and share relevant identity data to different services. While it's less flexible than OIDC, it's widely supported by government and enterprise software to allow single sign-on (SSO). Because ZITADEL supports SAML, it can be used to provide identity and access management to most software that supports authentication via SAML including Amazon Web Services (AWS), Atlassian, and GitLab.
These protocols, plus extra login security features, can help developers create secure user management with minimal effort. Each ZITADEL instance can support multiple applications as well as multiple organizations, allowing you to delegate applications to other organizations as needed.
You can read a more detailed comparison between Keycloak and ZITADEL services in this blog post.
Set up Keycloak
Run Keycloak
To begin setting up Keycloak, you need to refer to the official Keycloak Docker image. You'll use it to run a development version of the Keycloak server on your local machine:
docker run -d -p 8081:8080 -e KEYCLOAK_ADMIN=admin -e KEYCLOAK_ADMIN_PASSWORD=admin quay.io/keycloak/keycloak:22.0.1 start-dev
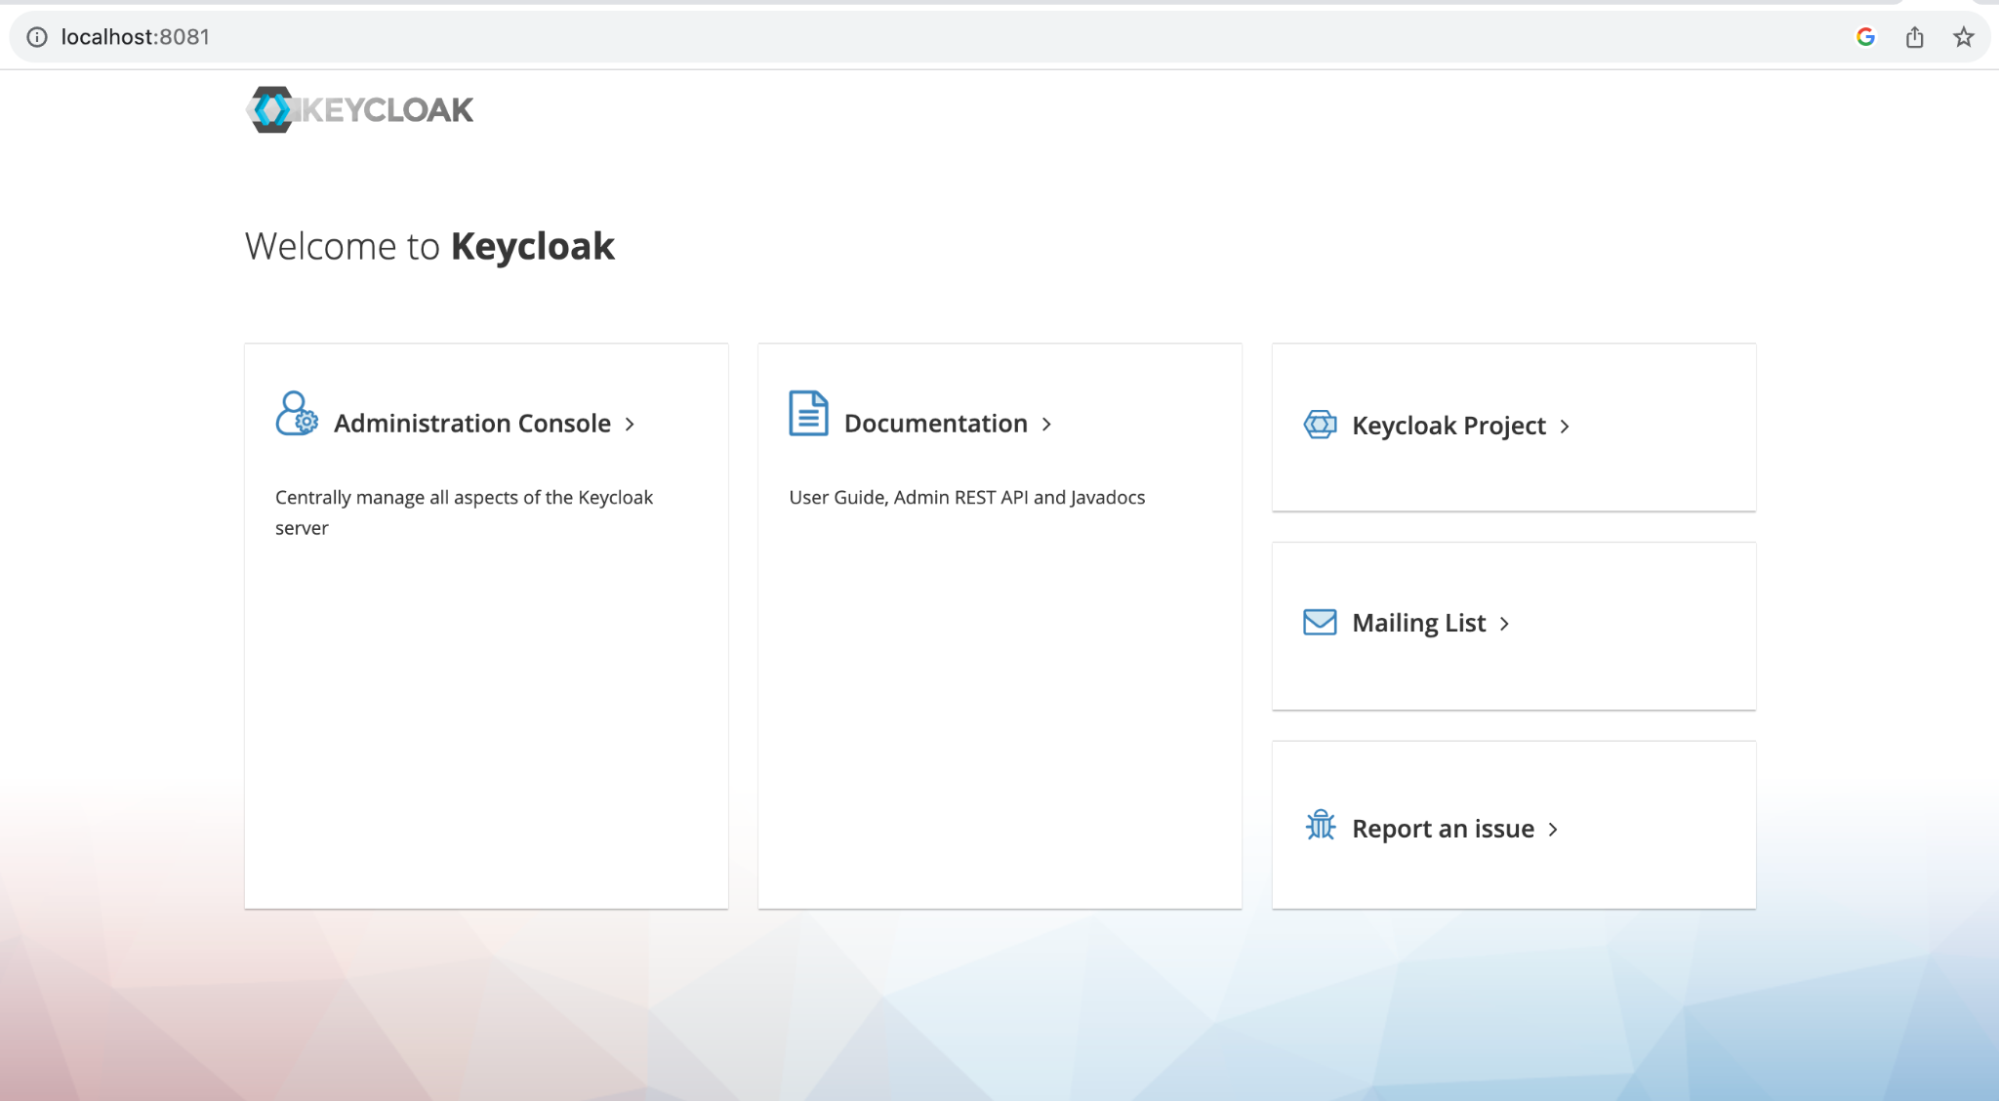
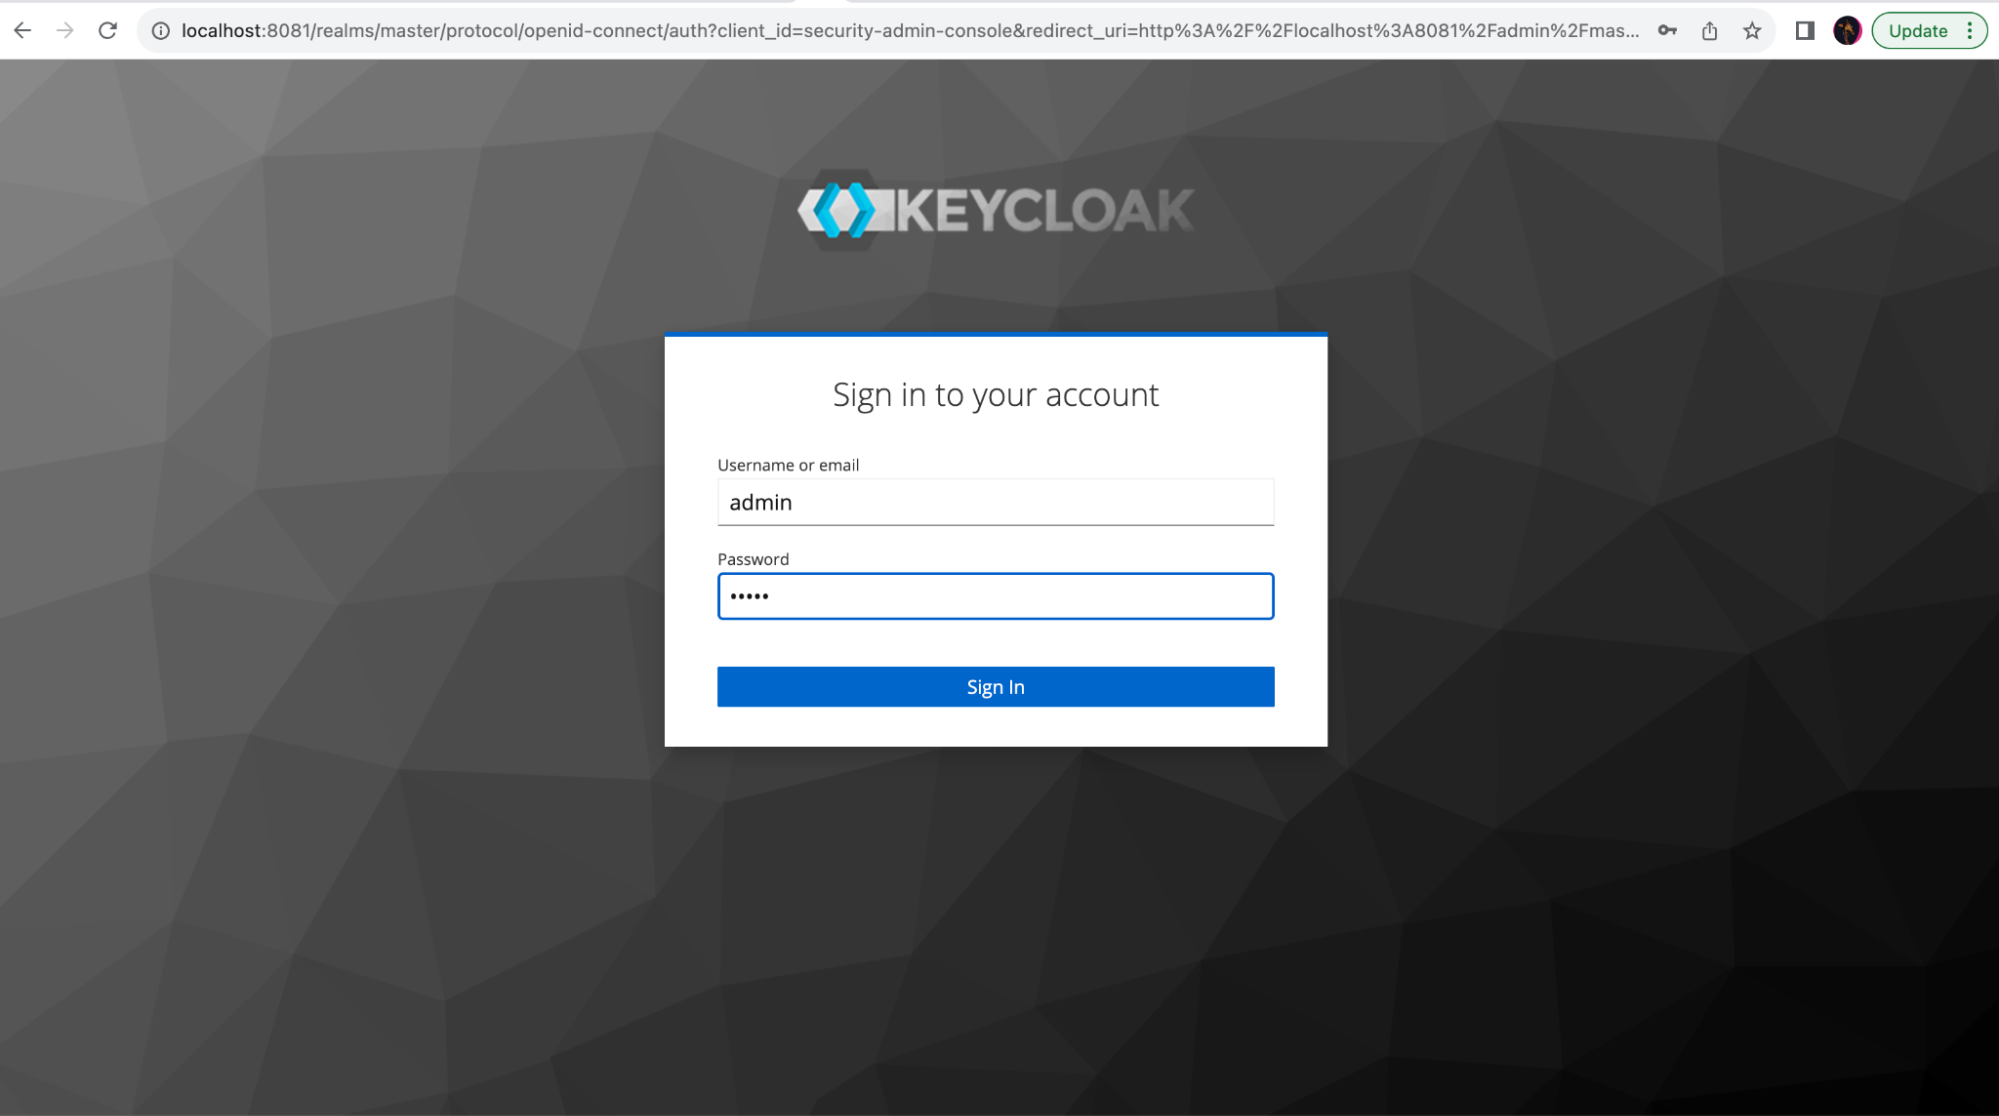
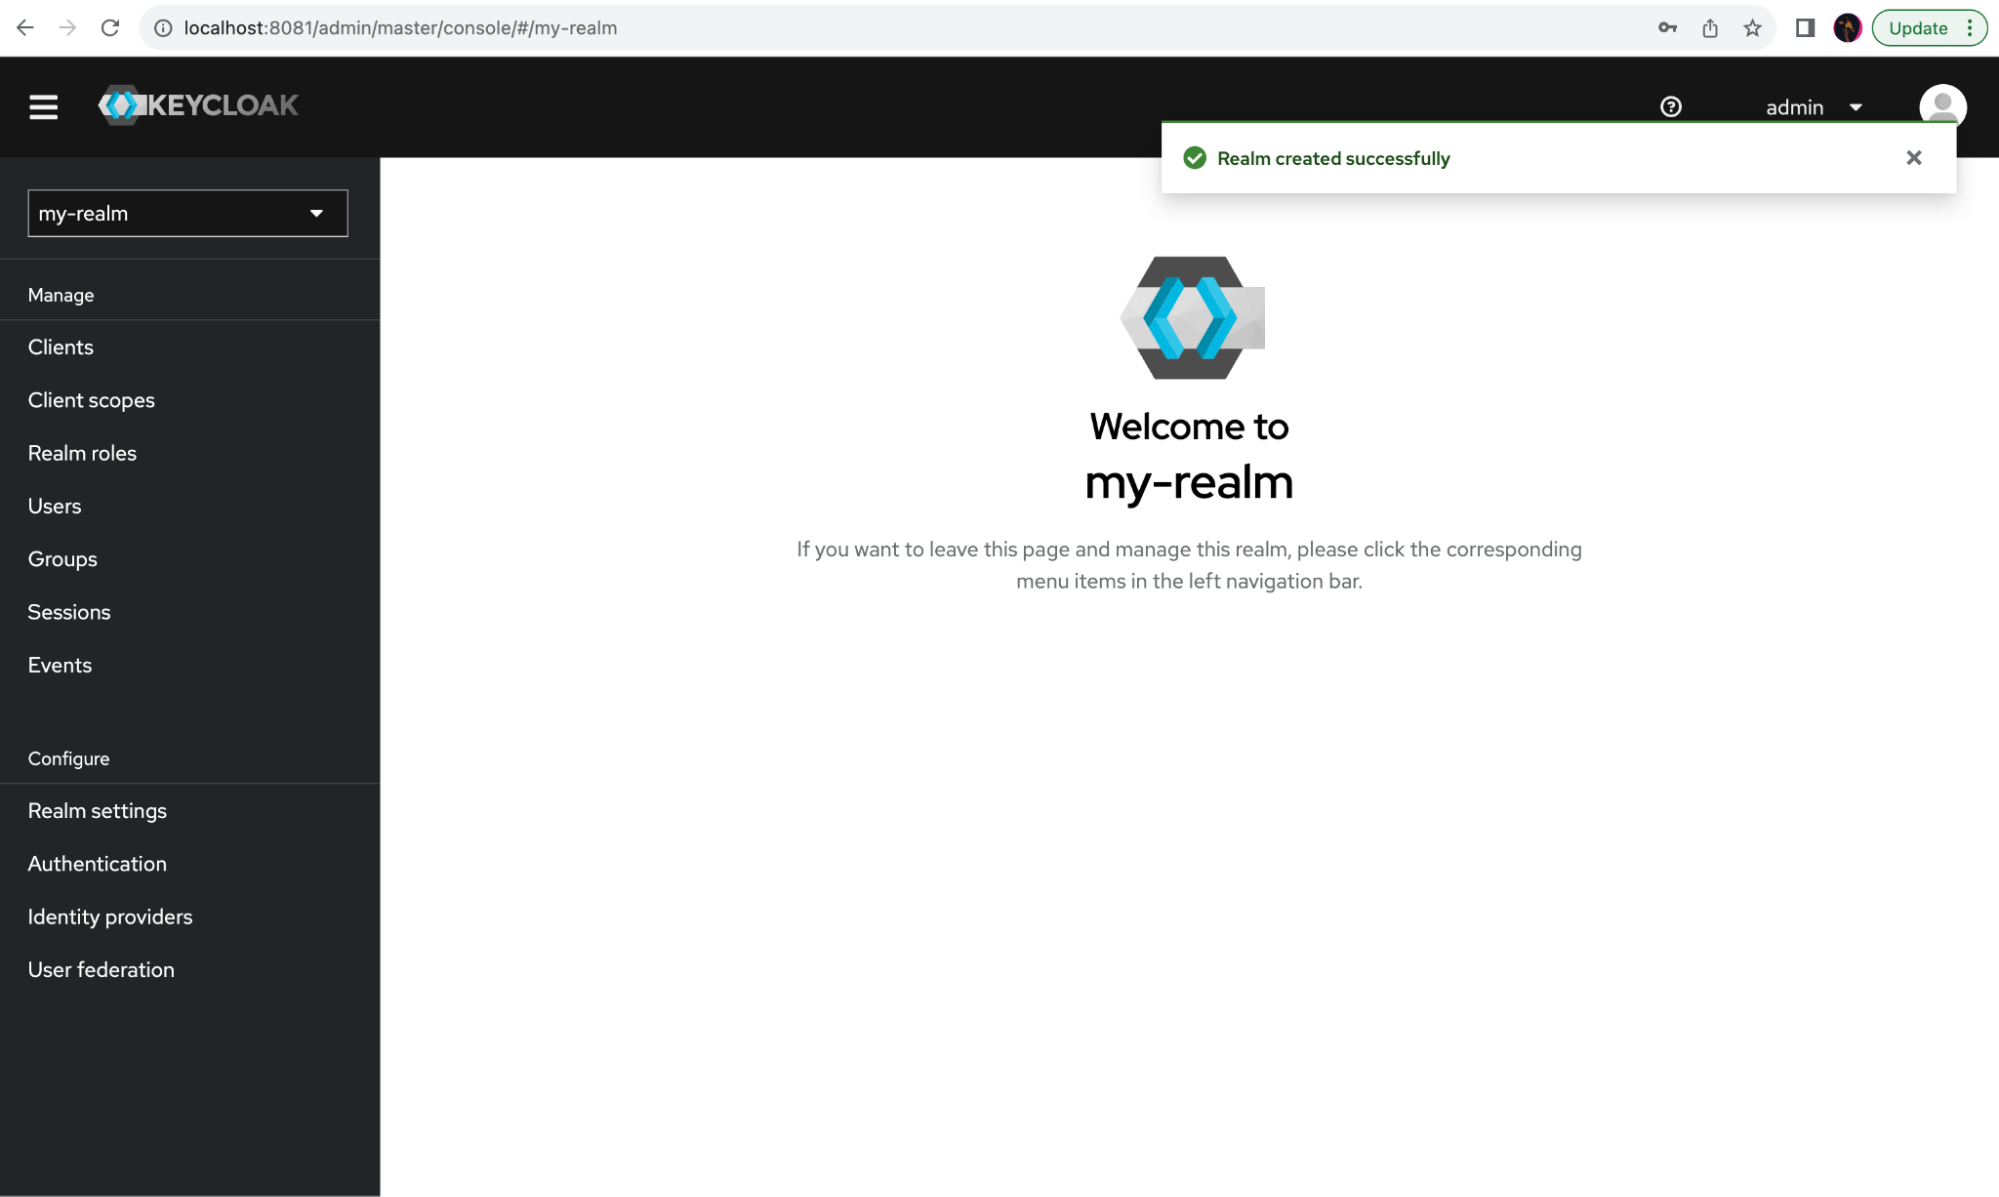
In a few seconds, Keycloak will be available at http://localhost:8081. Access the Administration Console via the username admin and password admin:
Create a realm in Keycloak
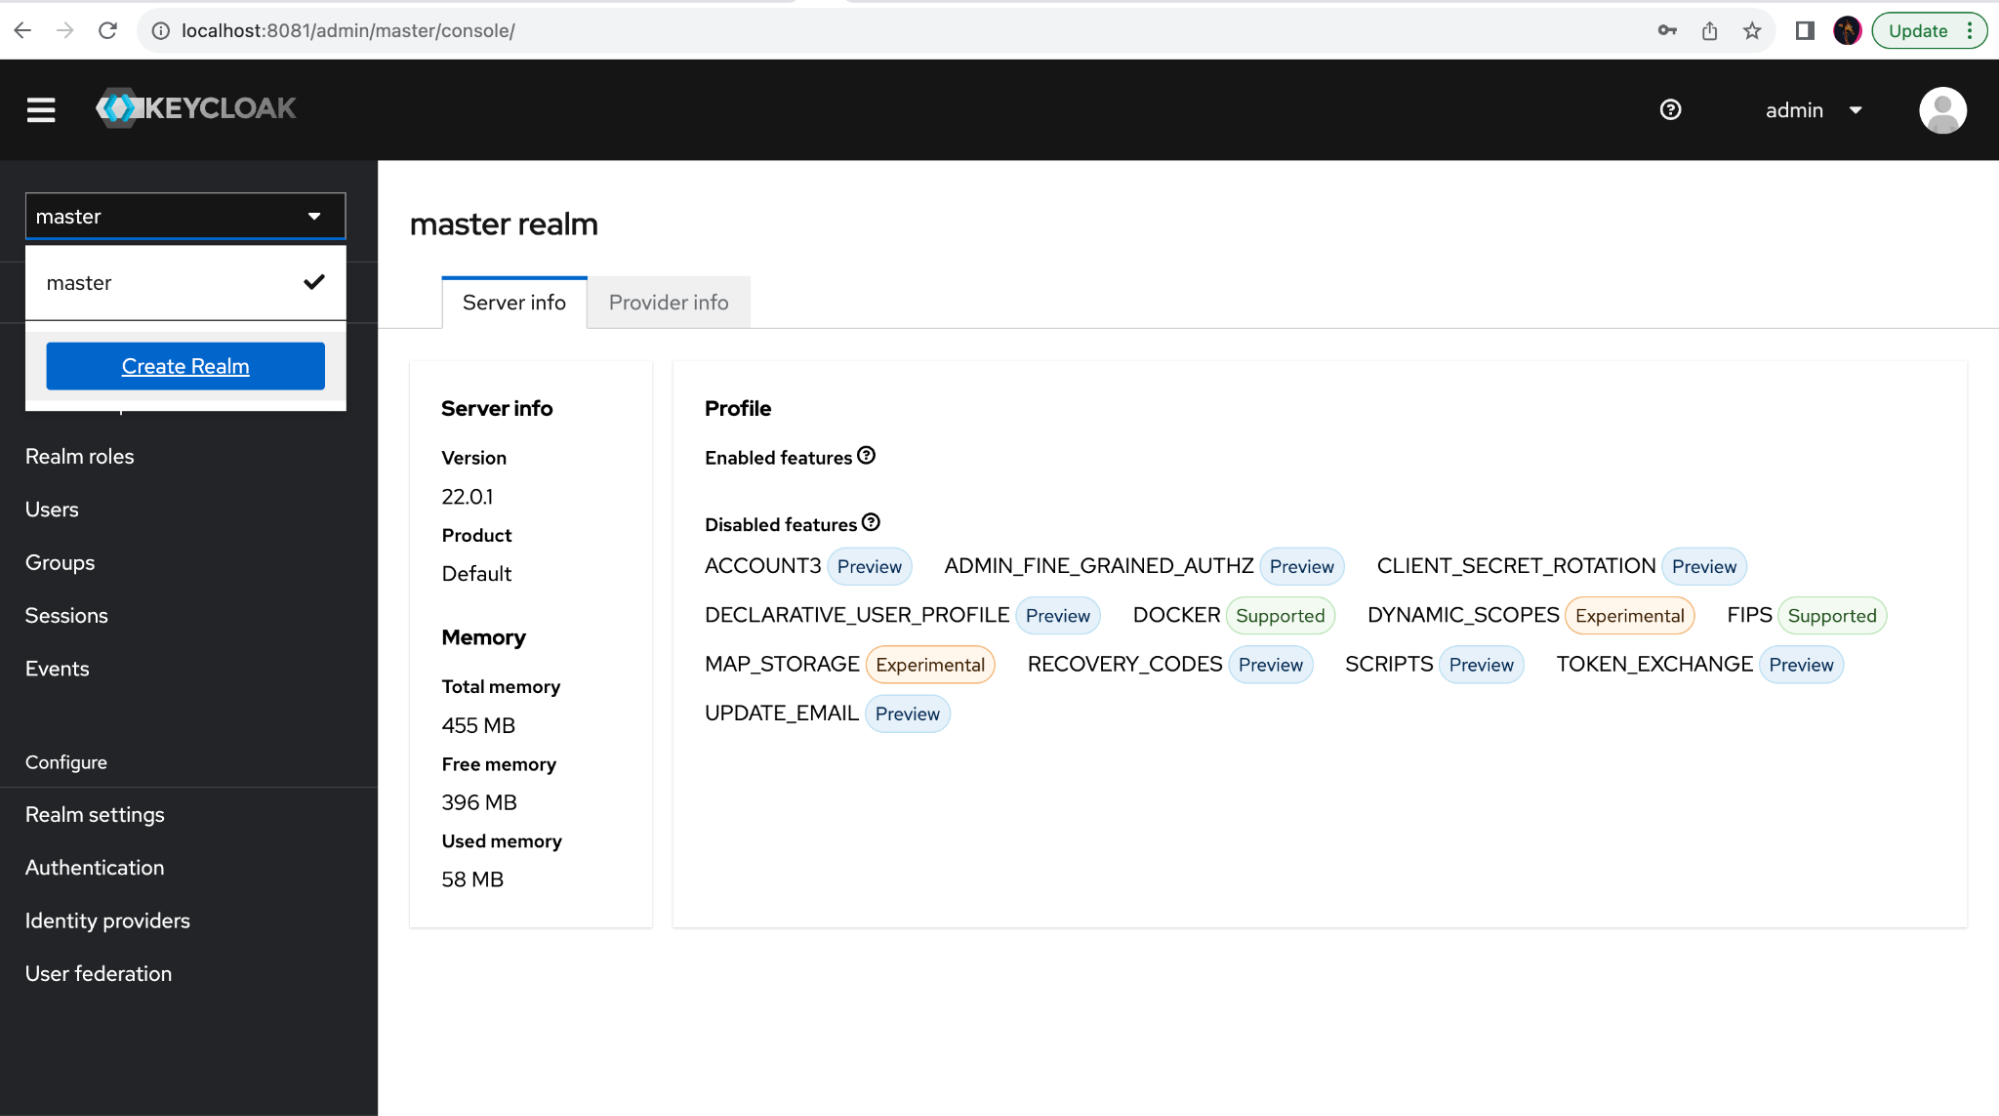
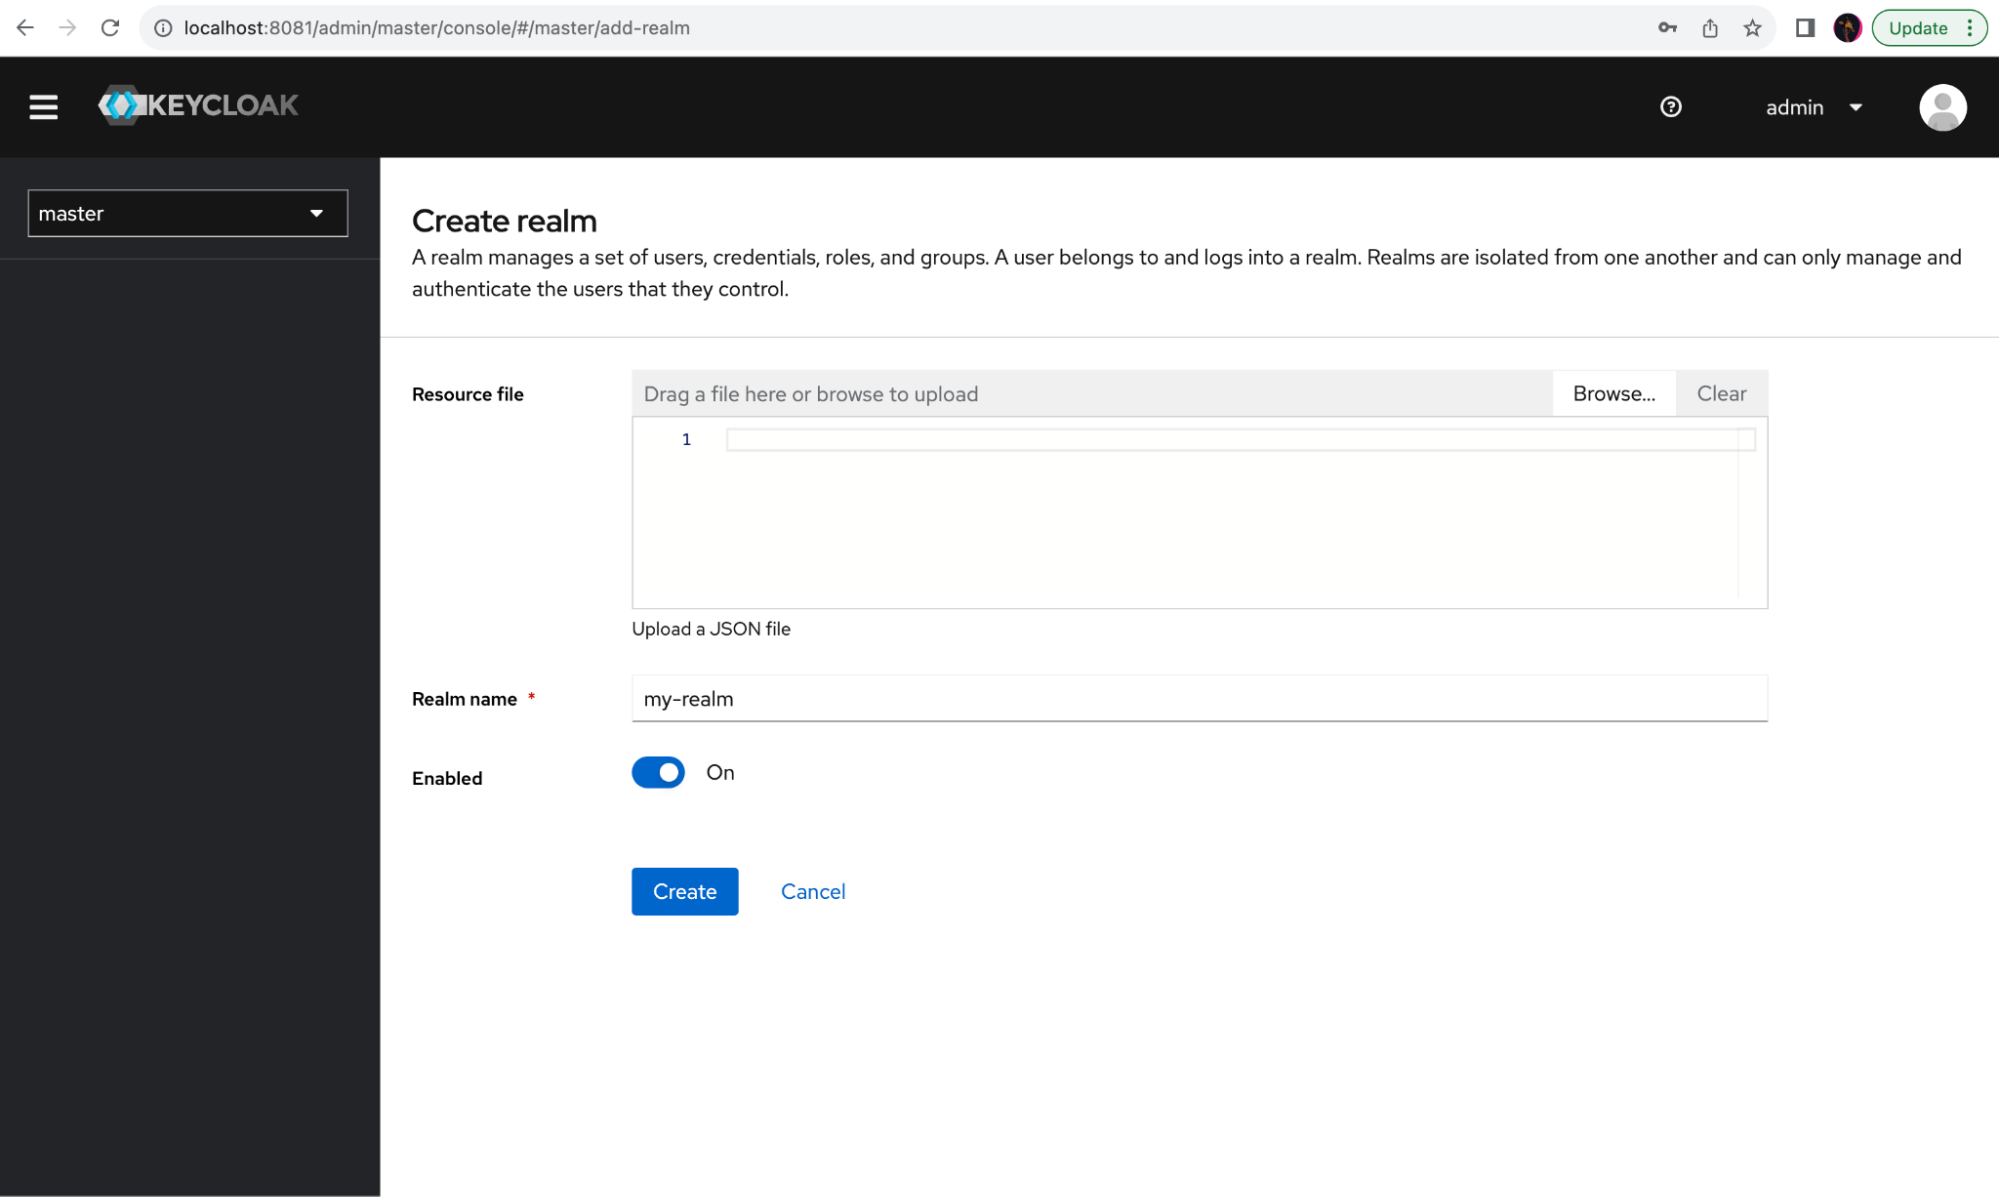
In order to configure Keycloak as the identity provider for your application, you need to create a new realm. This will allow users and authentication resources to be isolated from any other Keycloak usage. Click on the sidebar drop-down menu and select Create Realm. Then input the desired realm name and click Create:
Create an OAuth2/OIDC client in Keycloak
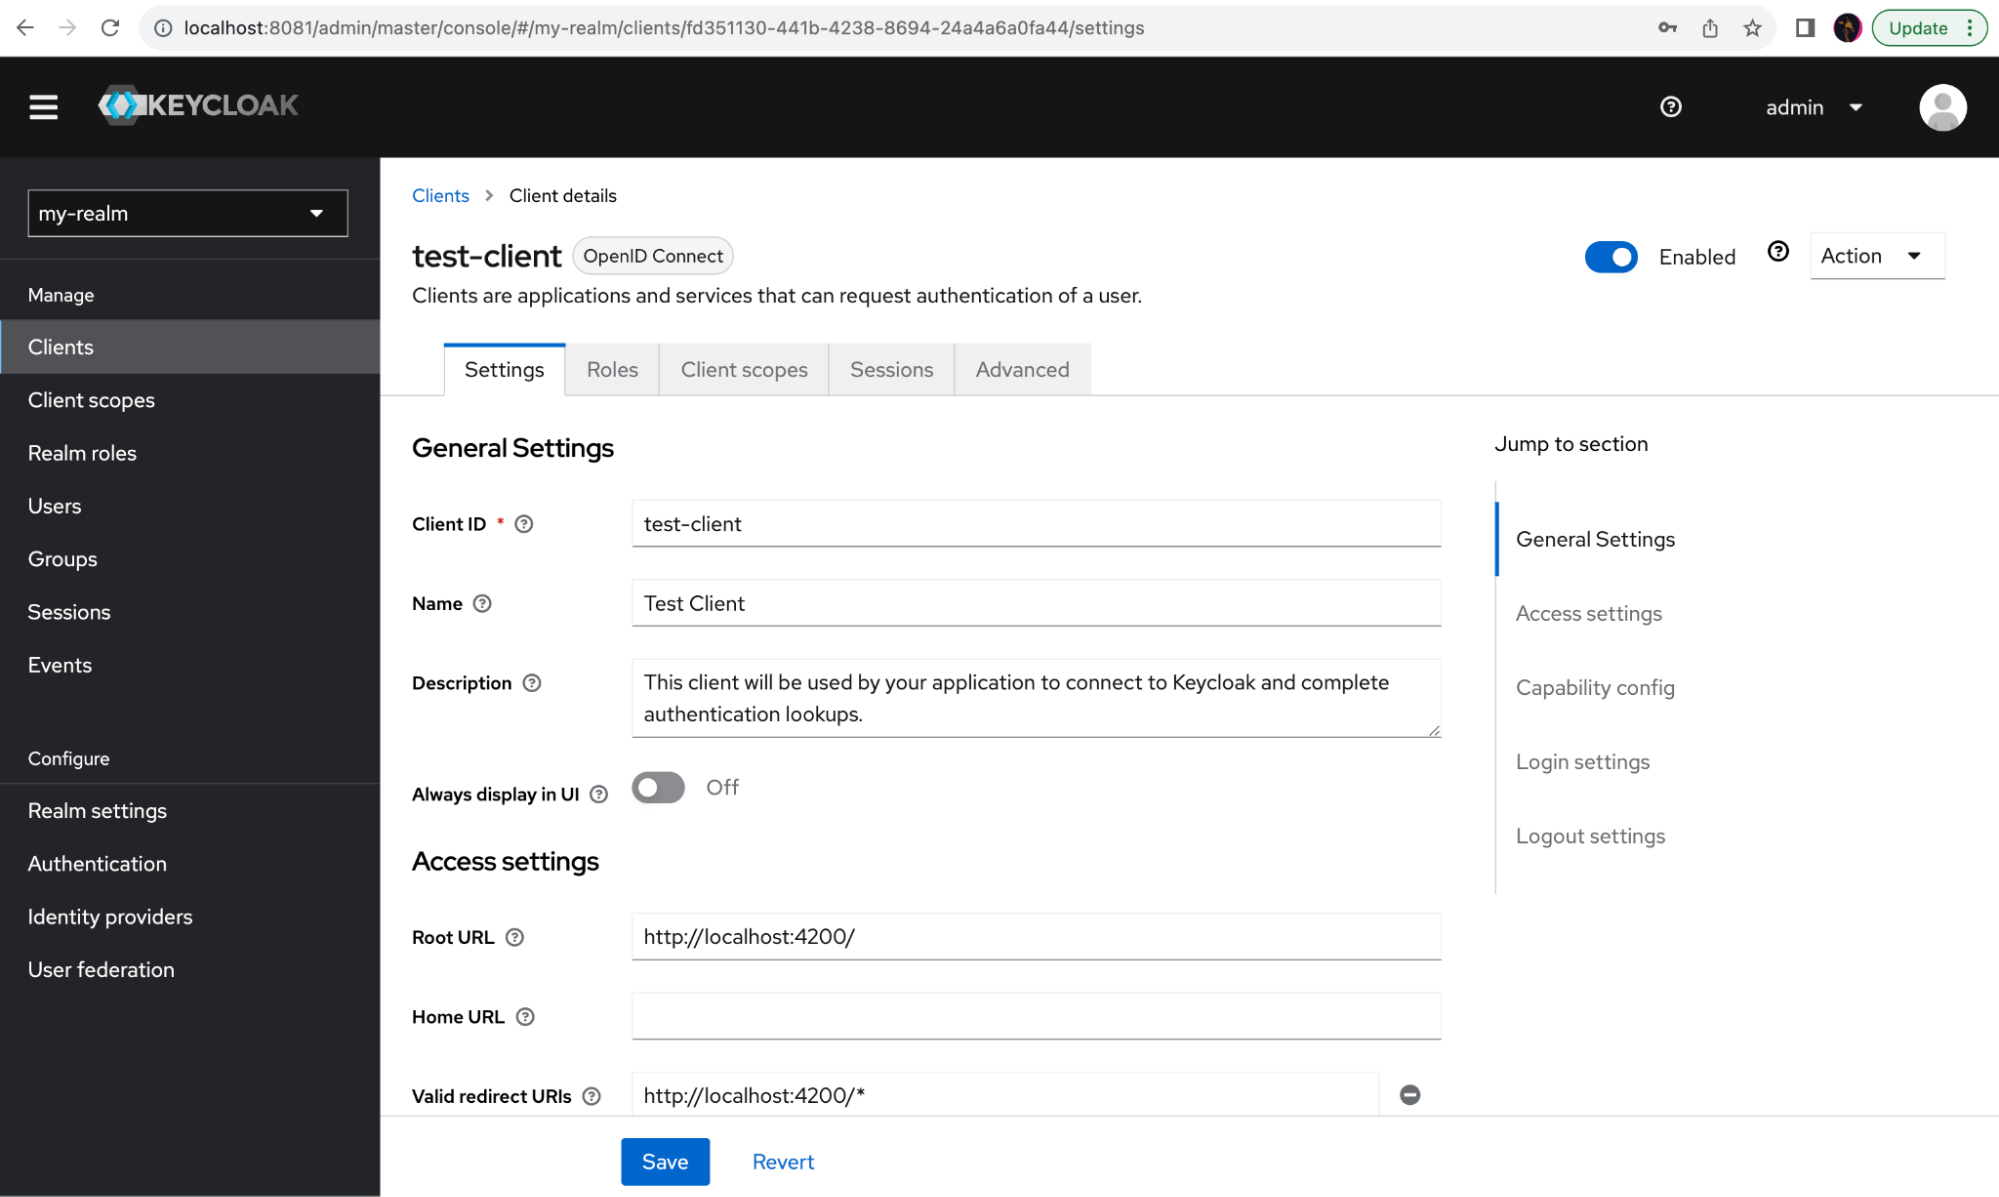
After you create the new realm, you need to set up a new client. A client is a core concept in the OAuth 2 protocol used in all flows. Here, it will be used by your application to connect to Keycloak and complete authentication lookups.
On the menu on the left, select Clients and click the button Create client.
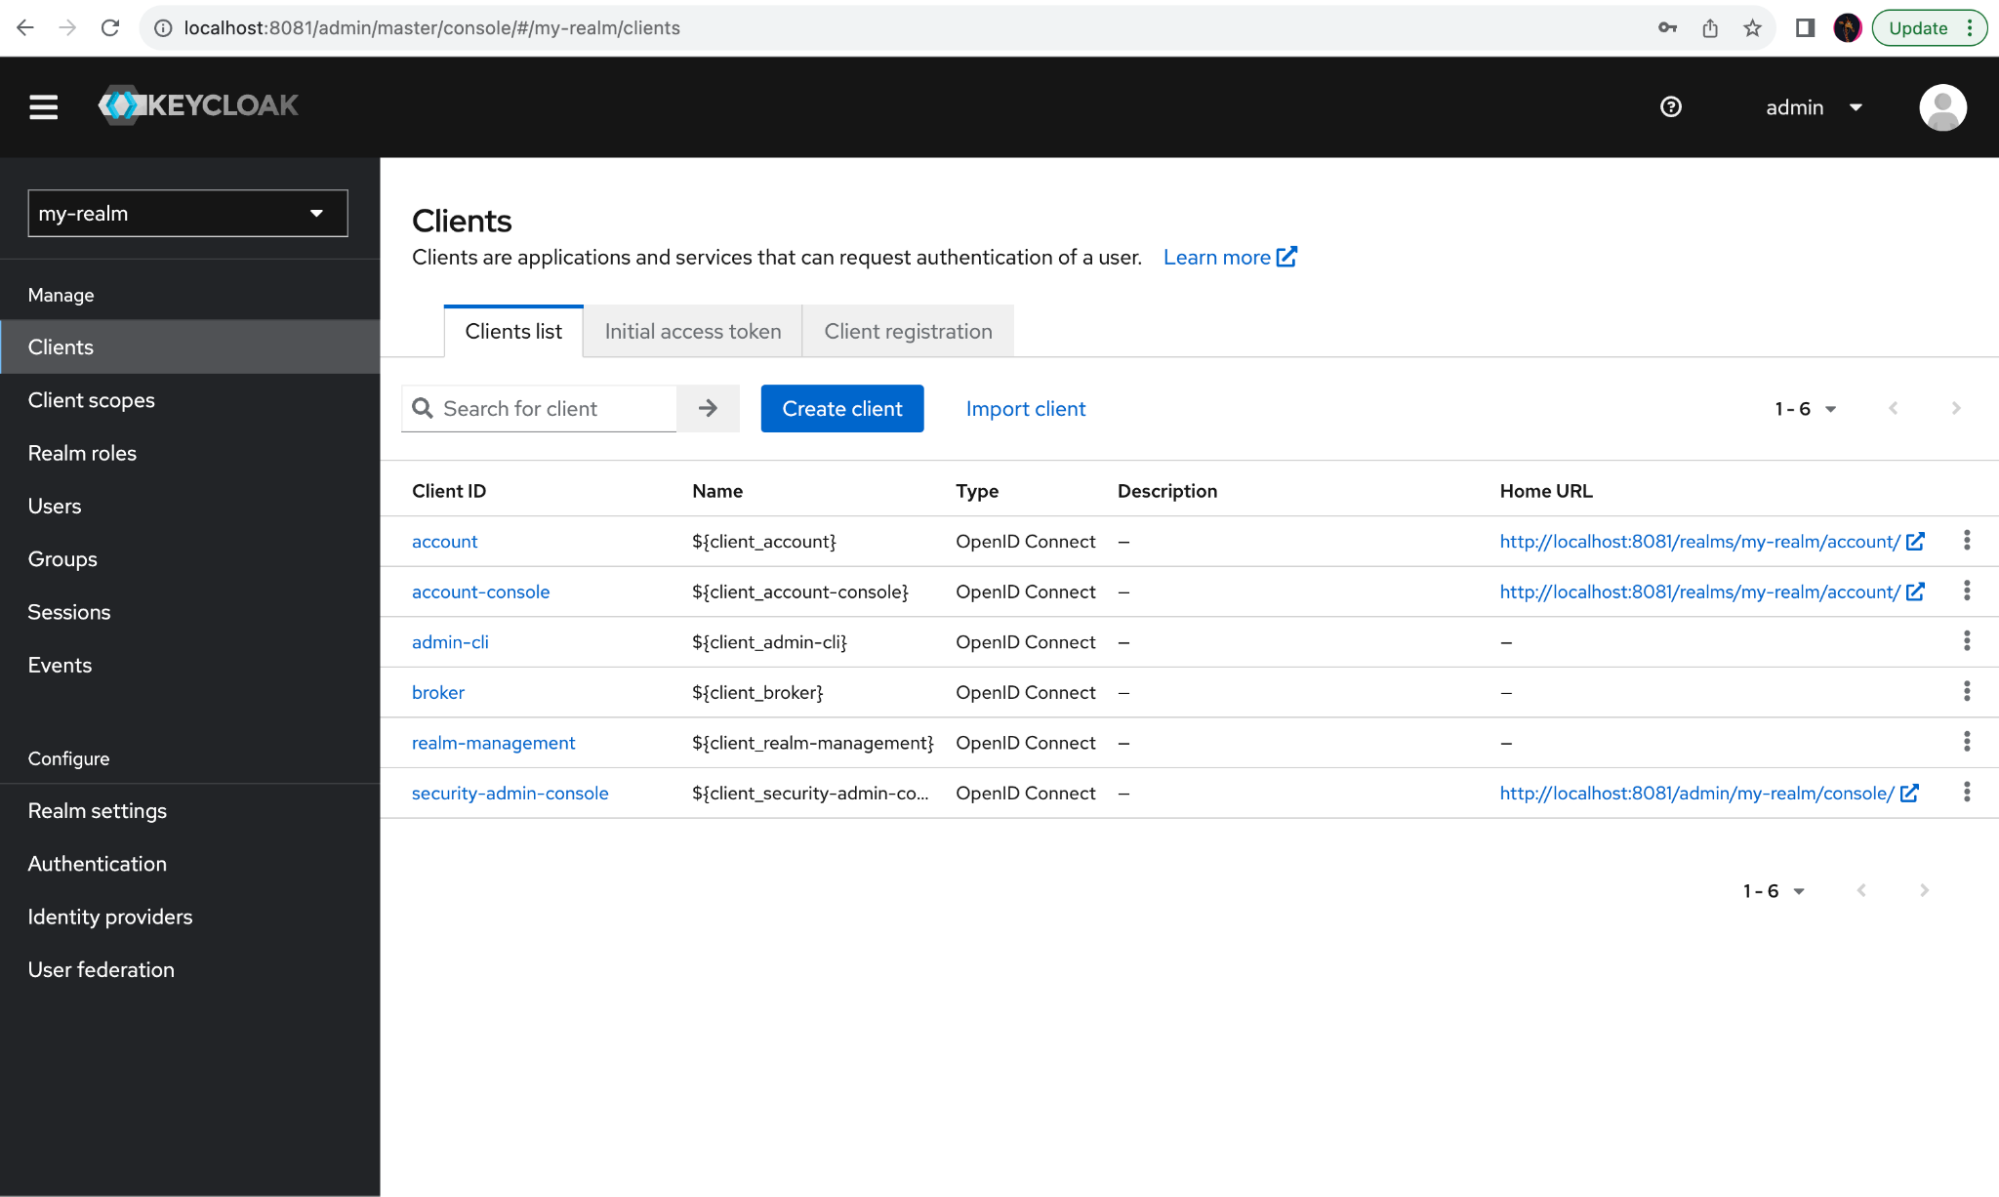
Leave the client type as OpenID Connect, fill in the desired Client ID and Name, then click on Next:
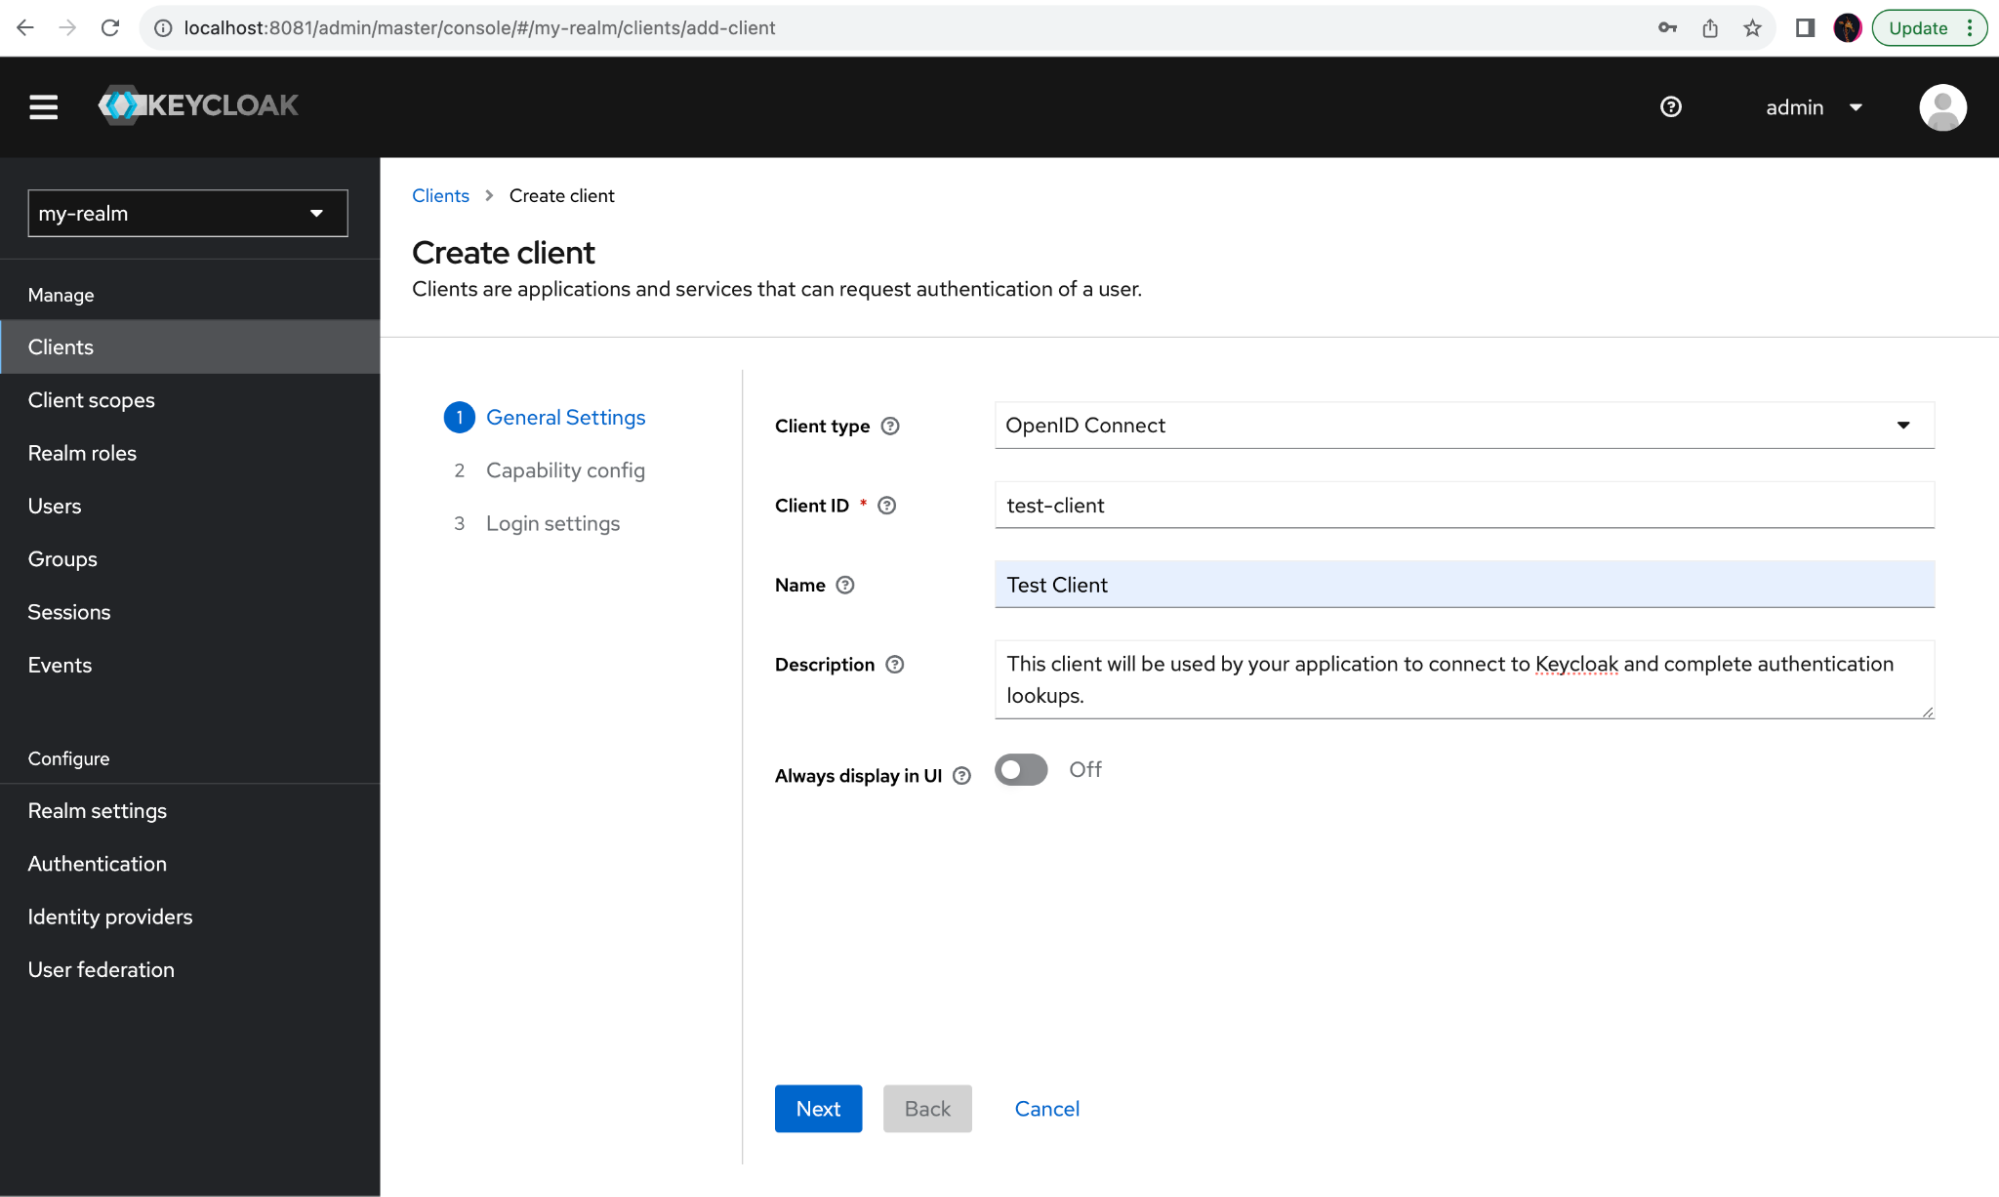
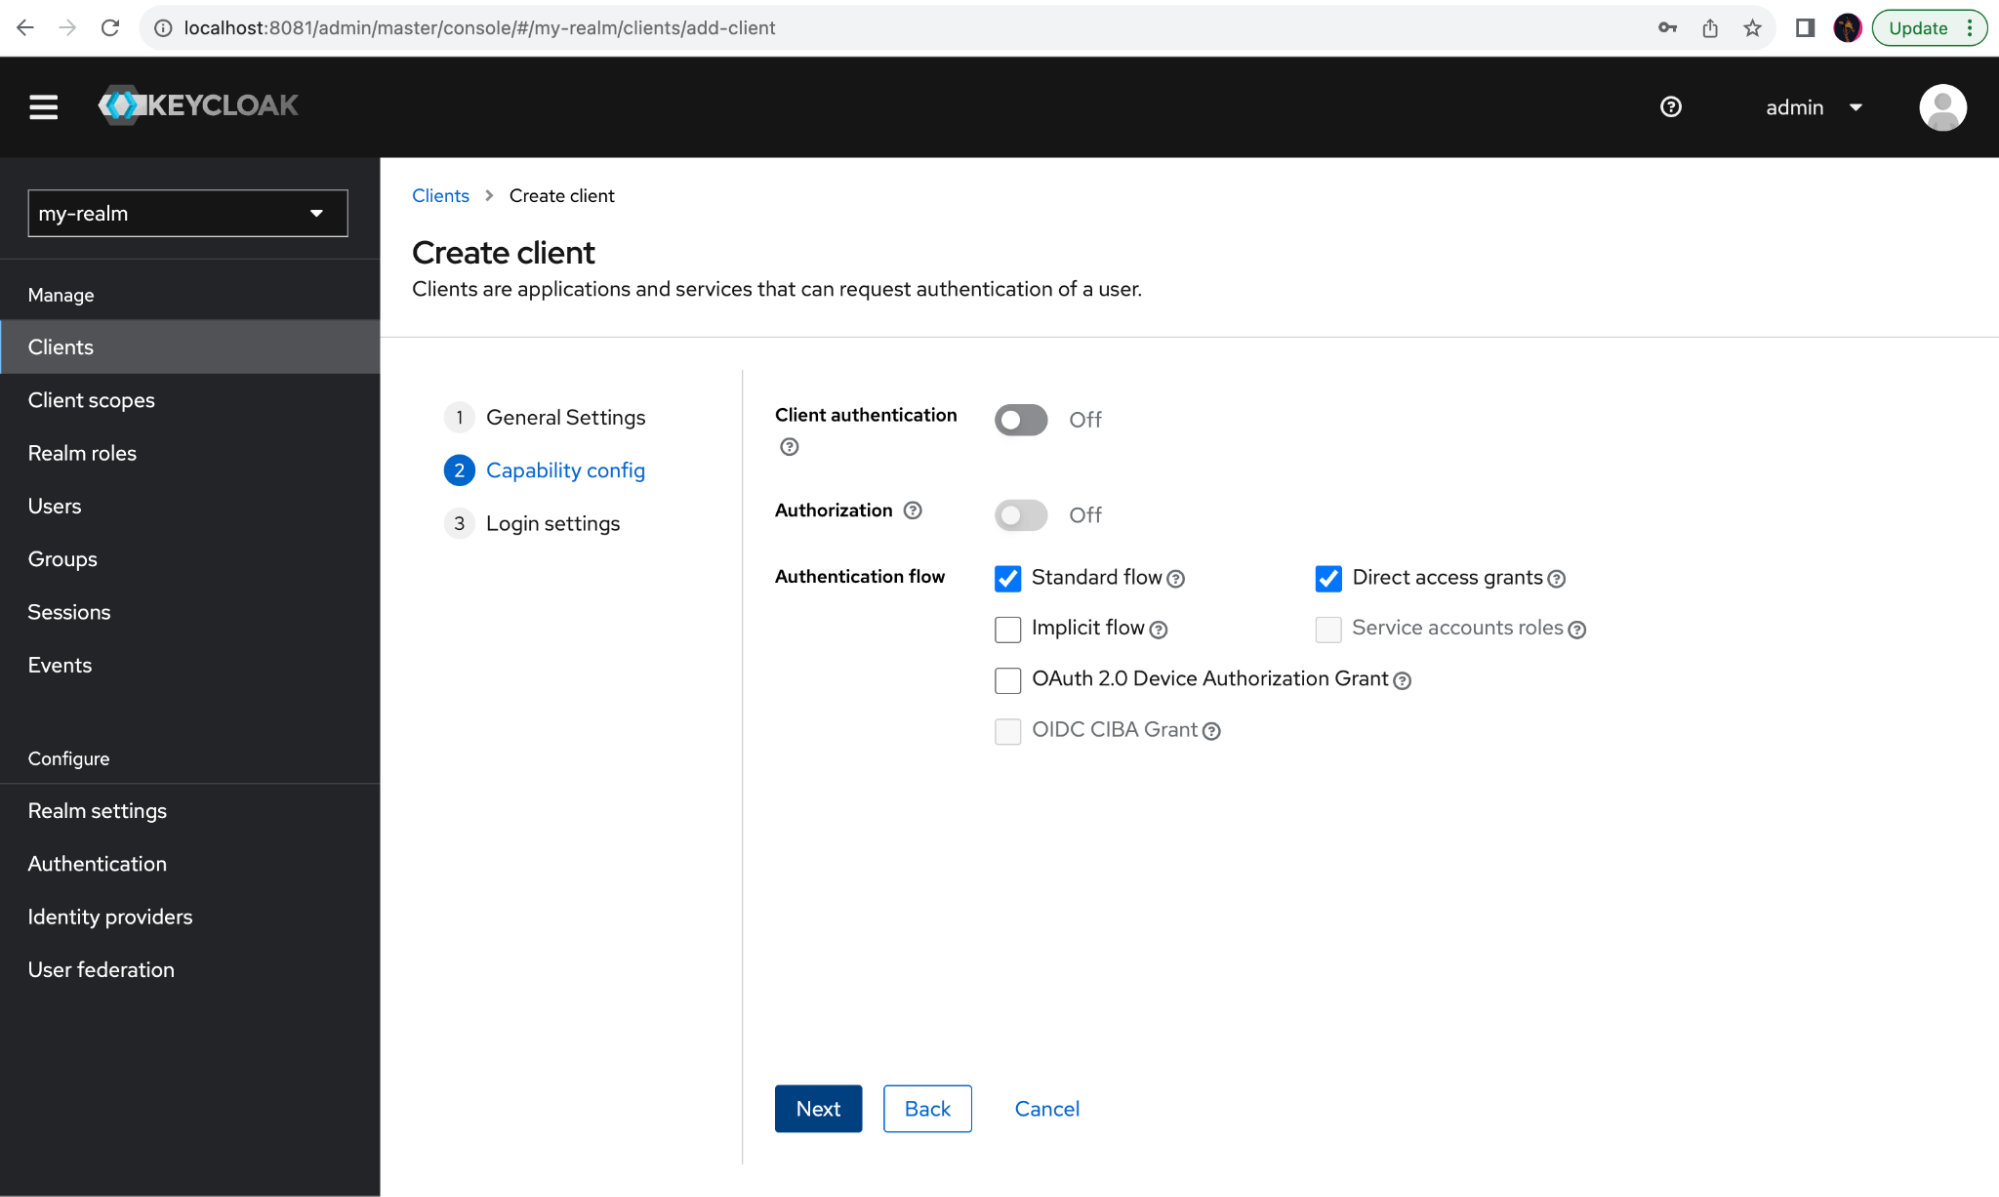
You don't need to make any changes to the Capability config. Go ahead and click Next.
The web application used for this demo will run on http://localhost:4200/. In order to allow login and logout from the application, this client needs to be configured to accept your application URL in Login settings. Edit Root URL, Valid redirect URI, and Valid post logout redirect URIs to point to your application URLs. Without this configuration, Keycloak will refuse login and logout from your application due to security concerns. Additionally, Web origins needs to be configured to support required cross-domain requests; otherwise, the request will be blocked on all browsers due to security concerns. To make this application work, fill in all the fields as shown below.
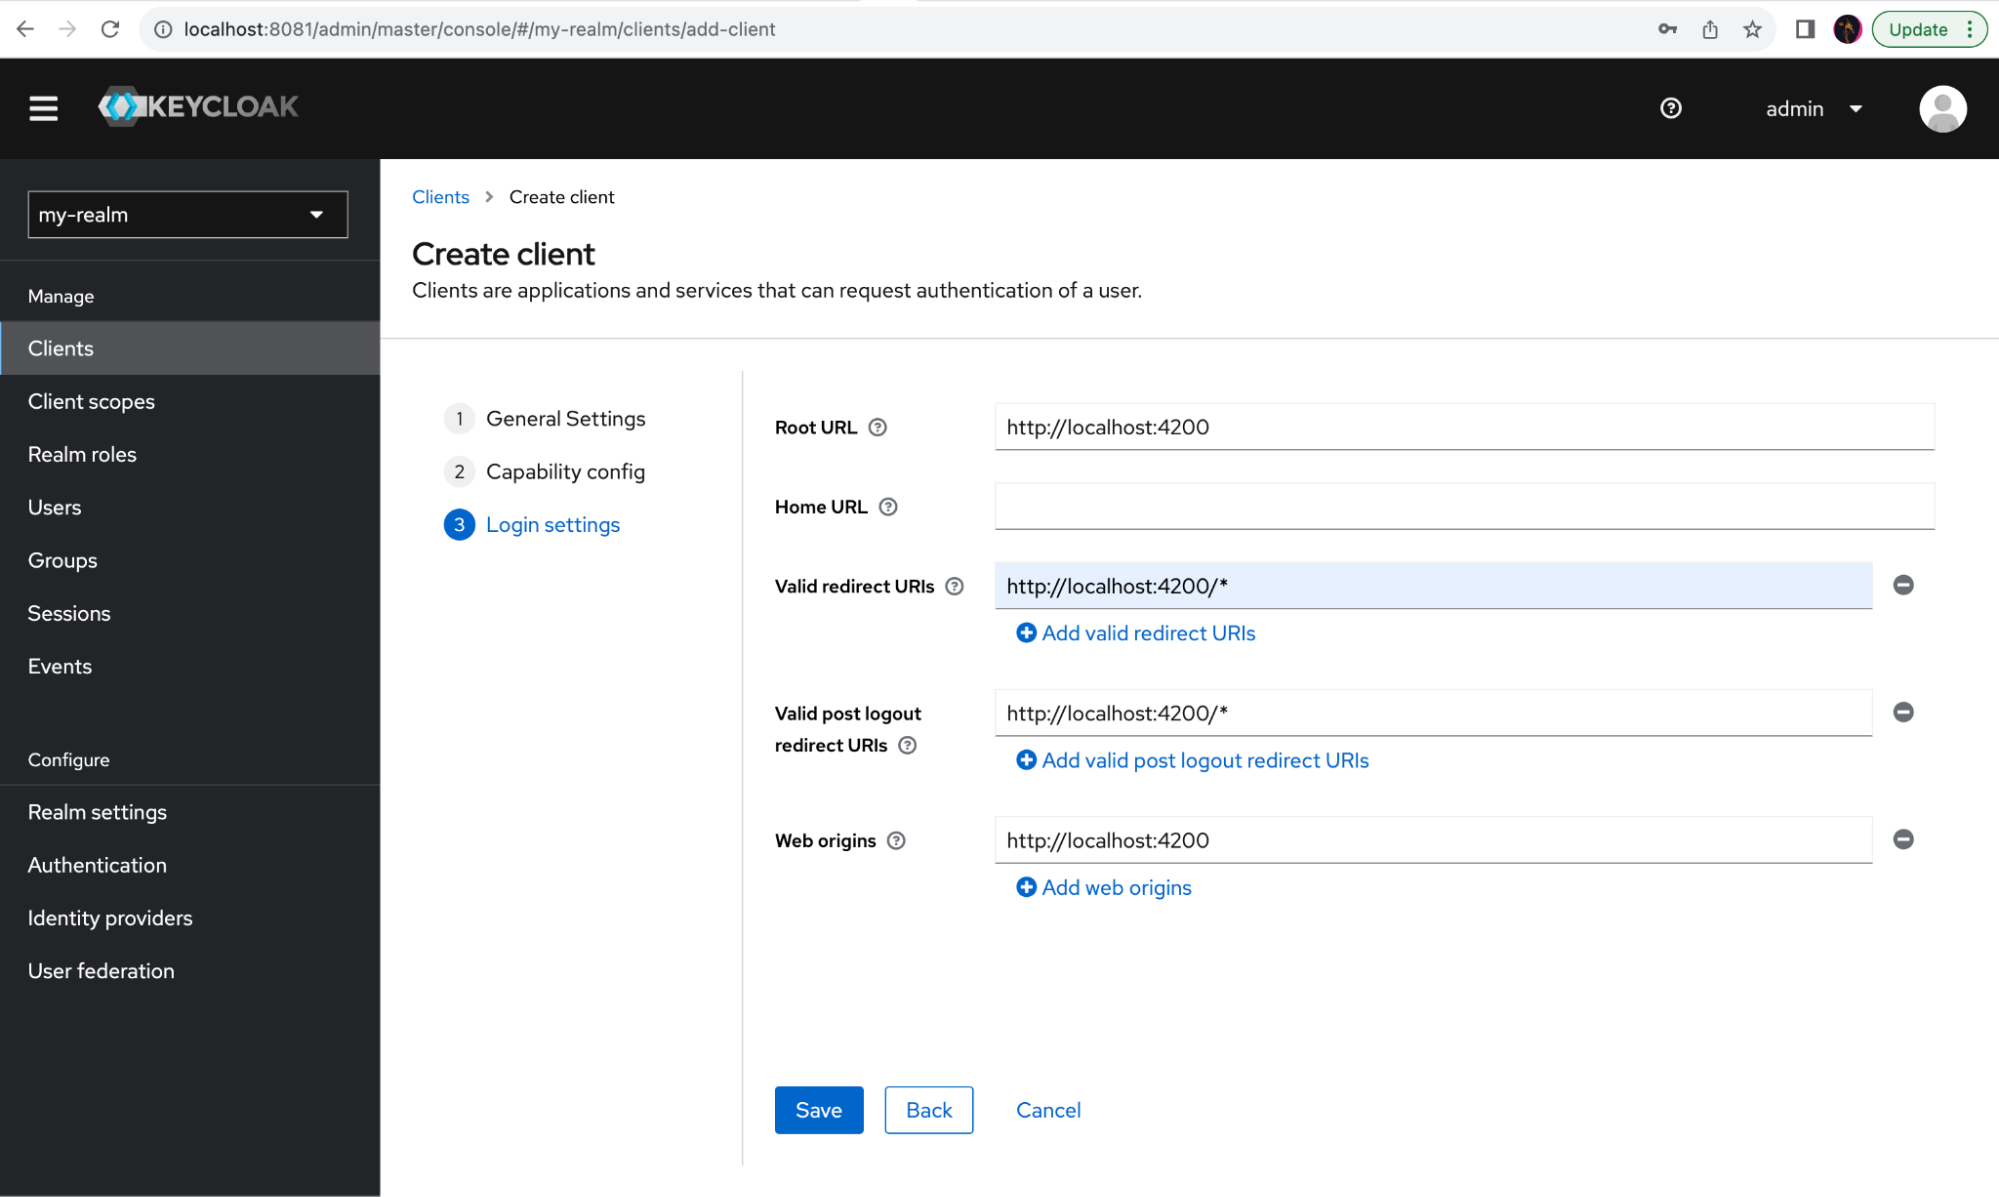
Finally, create the client by clicking Save.
Create a user in Keycloak
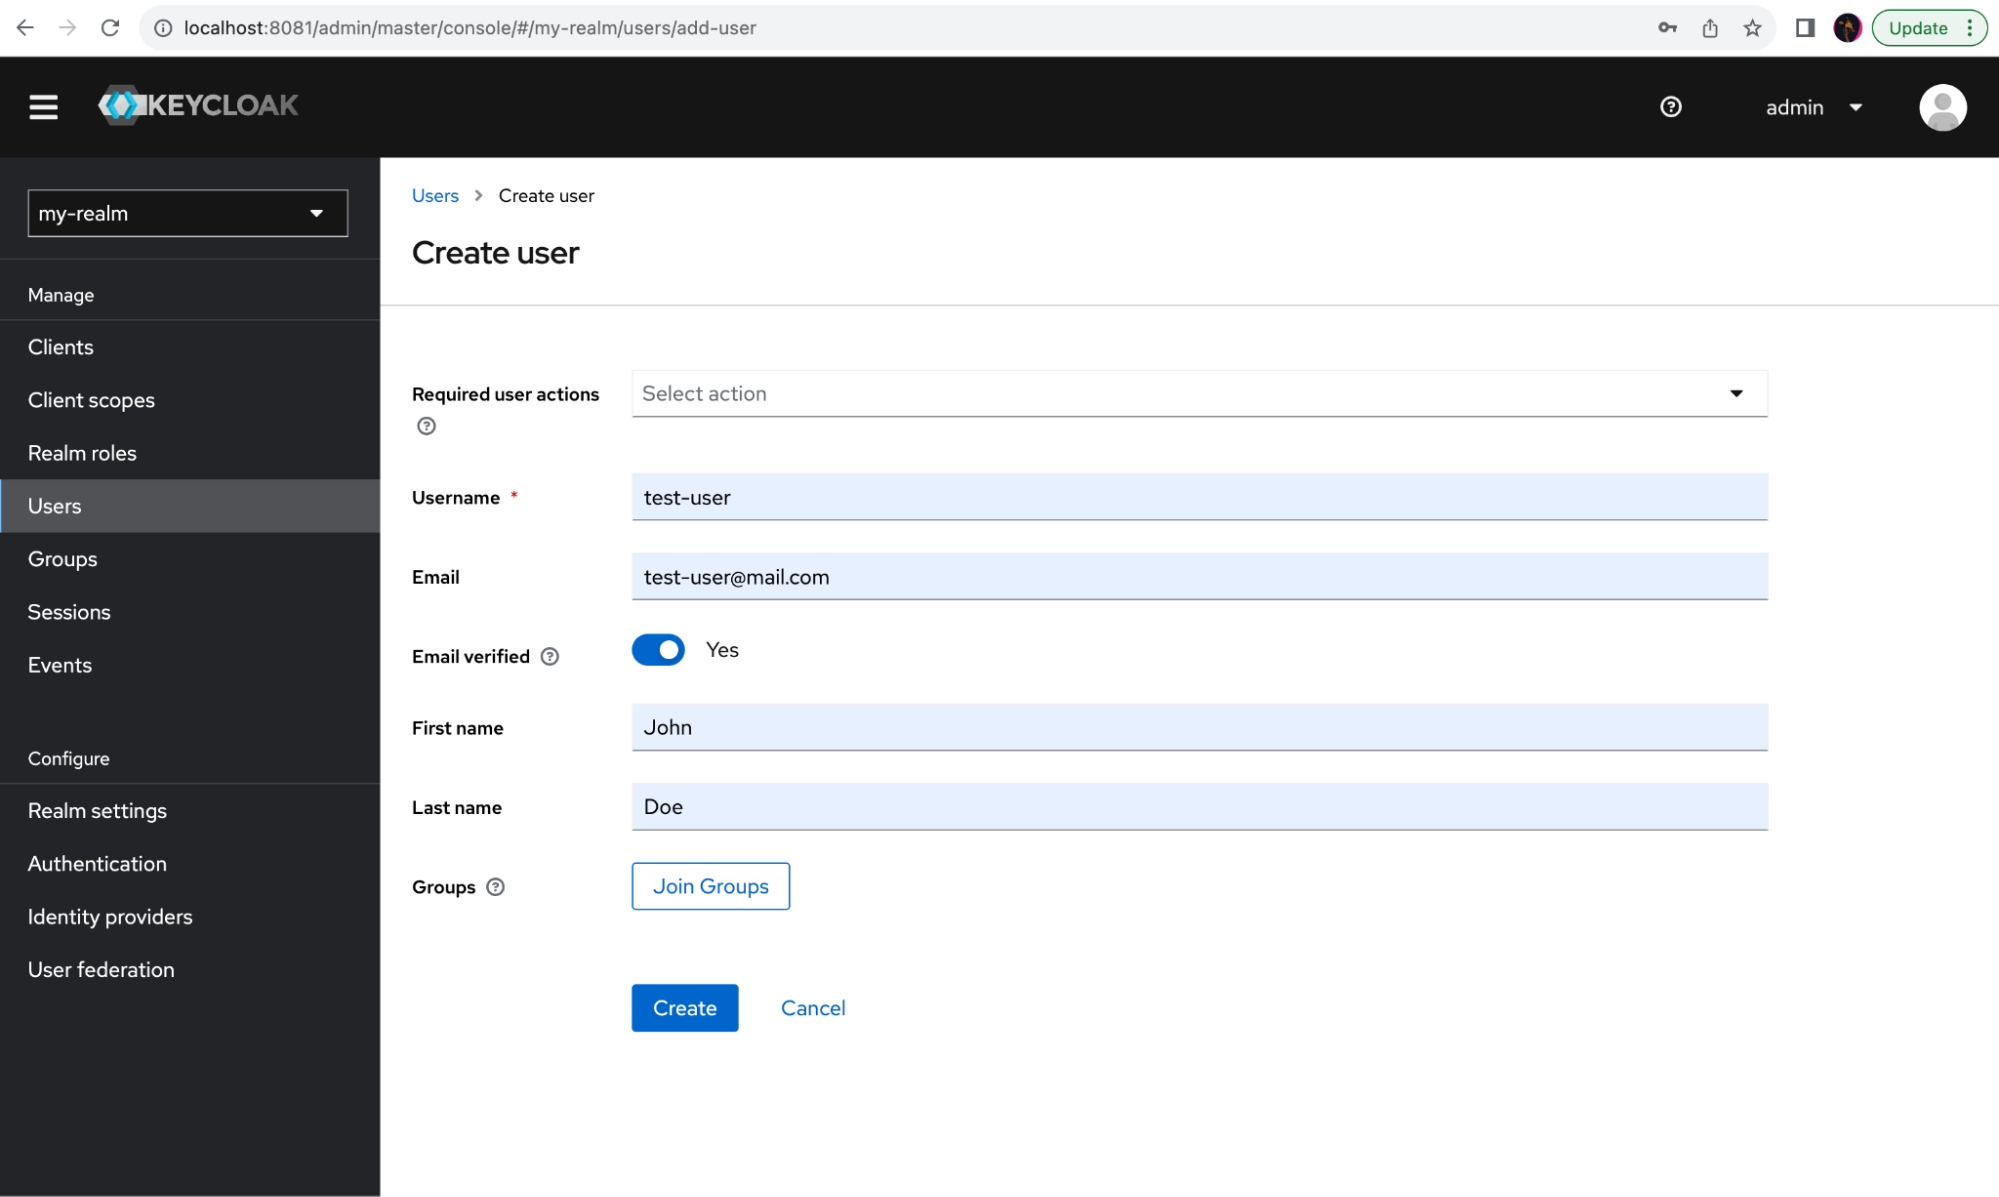
The last thing you need to do in Keycloak is to create at least one new user. This user will be able to log into your application.
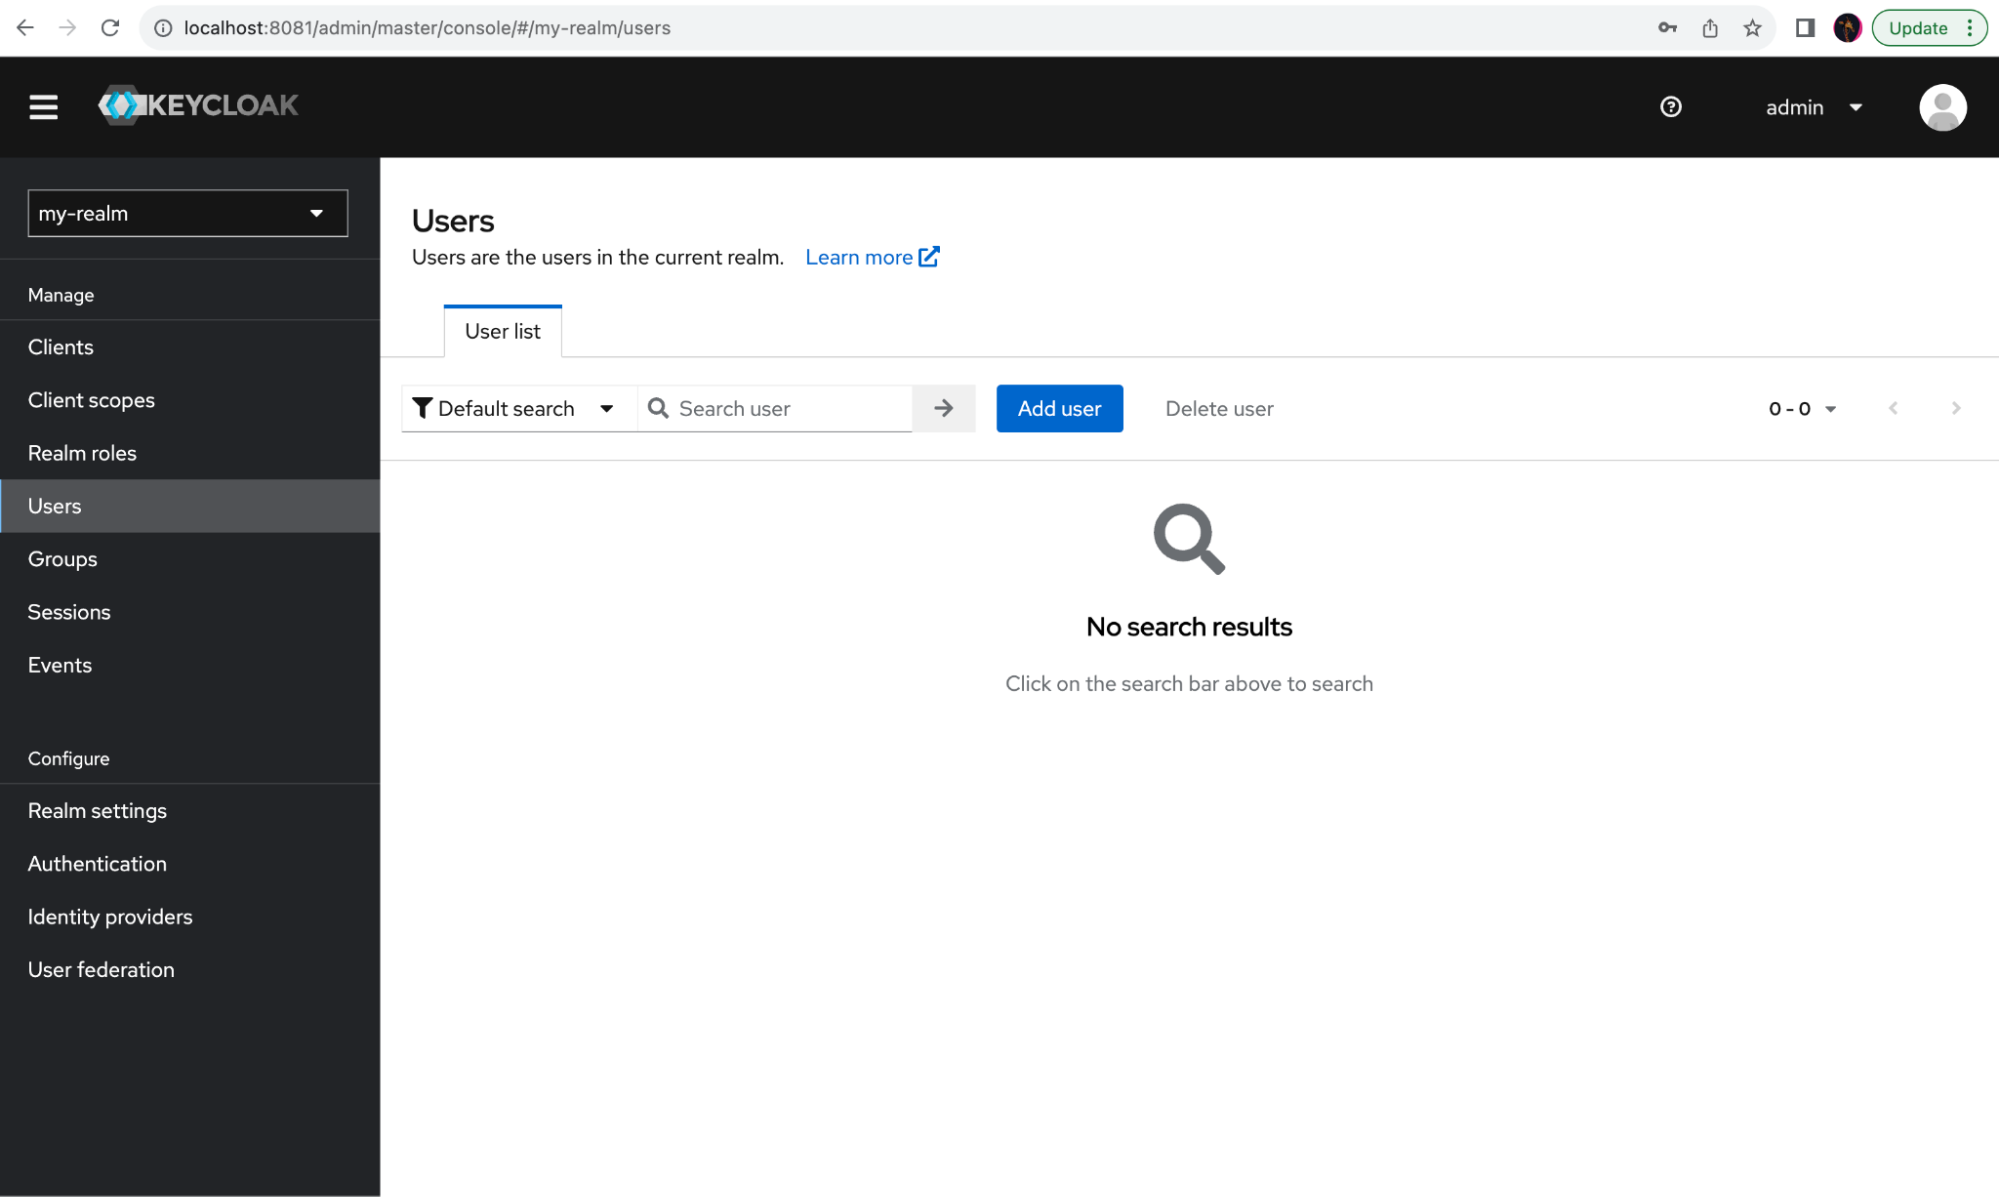
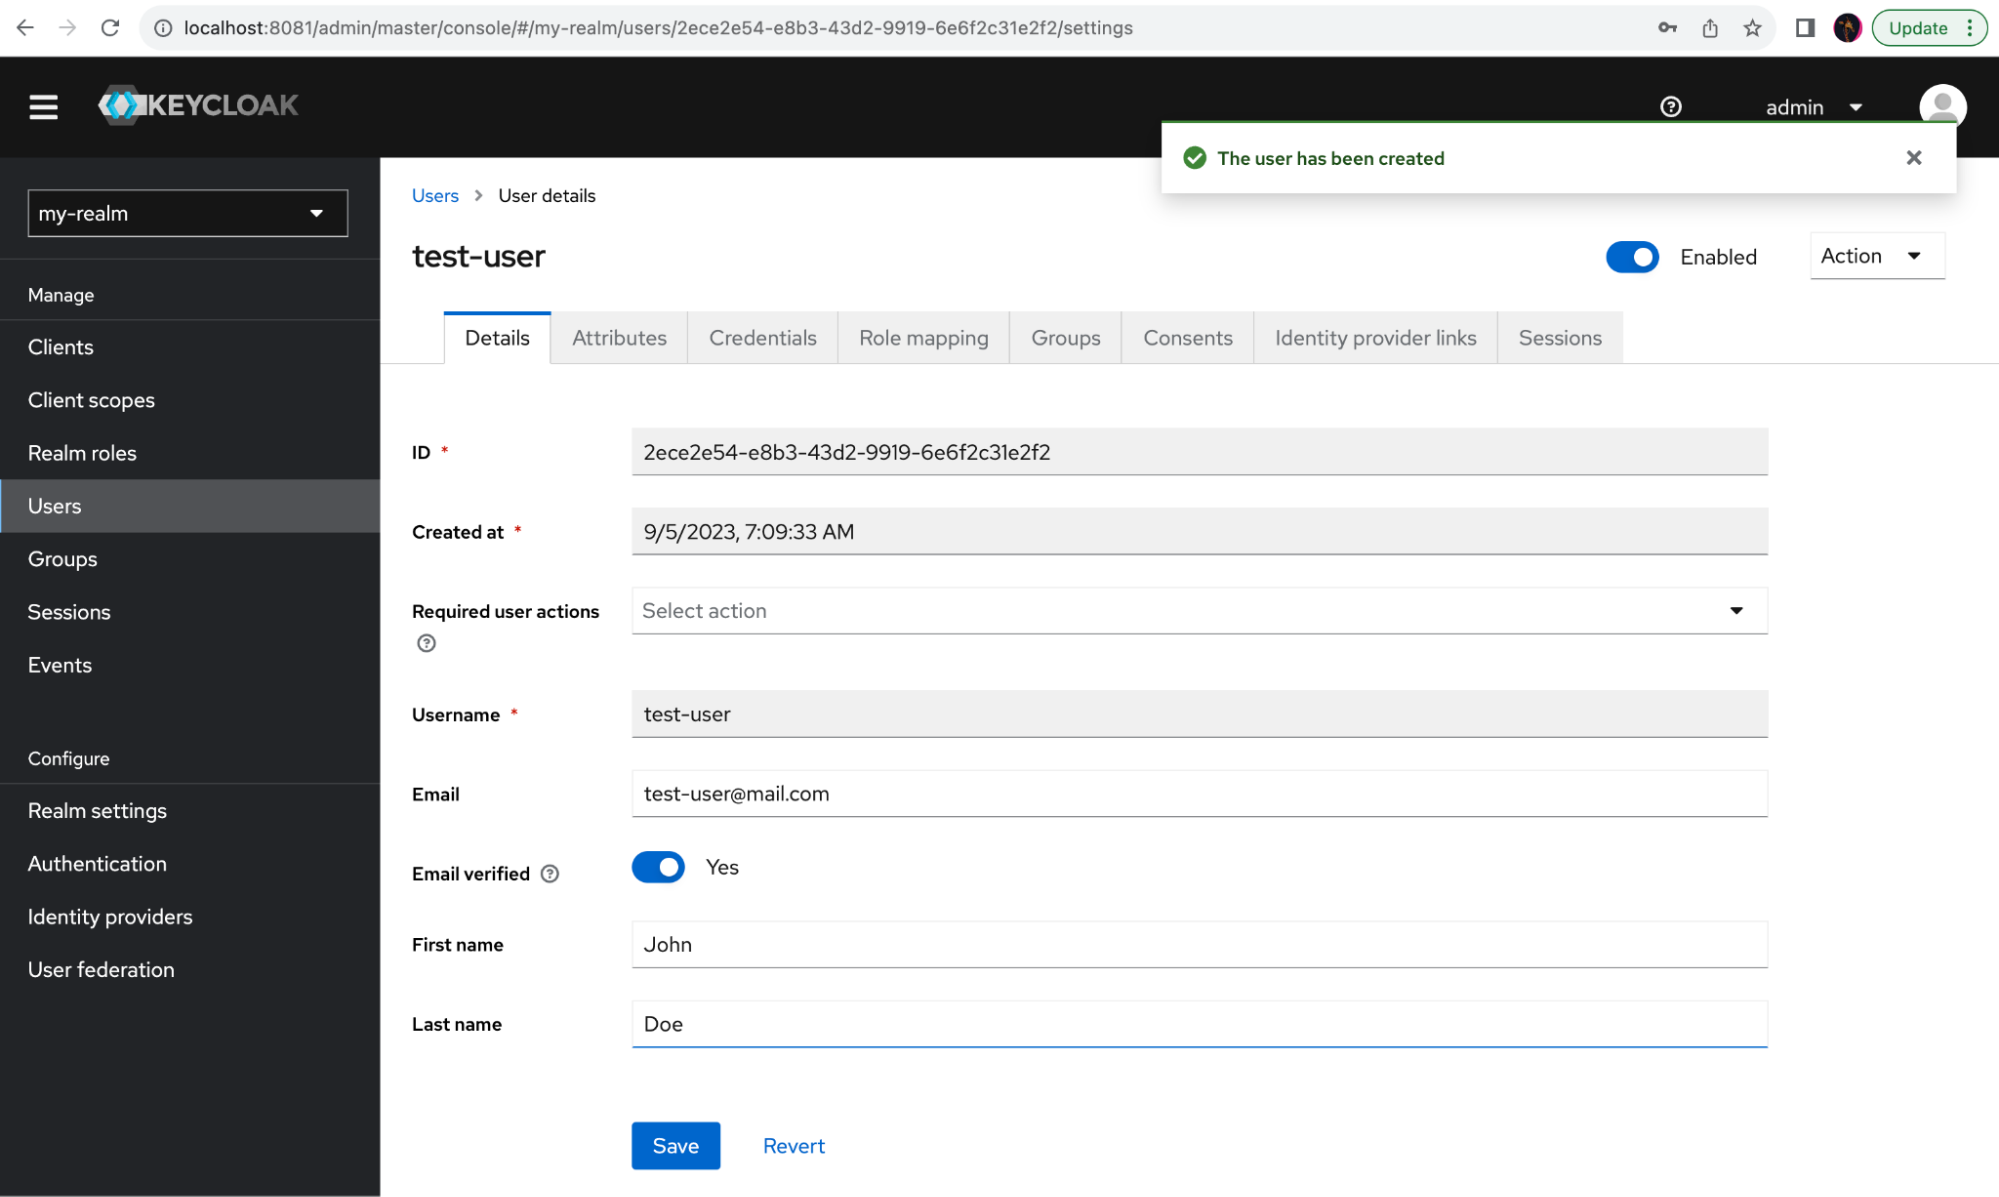
On the menu on the left, select Users, and click Add user. Fill in the username, email, and first and last names, and mark the email as verified. Click on Create to create a new user:
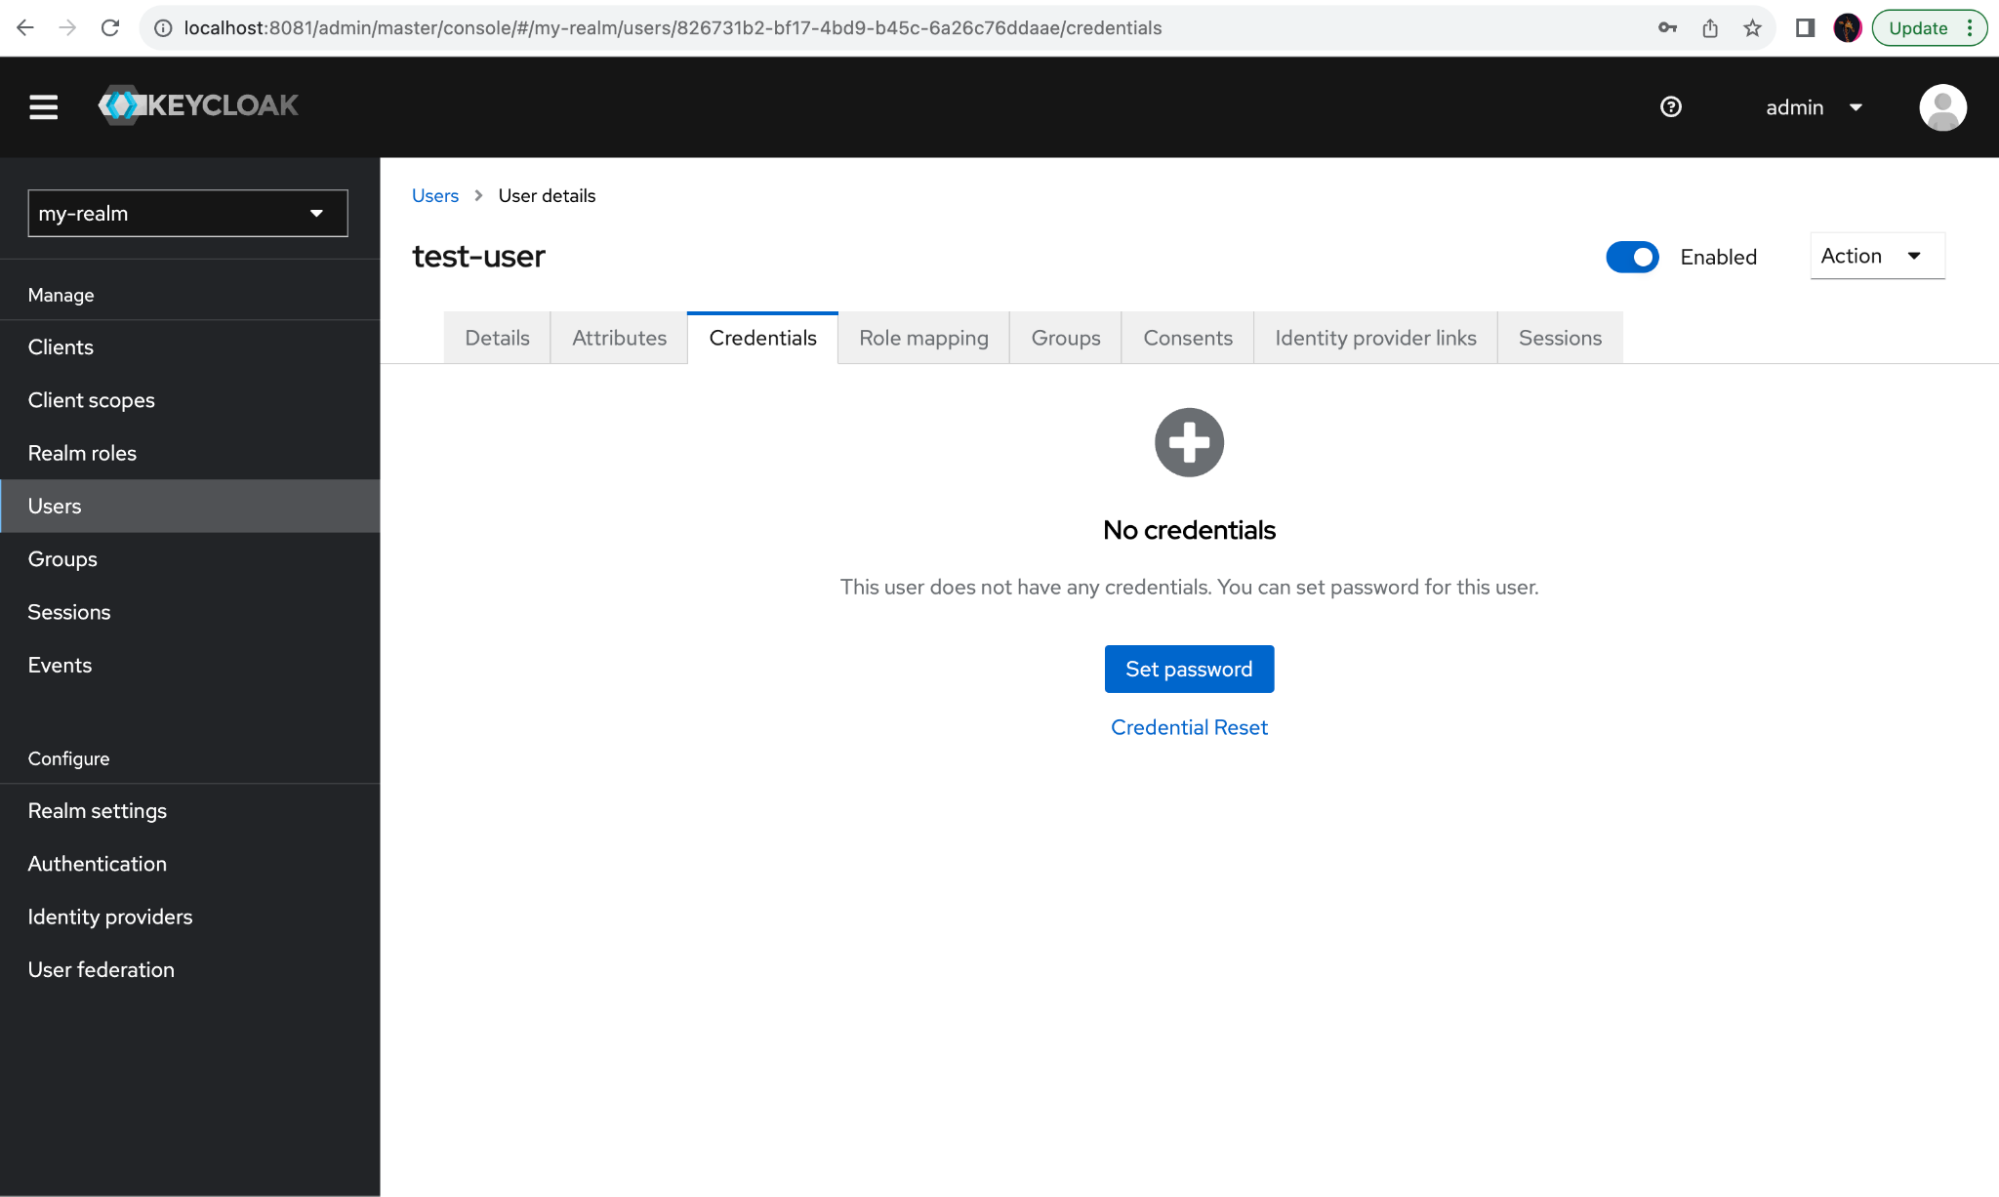
Now you should attach a password to this user. Select the Credentials tab and click Set password.
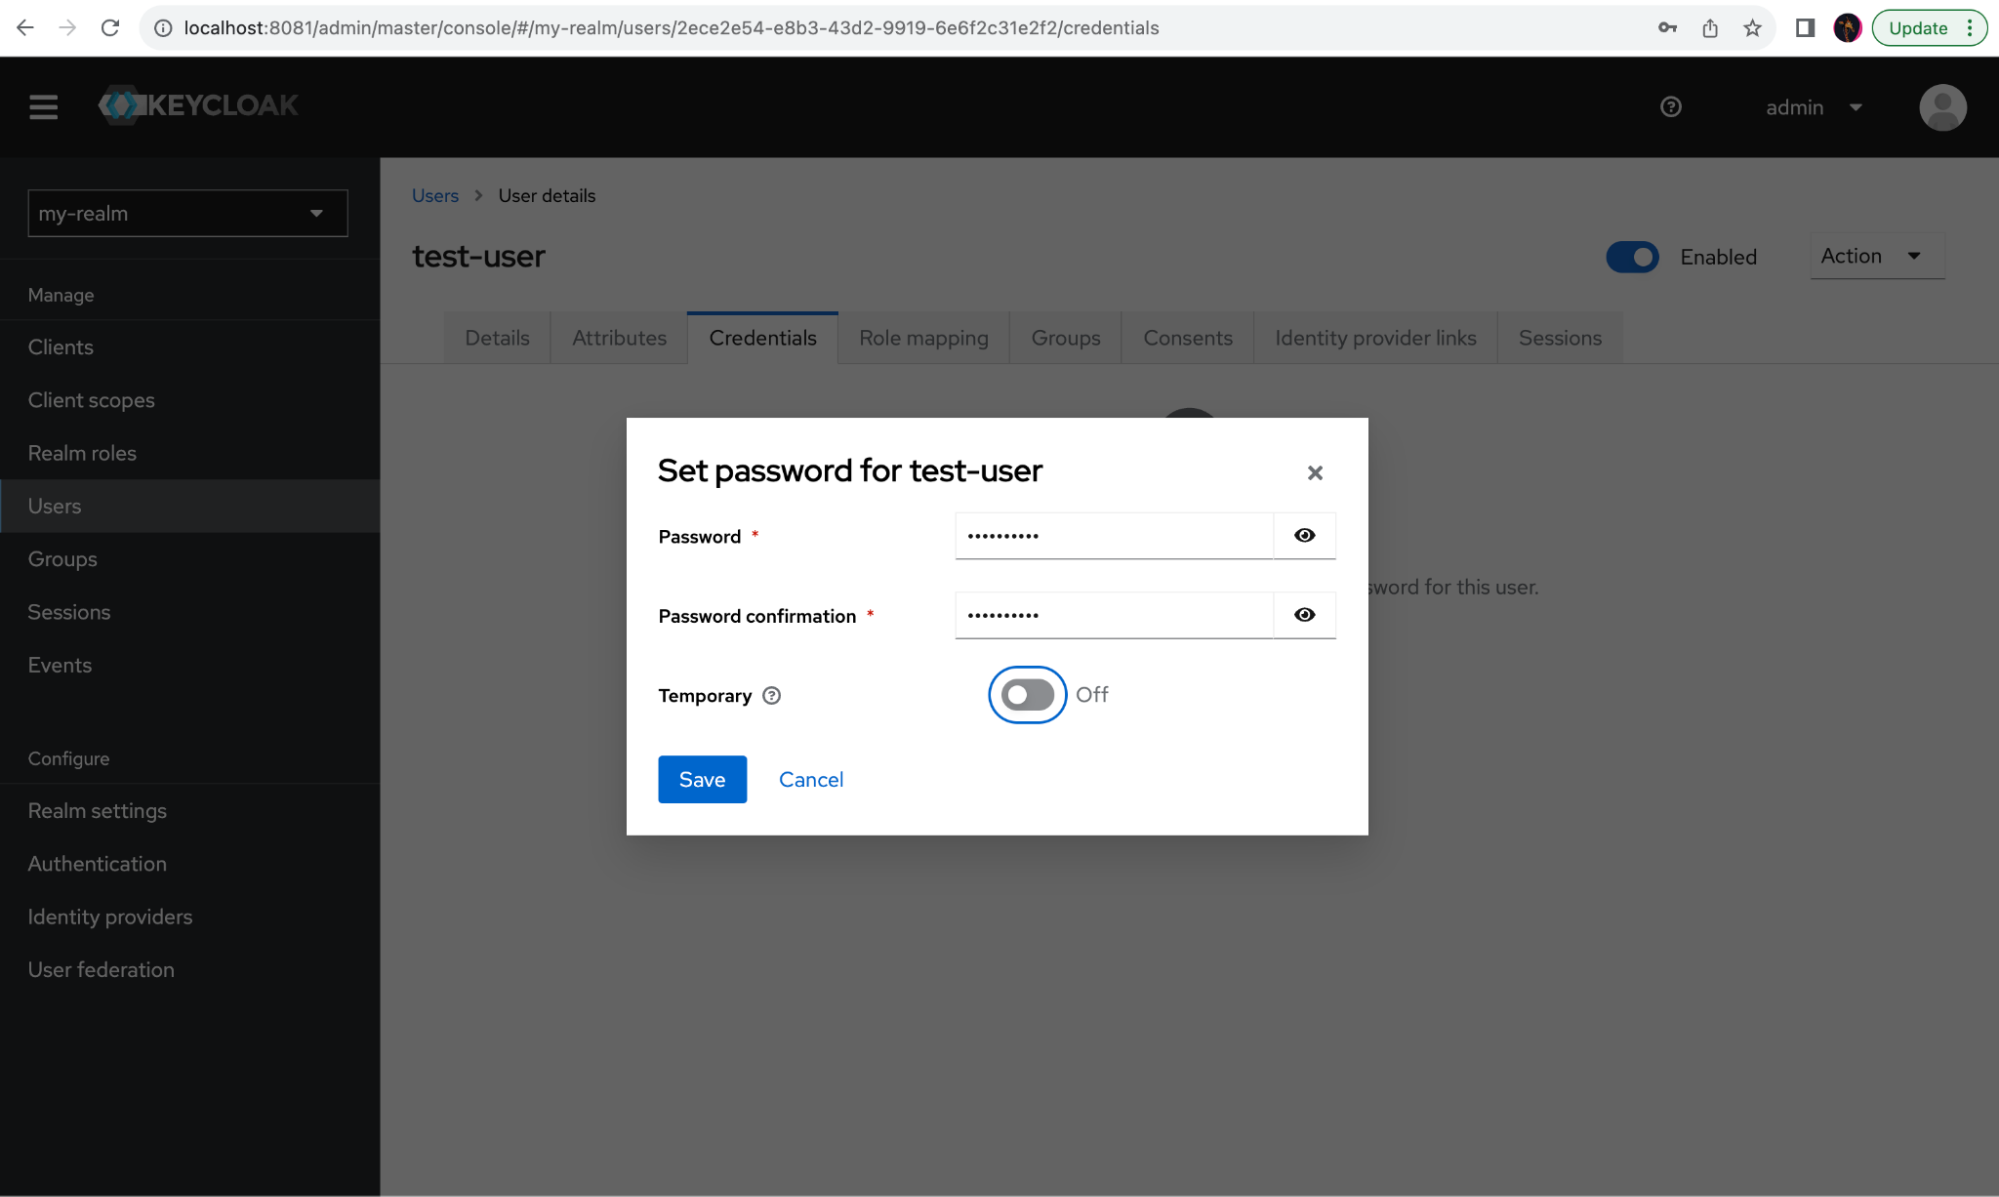
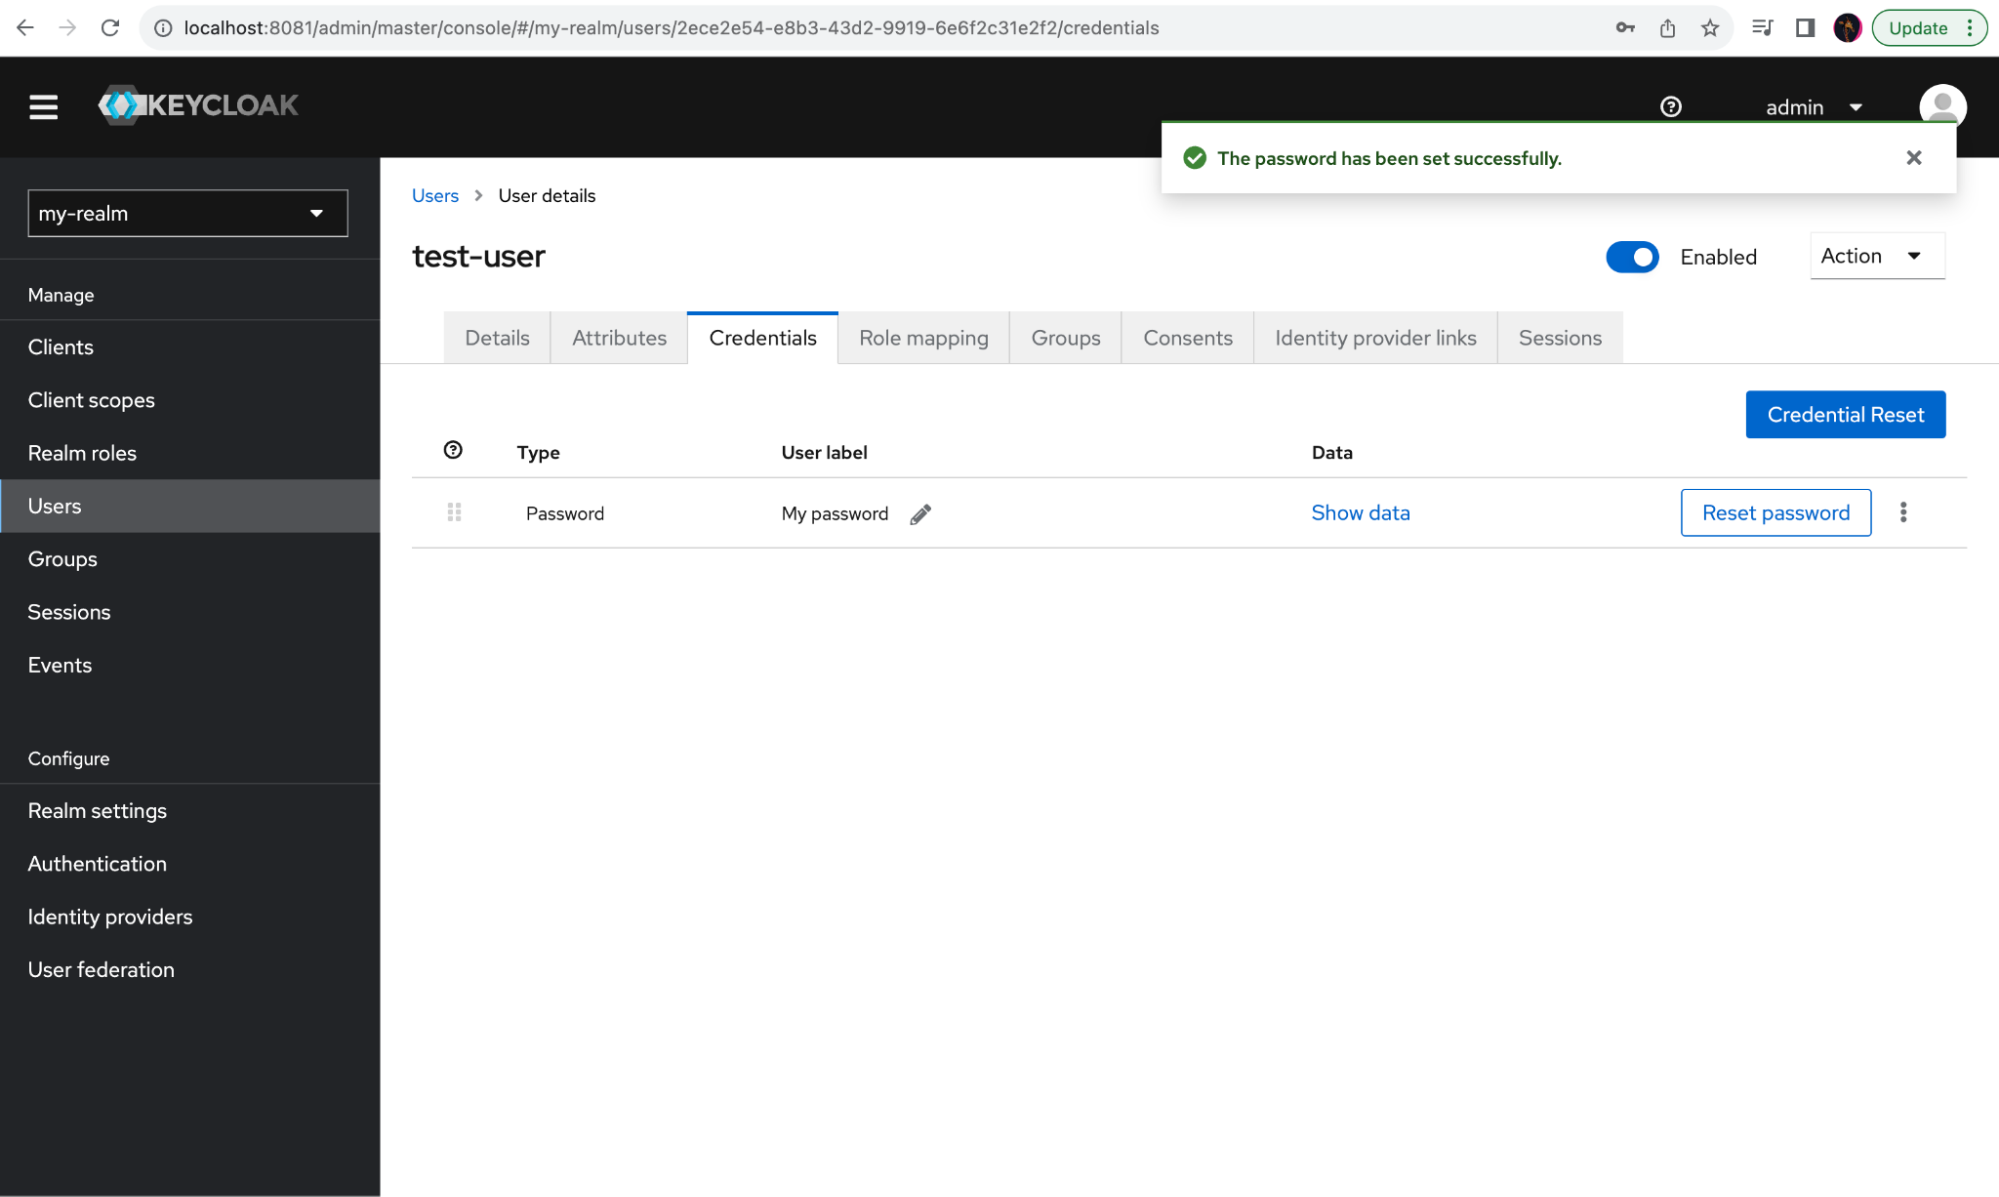
On the new modal panel, input the desired password and select Save.
Export Keycloak user
Keycloak provides an export functionality that allows user information to be extracted into JSON files. While it's intended to be used in another Keycloak instance, you can manipulate it to export users to a different user management system.
For example, in order to generate the export files with Keycloak, you will need to enter the Docker container, run the export command, and copy it outside the container:
## Recover the Container ID for Keycloak
docker ps

## Run the export command inside the Keycloak container
## use the container ID of Keycloak
docker exec  <keycloak container ID>  /opt/keycloak/bin/kc.sh export --dir /tmp

## copy generated files from docker container to local machine
docker cp <keycloak container ID>:/tmp/my-realm-users-0.json .
Configure the web application
Now that you have fully configured Keycloak, you need to configure an application to use Keycloak as its user management interface.
This stage focuses on ZITADEL's sample Angular application (client-side application) as a sample application that requires a user login. This application uses OAuth Authorization Code flow with PKCE for its authentication, which is supported by both Keycloak and ZITADEL.
In order to set up the ZITADEL sample Angular application, ensure you have Node.js installed and clone the example repository:
git clone https://github.com/zitadel/zitadel-angular.git
npm install -g @angular/cli
npm install
In this tutorial, the Keycloak realm is named my-realm, and the client ID is test-client. Edit the src/app/app.module.ts file and update the client ID and issuer:
const authConfig: AuthConfig = {
  scope: 'openid profile email',
  responseType: 'code',
  oidc: true,
  clientId: 'test-client',
  issuer: 'http://localhost:8081/realms/my-realm',
  redirectUri: 'http://localhost:4200/auth/callback',
  postLogoutRedirectUri: 'http://localhost:4200/signedout',
  requireHttps: false, // required for running locally
  disableAtHashCheck: true,
};
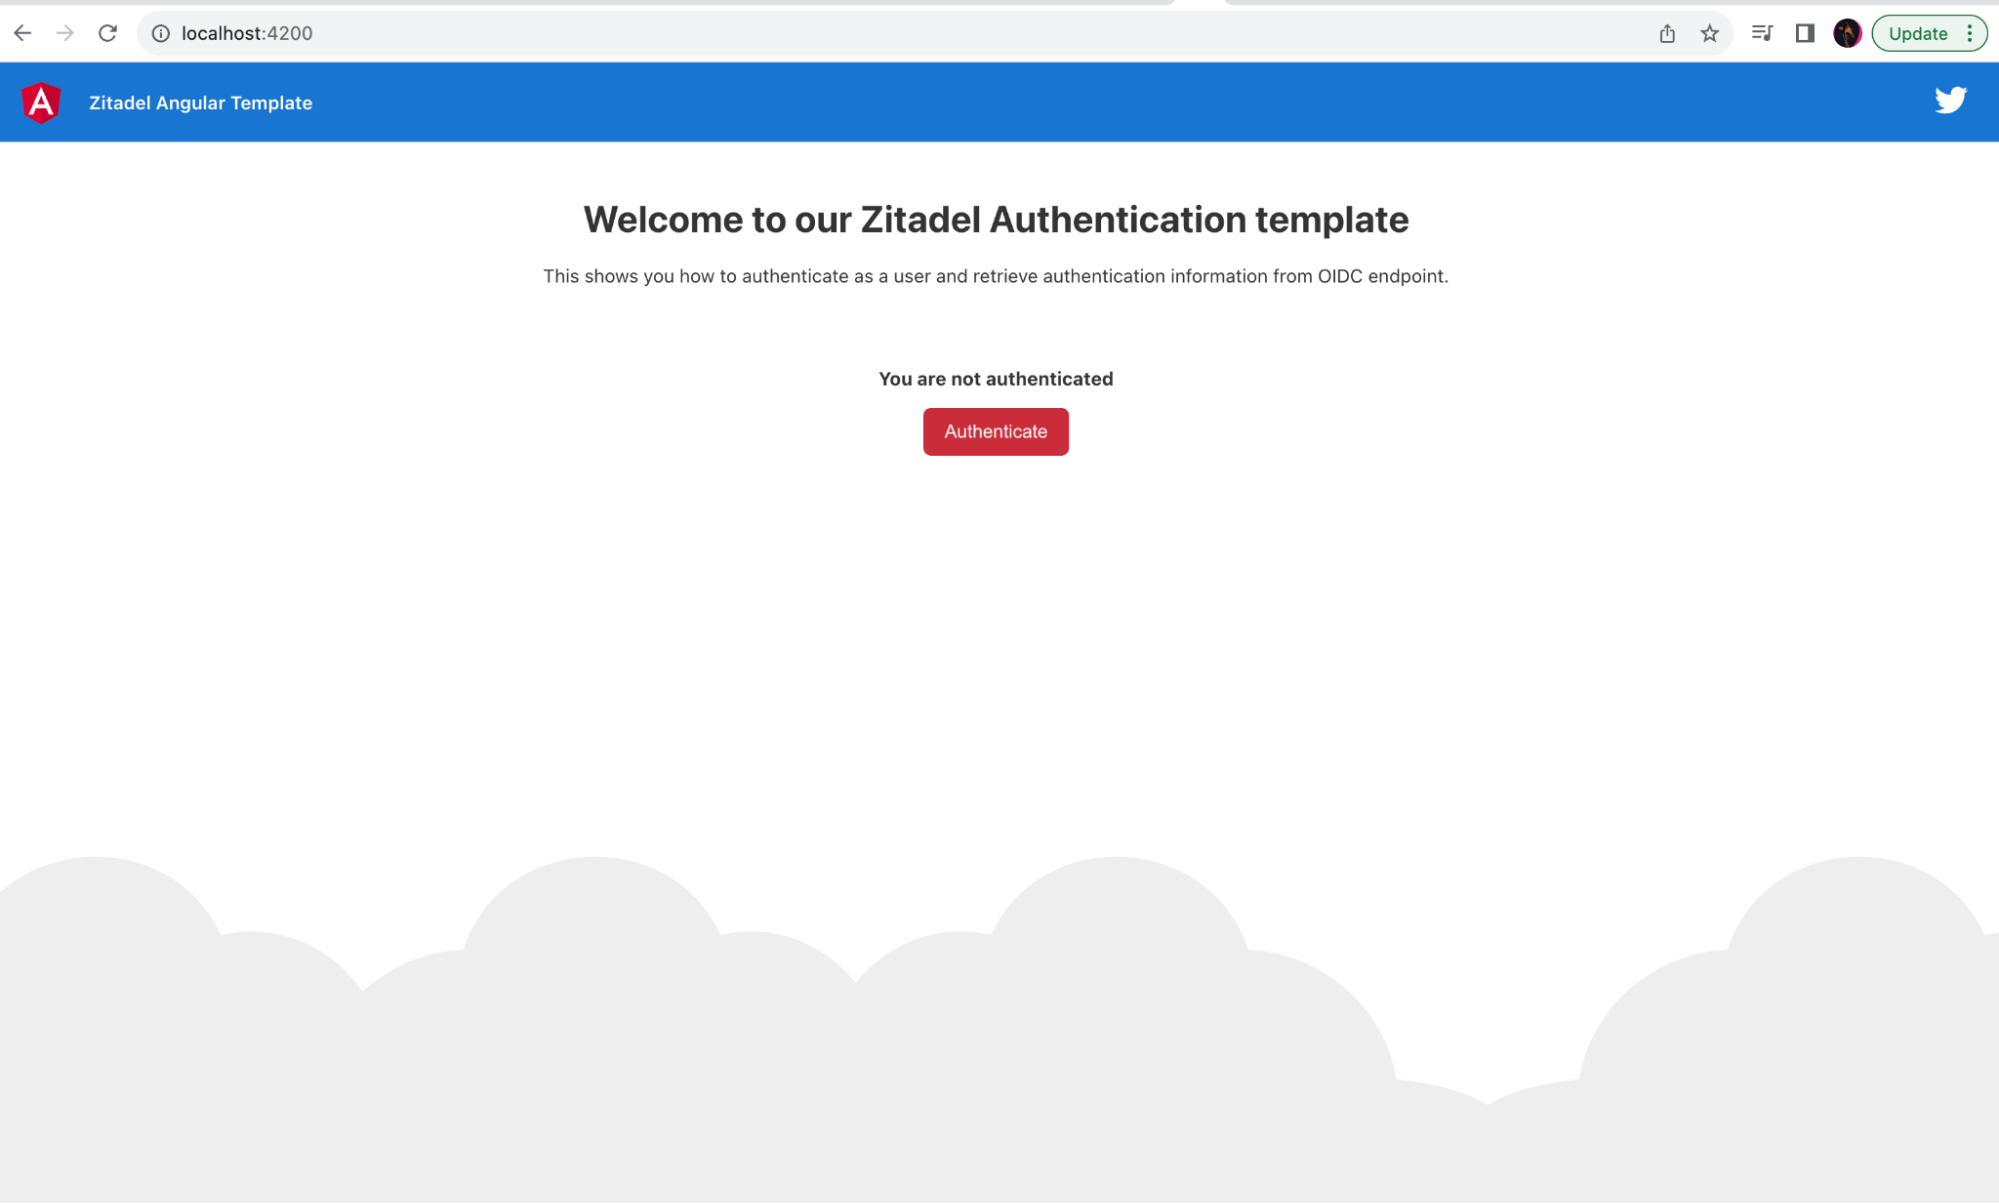
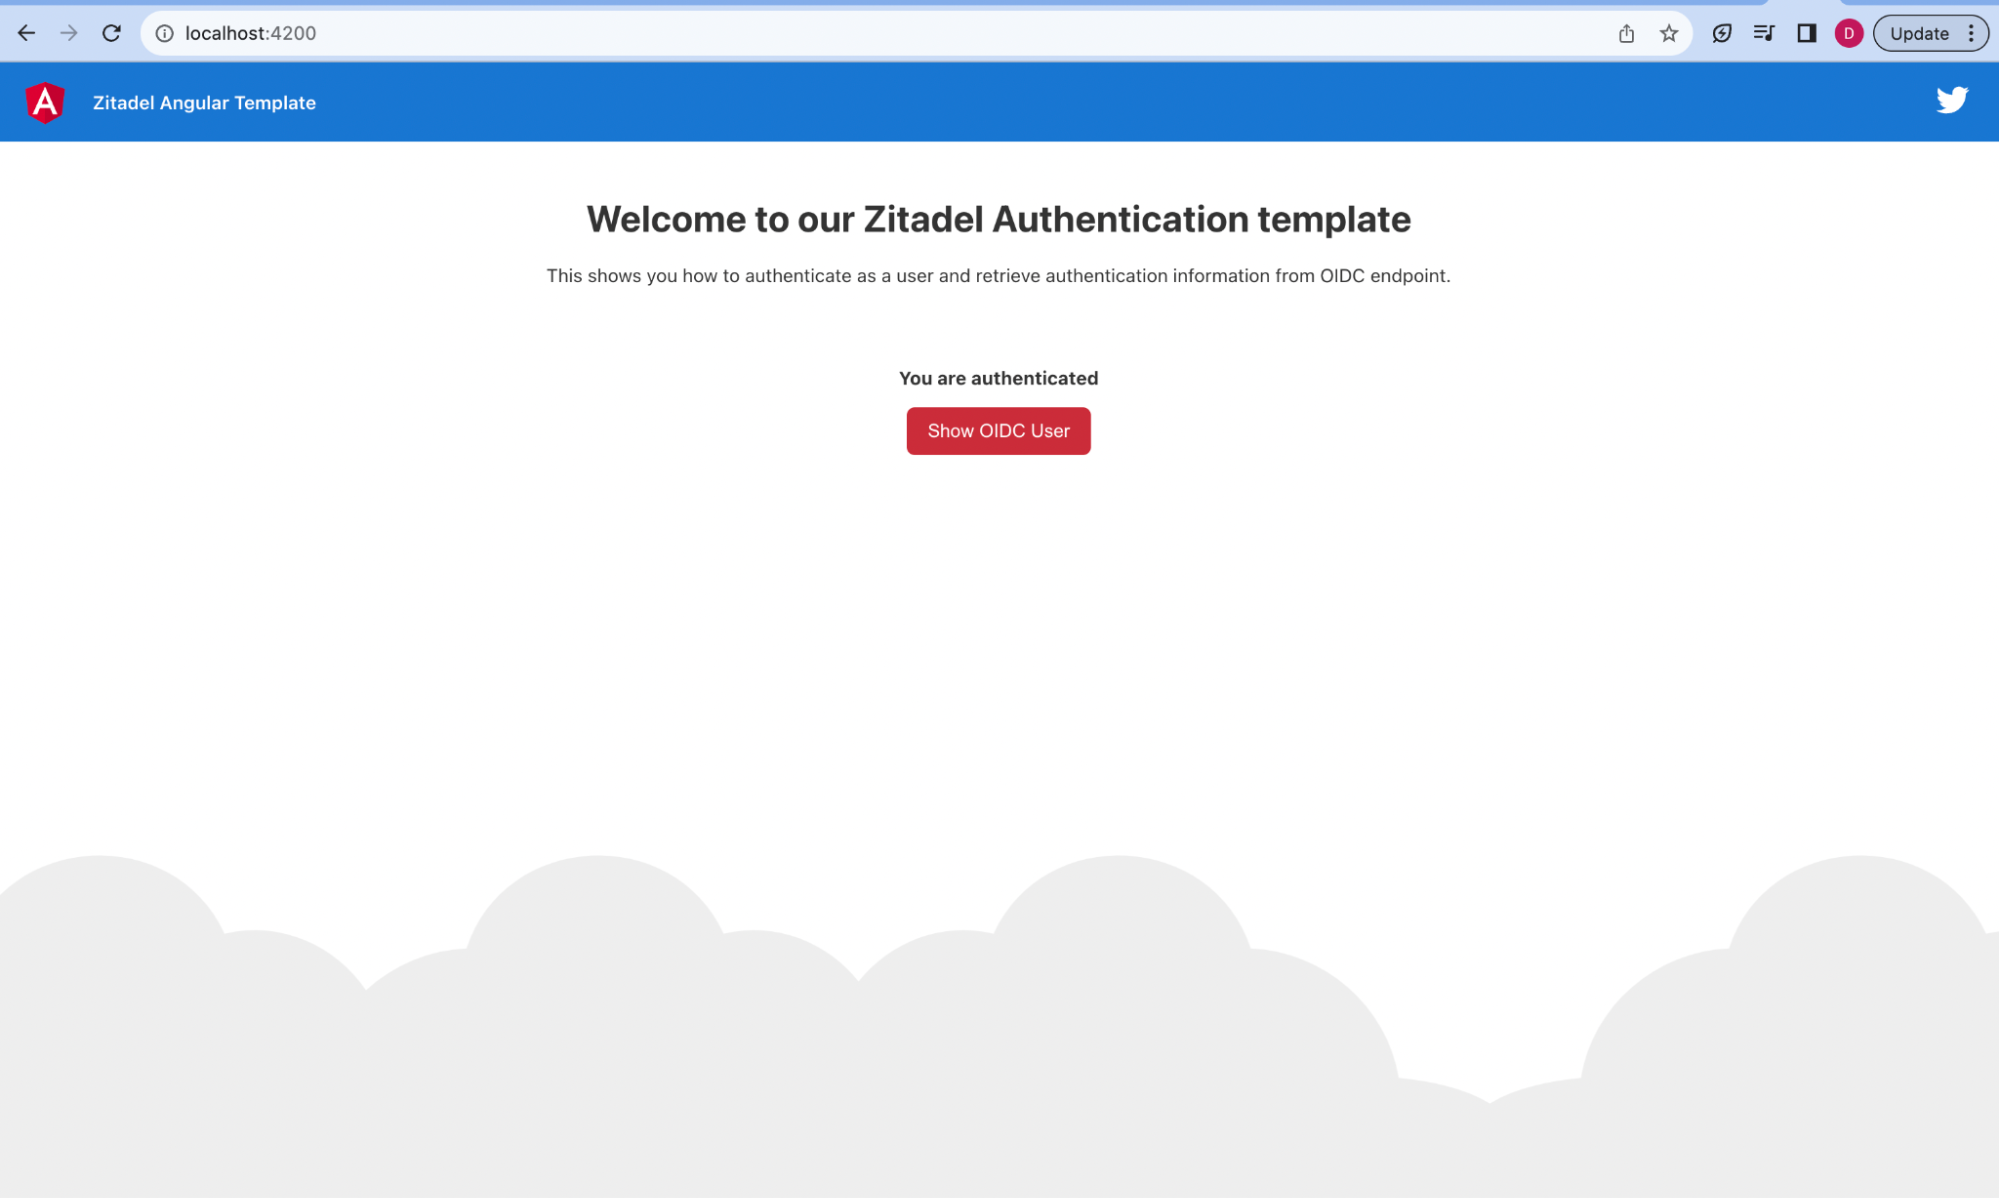
The landing page of the application will be as follows:
Per the sample documentation, running the development server will serve the browser-side application at http://localhost:4200/:
npm start
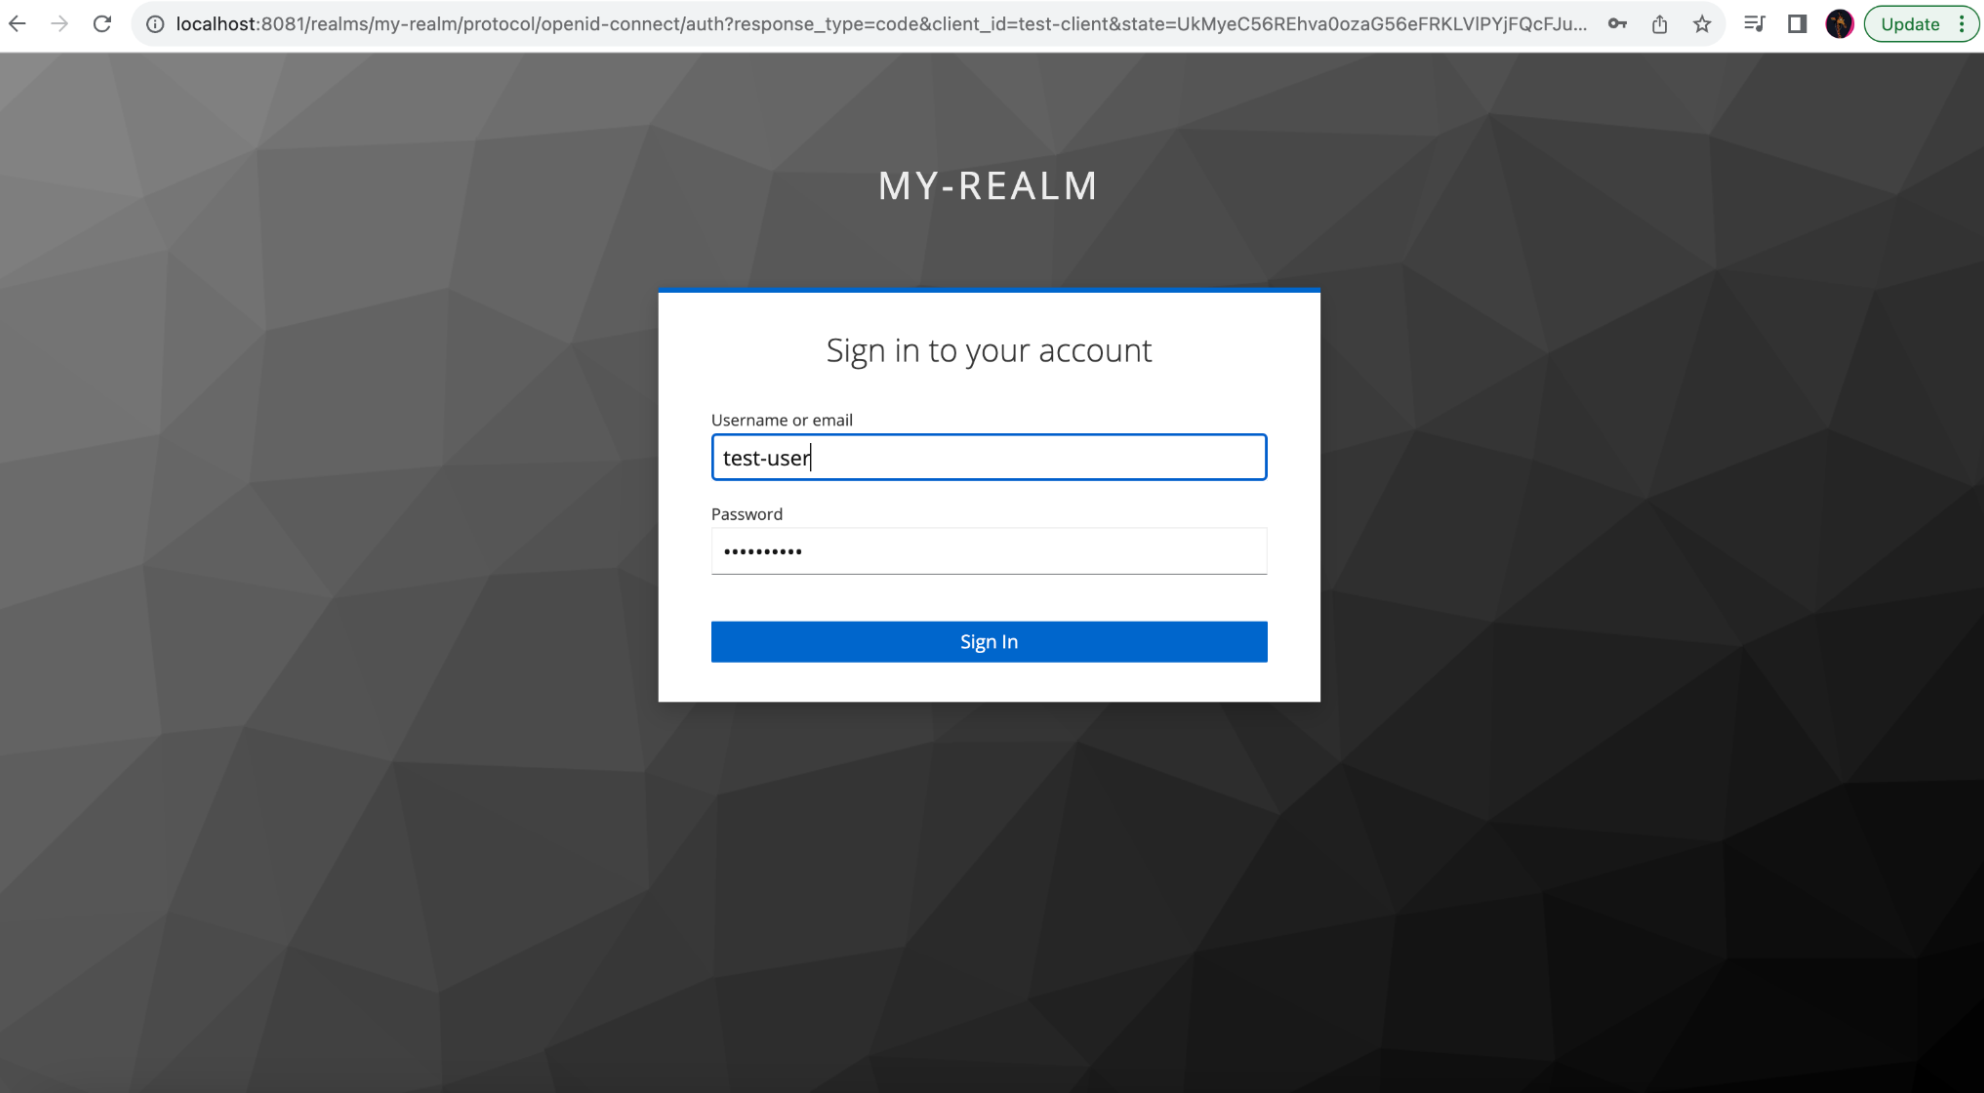
After clicking the Authenticate button, users will be redirected to the login page hosted in Keycloak:
After successfully logging into Keycloak, users are redirected back to the sample application:

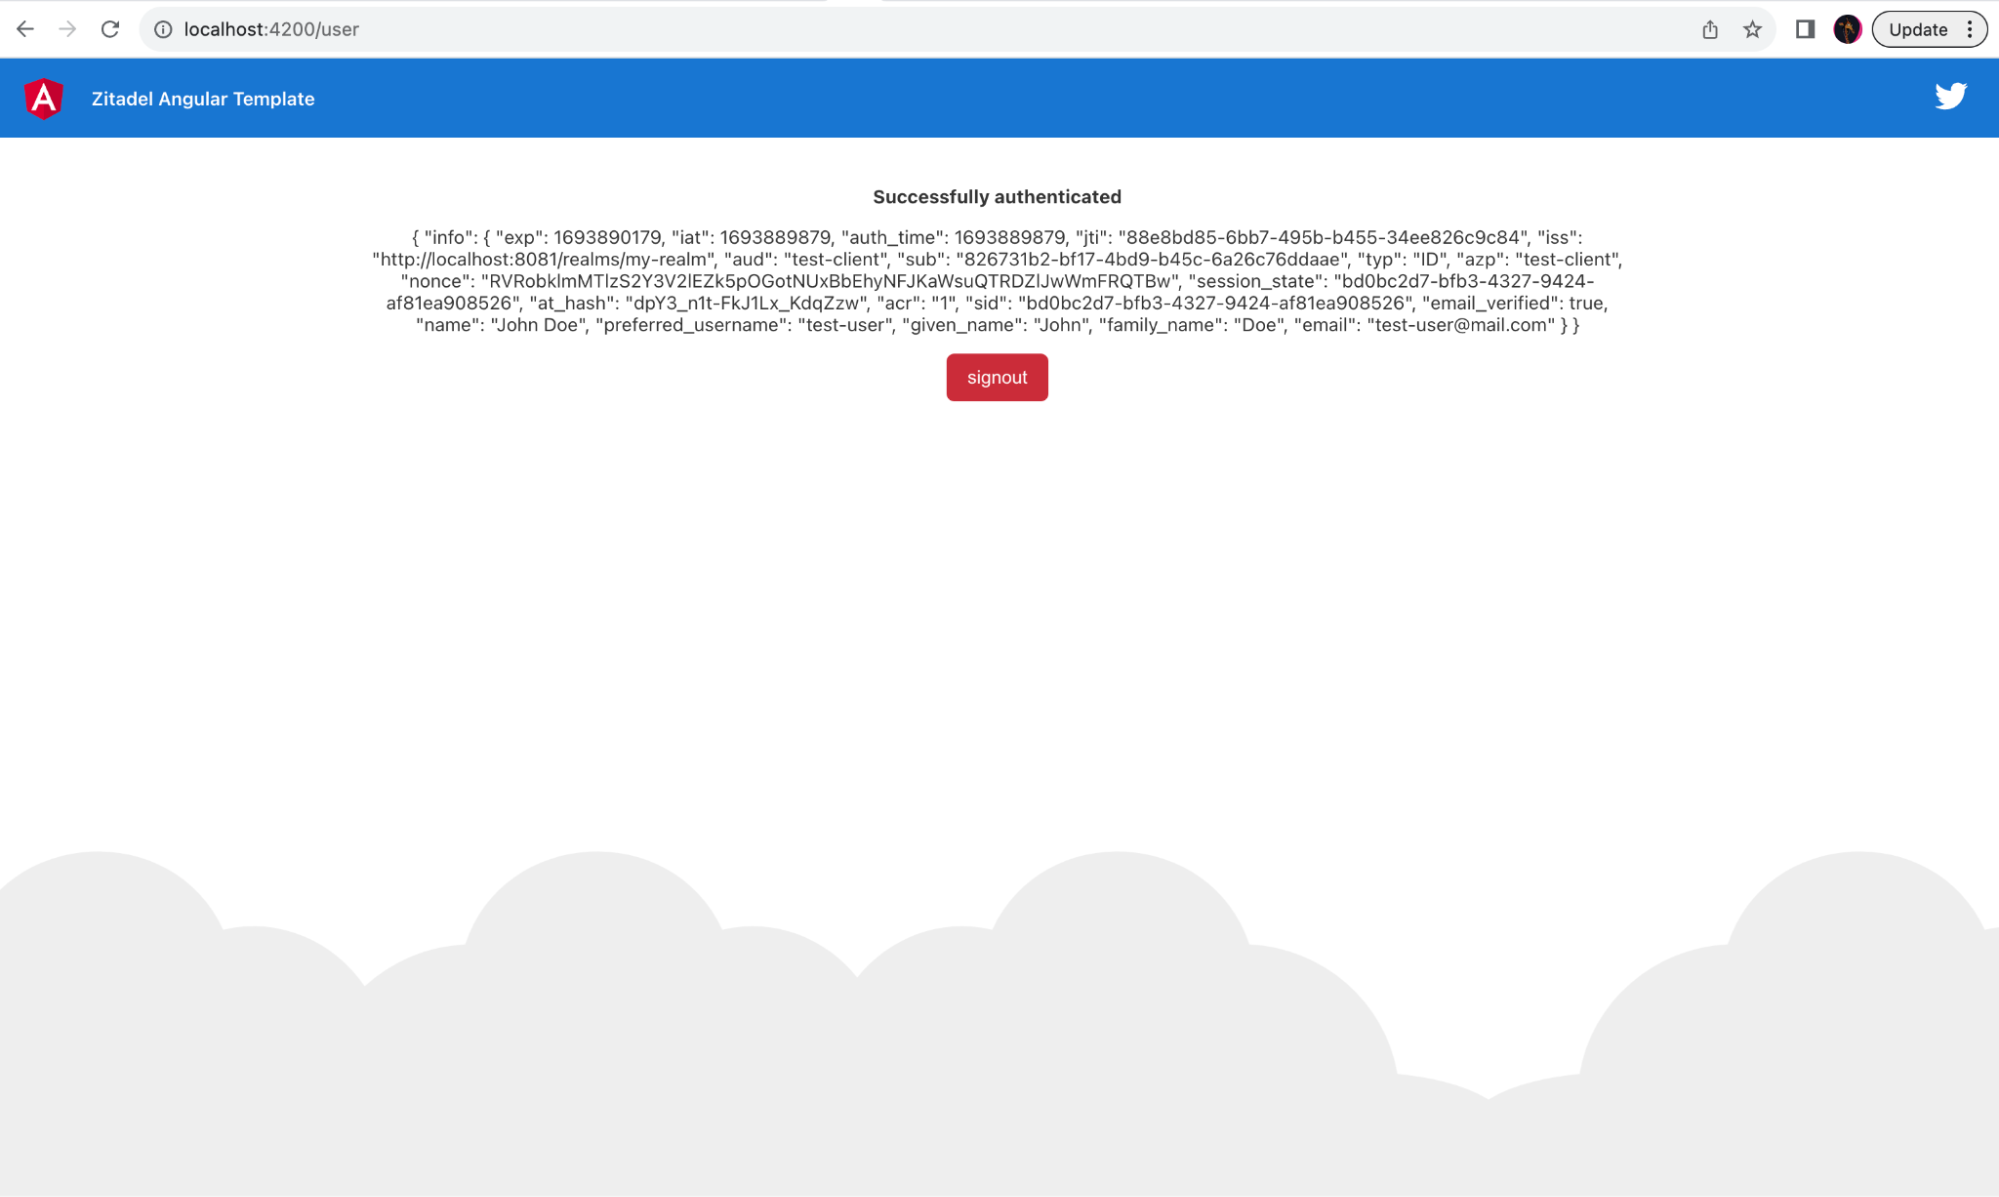
Now, you have successfully created a sample application that uses Keycloak for user and session management.
Set up ZITADEL
After creating a sample application that connects to Keycloak, you need to set up ZITADEL in order to migrate the application and users from Keycloak to ZITADEL. For this, ZITADEL offers a Docker Compose installation guide. Follow the instructions under the Docker compose section to run a ZITADEL instance locally.
Next, the application will be available at http://localhost:8080/ui/console/.
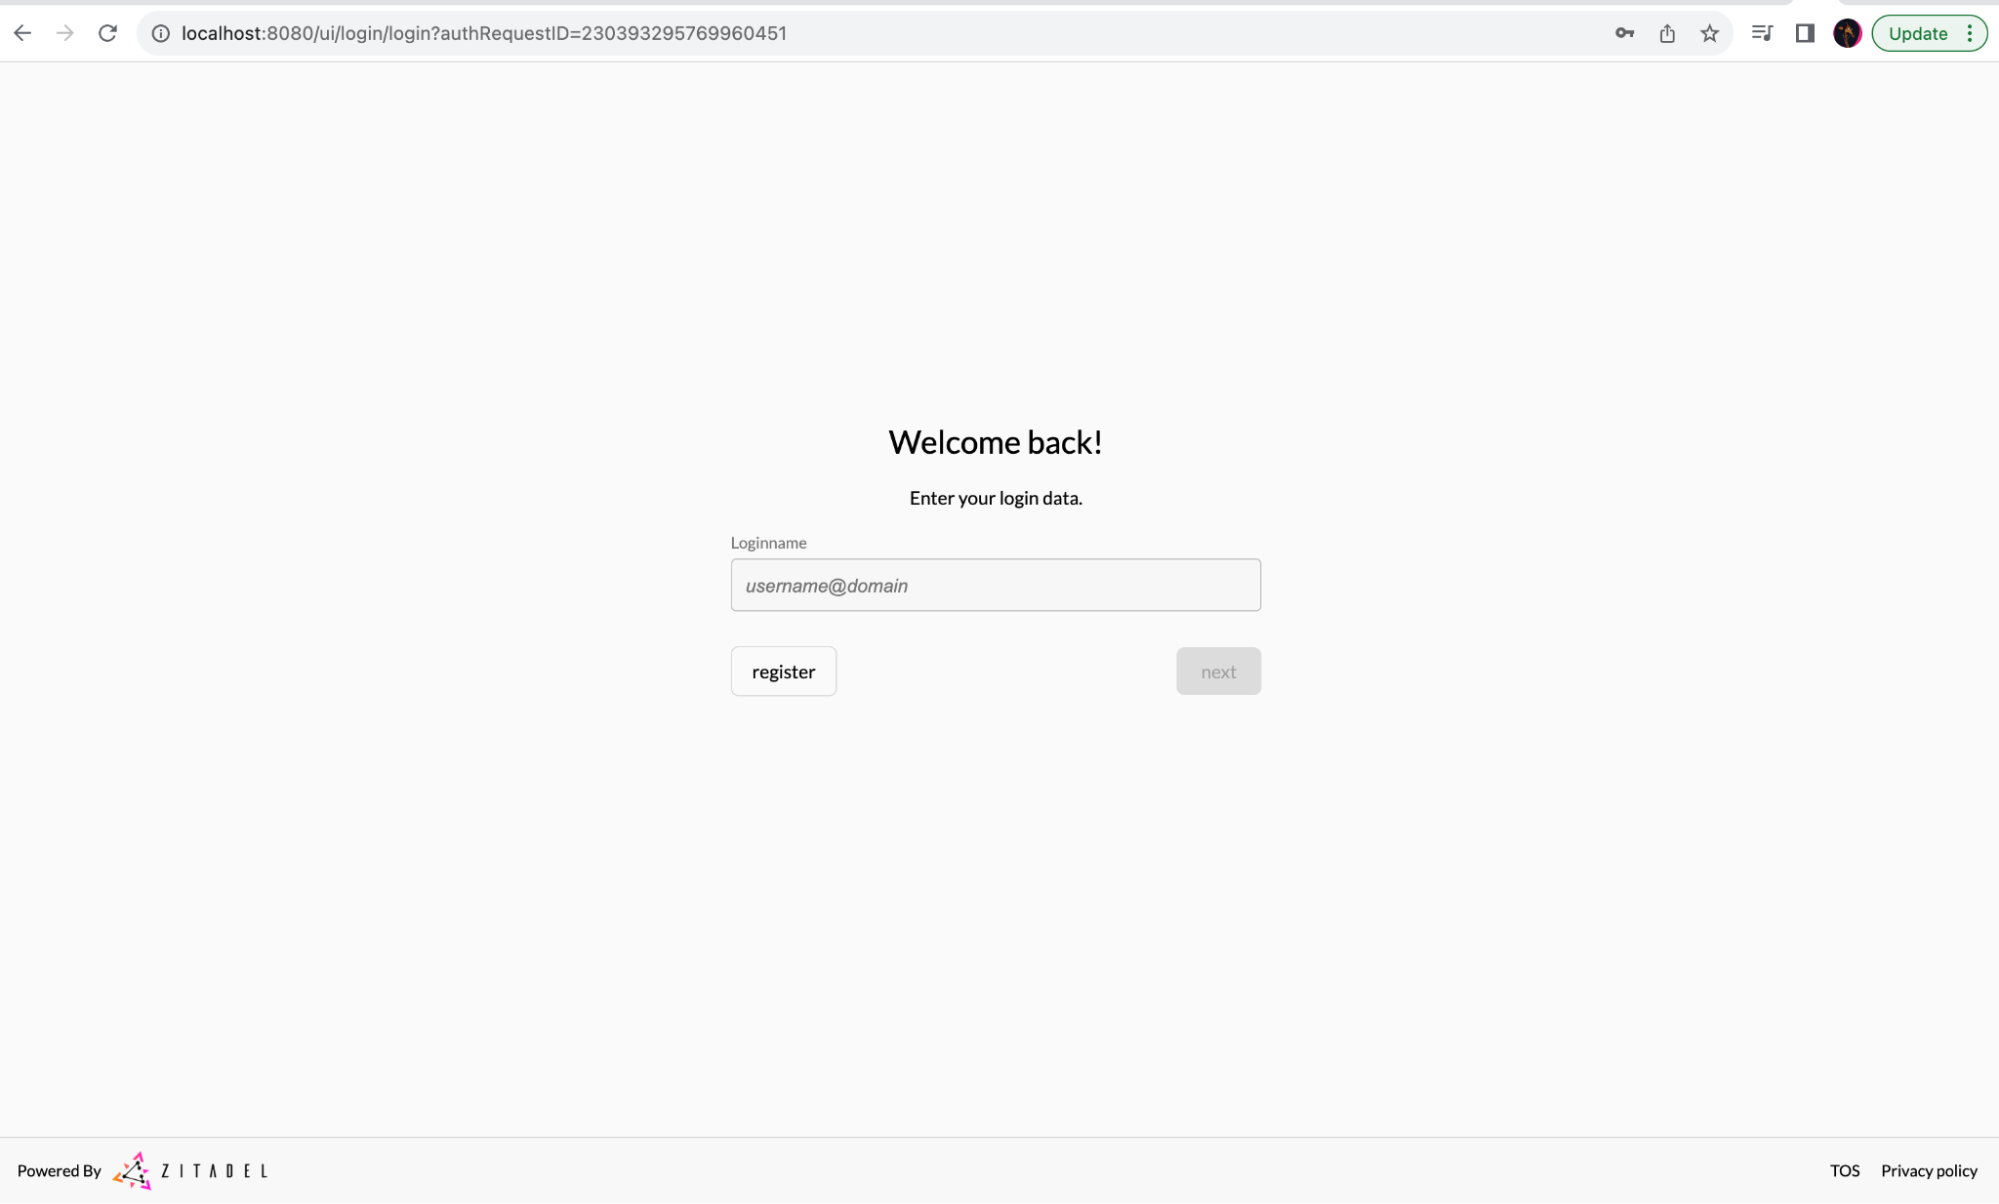
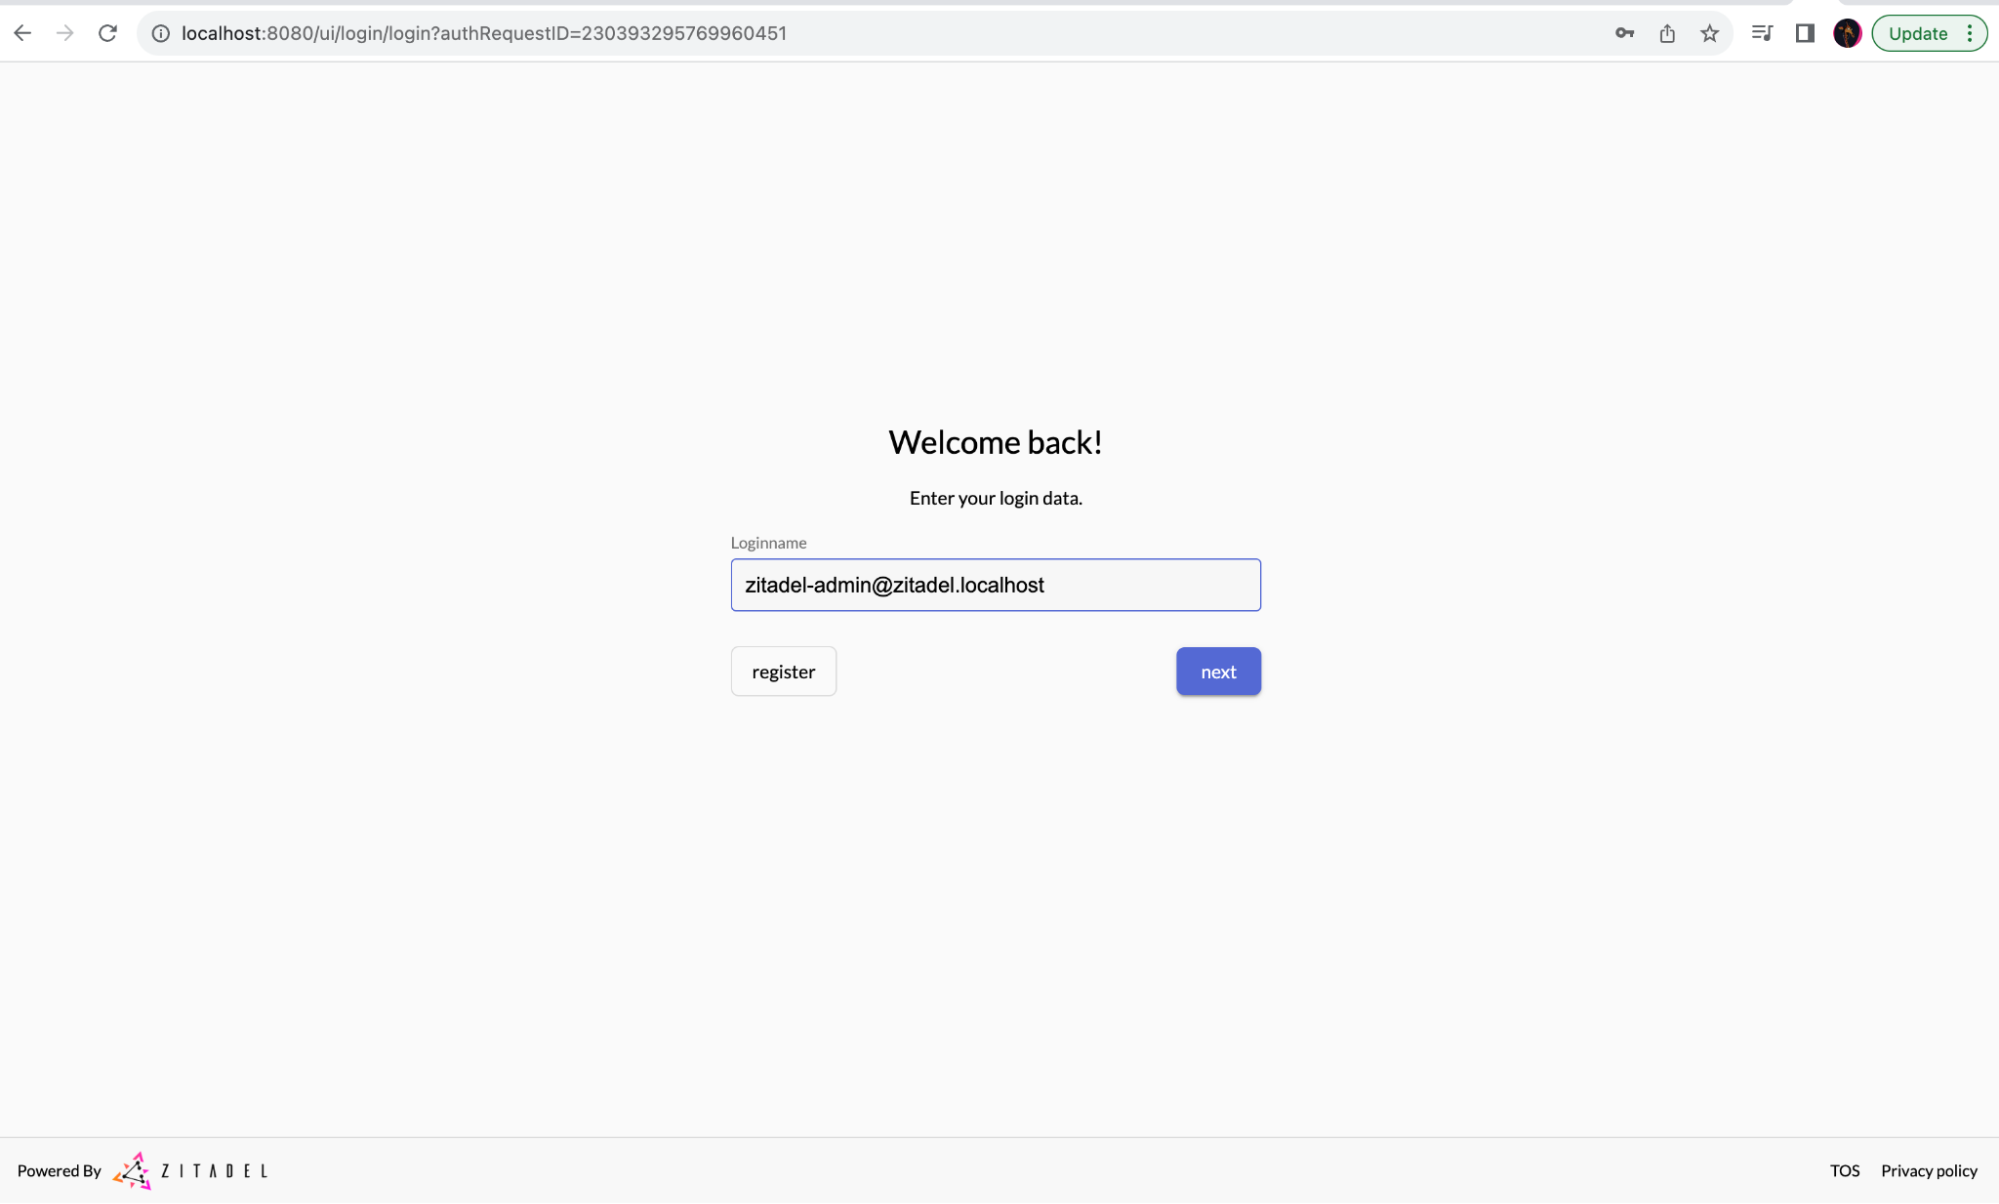
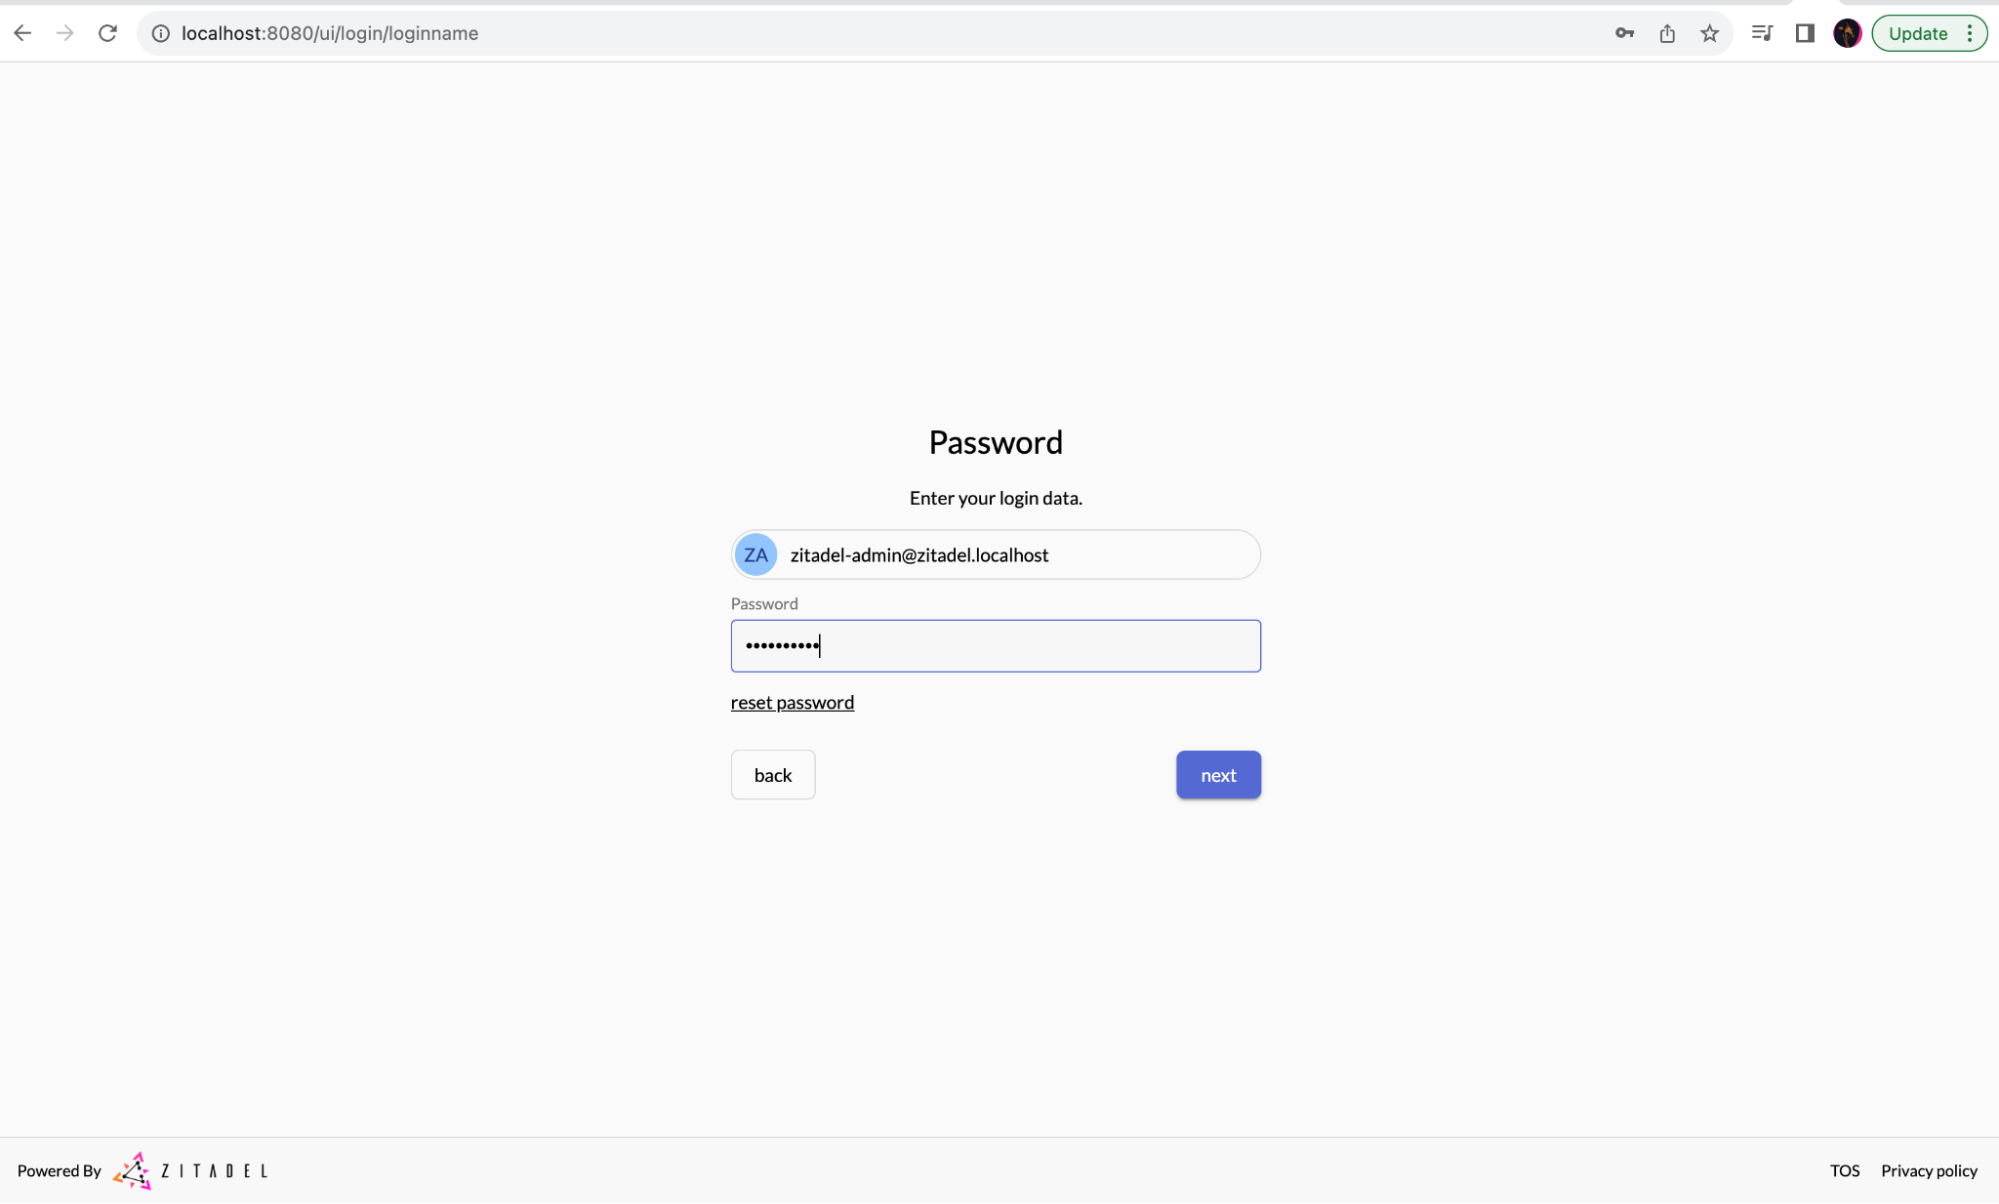
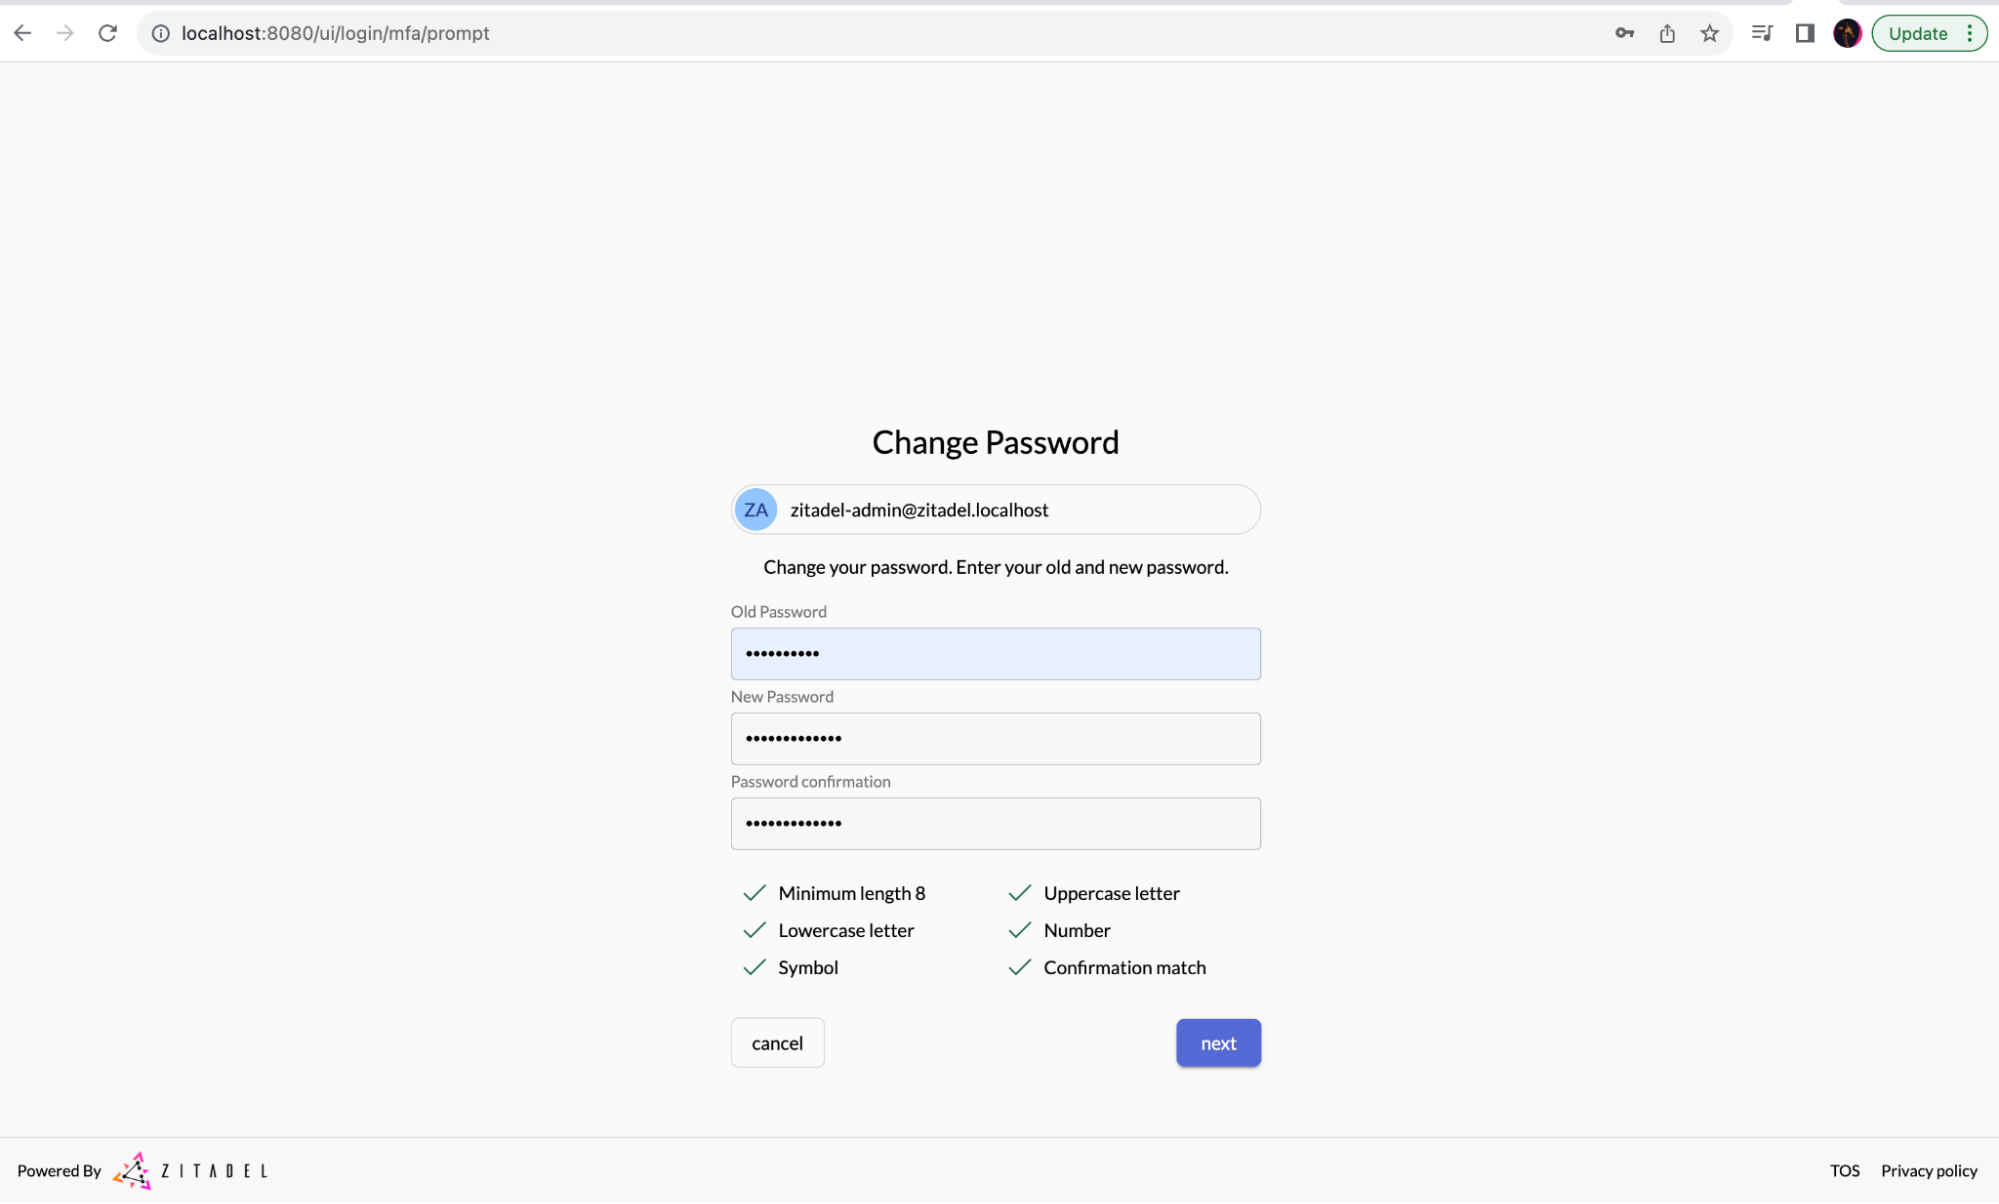
Now you can access the console with the following default credentials:
- Username:
zitadel-admin@zitadel.localhost - Password:
Password1!
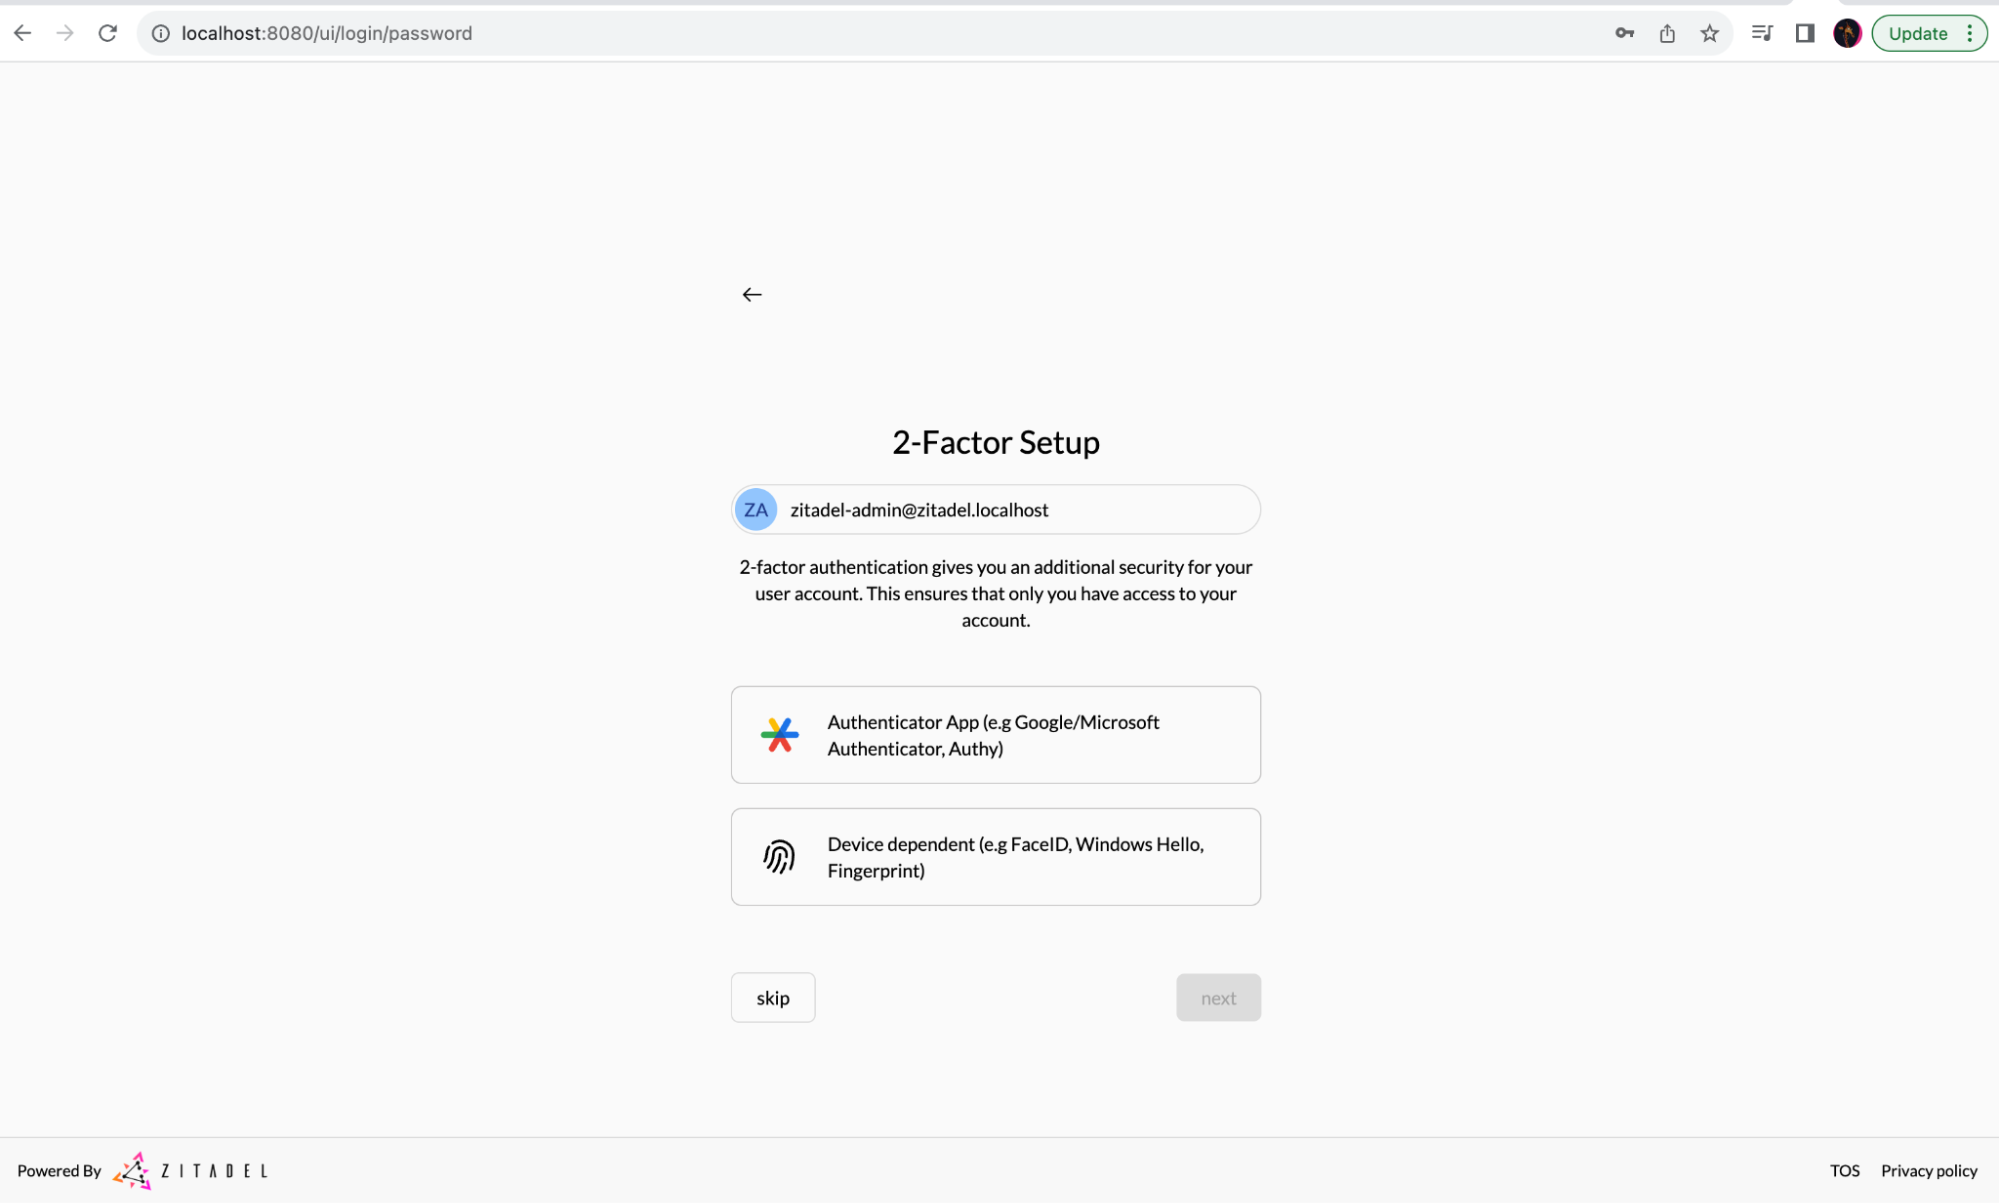
Skip the 2-factor set up.
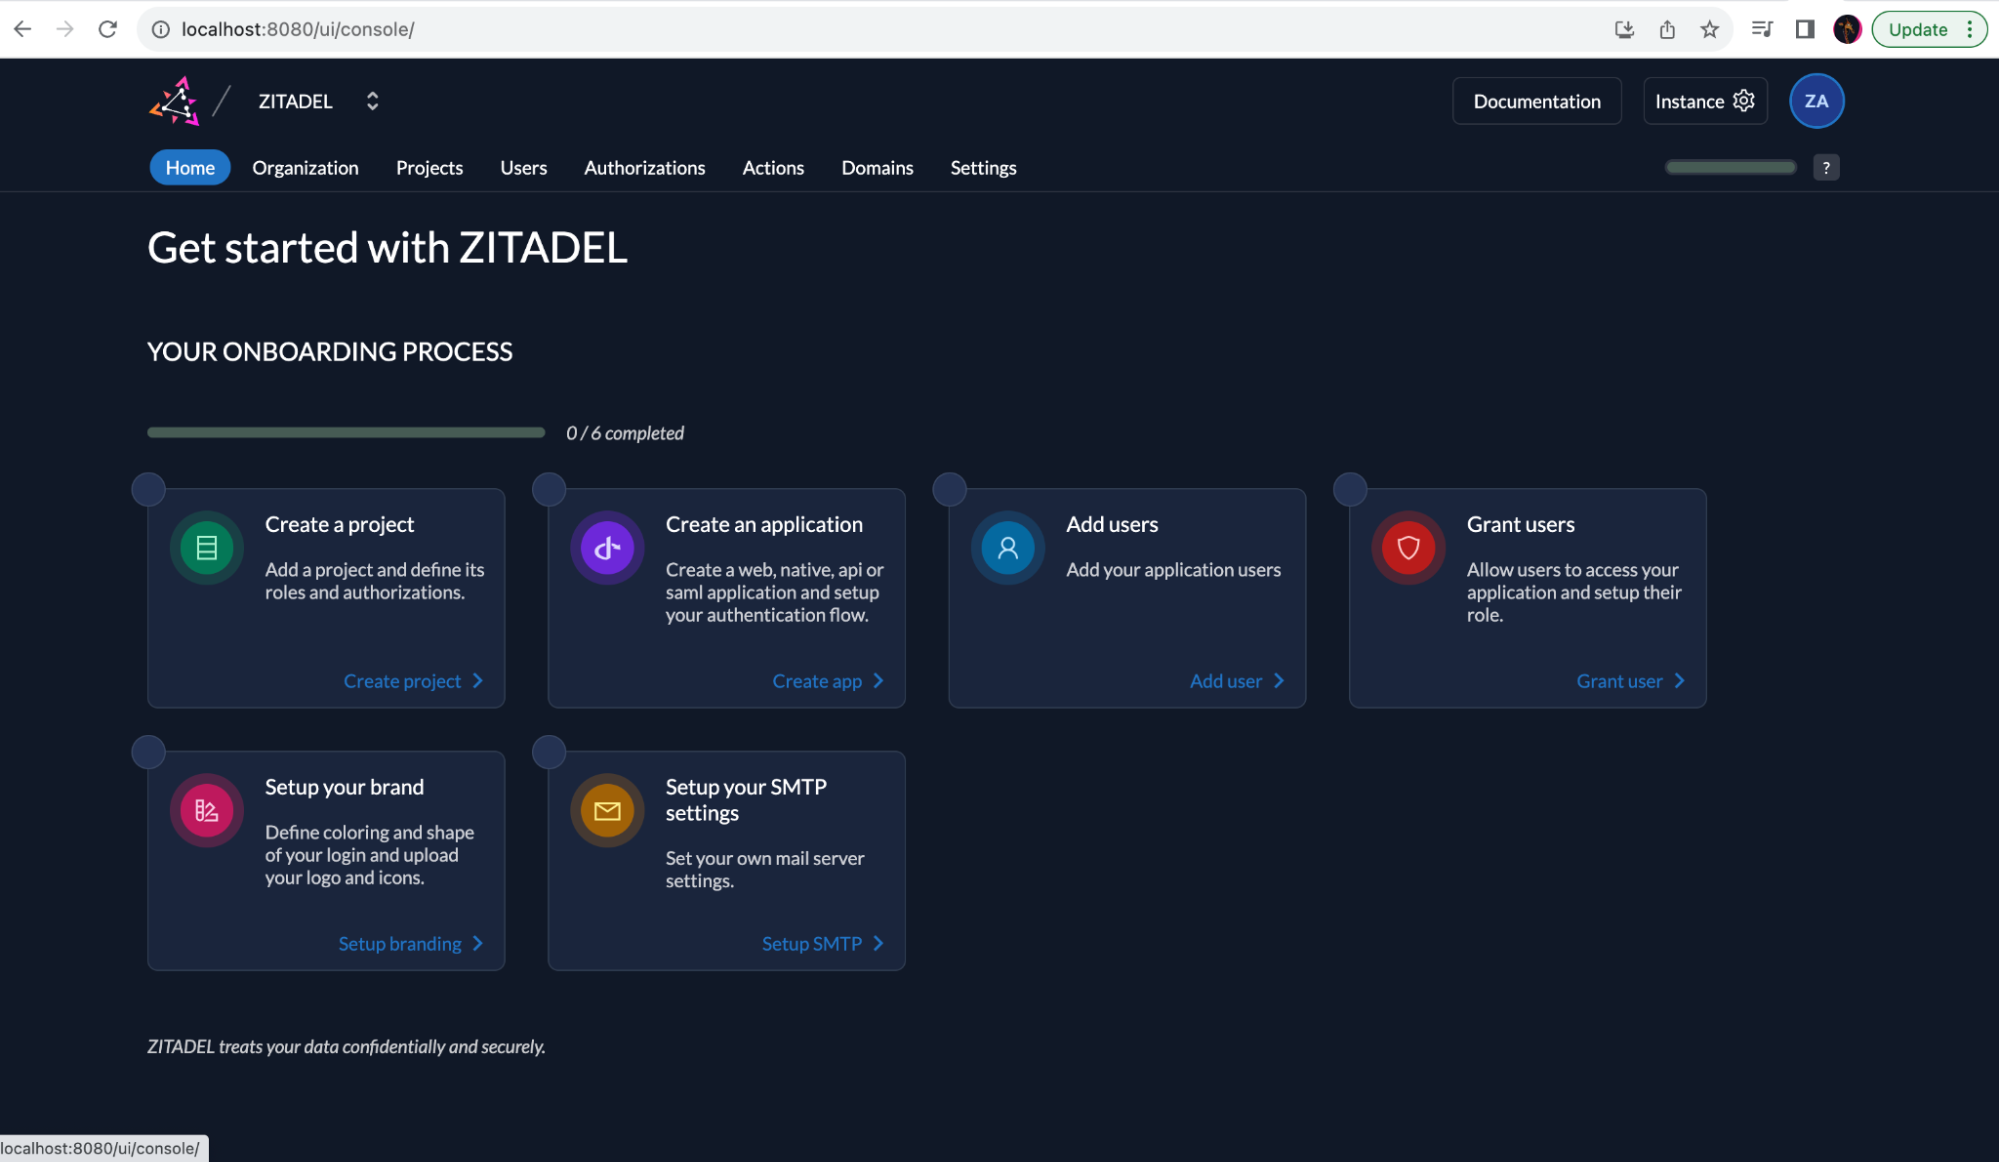
Next, you need to create a new project and a new application in ZITADEL. ZITADEL projects are a similar concept to Keycloak realms, and an application is equivalent to Keycloak clients.
To create a new project, select the Projects tab and click Create New Project. Fill in the desired name of the project and click Continue:
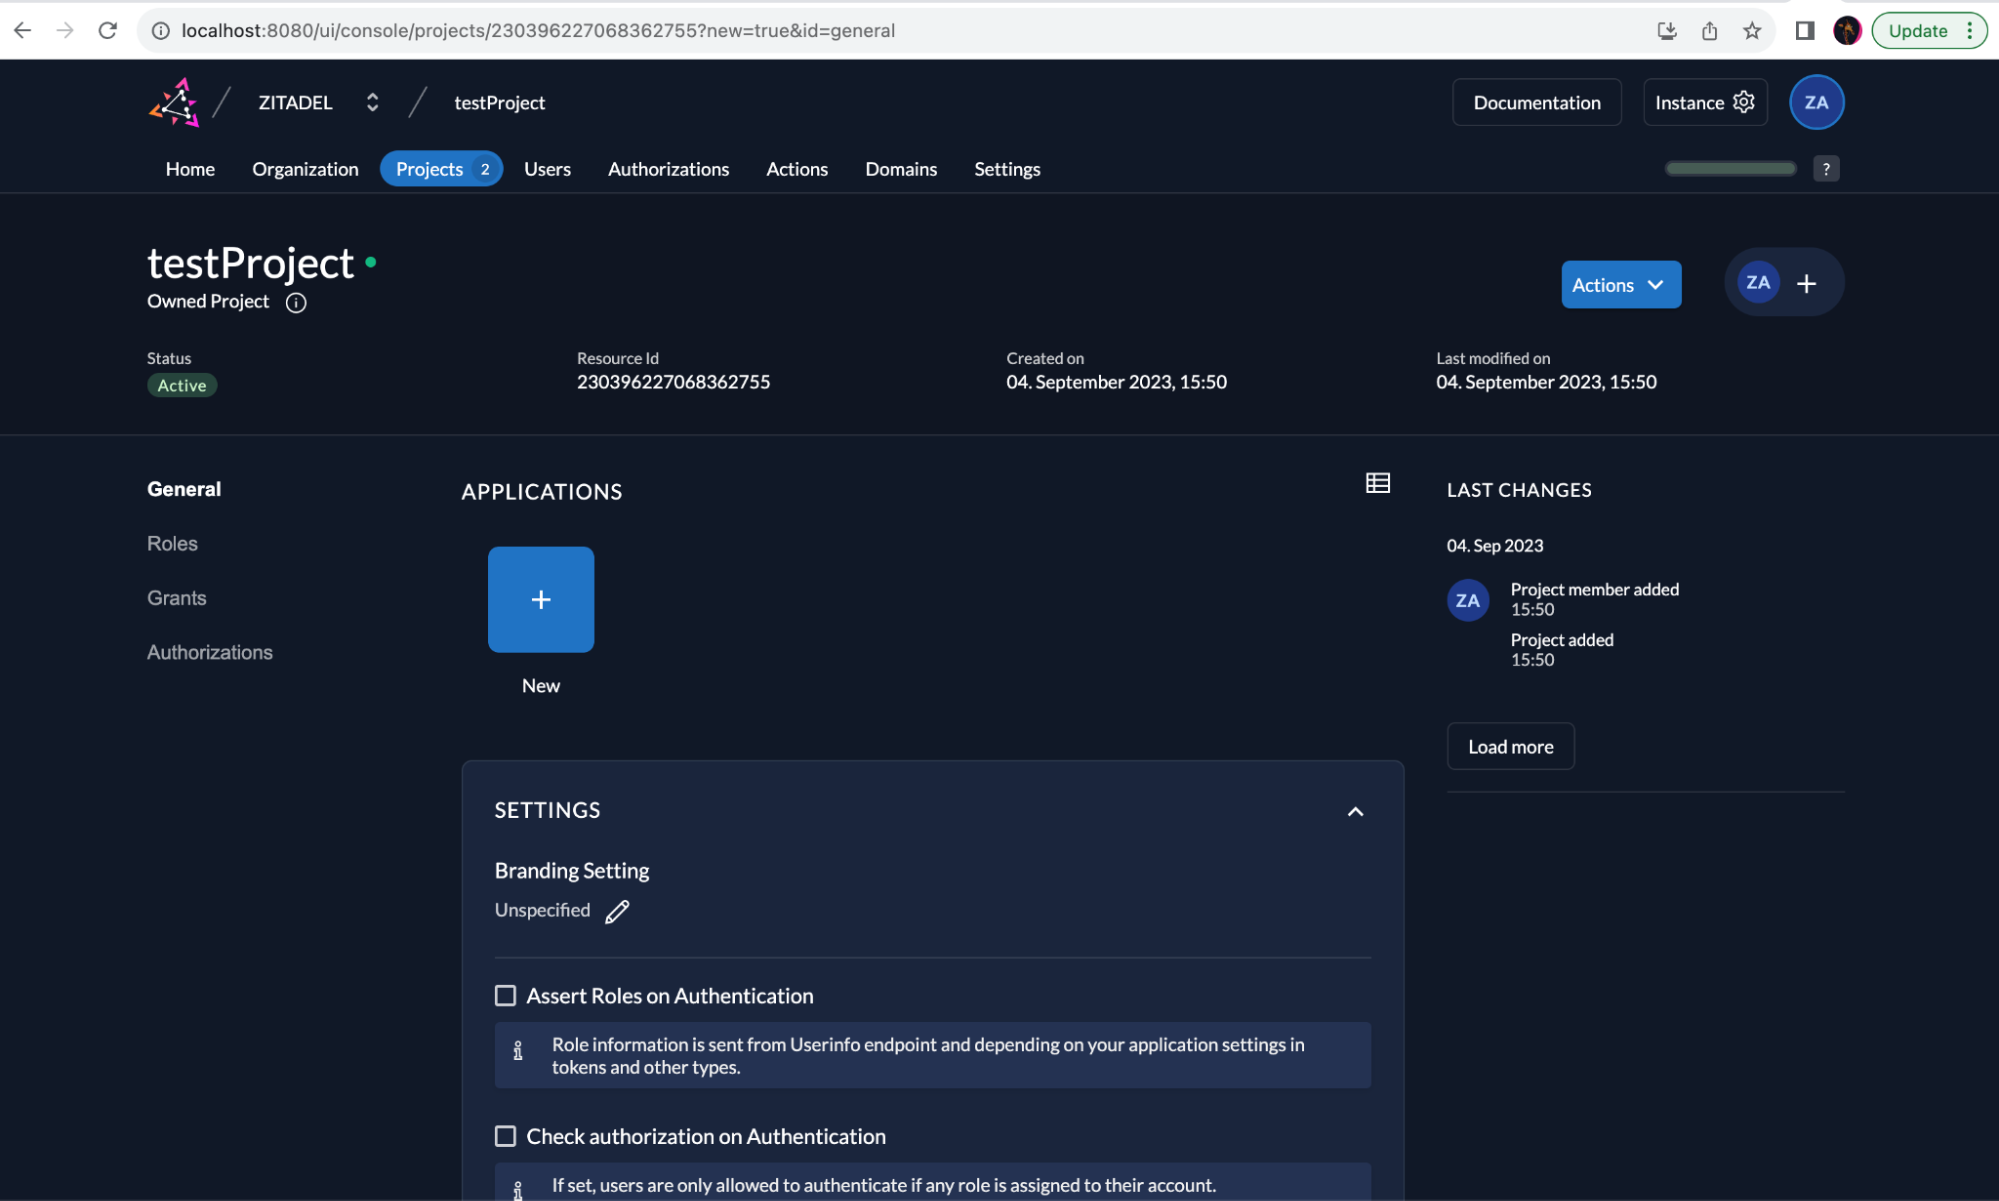
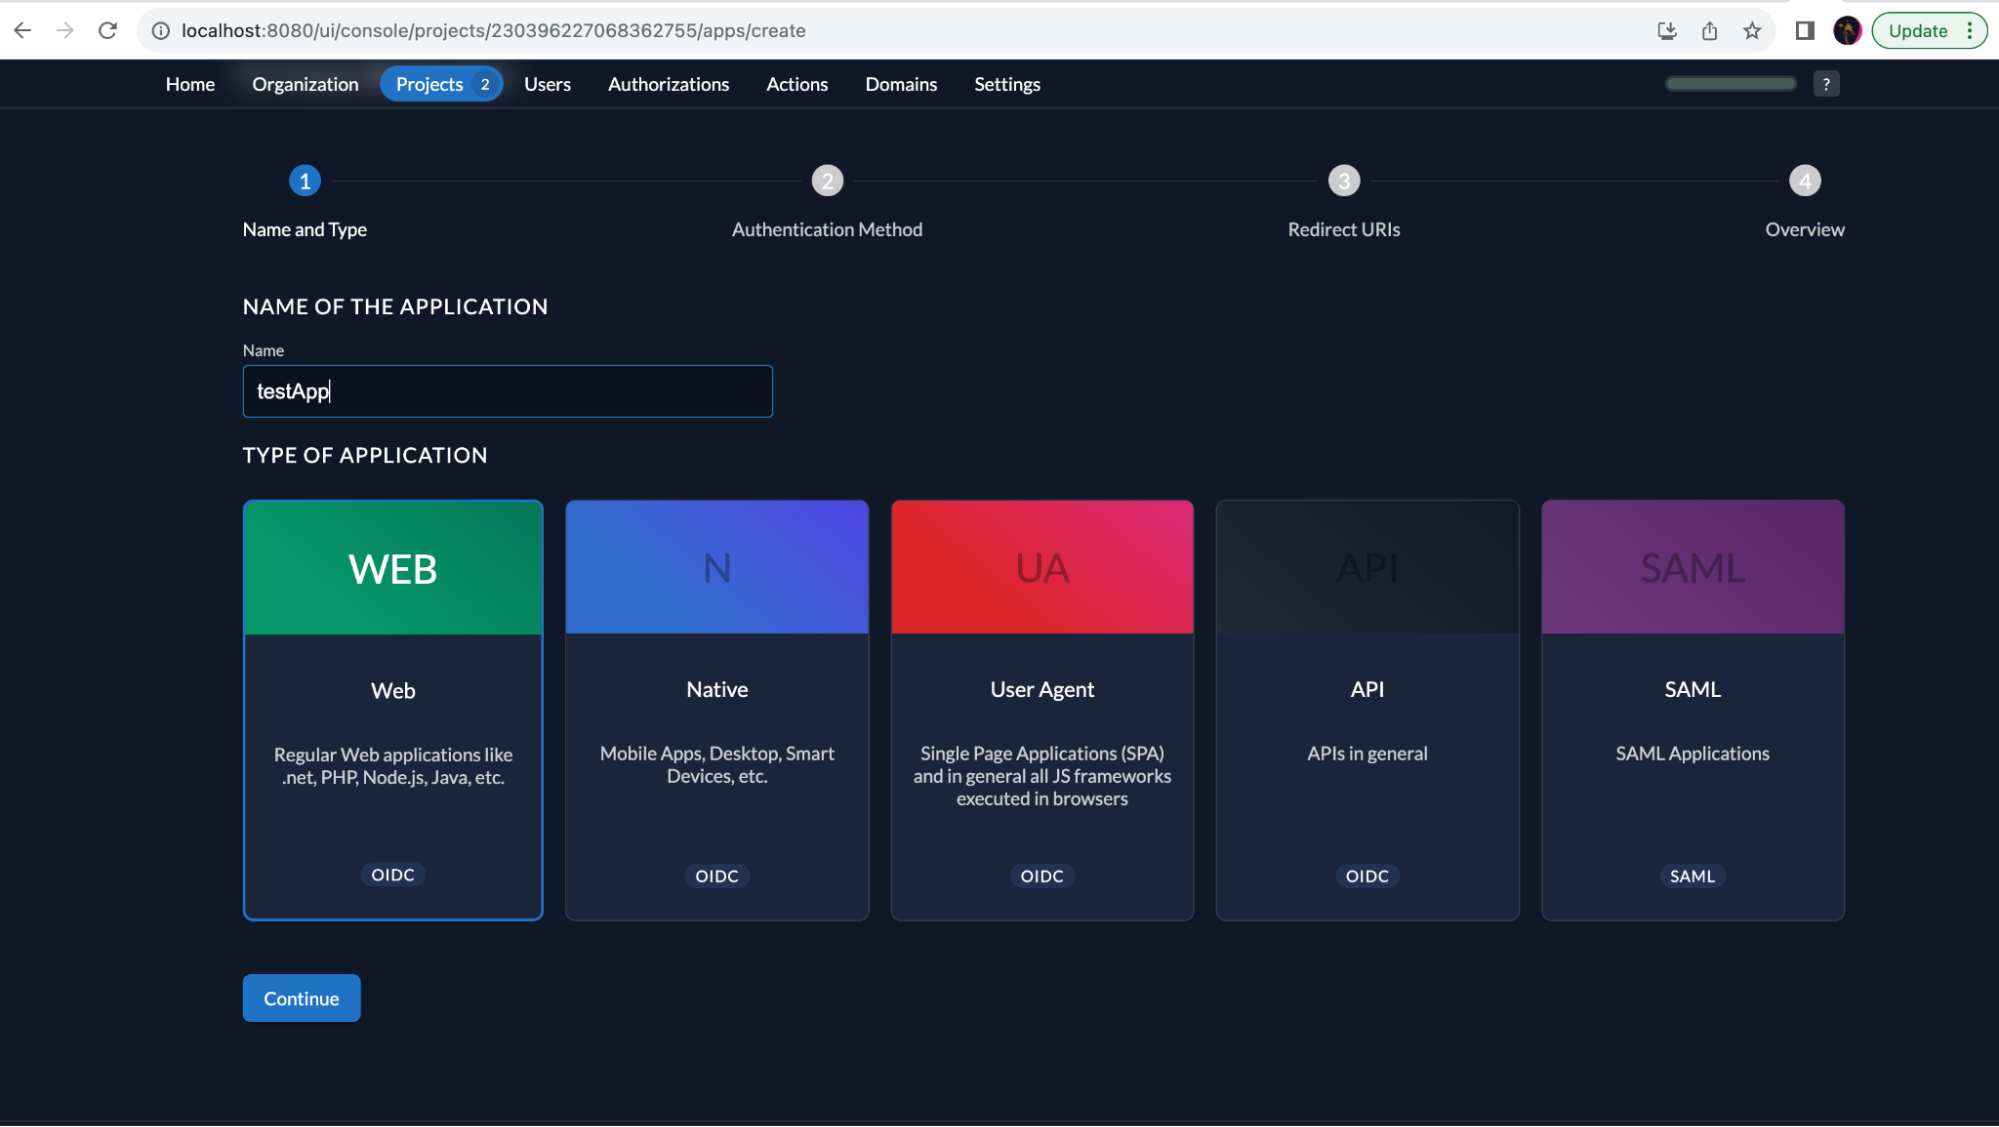
Within a project, click on the + button to create a new application. Fill in the desired name, and select Web for the type of application and click on Continue.
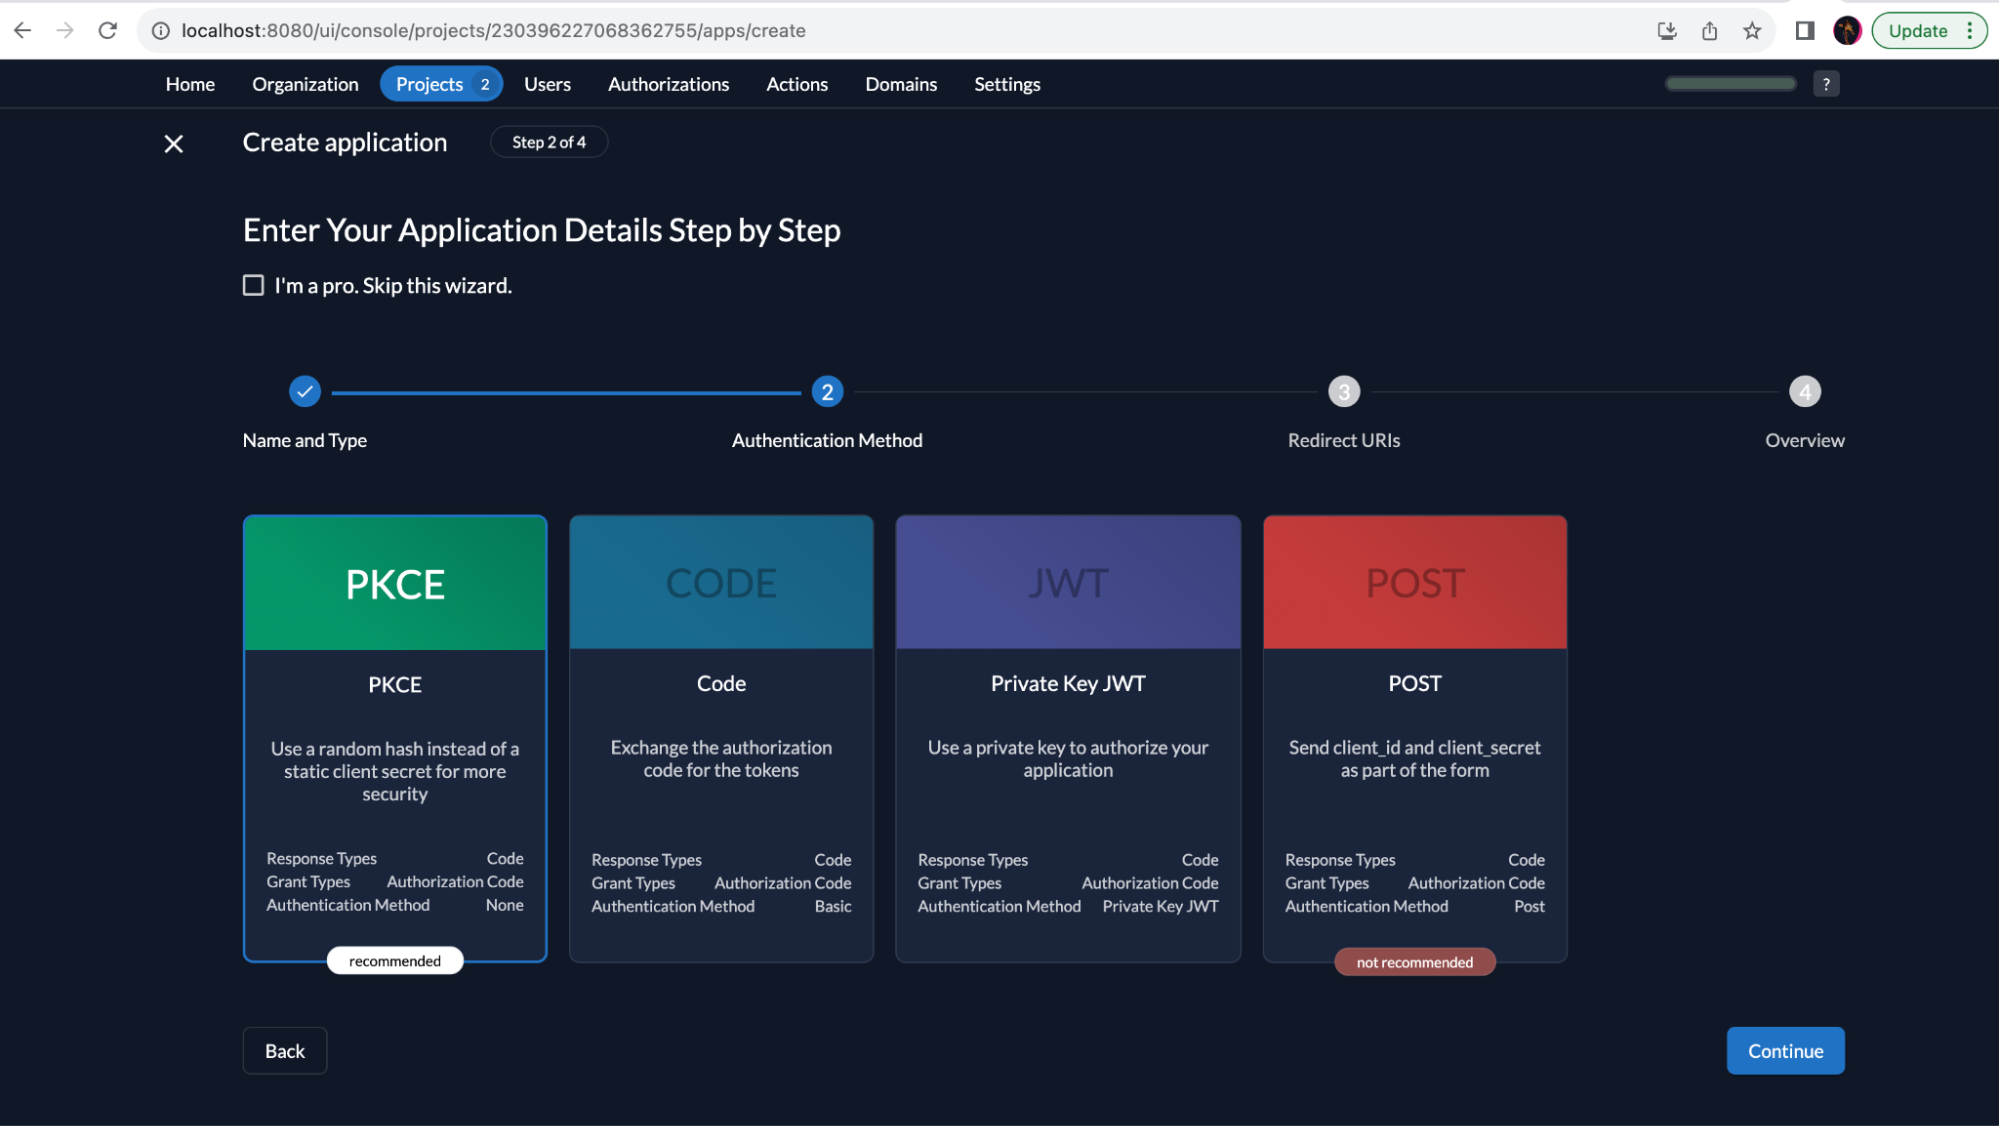
Select PKCE and click Continue.
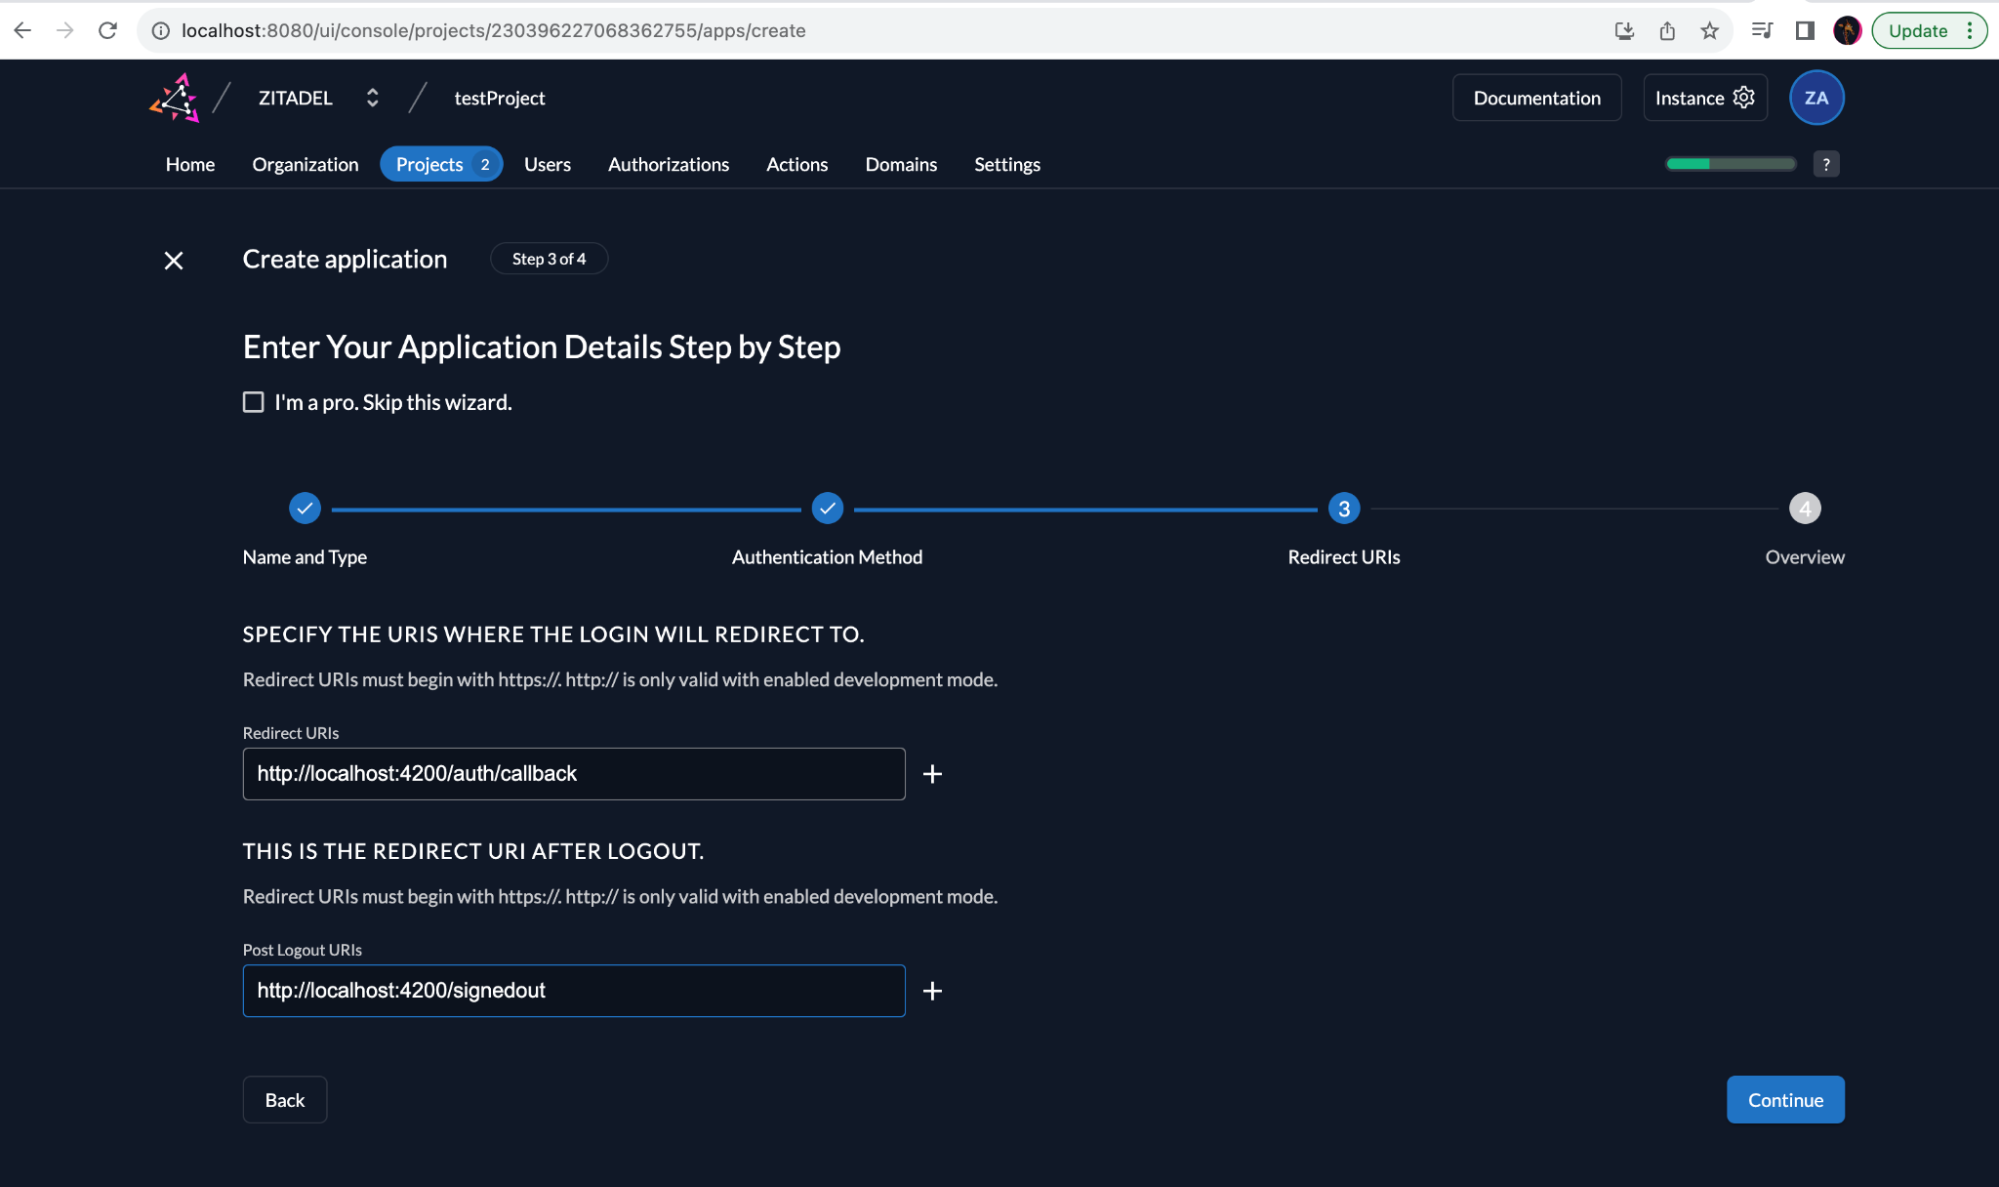
Now configure Redirect URIs (http://localhost:4200/auth/callback ) and Post Logout URIs (http://localhost:4200/signedout ) to the sample application URL, and click Continue.
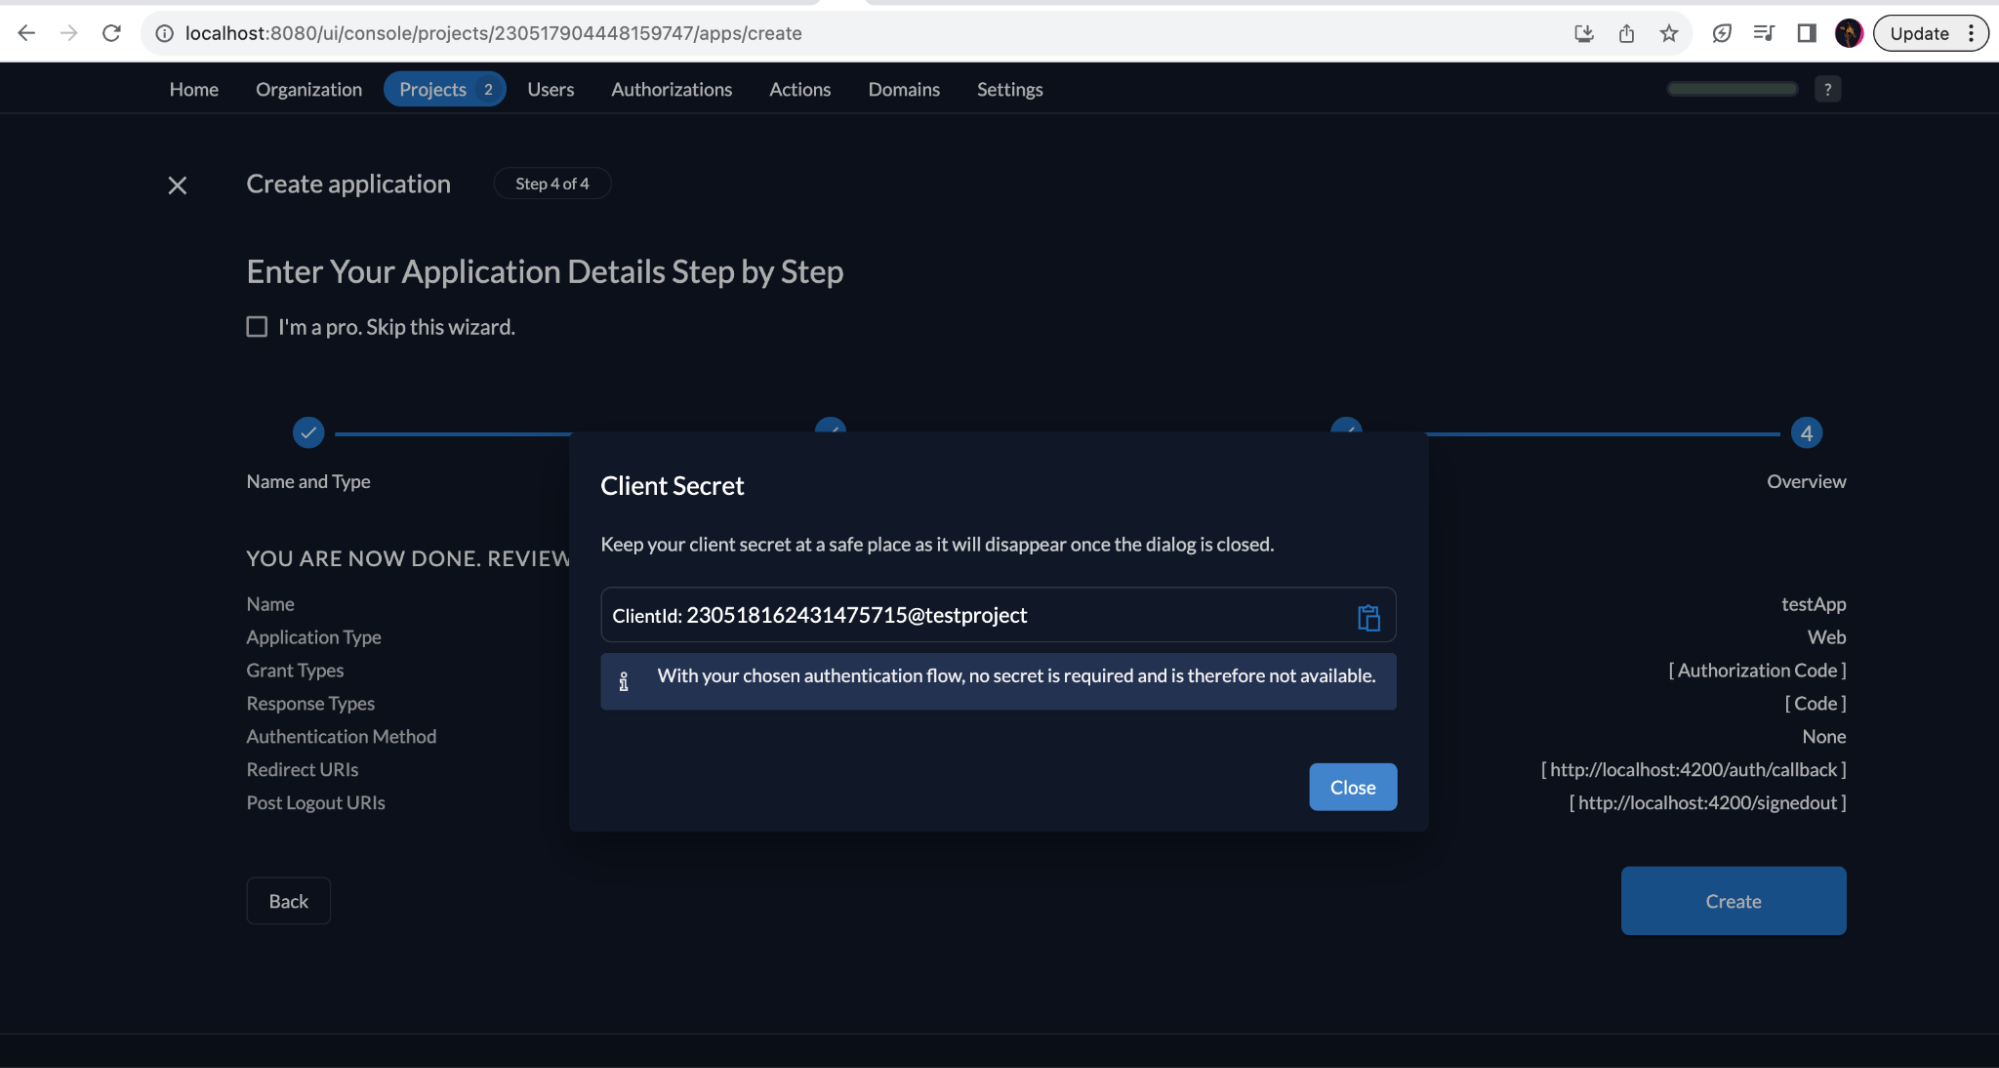
Click on Create to create the new PKCE application in ZITADEL. You will now have access to the randomly generated Client ID, which will be used later on to configure your application:
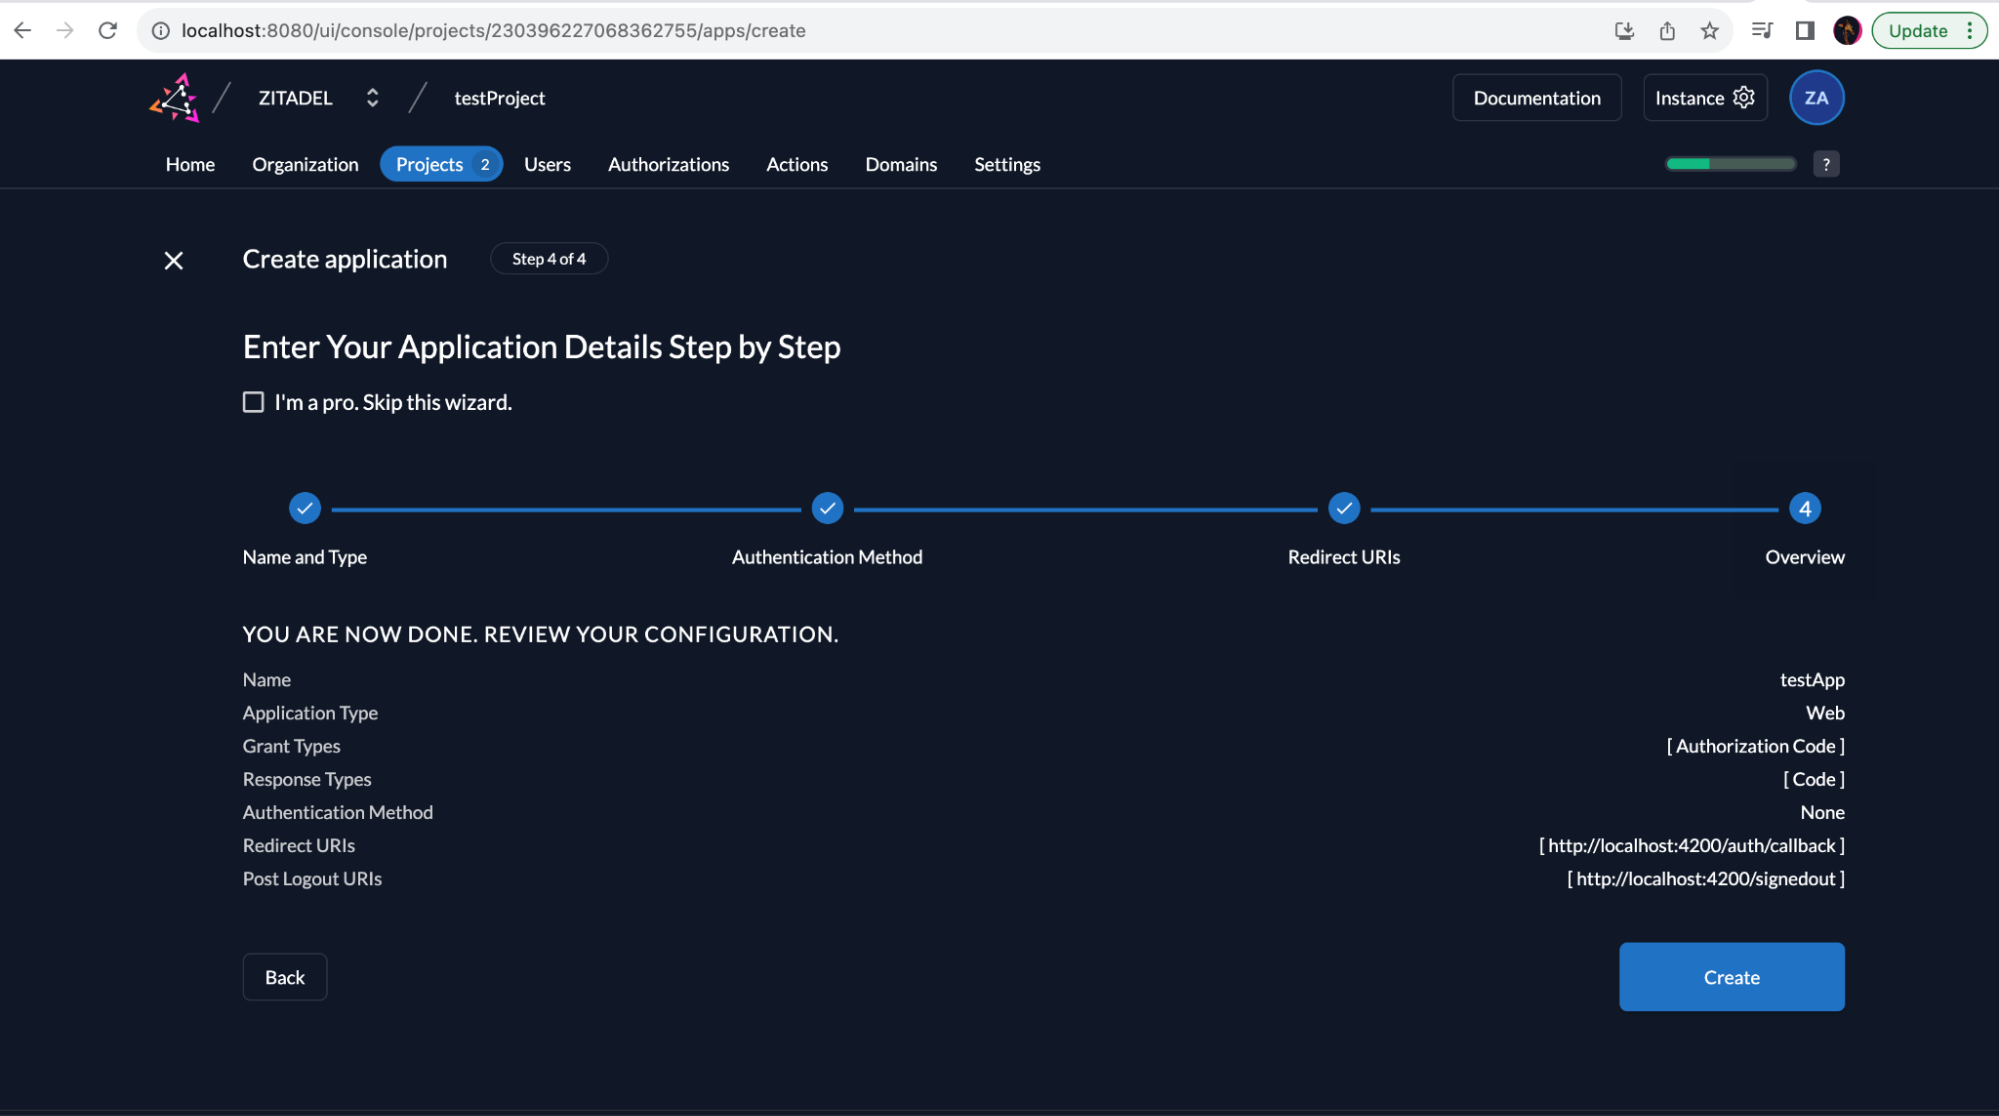
You ClientId will be displayed after you click Create. Make a note of it.
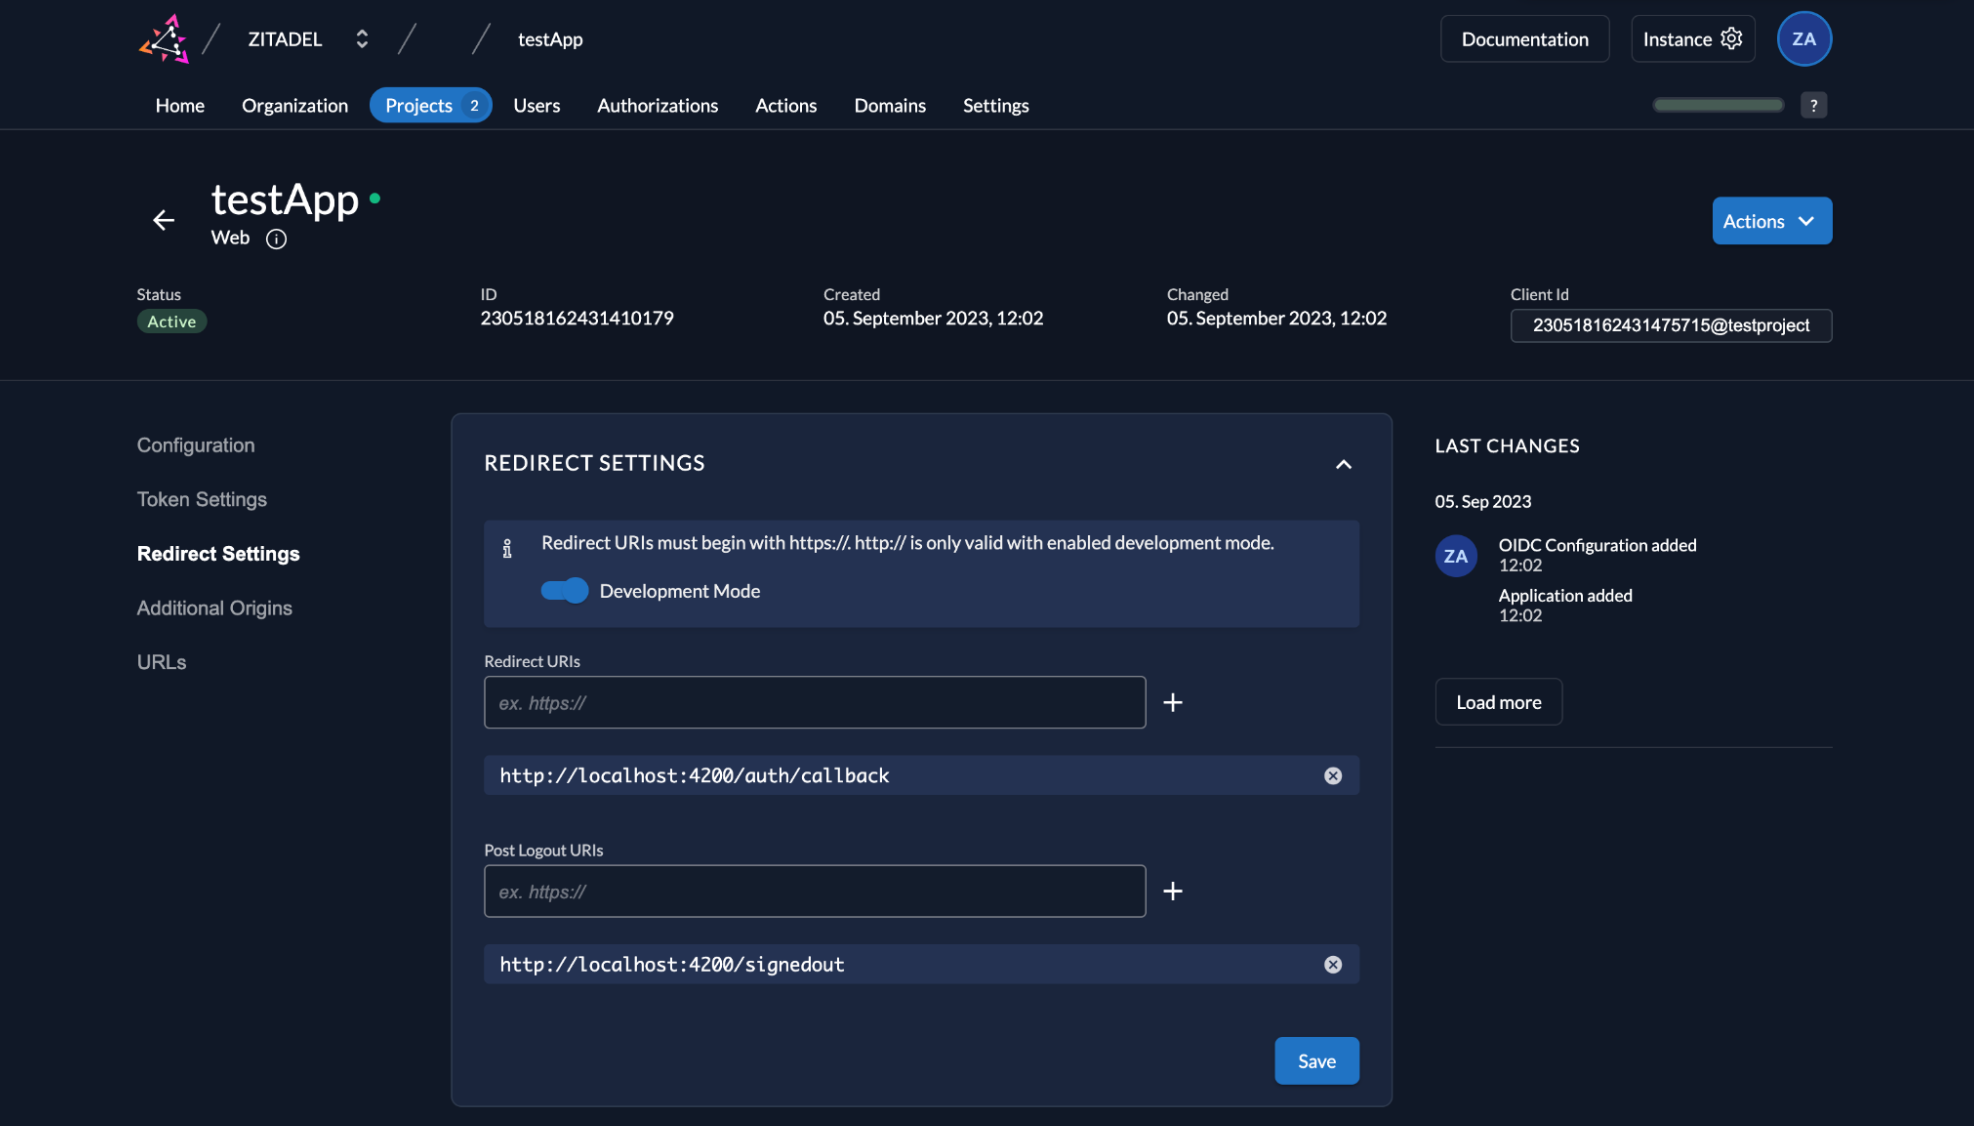
Click on Redirect Settings and select Development Mode via the toggle button.
Now that you've finalized the ZITADEL configuration for the project and application, your last required change is to modify the sample application to now use ZITADEL instead of Keycloak. Since both tools implement the same authentication flows, all you need to do is change the issuer URL and the clientId:
const authConfig: AuthConfig = {
scope: 'openid profile email',
responseType: 'code',
oidc: true,
clientId: '<your_cliend_id>` // e.g. 230518162431475715@testproject
,
issuer: 'http://localhost:8080',
redirectUri: 'http://localhost:4200/auth/callback',
postLogoutRedirectUri: 'http://localhost:4200/signedout',
requireHttps: false, // required for running locally
disableAtHashCheck: true
};
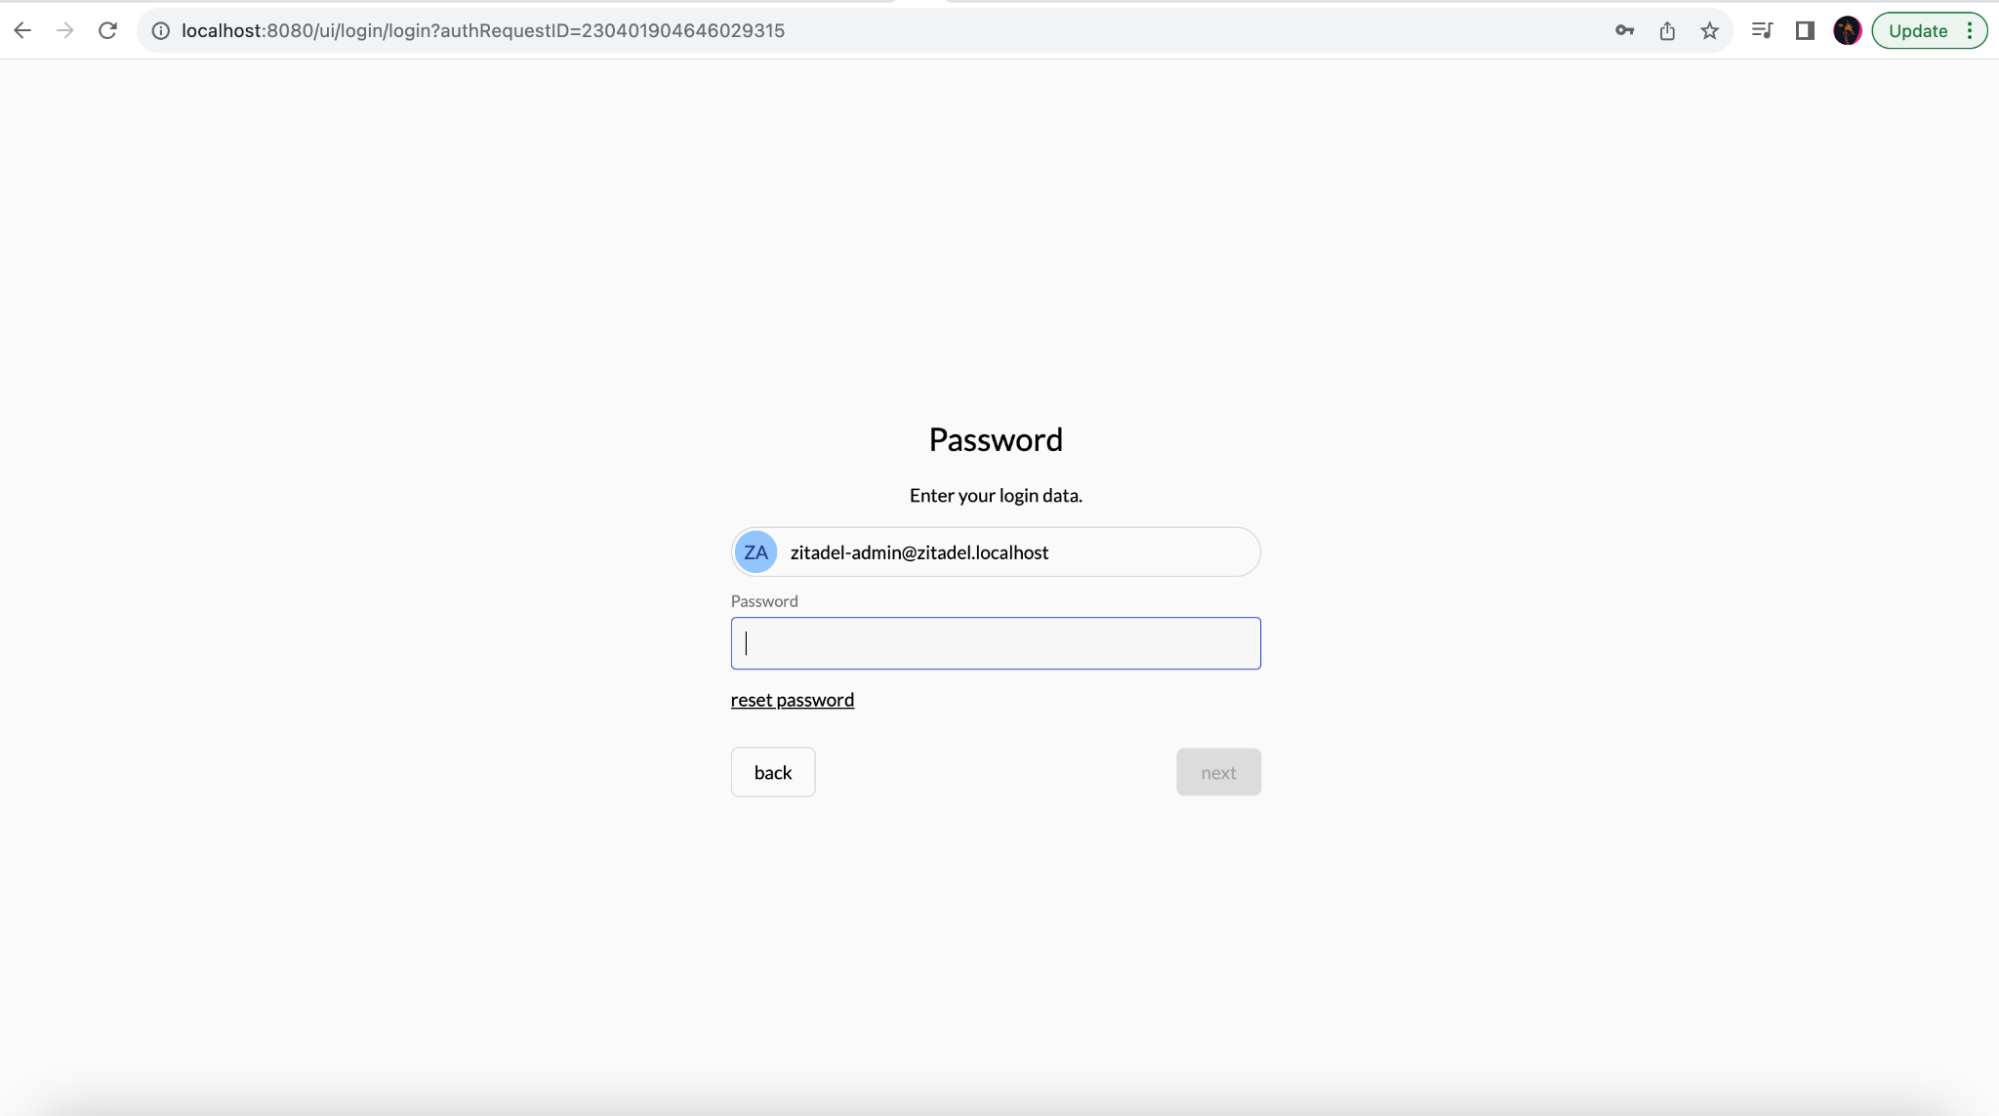
After you change the sample configuration, when attempting to authenticate, the login page will be served by ZITADEL:
npm start
Access http://localhost:4200/. Now, you should have the sample application with ZITADEL for user access management. However, ZITADEL doesn't have any users other than the admin user yet. Try out the application with the ZITADEL admin user for now.
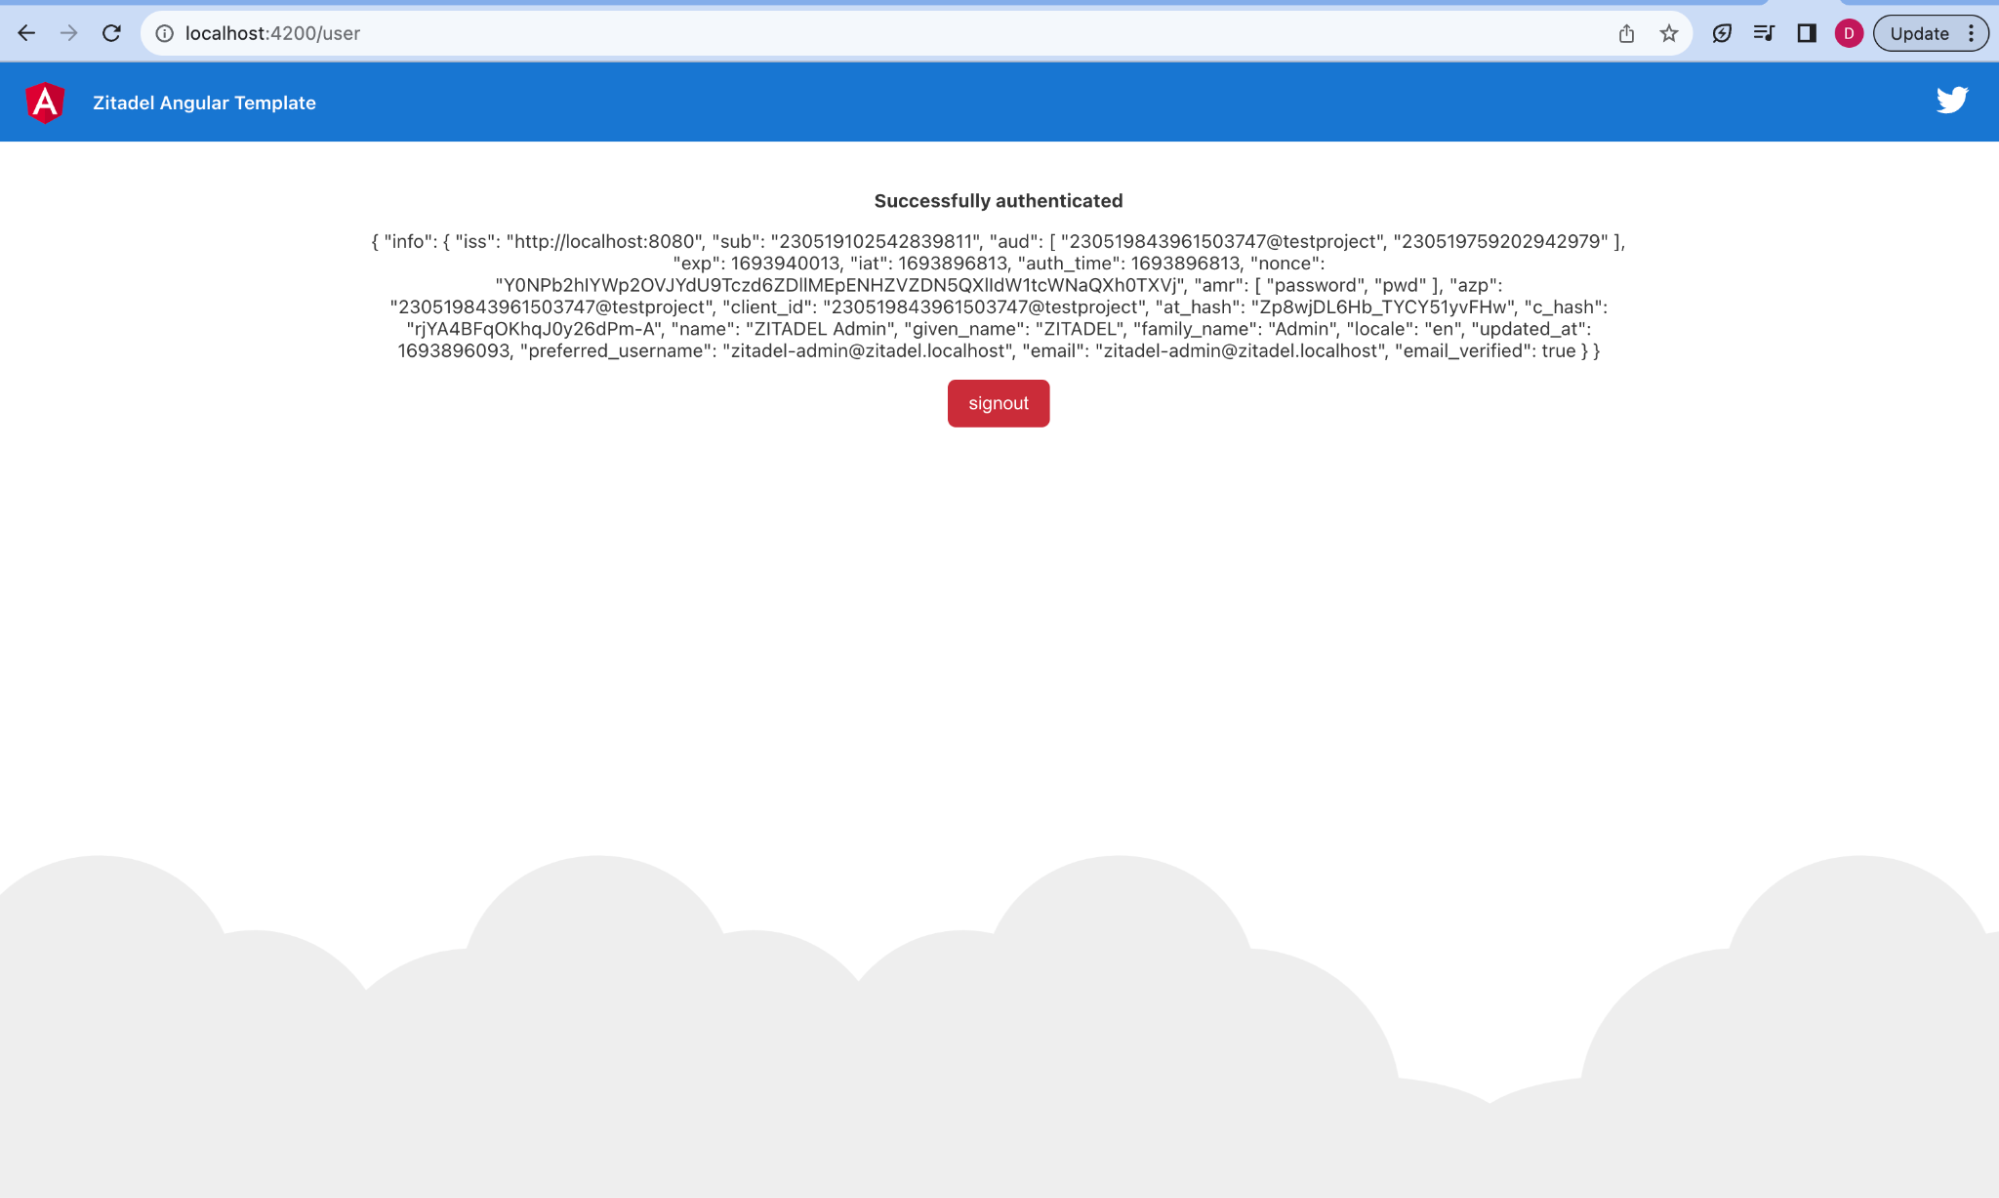
Import Keycloak user into ZITADEL
While moving the functionality from Keycloak to ZITADEL might require only minimal changes, it's important to note that you may also want to move the users that already exist in Keycloak to ZITADEL.
As explained in this ZITADEL user migration guide, you can import users individually or in bulk. Since we are looking at importing a single user from Keycloak, migrating that individual user to ZITADEL can be done with the ImportHumanUser endpoint.
With this endpoint, an email will only be sent to the user if the email is marked as not verified or if there's no password set.
Create a service user to consume ZITADEL API
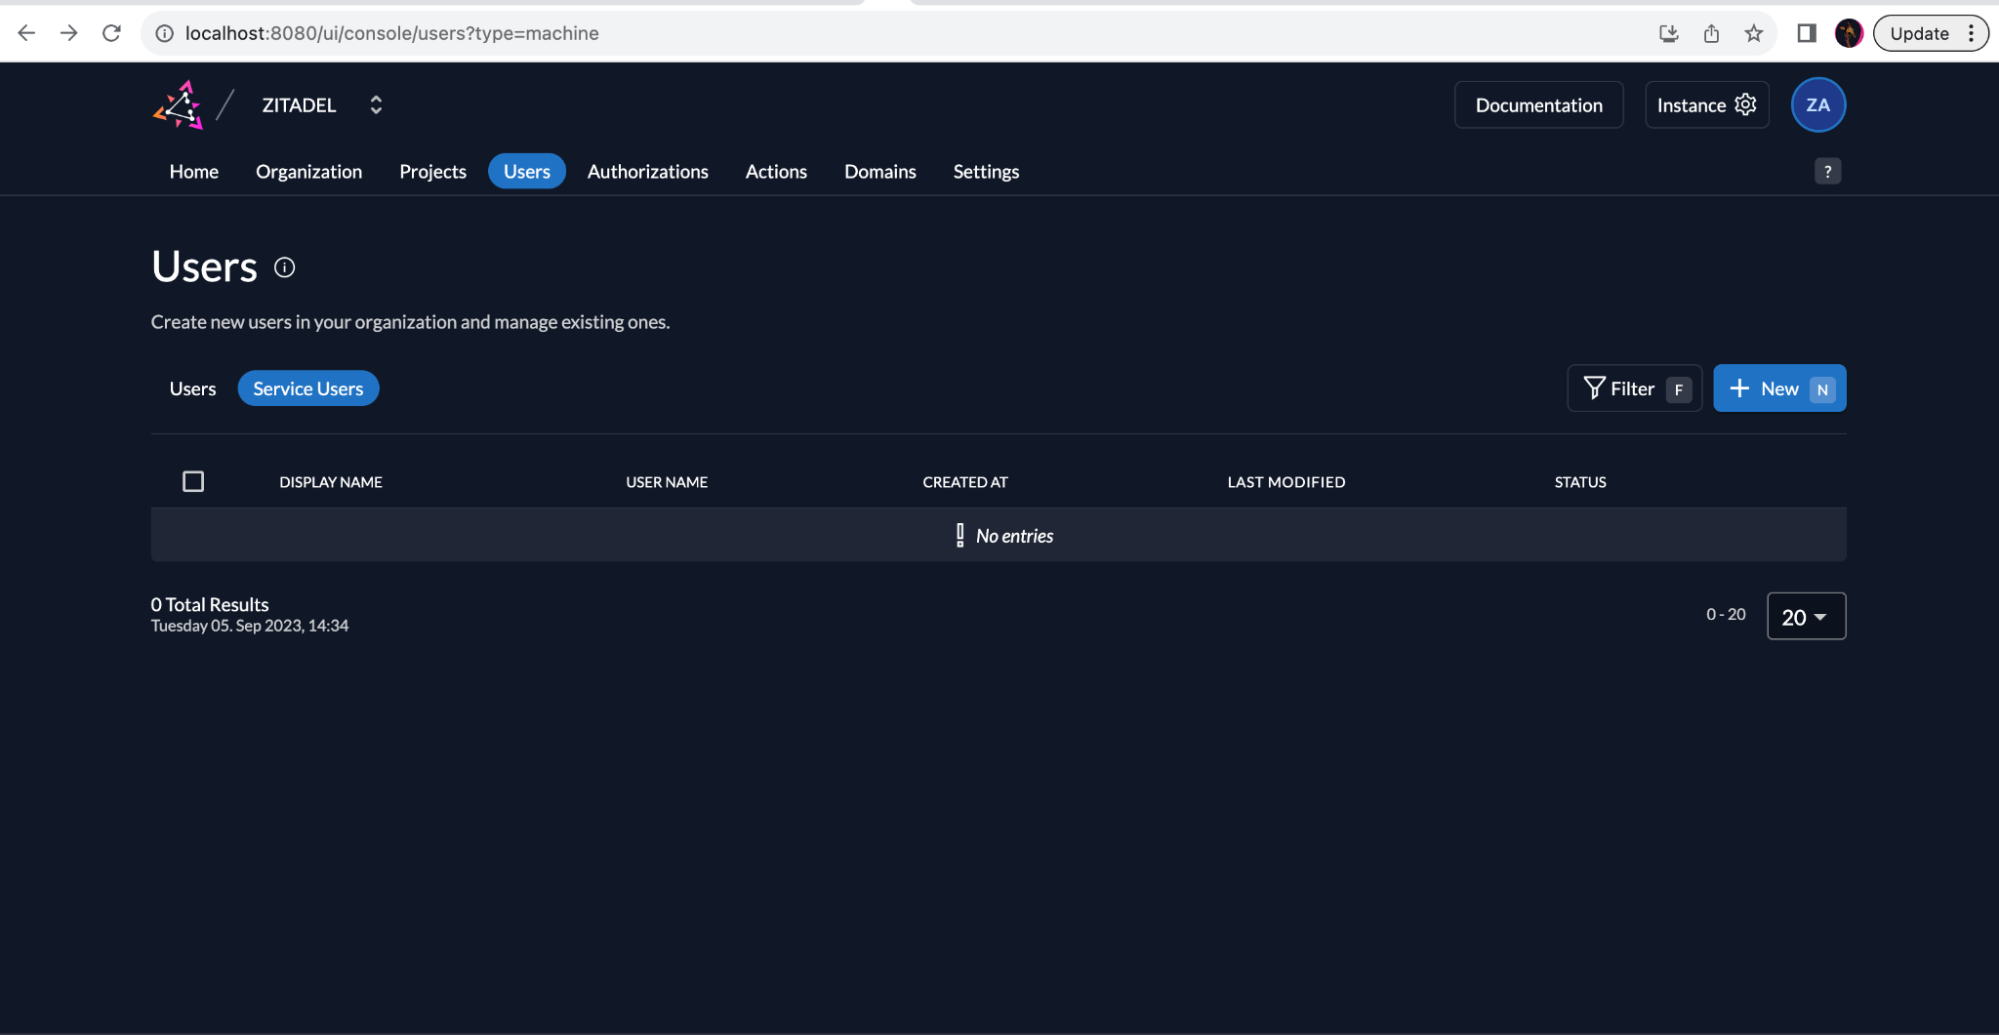
But first of all, in order to use this ZITADEL API, you need to create a service user.
Go to the Users menu and select the Service Users tab. And click the + New button.
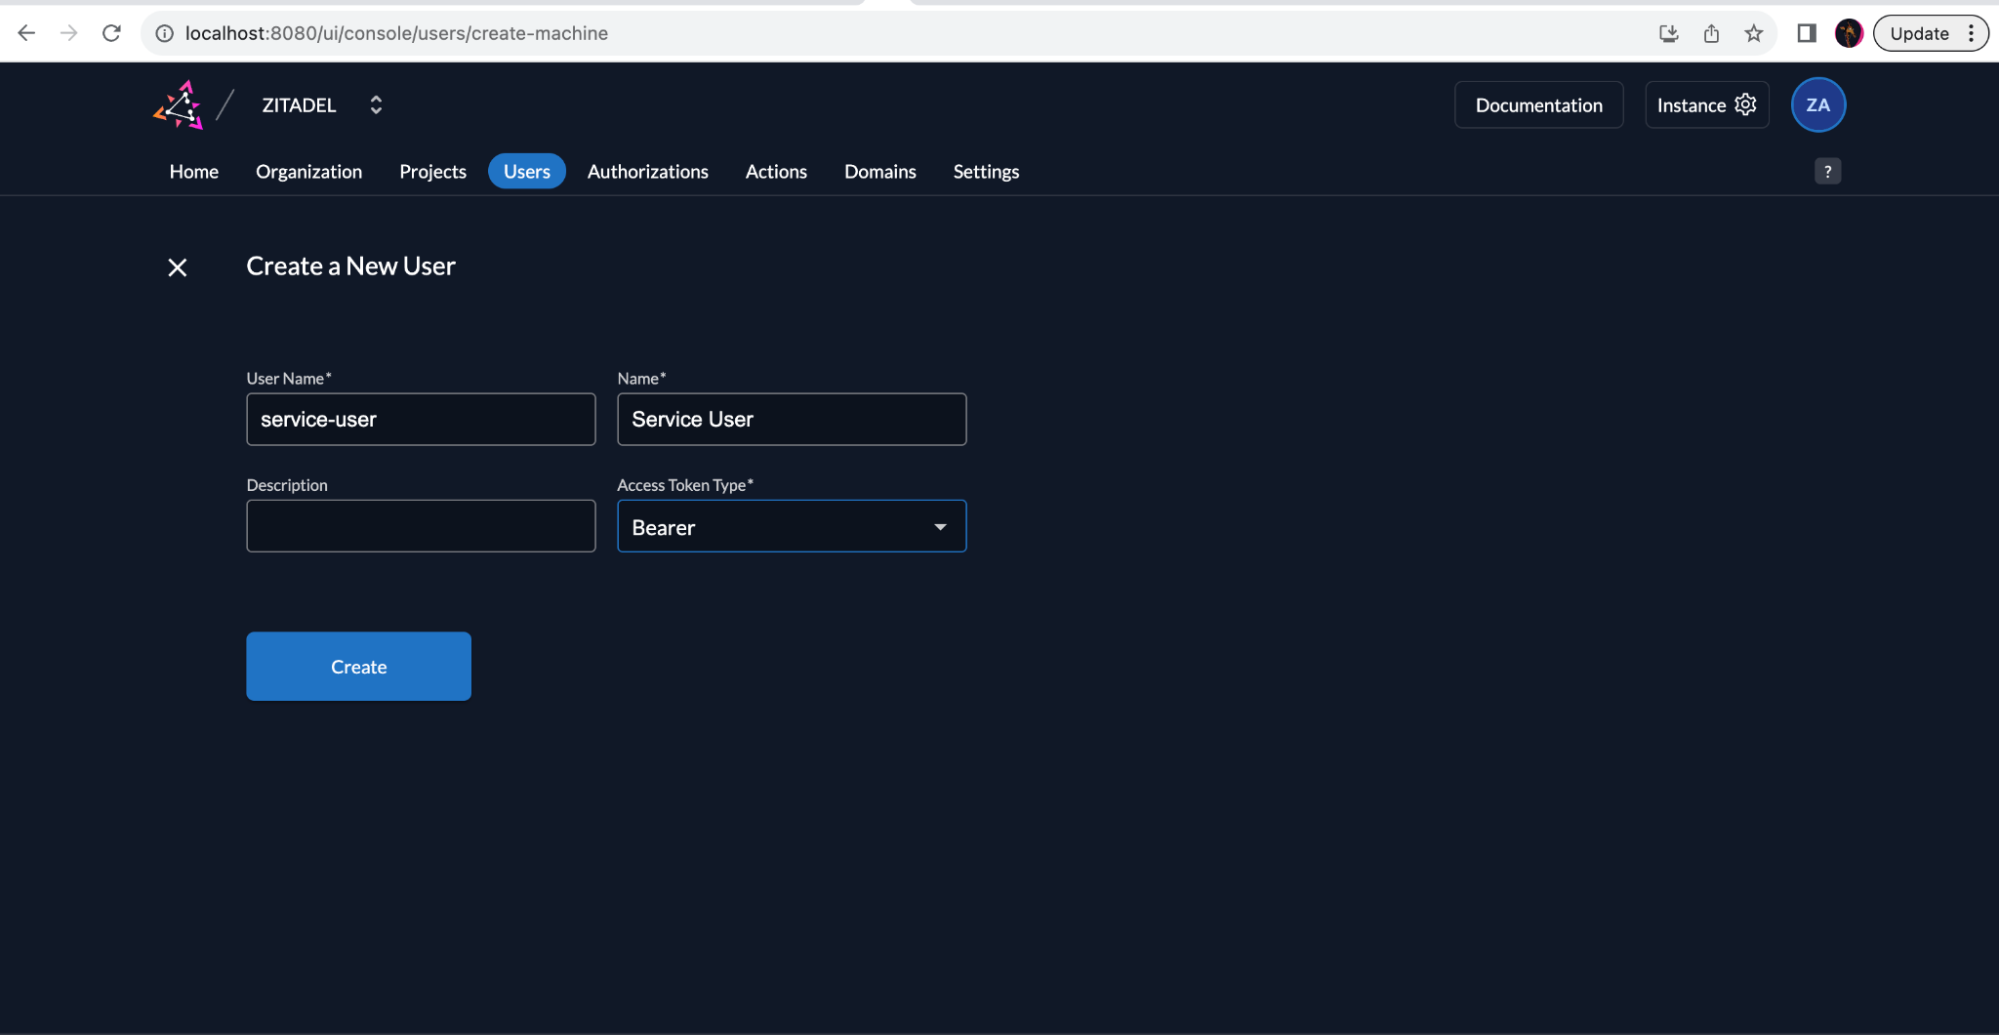
Fill in the details of the service user and click Create.
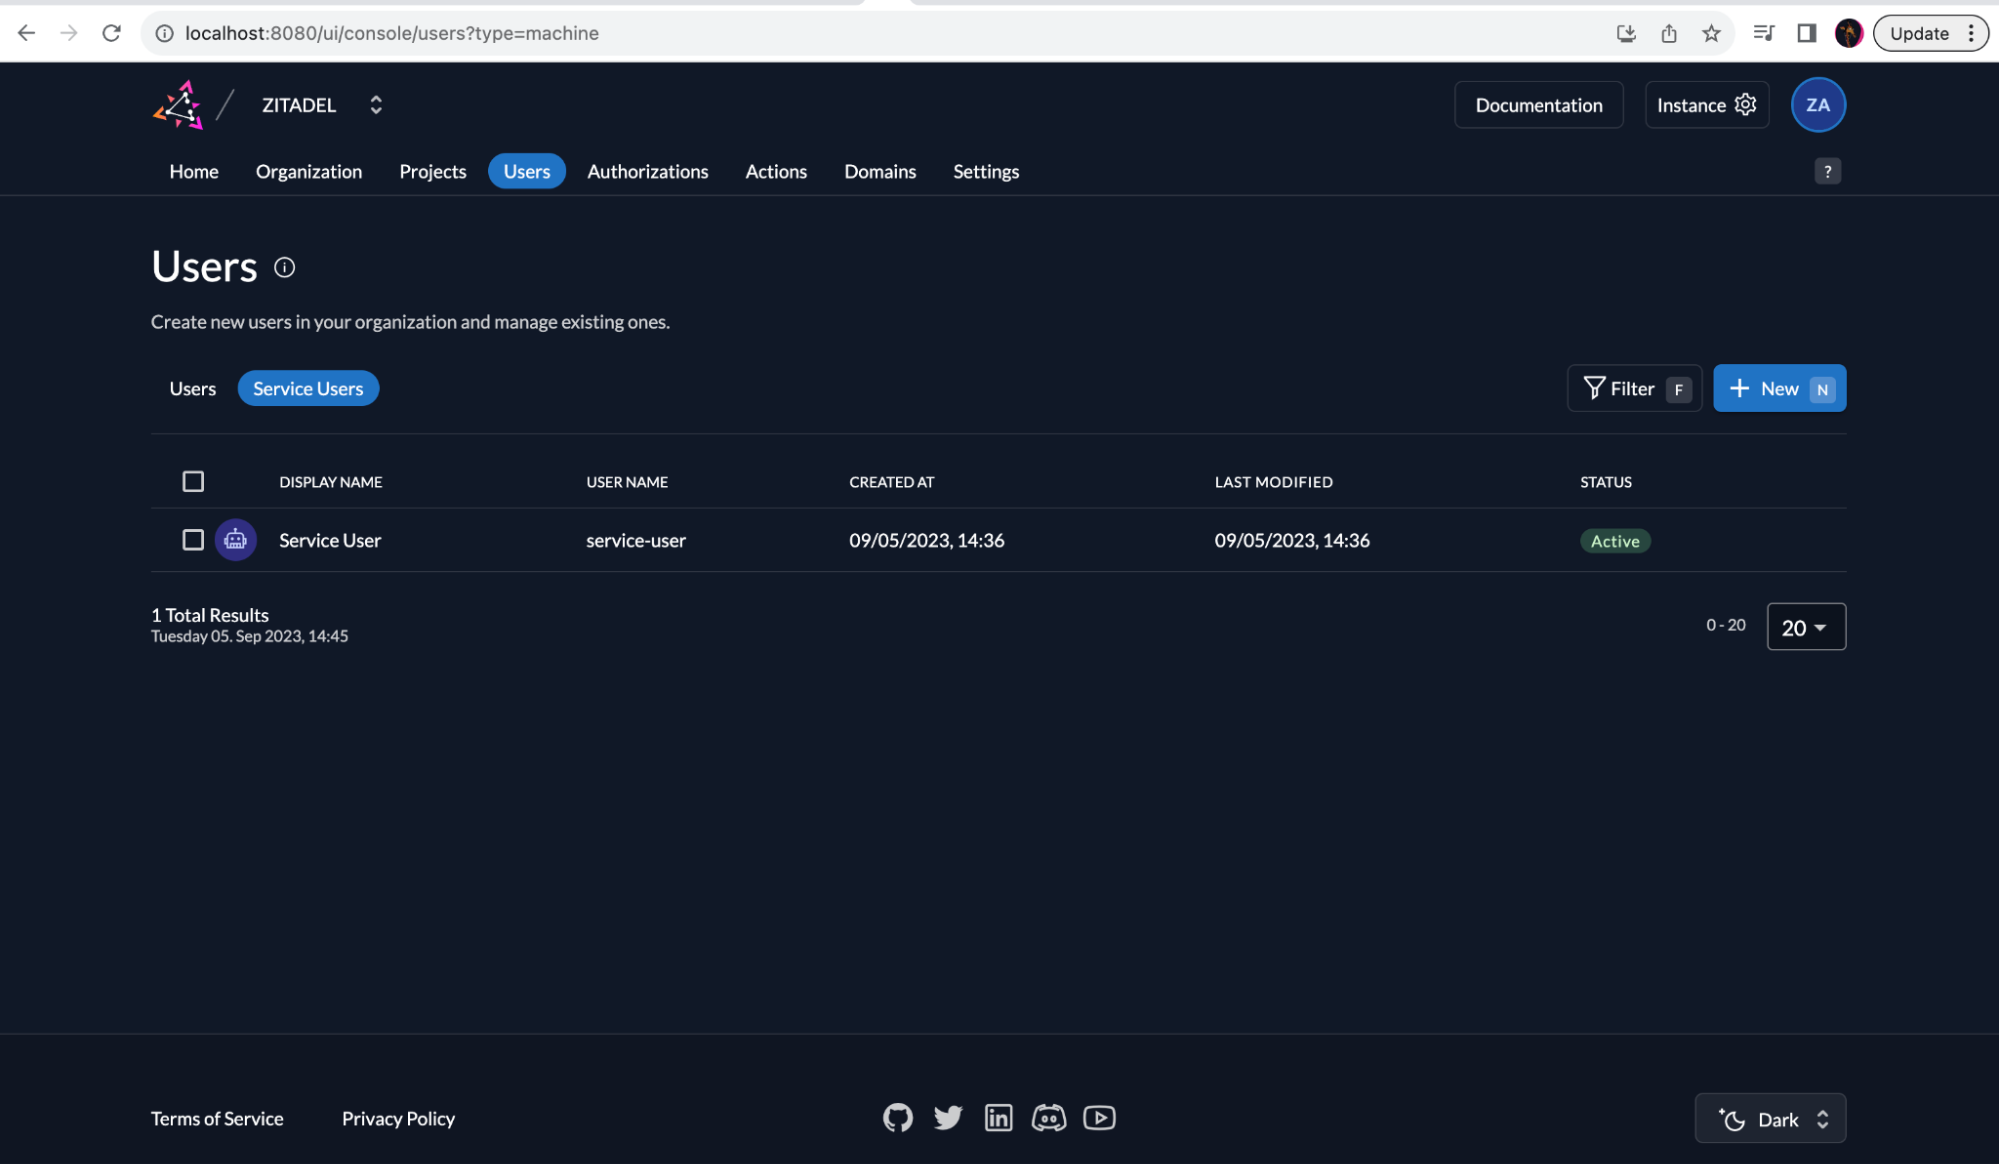
Your service user is now created and listed.
Provide 'Org Owner' permissions to the service user
This service user needs to have elevated permissions in order to import users. For this example, you should make the service user an organization owner as explained in this guide.
Let's change the permissions as follows:
Click on the button shown in the image below:

Next, select your service user that you created and select the Org Owner checkbox to assign the permissions of an organization owner to the service user.

Generate an access token for the service user
In order for the service user to access the API, they must be able to authenticate themselves. To authenticate the user, you can use either JWT with Private Key flow (recommended for production) or Personal Access Tokens(PAT). In this tutorial we will choose the latter.
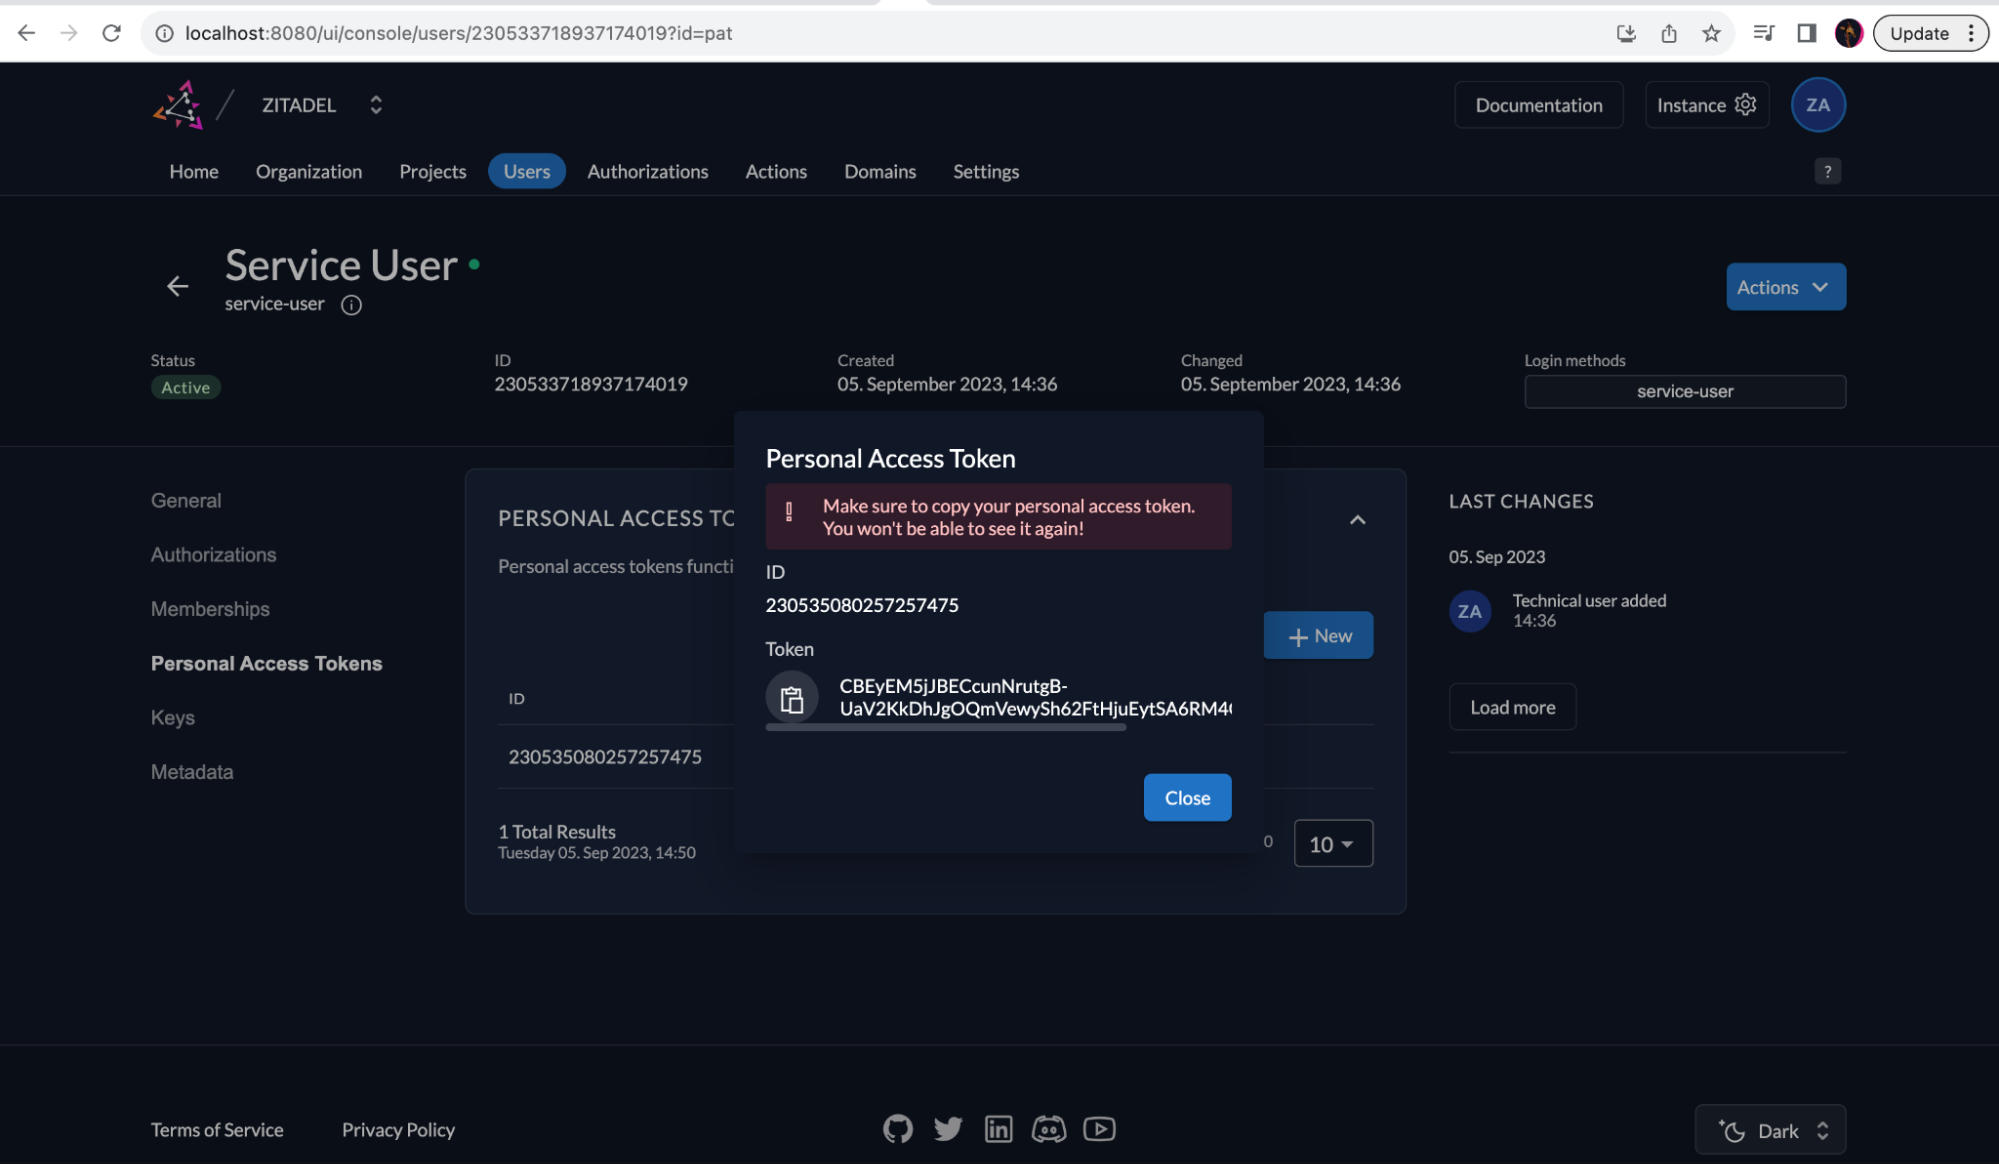
Go to Users -> Service Users again and click on the service user, then select Personal Access Tokens on the left and click the + New button. Copy the generated personal access token to use it later. Click Close after copying the PAT.
Import user to ZITADEL via ZITADEL API
if your Keycloak Realm has a single user, your my-realm-users-0.json file, into which you exported your Keycloak user previously, will look like this:
{
   "realm":"my-realm",
   "users":[
      {
         "id":"826731b2-bf17-4bd9-b45c-6a26c76ddaae",
         "createdTimestamp":1693887631918,
         "username":"test-user",
         "enabled":true,
         "totp":false,
         "emailVerified":true,
         "firstName":"John",
         "lastName":"Doe",
         "email":"test-user@mail.com",
         "credentials":[
            {
               "id":"c3f3759e-9d8a-4628-aad9-09e66f28a4e2",
               "type":"password",
               "userLabel":"My password",
               "createdDate":1693888572700,
               "secretData":"{\"value\":\"ng6oDRung/pBLayd5ro7IU3mL/p86pg3WvQNQc+N1Eg=\",\"salt\":\"RaXjs4RiUKgJGkX6kp277w==\",\"additionalParameters\":{}}",
               "credentialData":"{\"hashIterations\":27500,\"algorithm\":\"pbkdf2-sha256\",\"additionalParameters\":{}}"
            }
         ],
         "disableableCredentialTypes":[

         ],
         "requiredActions":[

         ],
         "realmRoles":[
            "default-roles-my-realm"
         ],
         "notBefore":0,
         "groups":[

         ]
      }
   ]
}
Now, you need to transform the JSON to the ZITADEL data format by adhering to the ZITADEL API specification to import a user. The minimal format would be as shown below:
{
   "userName":"test-user",
   "profile":{
      "firstName":"John",
      "lastName":"Doe"
   },
   "email":{
      "email":"test-user@mail.com",
      "isEmailVerified":true
   },
   "hashedPassword":{
      "value":"$pbkdf2-sha256$27500$RaXjs4RiUKgJGkX6kp277w==$ng6oDRung/pBLayd5ro7IU3mL/p86pg3WvQNQc+N1Eg="
   }
}
Next, you must install zitadel-tools, which is a utility toolset designed to facilitate various interactions with the ZITADEL platform, mainly with tasks related to authentication, authorization, and data migration. We will be using the migrate command:
Purpose: Assists users in transforming exported data from other identity providers to be compatible with Zitadel's import schema. Supported Providers: Currently, migrations from Auth0 and Keycloak are supported. Usage: Users can get a list of available sub-commands and flags with the --help flag.
Install zitadel-tools using the command below. Ensure you have Go already installed on your machine.
go install github.com/zitadel/zitadel-tools@main
Now you can run the migration tool for Keycloak as explained in this guide. Let's go through the steps:
The Keycloak migration tool facilitates the transfer of data to ZITADEL by creating a JSON file tailored to serve as the body for an import request to the ZITADEL API. Note that it's essential that an organization already exists within ZITADEL/
To perform the migration, you'll need:
- The organization ID (--org)
- A realm.json file (in our case,
my-realm-users-0.json) that houses your exported Keycloak realm with user details (--realm). - Output path via --output (default: ./importBody.json)
- Timeout duration for the data import request using --timeout (default: 30 minutes)
- Pretty printing the output JSON with --multiline.
Execute with:
zitadel-tools migrate keycloak --org=<organisation id> --realm=./realm.json --output=./importBody.json --timeout=1h --multiline
Example:
zitadel-tools migrate keycloak --org=233868910057750531 --realm=./my-realm-users-0.json --output=./importBody.json --timeout=1h --multiline
Ensure my-realm-users-0.json is in the same directory for the tool to process it, or provide the path to the file.
importBody.json will now contain the transformed data as shown below:
{
   "dataOrgs":{
      "orgs":[
         {
            "orgId":"233868910057750531",
            "humanUsers":[
               {
                  "userId":"826731b2-bf17-4bd9-b45c-6a26c76ddaae",
                  "user":{
                     "userName":"test-user",
                     "profile":{
                        "firstName":"John",
                        "lastName":"Doe"
                     },
                     "email":{
                        "email":"test-user@mail.com",
                        "isEmailVerified":true
                     },
                     "hashedPassword":{
                        "value":"$pbkdf2-sha256$27500$RaXjs4RiUKgJGkX6kp277w==$ng6oDRung/pBLayd5ro7IU3mL/p86pg3WvQNQc+N1Eg="
                     }
                  }
               }
            ]
         }
      ]
   },
   "timeout":"1h0m0s"
}
Now copy the following portion to a separate file and name the file zitadel-users-file.json.
"userId":"826731b2-bf17-4bd9-b45c-6a26c76ddaae",
"user":{
   "userName":"test-user",
   "profile":{
      "firstName":"John",
      "lastName":"Doe"
   },
   "email":{
      "email":"test-user@mail.com",
      "isEmailVerified":true
   },
   "hashedPassword":{
      "value":"$pbkdf2-sha256$27500$RaXjs4RiUKgJGkX6kp277w==$ng6oDRung/pBLayd5ro7IU3mL/p86pg3WvQNQc+N1Eg="
   }
}
Now that we have the user details in the required JSON format, let’s call the ZITADEL API to add the user.
Run the following cURL command to invoke the API and don't forget to replace <service user access token> with the service user's personal access token:
curl --request POST \
--url http://localhost:8080/management/v1/users/human/_import \
--header 'Content-Type: application/json' \
--header 'Authorization: Bearer <service user access token>' \
--data @zitadel-users-file.json
A successful response would be as shown below:

Note that the previous request imports a single user. If you're using ZITADEL Cloud and have a large number of users, you may hit its rate limit or may need to pay the excess number of API requests. If you experience this, reach out to the ZITADEL support team, as they can provide an alternative migration tools to move a large number of users.
Now you have imported the Keycloak user into ZITADEL. To view your user go to http://localhost:8080/ui/console/users (or go to the Users tab to see the users).
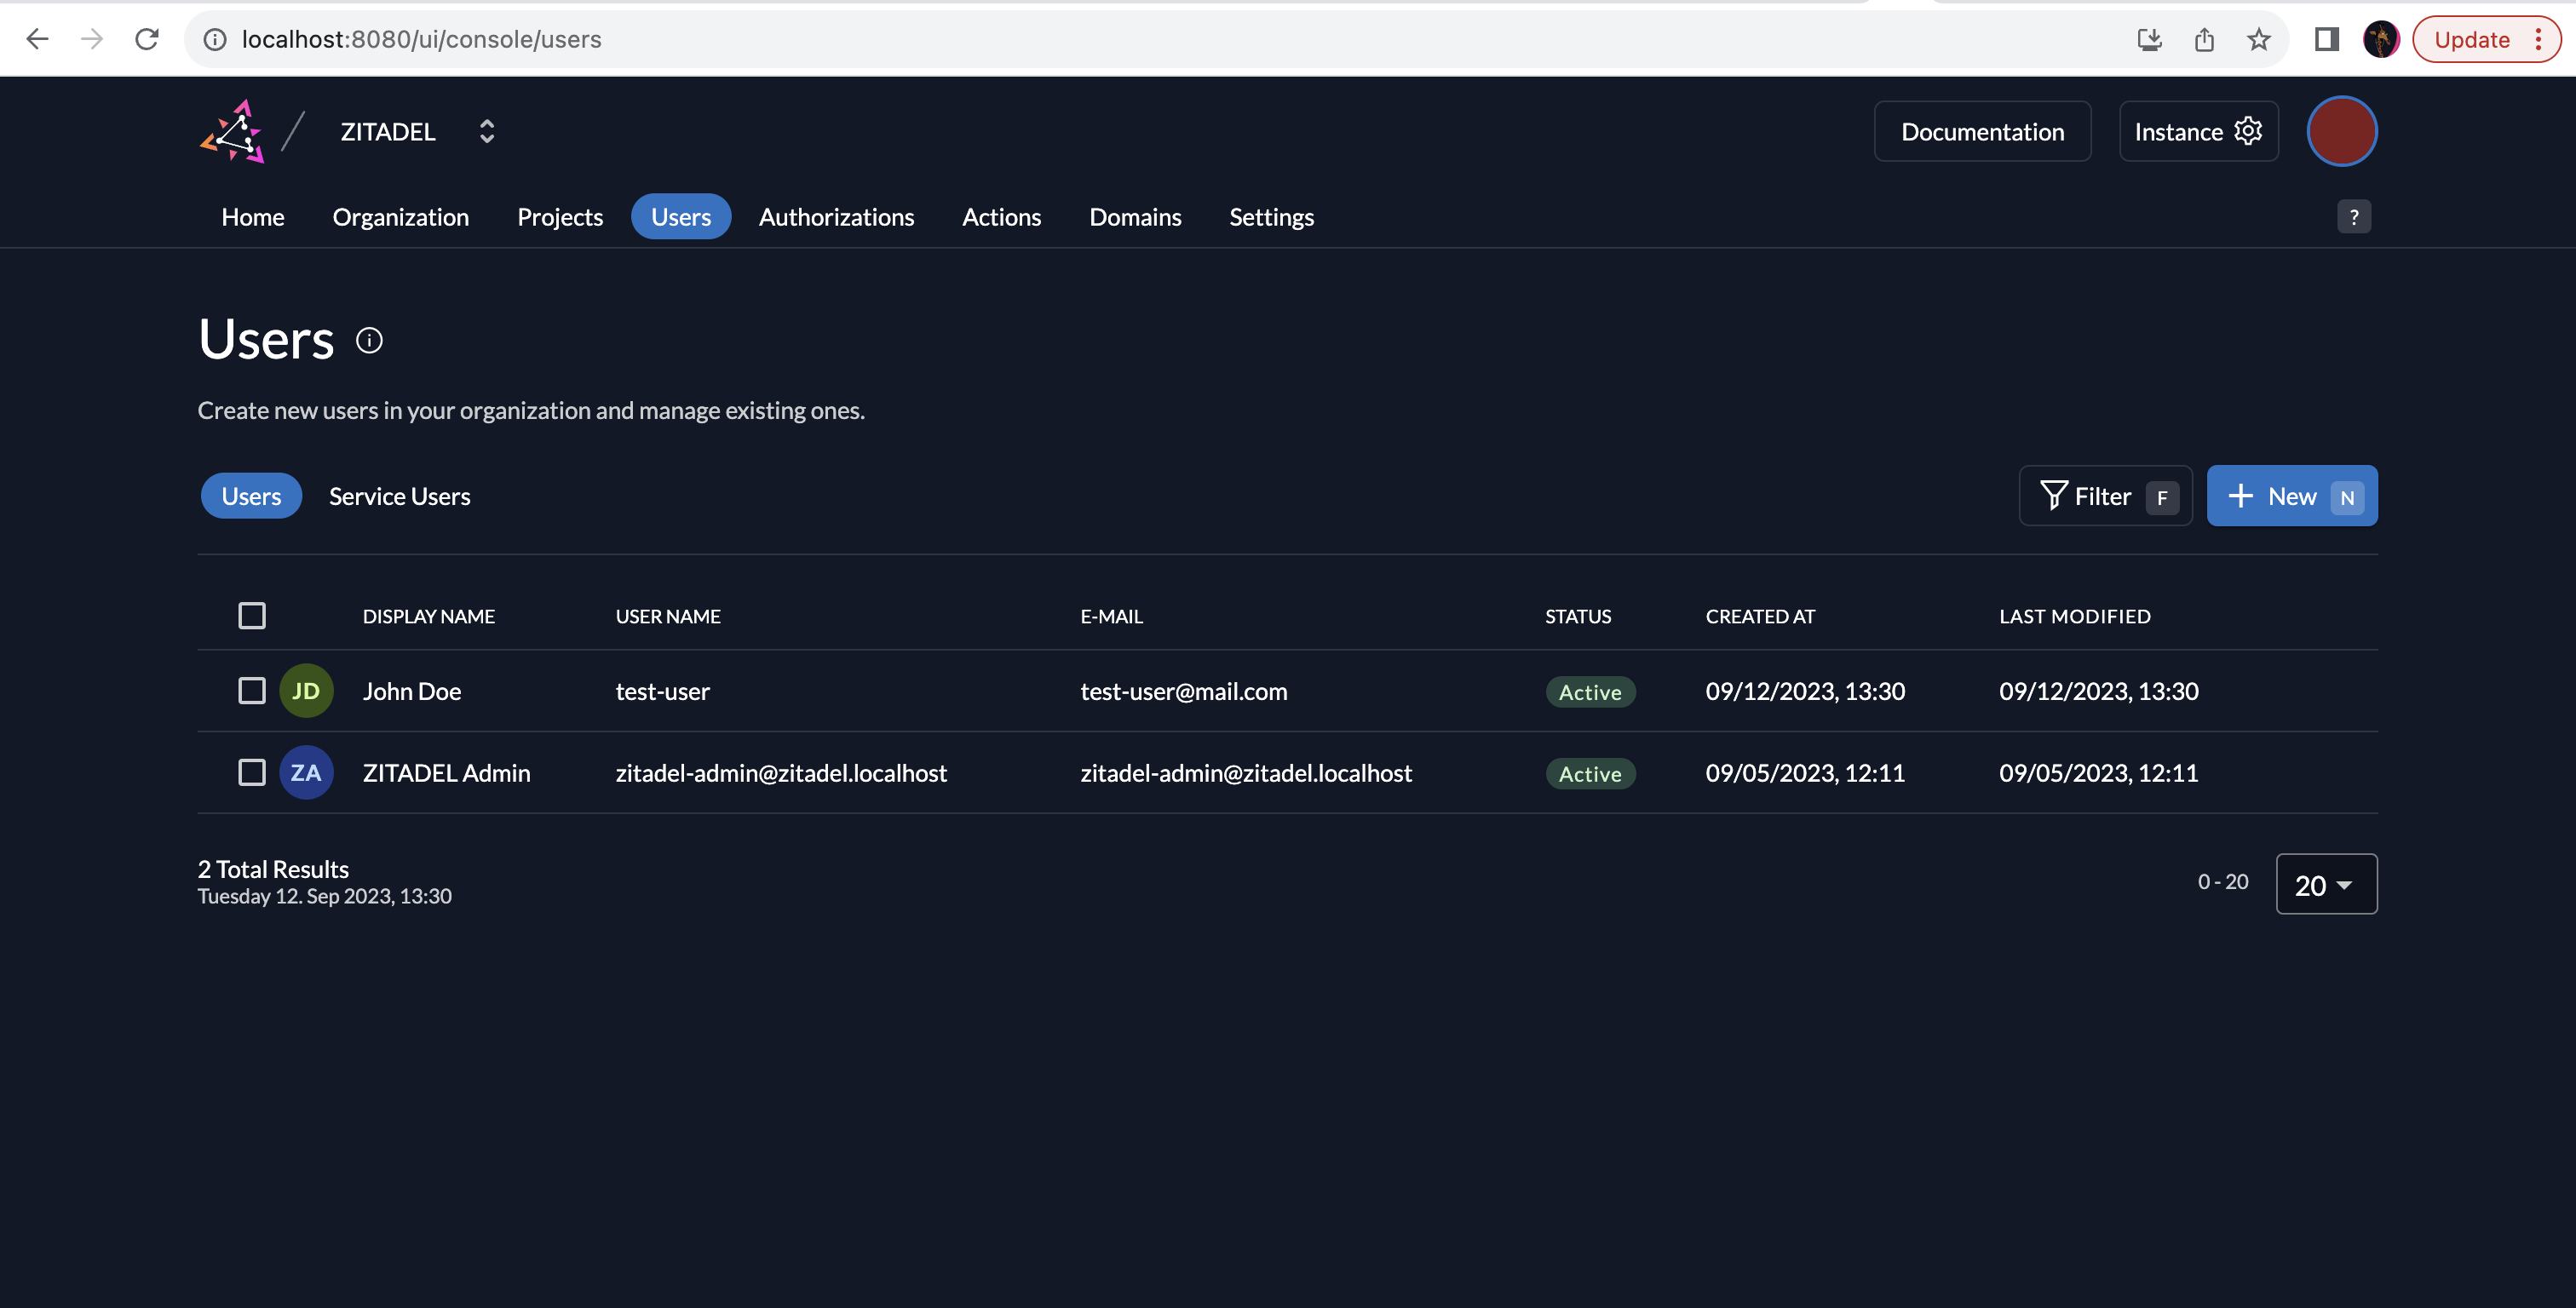
You can now view the user's details in ZITADEL. You can see that a password is available too. Additionally, you can log into the web application, set up with ZITADEL as the IdP, using the test user's credentials previously configured in Keycloak.
Conclusion
In this article, you learned how to set up both ZITADEL and Keycloak for a sample SPA application that uses Authorization Code flow with PKCE flow. You also learned how to export users from Keycloak and how to use the ZITADEL API to import users and make a seamless transition from Keycloak to ZITADEL.
Please note that these guides were configured as development only and without the expected security that production environments warrant.
ZITADEL is an open source identity management platform that provides you with a wide range of features like OpenID Connect, SAML 2.0, OAuth 2, FIDO2, OTP, and an unlimited audit trail. With ZITADEL, you can solve all your authentication and authorization needs. Check out our repo and give us a GitHub star. We appreciate the feedback.