Next Zitadel preview: Explore the new Console and add Google SSO

You can now create a local Zitadel project, add Google SSO to your login screen, test the authentication flow, and inspect what you built in the new management Console.
All from the CLI, and all in your local environment.
Until now, exploring the next iteration of Zitadel meant working almost entirely through the terminal. You could configure your authentication setup and test the result, but understanding what Zitadel had created meant reading it back from CLI output.
The new Console changes that. Its flat navigation gives you a visual view of your teams, projects, users, user schemas, login flows, and branding.
You can also configure Google SSO through the CLI and add it as a login option for your application.
This first version of the Console is read-only. You’ll still use the CLI to create and change resources, but you can now move from configuration to testing to inspection without leaving your local development journey.
Starting Zitadel locally creates the administrator and default team for you. When you’re ready to inspect your setup, one command opens the Console through a one-time link, already signed in.
This post is part of an ongoing series documenting the next iteration of Zitadel as it ships. If you’re new here, start with Next Zitadel preview: control your login from code for the full picture of where this is headed and why.
From CLI configuration to a visual overview
The new Console makes it easier to see how your Zitadel setup comes together.
Its flat navigation lets you move directly between:
- Teams
- Projects
- Users
- User schemas
- Login Flows
- Branding
Create and update resources through the CLI, then open the Console to inspect the result. You can verify your setup and find the information you need without reading everything back from terminal output.
Add Google SSO without leaving the CLI
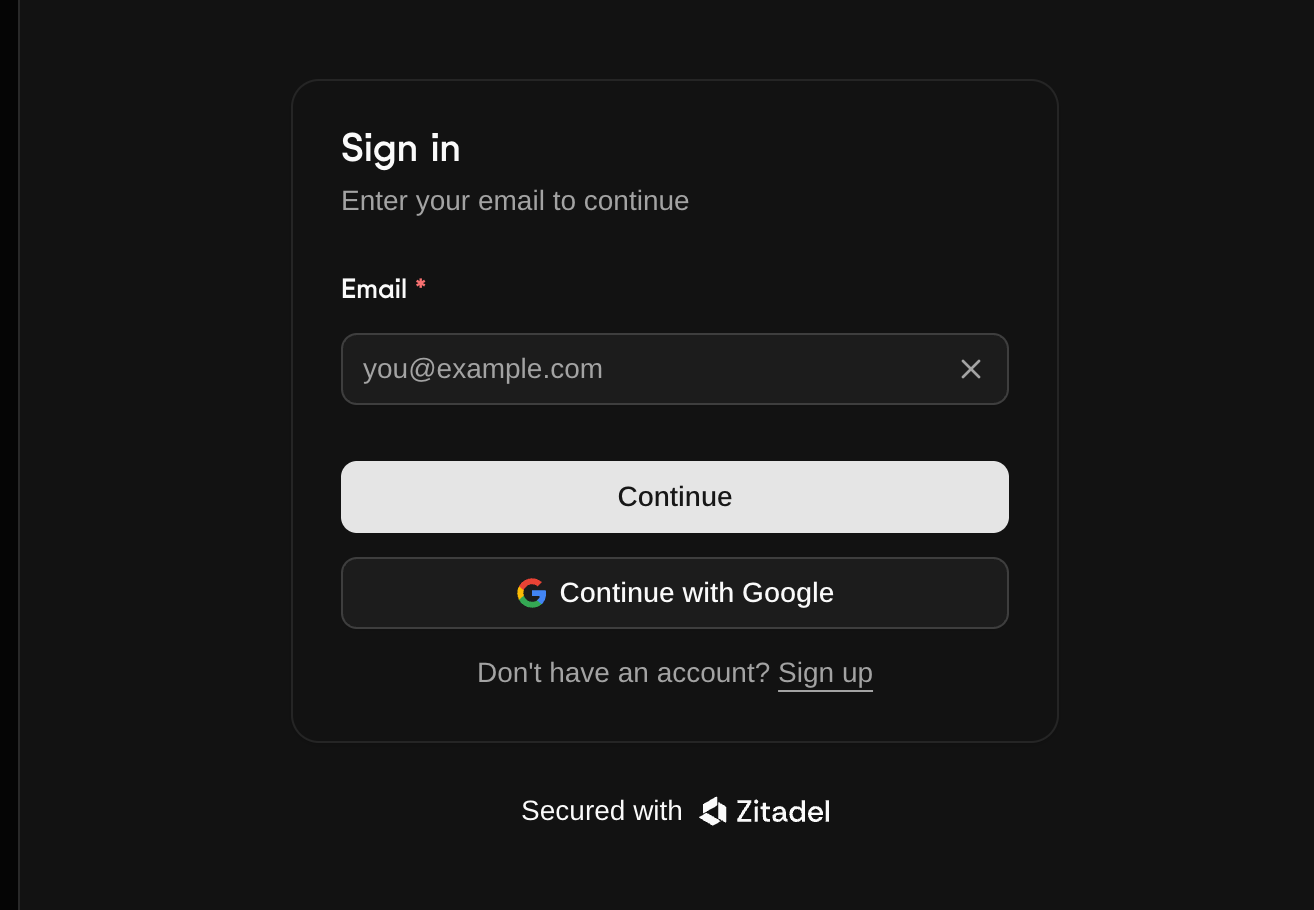
You can now add Google SSO as part of the CLI onboarding journey.
Choose Google during setup, configure the connection, and it appears as a login option in your application. Start the app, open the login screen, and try the complete sign-in flow.
Google is the first external identity provider supported through the new CLI experience. Generic OpenID Connect providers will follow.
Open the Console with one command
Run npx @zitadel/cli@alpha console to generate a one-time link that opens the Console with you already signed in as the local administrator.
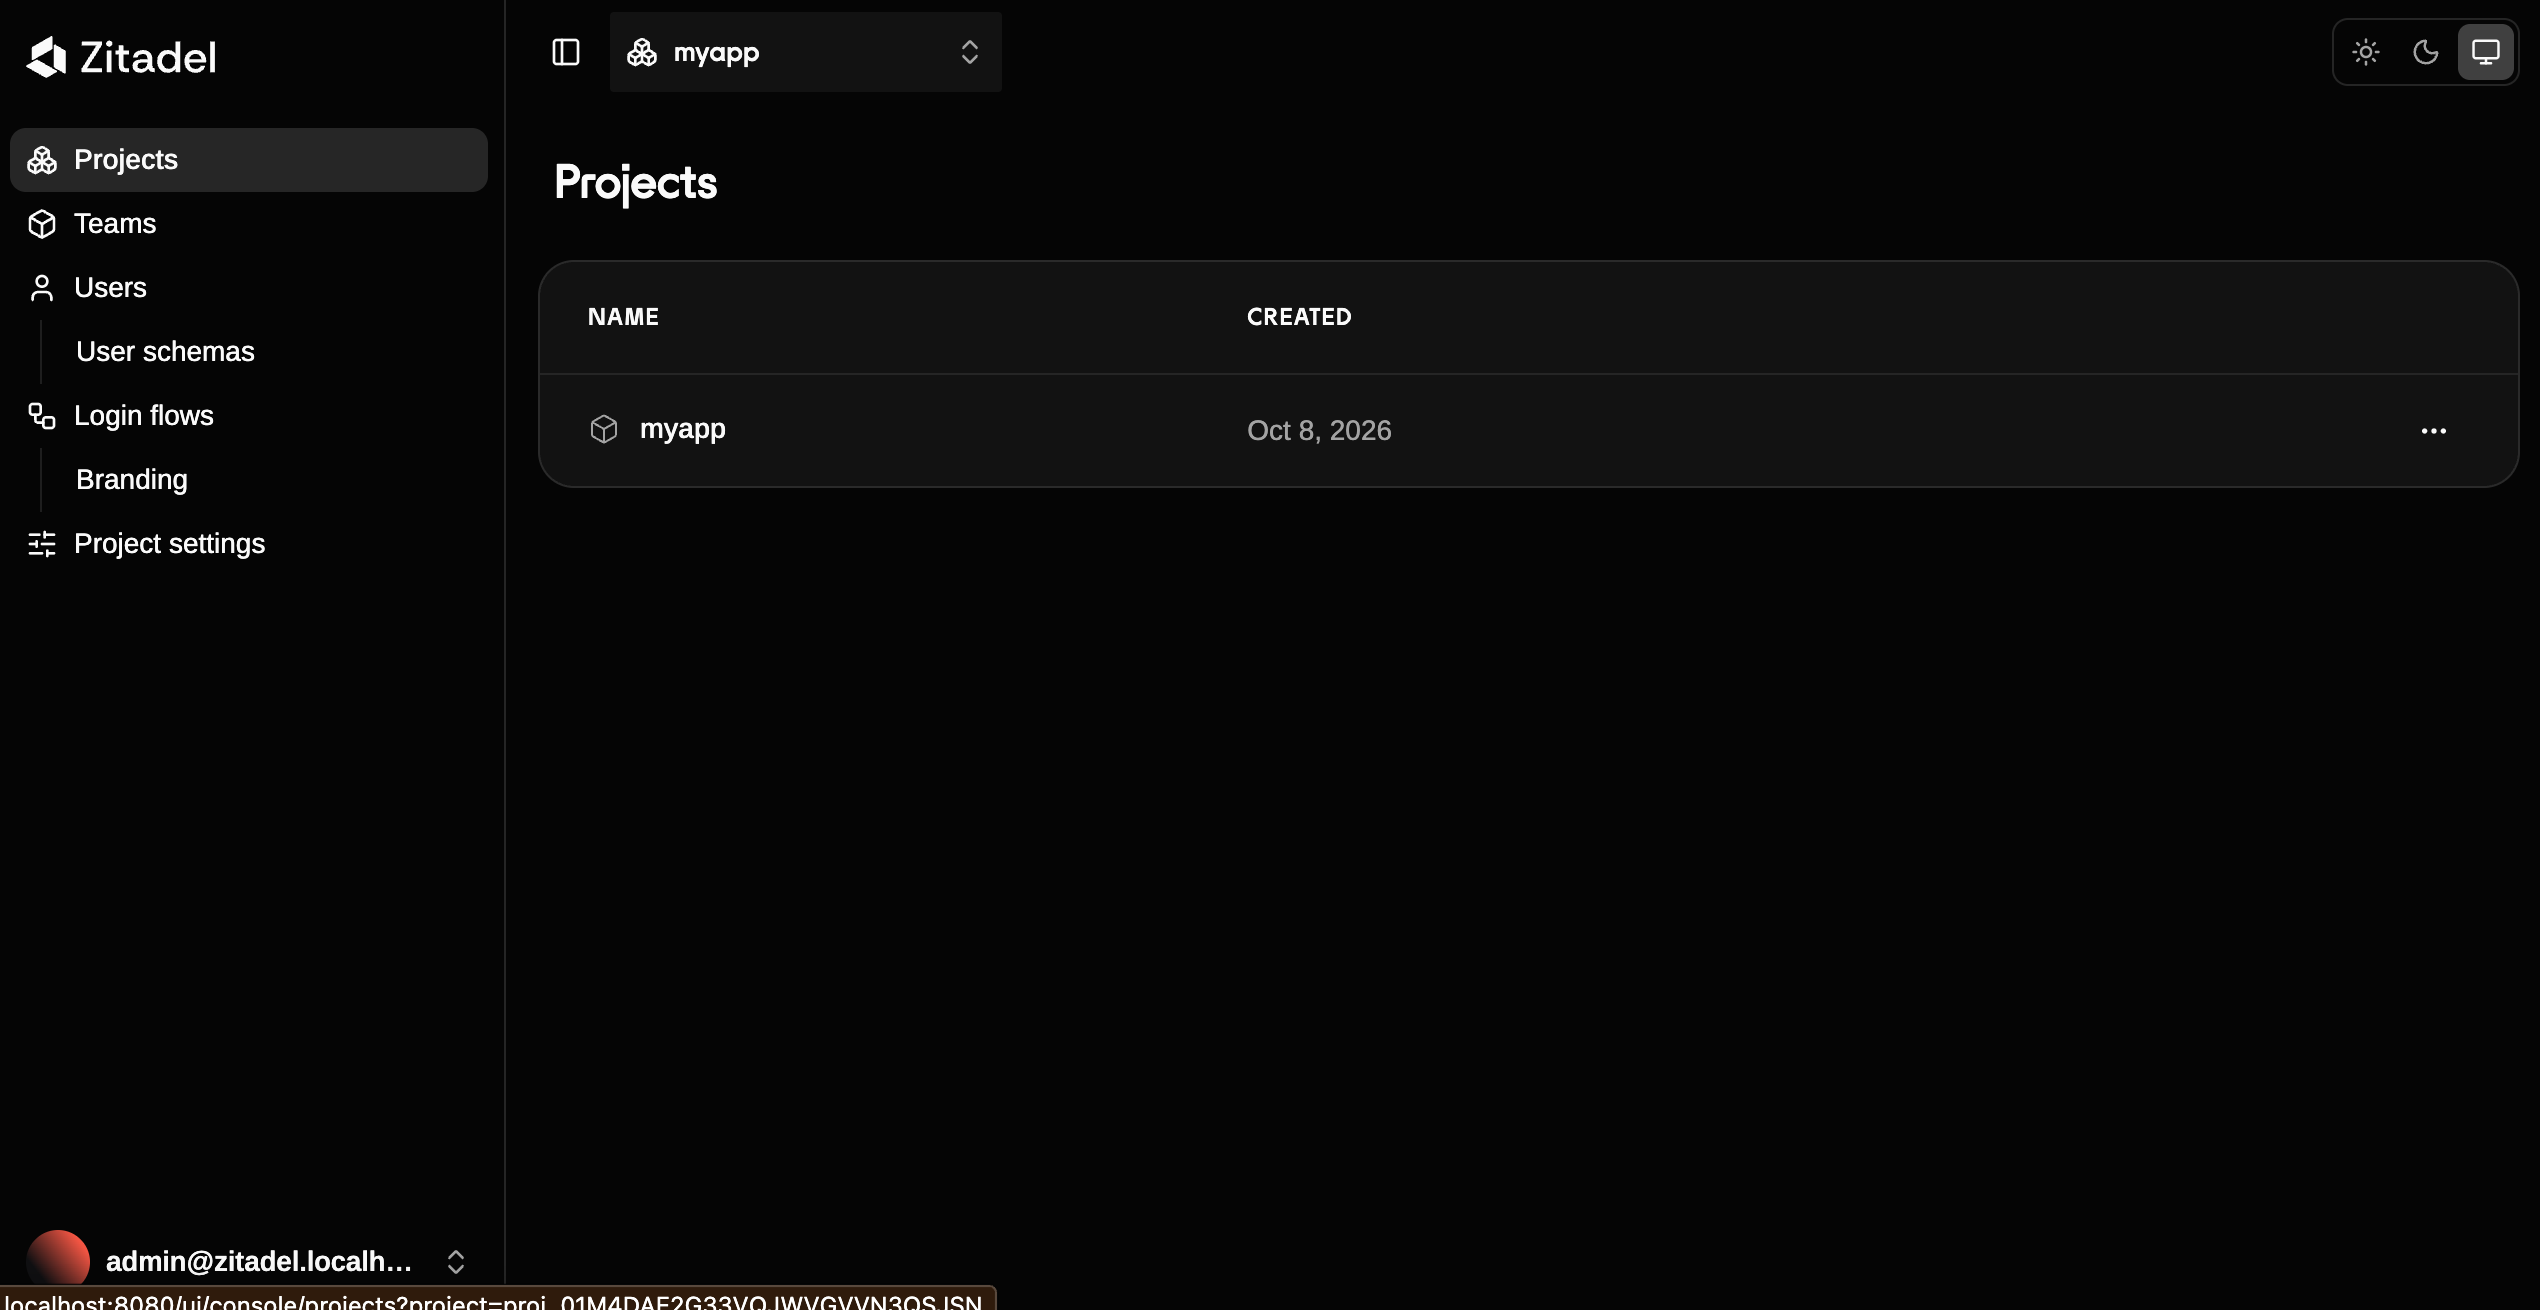 Project list: Find your projects and move directly between key resources using the Console’s flat navigation.
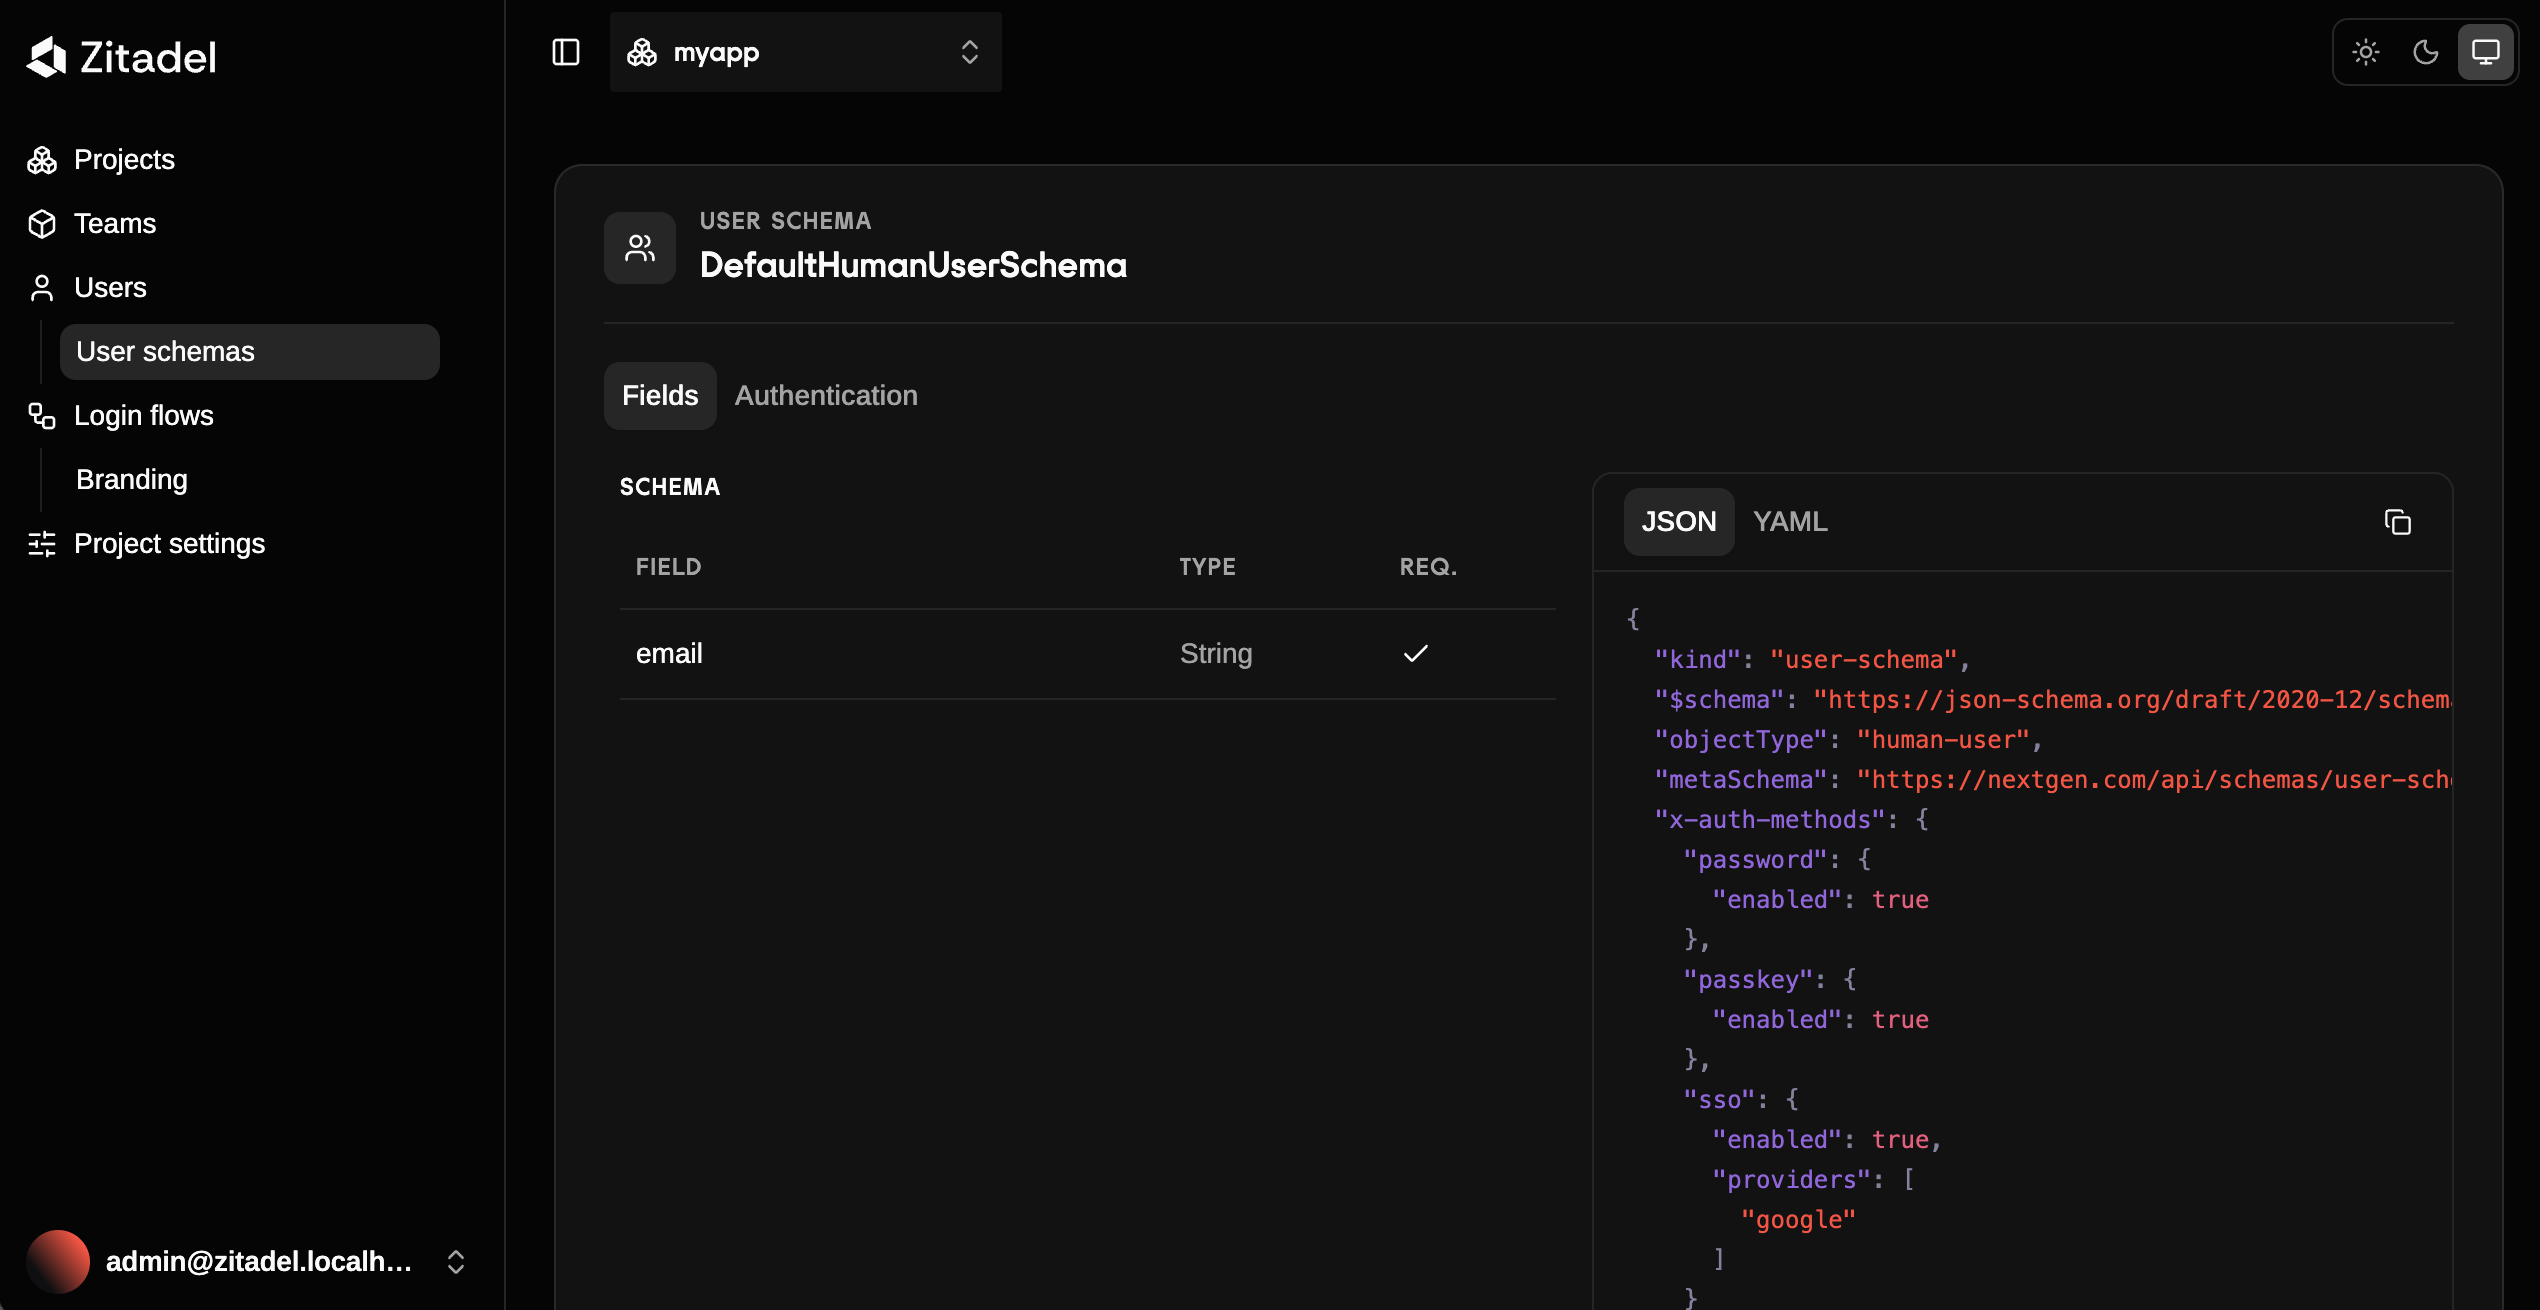
User schema detail: See the user schema you created and updated through the CLI.
Try the complete journey
Start with a fresh project so you can test the complete journey.
Step 1: Create an application directory
mkdir myapp && cd myapp
Step 2: Start Zitadel locally
npx @zitadel/cli@alpha start
Zitadel creates the local admin and default team automatically.
Step 3: Set up your project
From the same application directory, run:
npx @zitadel/cli@alpha setup --server local
This creates a new project under the local admin’s team and adds the necessary authentication setup to your application. During setup, you can choose Google SSO as a login option and configure it through the CLI.
Step 4: Test your application
Start the application:
npm run dev
Open the application in your browser, register a user, and test the login flow. If you configured Google SSO, check that it appears as a login option and use it to sign in.
Step 5: Open the Console
In a new terminal, run:
npx @zitadel/cli@alpha console
The CLI generates a one-time link that opens the Console with you already signed in. Open it and look for the project and user you just created.
You can now move between your application, the CLI, and the Console while developing and testing locally.
Remember that the Console is read-only for now. Continue using the CLI to create or change resources.
This is alpha
The Console and Google SSO configuration are still evolving. Commands, resource structures, and individual screens may change before the experience stabilizes, so don’t use this release for anything you cannot afford to rebuild yet.
This is also when your feedback has the most influence. Try the complete journey and tell us where the CLI, login flow, or Console still gets in your way.
Try it with a coding agent
If you’re working with a coding agent, you can use this prompt:
Create a new directory called `myapp` and change into it.

Run `npx @zitadel/cli@alpha start` to start Zitadel locally. Keep it
running and open a new terminal in the same directory.

Run `npx @zitadel/cli@alpha setup --server local` and help me configure
Google SSO as a login option during setup.

Then start the application with `npm run dev` and help me test its
registration and login flows, including signing in with Google.

Finally, run `npx @zitadel/cli@alpha console` and show me the one-time
URL so I can inspect the project in the management Console.
Help shape what comes next
Try the complete journey: create an application directory, start Zitadel, set up your project, register a user, and open the Console to inspect the result.
We would especially like to know:
- Could you open the Console and find the project and user you created?
- Was it clear where to find each resource?
- Did the Console give you the information you expected?
- What would you want to create or edit through the Console first?
- Could you configure Google SSO through the CLI and use it to sign in?
- Which identity provider would you like us to support next?
Everything is being built in the open in github.com/zitadel/nextgen. Issues and discussions there are the fastest way to reach the team directly.
We would also love to hear your feedback in GitHub Discussions or on Discord.