Full Stack ZITADEL Integration with Next.js

Technical Writer
Next.js is a modern JavaScript website framework created and maintained by Vercel. It helps developers create feature rich full-stack applications, which can be deployed to different types of hosting providers, including Vercel, Netlify, and Amazon Web Services (AWS).
Using Next.js lets you focus on getting your product in place instead of setting up your development infrastructure. It comes with an out-of-the-box development toolkit and provides you with a development server to easily run code modifications in the browser while you edit the codebase.
Next.js focuses on code optimization and performance optimization for a better user experience (UX) and developer experience (DX) and includes advanced features like code splitting and Hot Module Replacement (HMR).
In this tutorial, you'll learn how to set up a Next.js project using JavaScript. You'll also learn how to integrate that with ZITADEL, an open source identity management platform and security layer for your web application.
What Is Next.js
Next.js is a hybrid web framework that lets you build statically generated pages and hydrate them with client-side JavaScript components built with React.In a nutshell, it takes a static Document Object Model (DOM) from the HTML and injects JavaScript code to be linked with the nodes inside the DOM. Once the code is loaded, it mounts the DOM element and creates framework-specific listeners. At the end of hydration, your code will act the same way SPA does in the first place.
Statically generated pages are still reactive according to the Next.js documentation, and the framework hydrates your application on the client side to give it full interactivity in addition to the static HTML. Hydration is valuable when you want to enable your pages to load faster, and improve user experience. This is advised when your application has a lot of users such as an e-commerce website or a marketplace application. With Hydration, search engines can index better your content because your content can be rendered before the page is loaded and this is very important for SEO.
Next.js also has a large open source community with a rapid release cycle backed by Vercel as well as a wide ecosystem of a variety of plug-ins built for Node.js and React, where both are used to deliver a highly performant Next.js experience.
Next.js does even more by providing smooth client-side navigation using JavaScript routing, so the result quickly loads in users' browsers. At the same time, static content gives you the best performance when it comes to indexing your website in search engines like Google.
This framework can be used for all kinds of projects and applications, including customer-facing marketing websites, landing pages, software-as-a-service (SaaS) tools, a back-office dashboard to aggregate and show internal metrics, or a content management system (CMS).
The majority of these systems and applications built by developers interact with the user and let them perform certain actions within the application after they've been authenticated and authorized. That's where OAuth solutions like ZITADEL come in.
Prerequisites
Before you begin this tutorial, you need to be comfortable designing both backend and frontend JavaScript applications. You also need to know the basic concepts behind React and its syntax subset called JSX.
You should also have the most recent version of Node.js installed on your workstation, as all the open source packages in this tutorial are designed for a Node.js runtime environment. (At the time of writing, the current version of Node.js is 18.7.0.)
In addition, make sure Next.js, the SSG/SSR framework that connects all the libraries together, is installed. It should be installed automatically in the net section using npx create-next-app@latest. If you want to install Next.js separately, you can use npm install -g next.
It's also helpful to have a basic understanding of authentication and authorization concepts, ideally in the context of OAuth. This knowledge will help you to navigate the authentication flow executed by ZITADEL.
How to Build a Simple Next.js Application with ZITADEL
If you'd like to follow along, all the code for this tutorial can be found on this GitHub repo.
Setting Up a Next.js Project
To begin this tutorial, you need to focus on setting up the Next.js boilerplate using the official JavaScript template. In this tutorial, you will use npm, but you can also use other package managers like Yarn or PnPM.
Start by creating the application using create-next-app:
npx create-next-app@latest
If you want to build your application with typescript you can add --ts, like the following:
npx create-next-app@latest –ts
For the purpose of this tutorial you will be doing the project based on javascript, however you can follow along and build it with typescript but you will need to have enough knowledge with both languages.
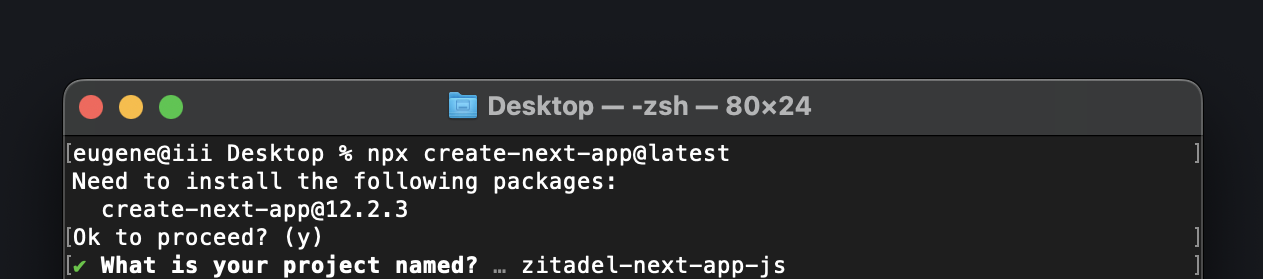
You'll be prompted to enter the name of the project. In this case, it's zitadel-next-app-js.
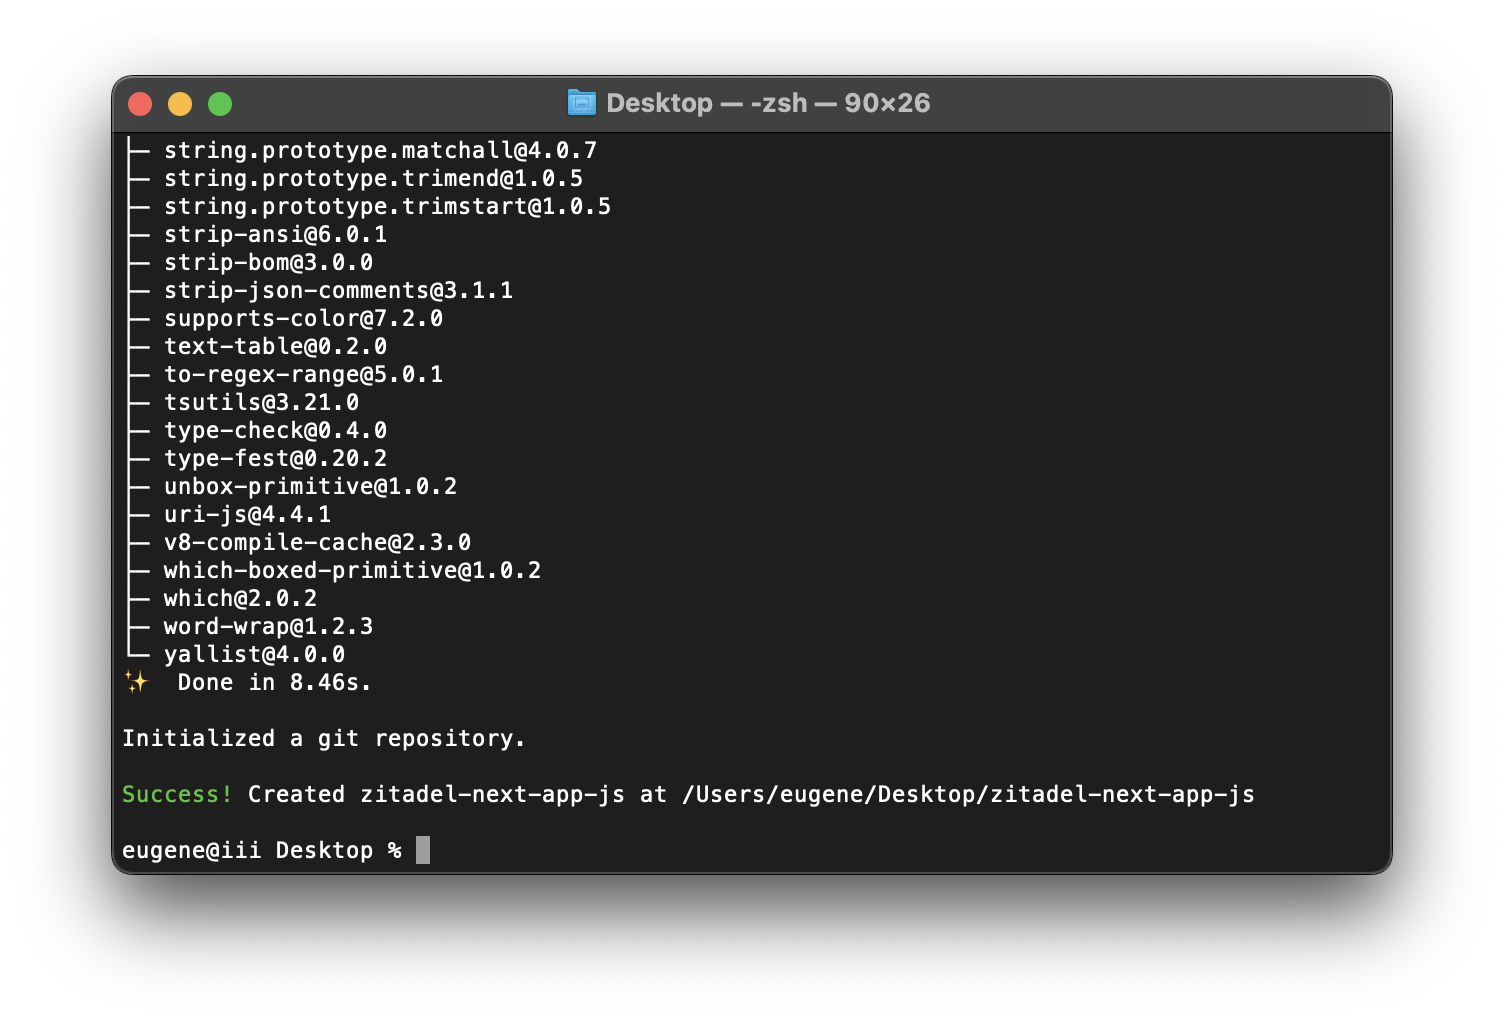
Once installed, you should see the following:
After installing Next.js, you need to add the NextAuth.js library using the following code:
npm install --save next-auth
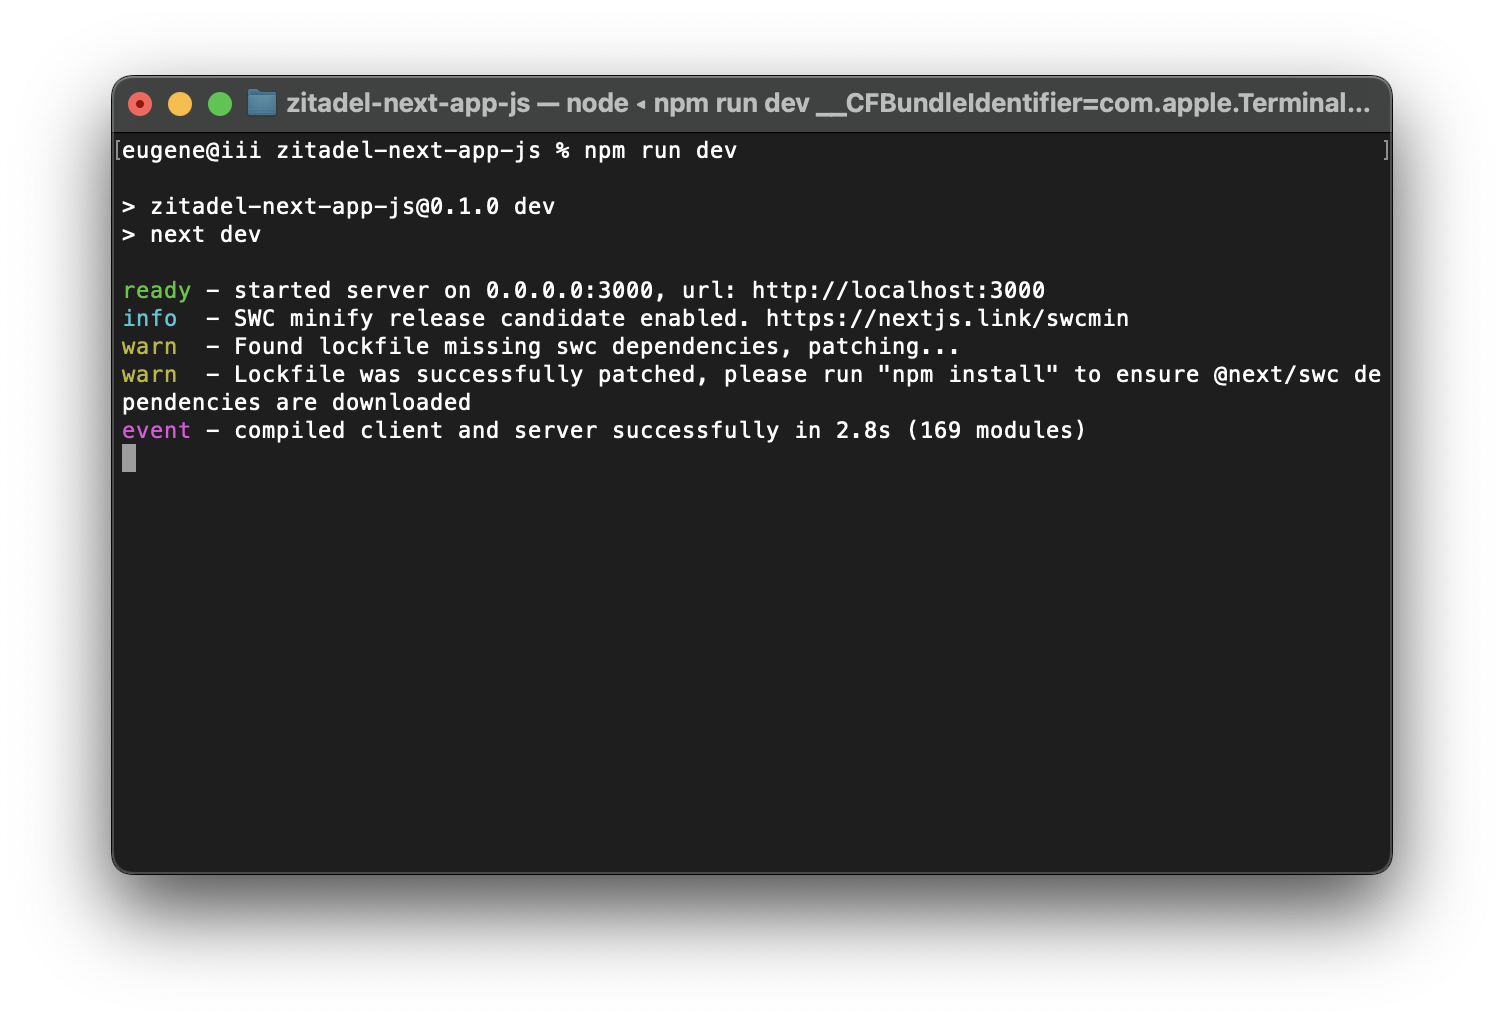
Now, it's time to run the app in development mode:
npm run dev
Once you run it, you should see the following:
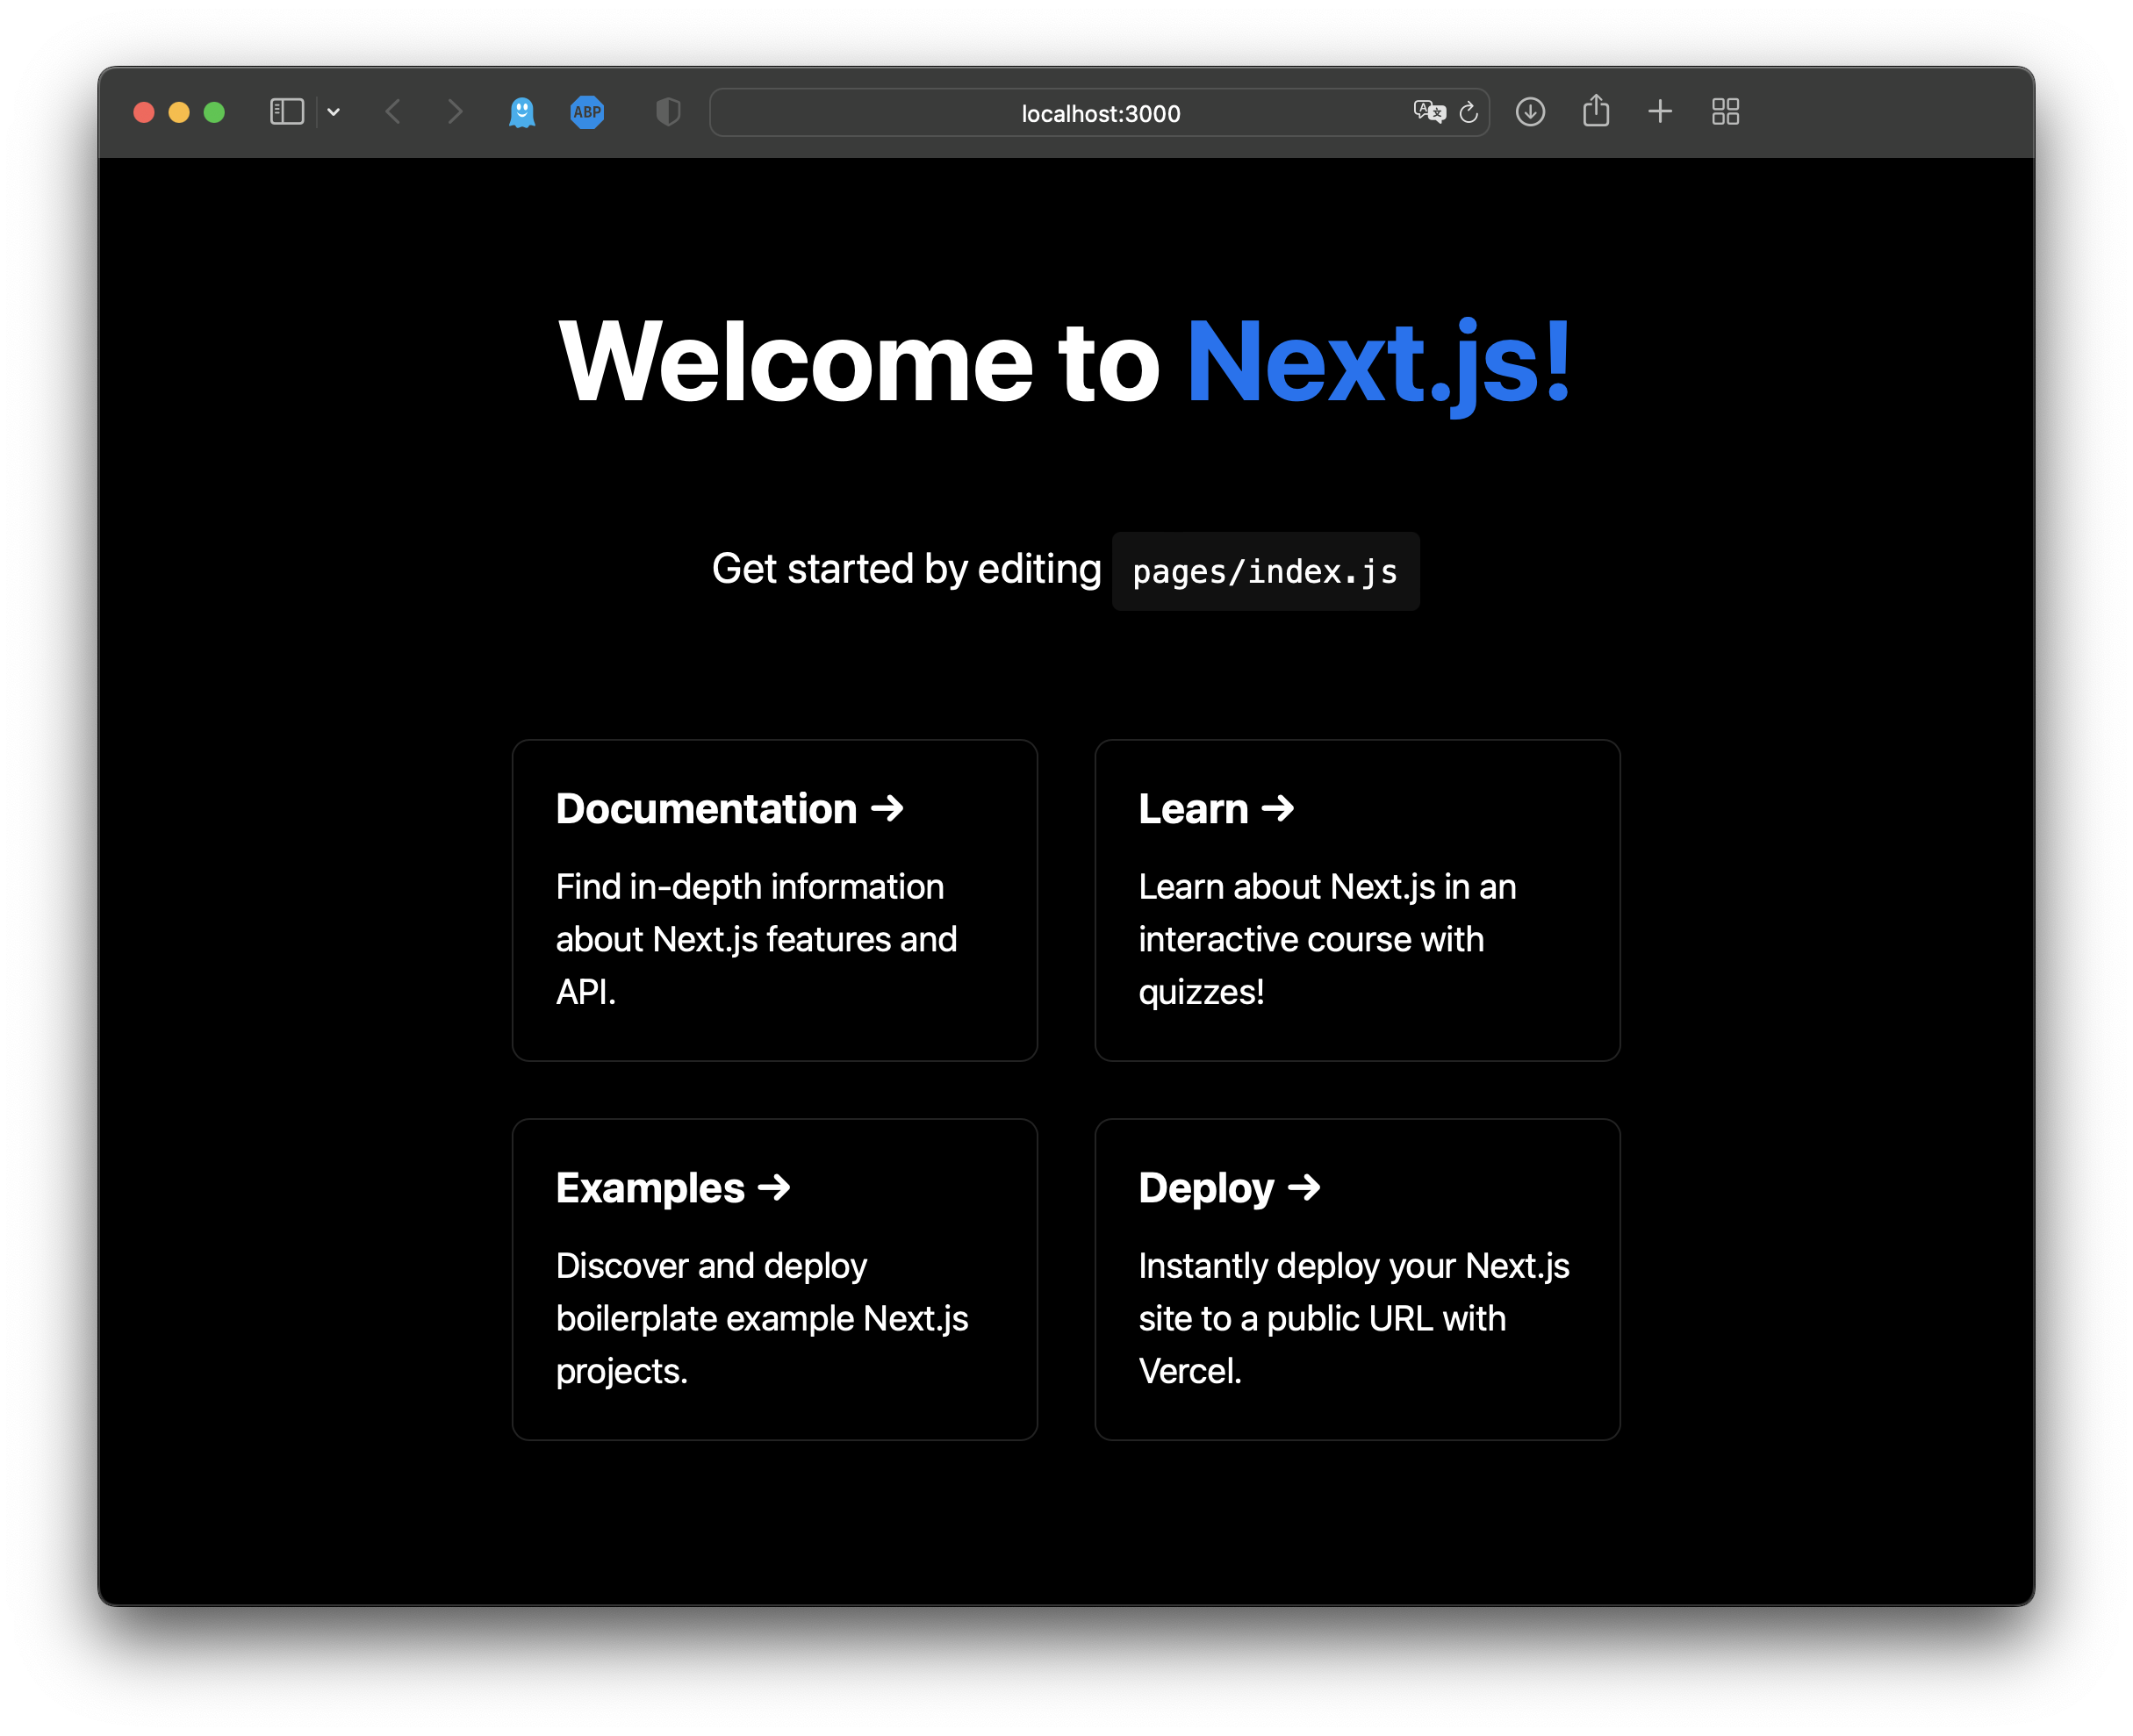
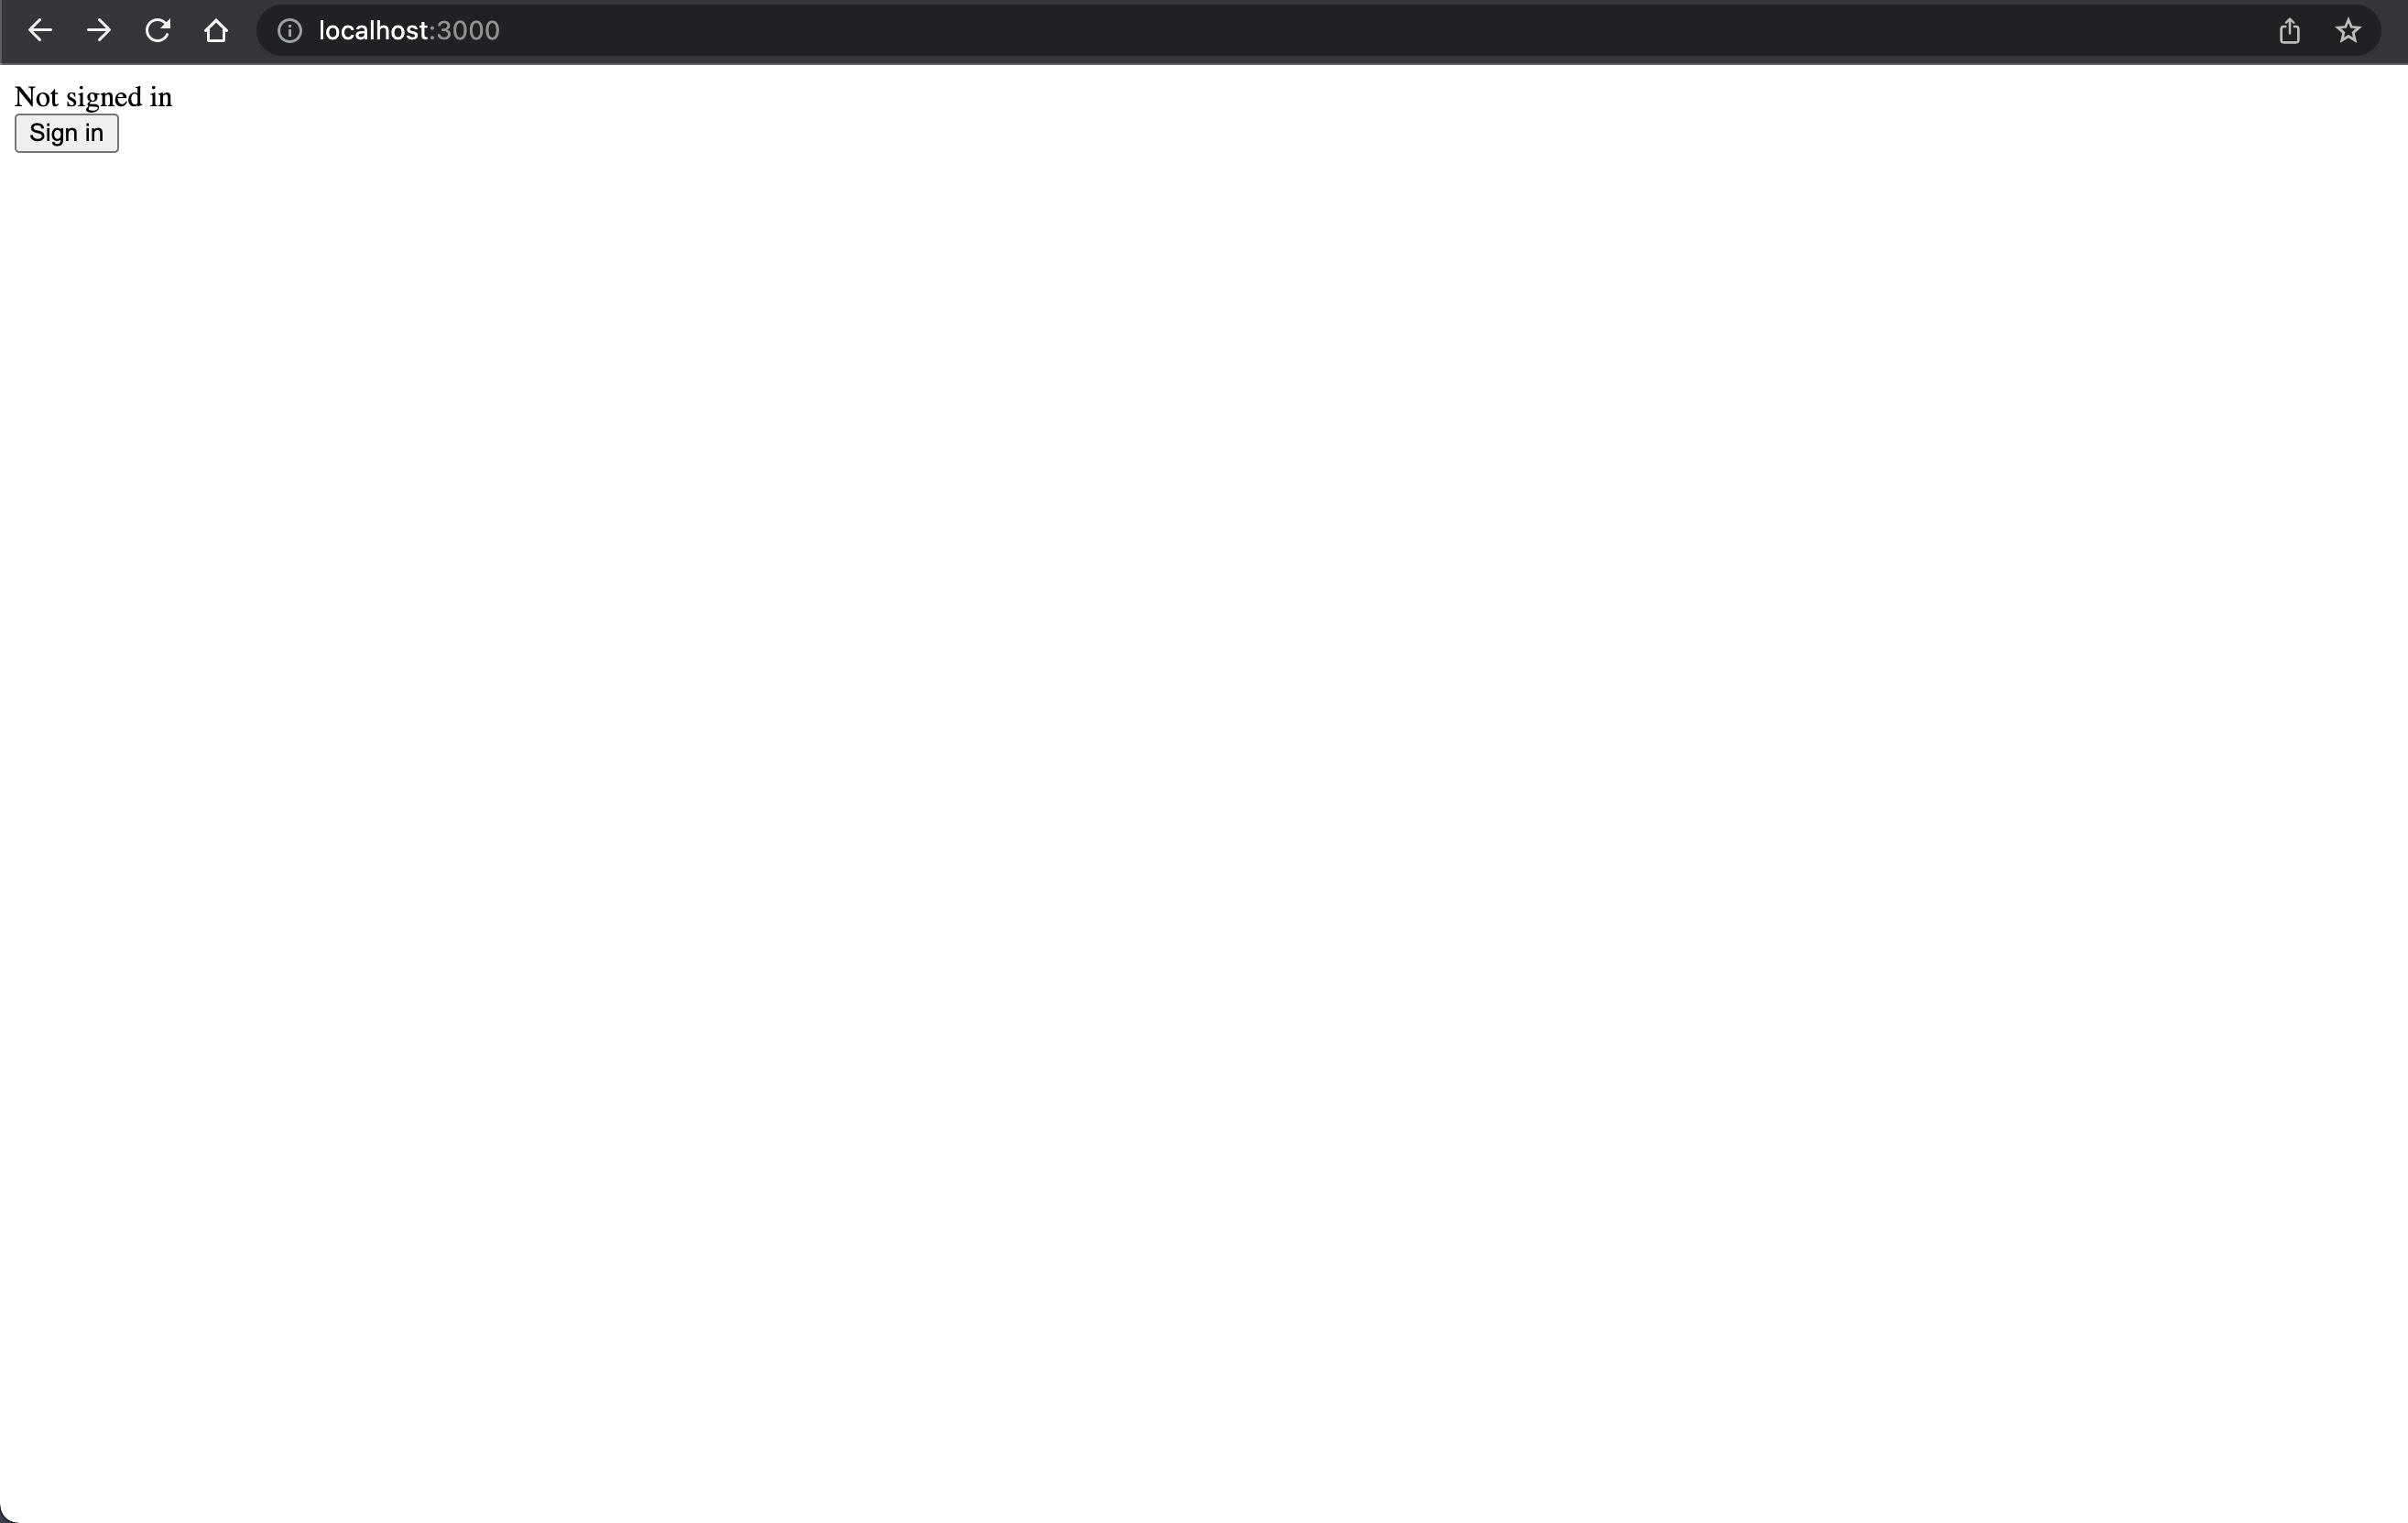
To make sure that it works in the browser, navigate to http://localhost:3000/:
Setting Up ZITADEL
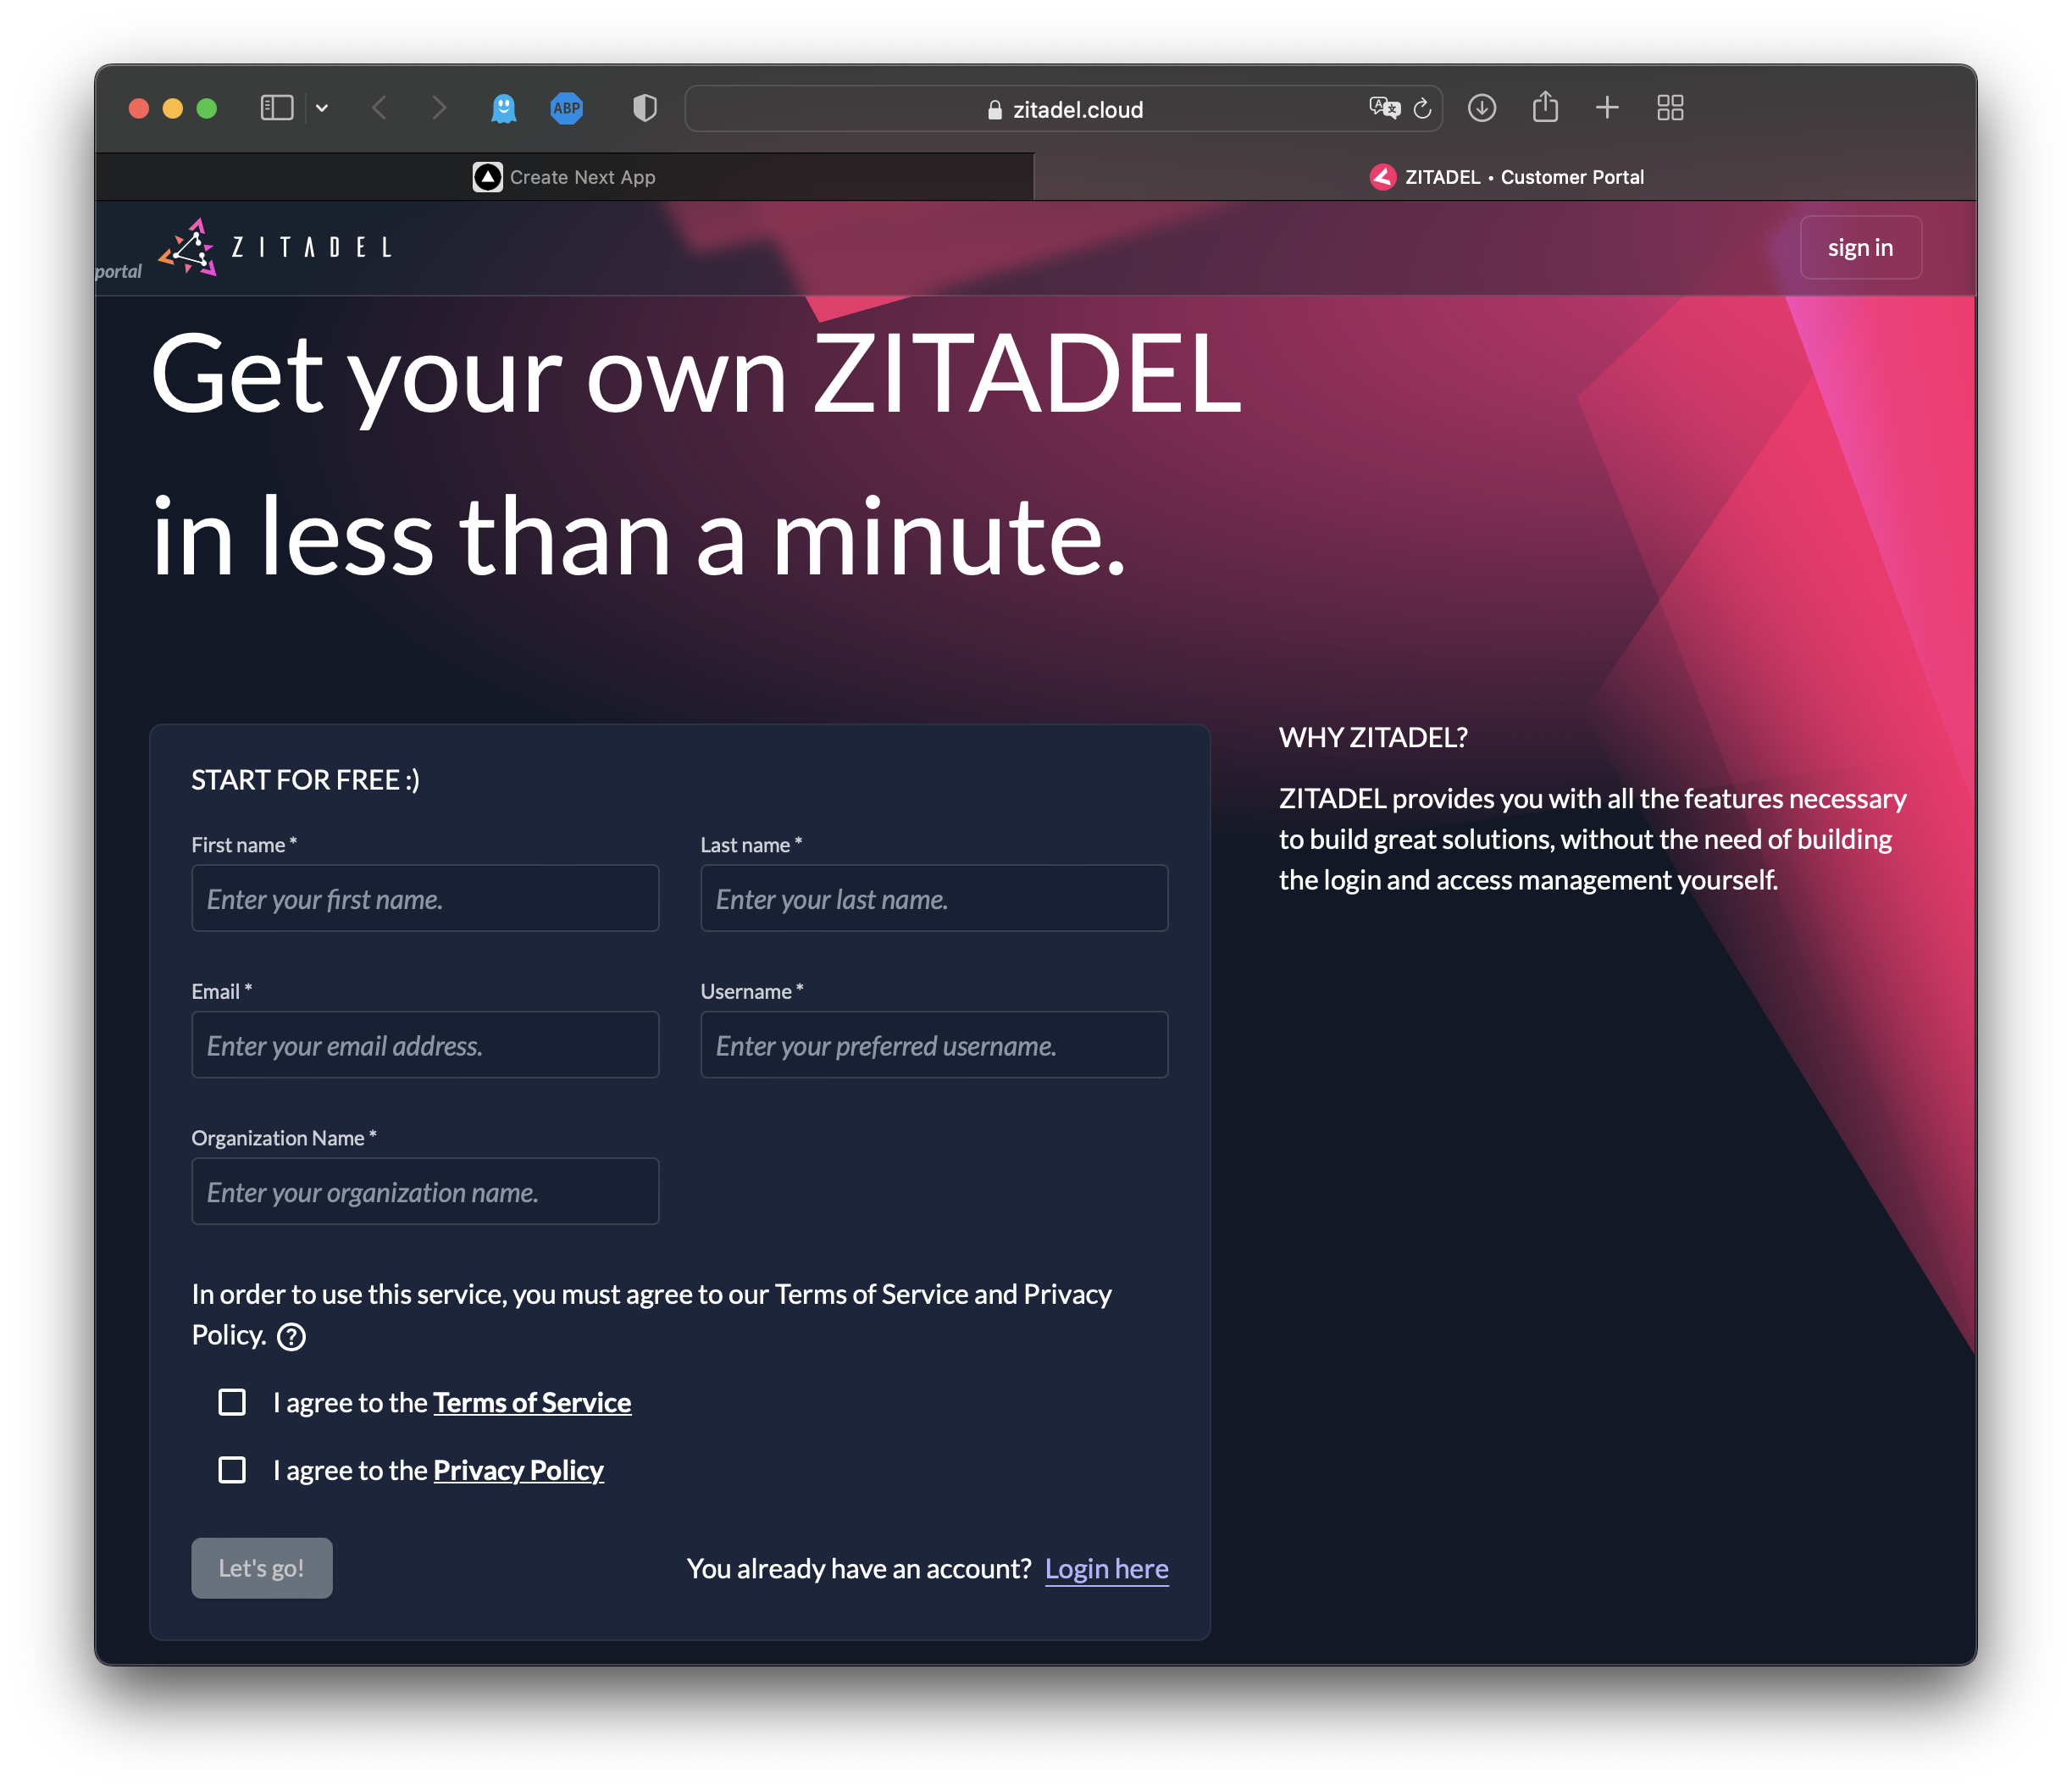
In order to use ZITADEL credential keys in the next section, you need to set up an account (if you don't already have one). To do so, head to https://zitadel.com and create a new account by following these steps:
Start by filling out the free trial form:
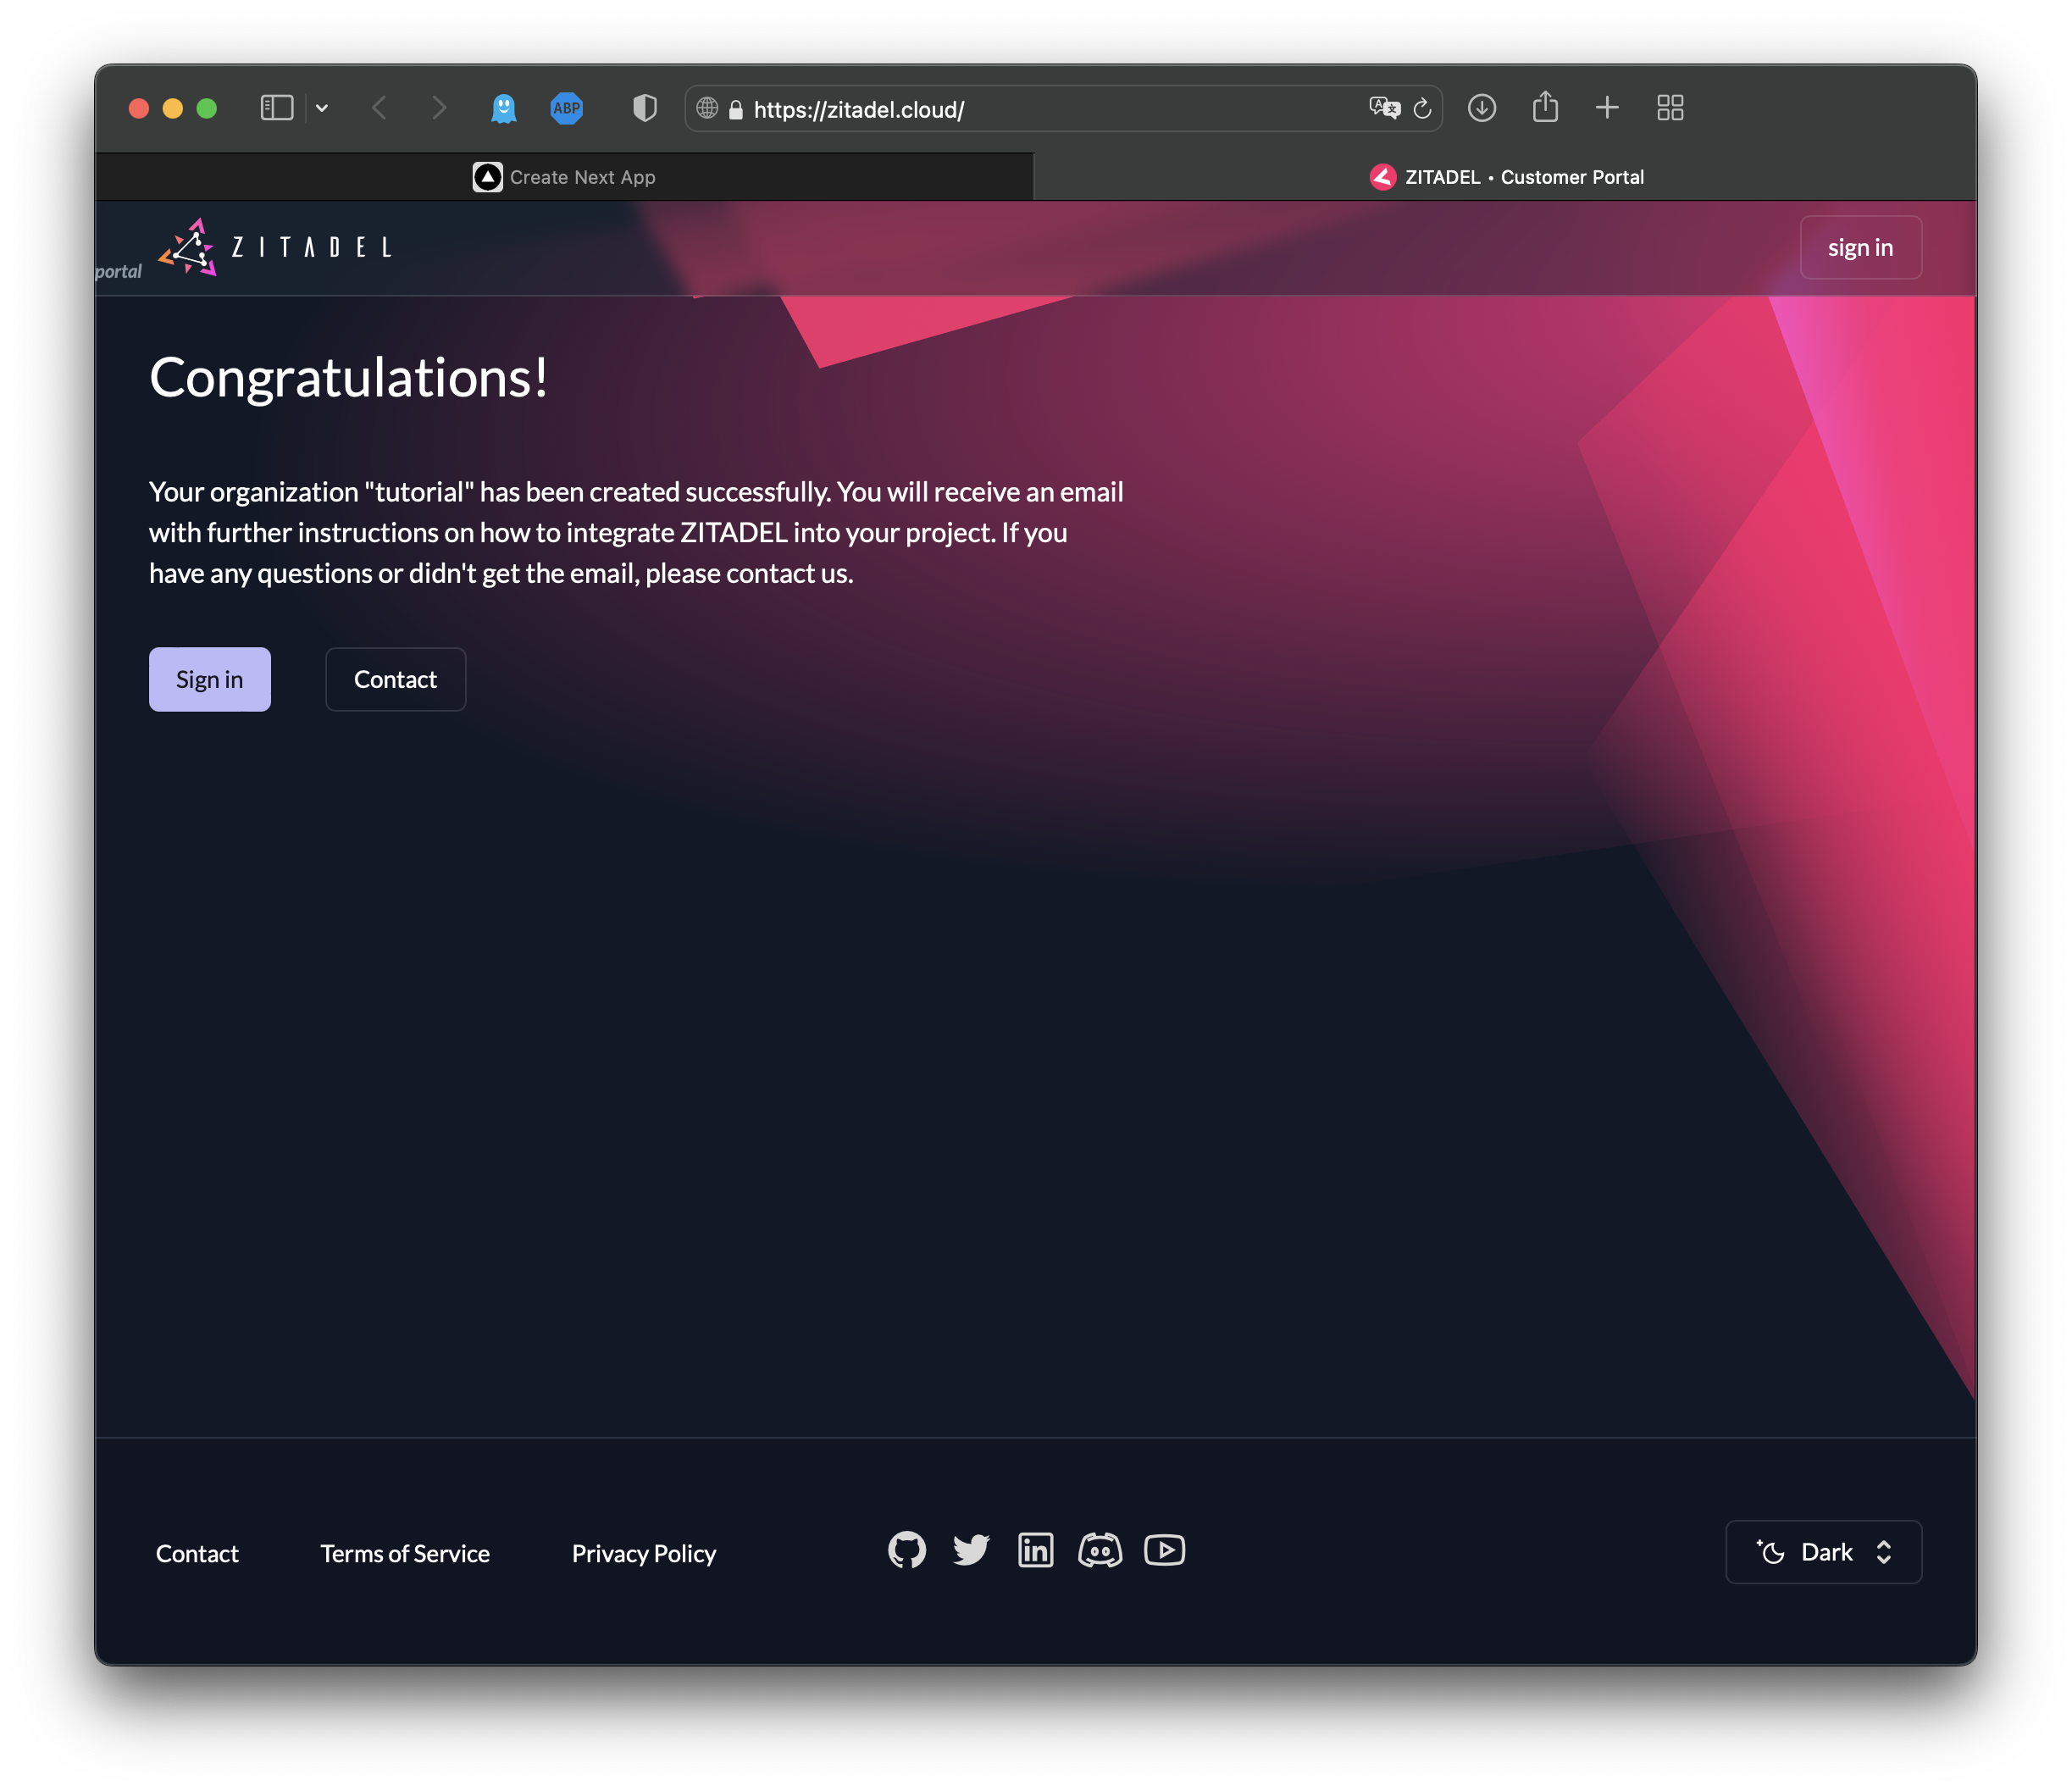
Now you can see that a ZITADEL organization has been created:
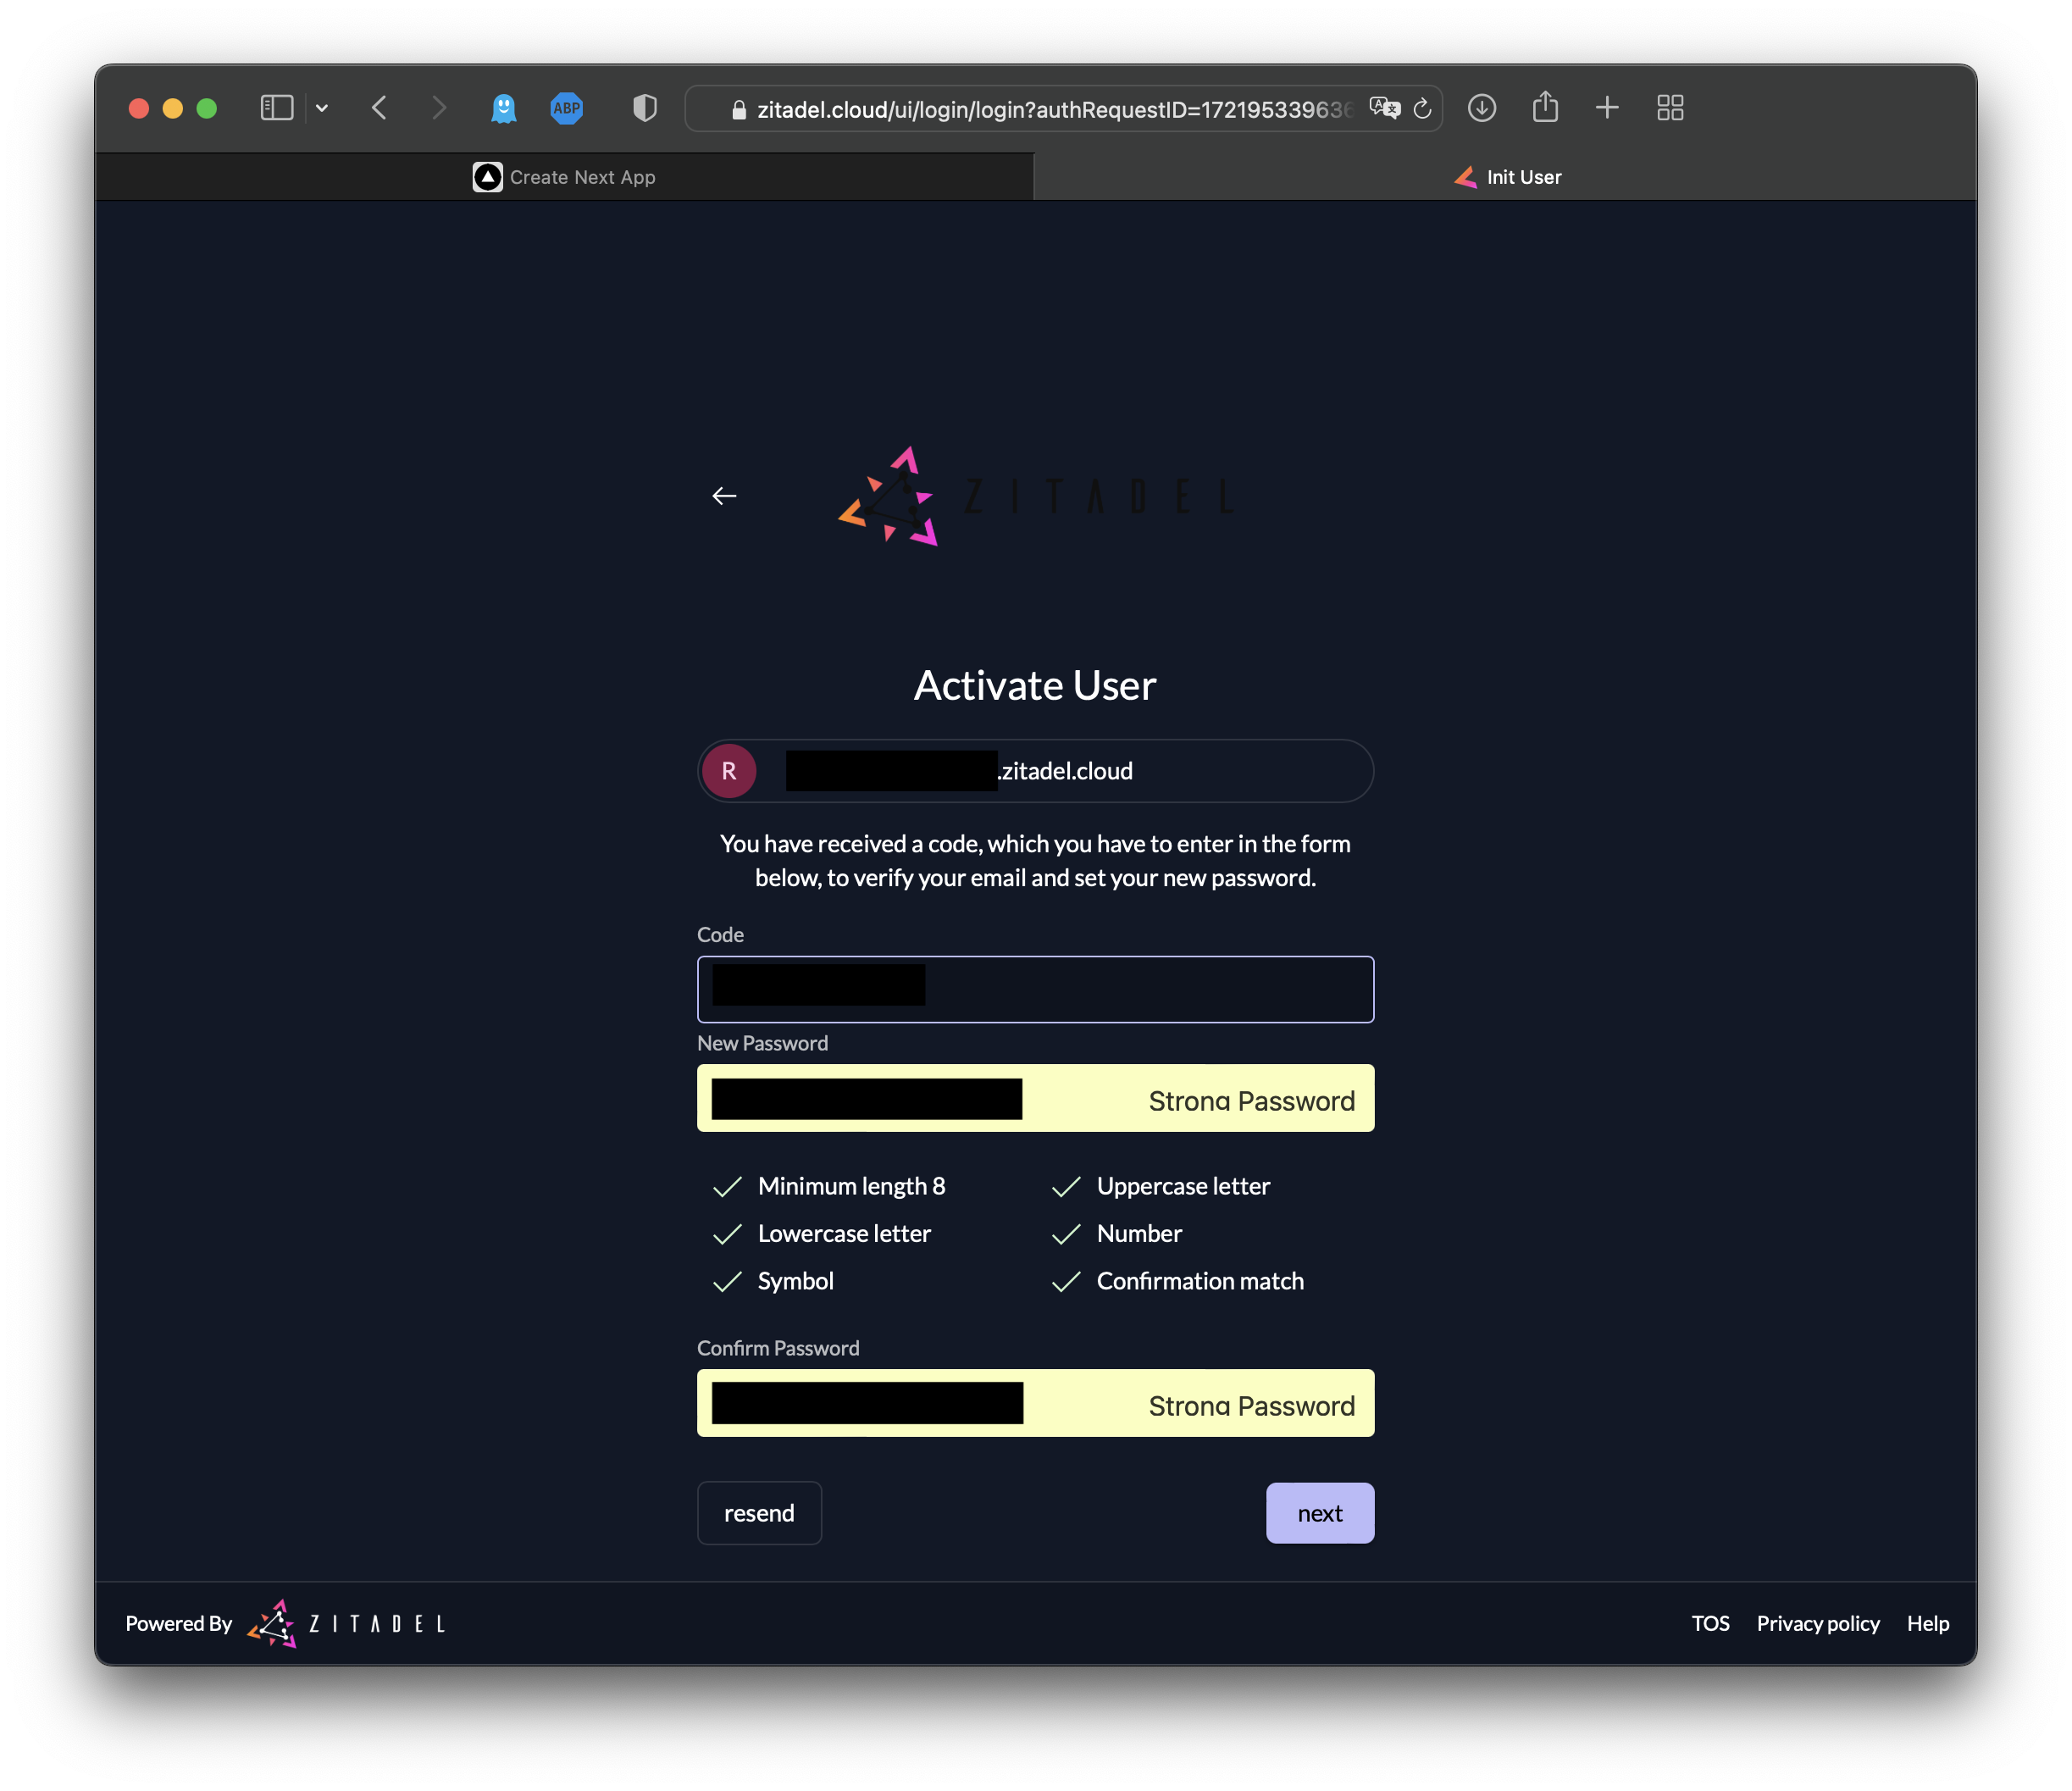
Activate your user account by navigating to your email and clicking on the link in the email from ZITADEL:
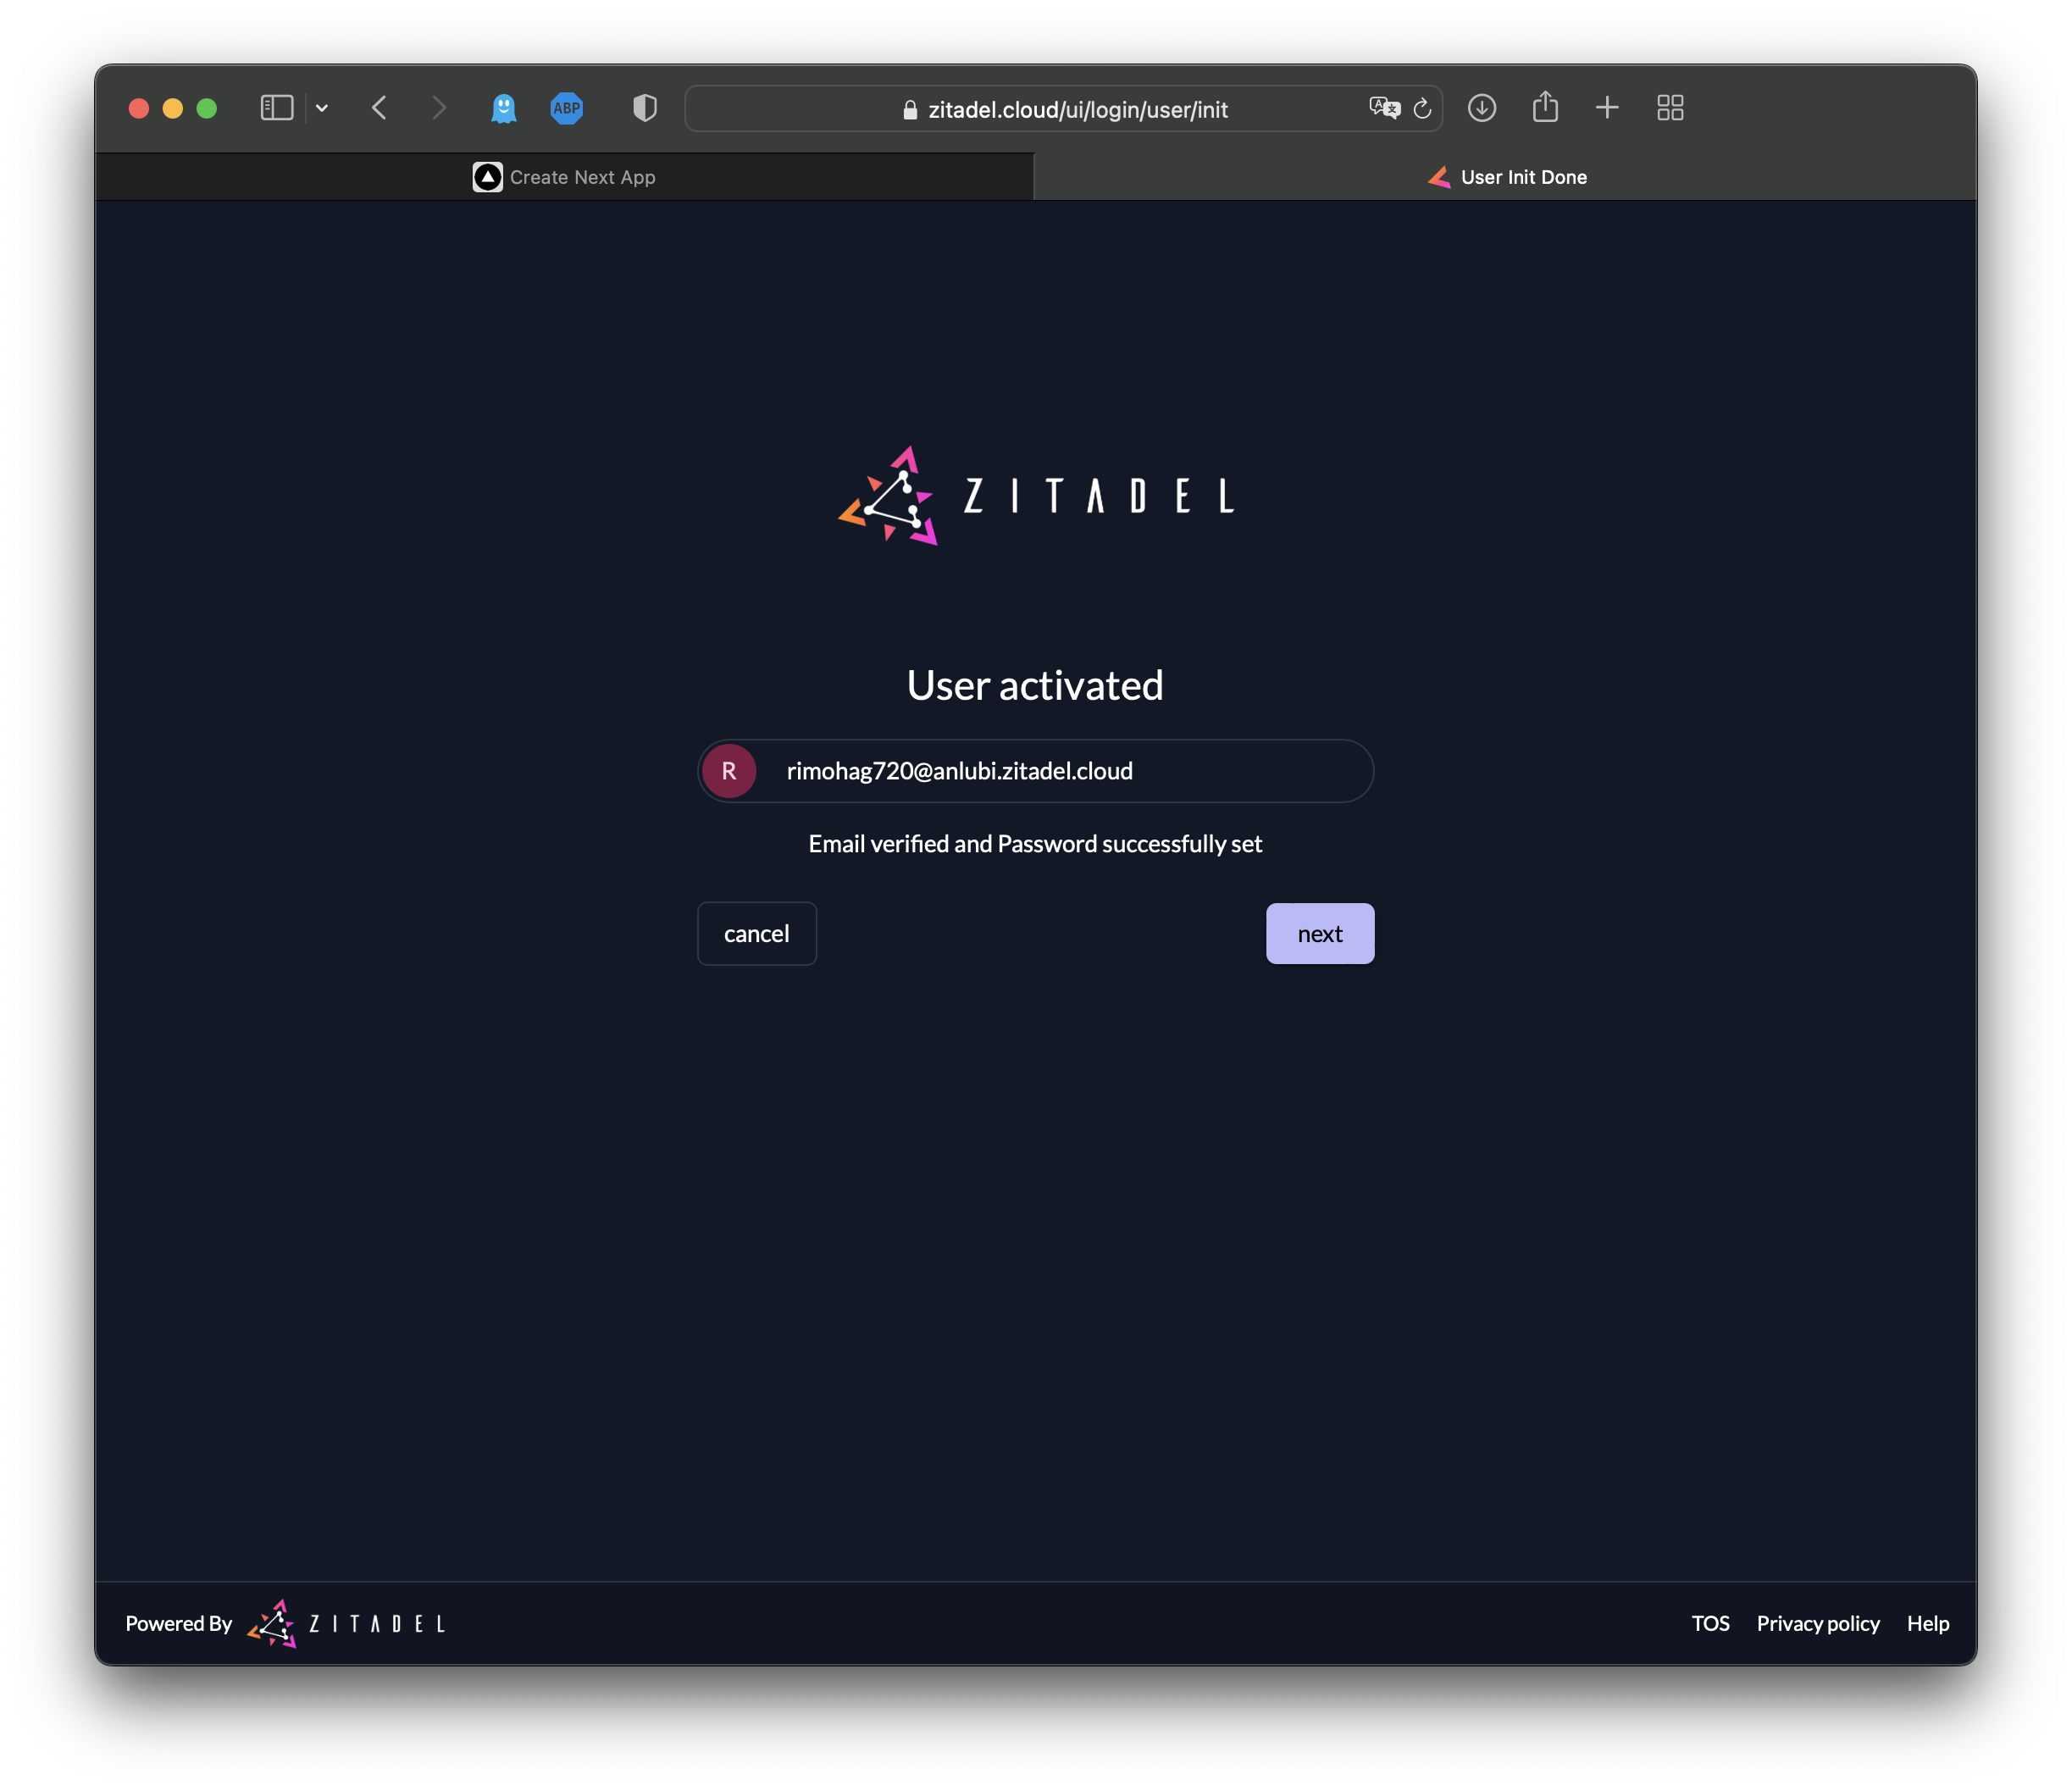
Now your account has officially been activated:
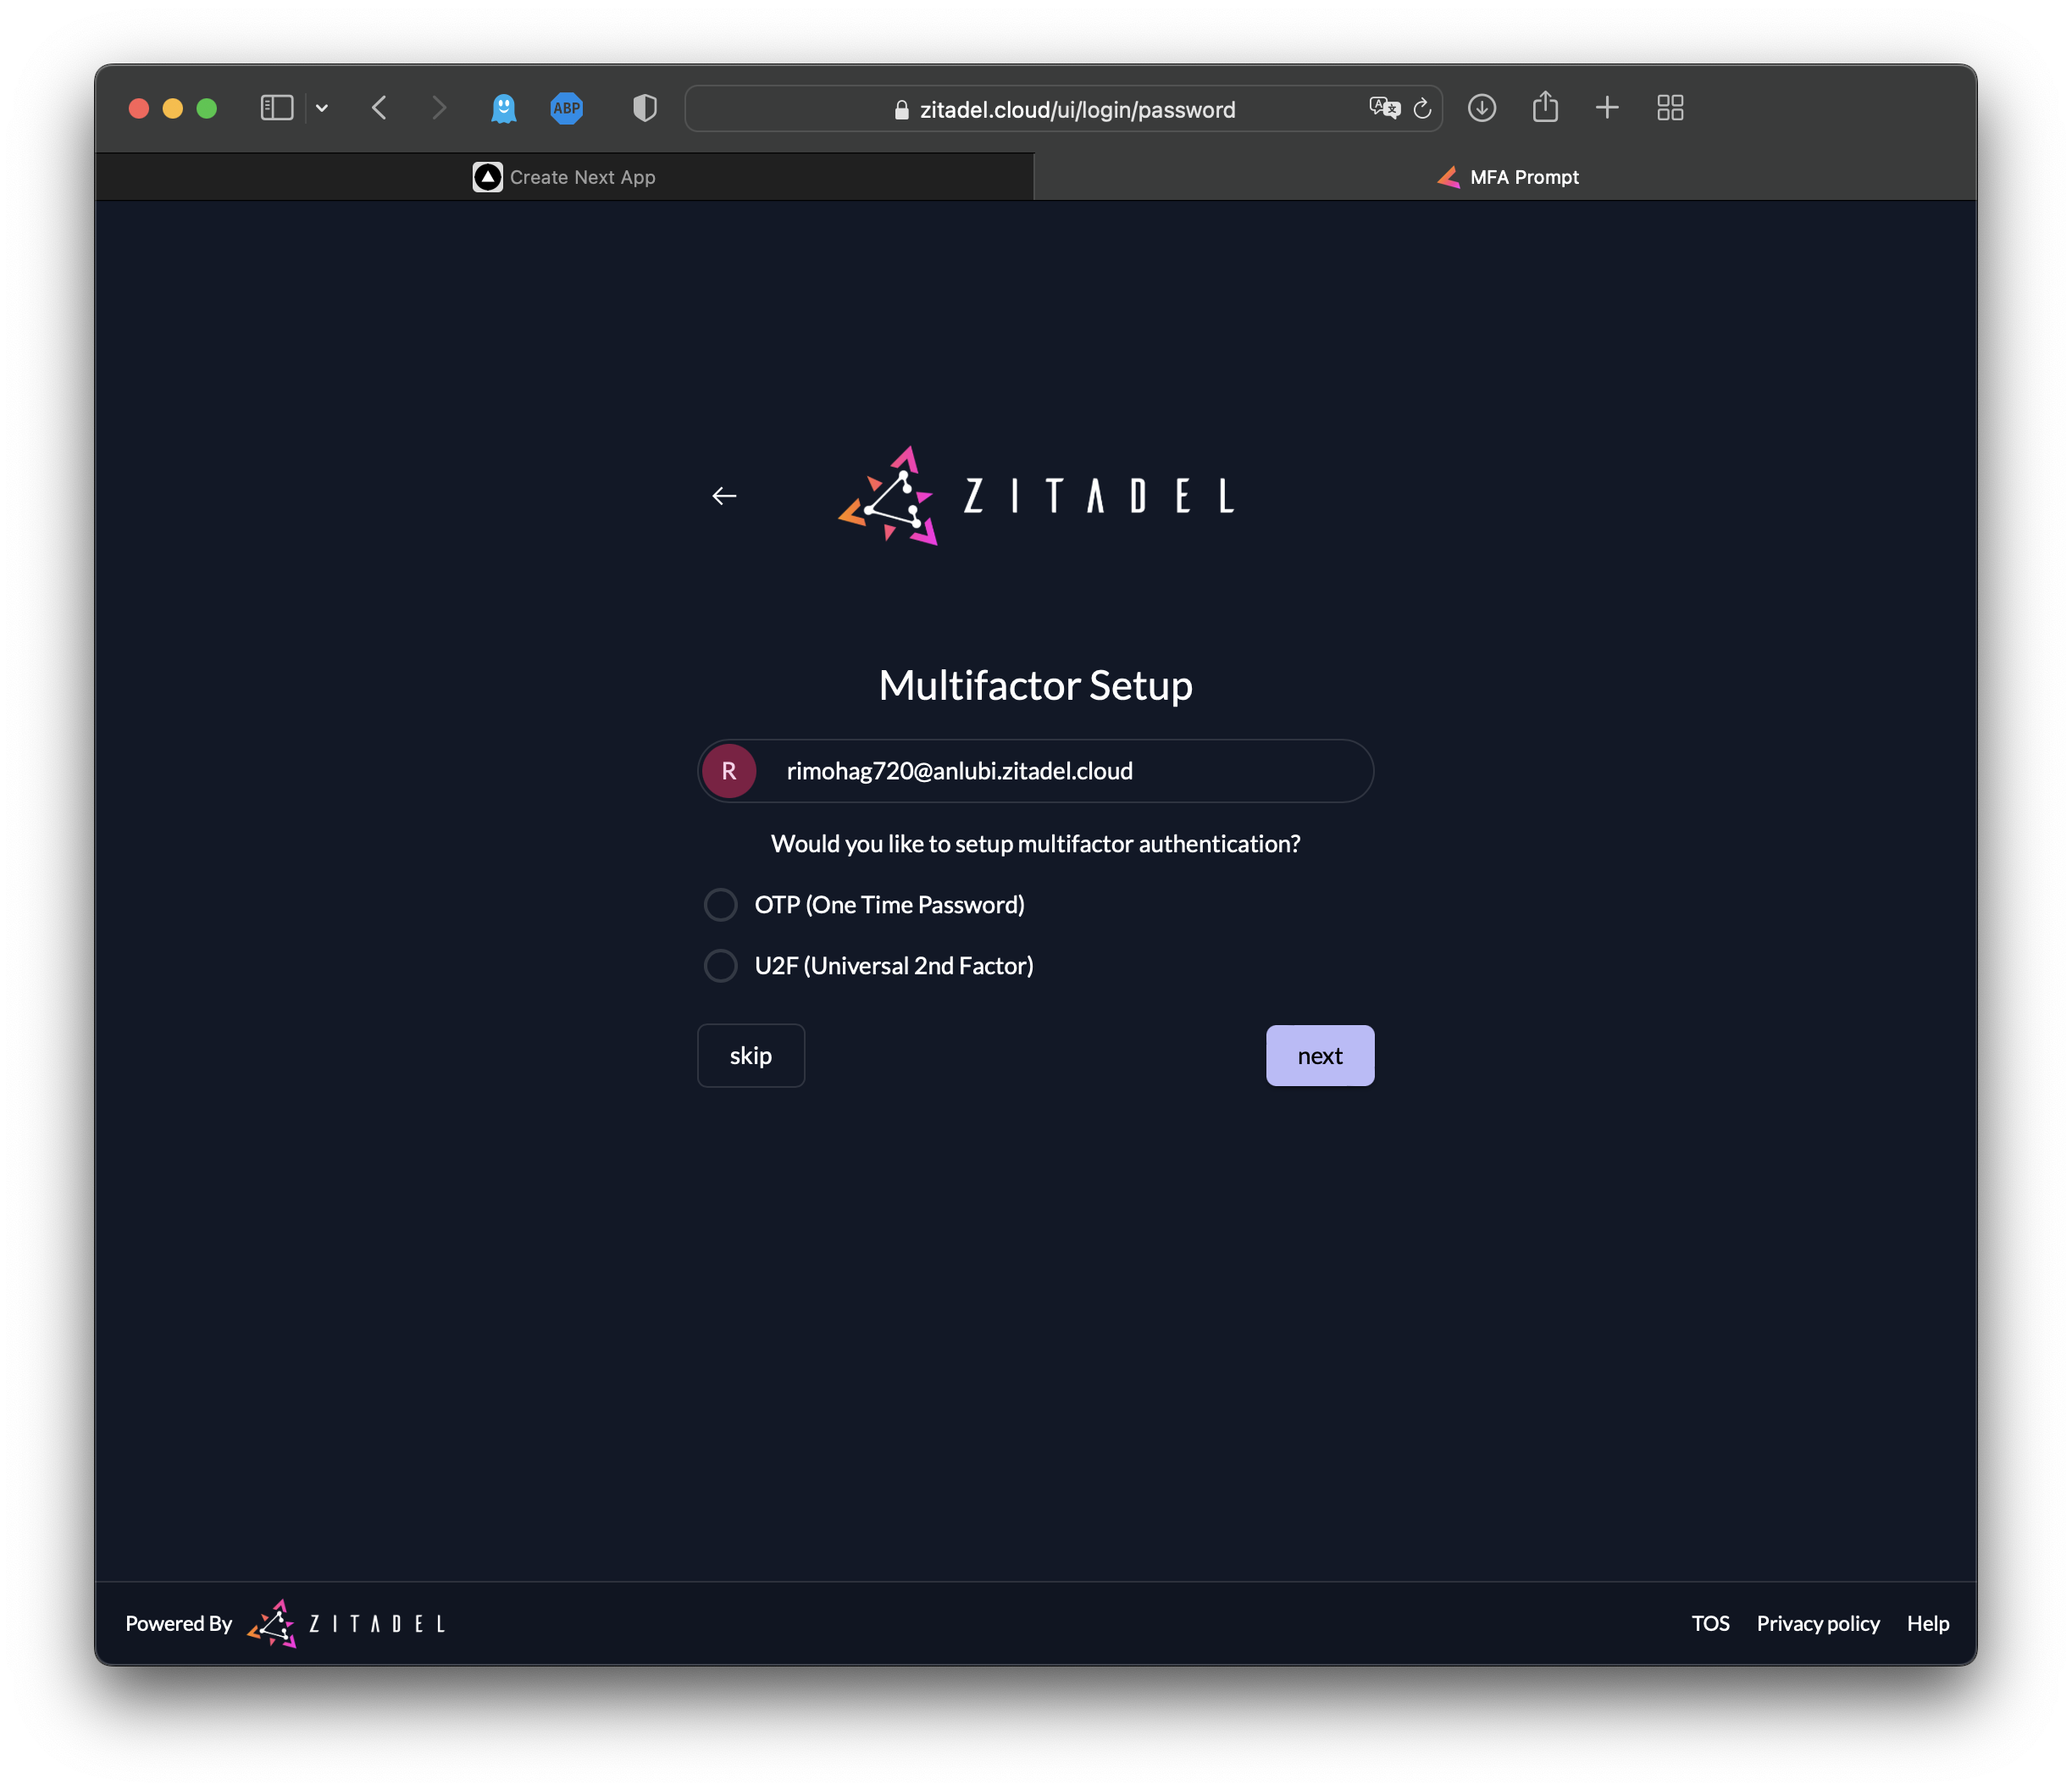
Please note: You can skip the multifactor setup for now, but you should activate it before going to production:
Your view of the ZITADEL dashboard (also referred to as the customer portal) should look like this:
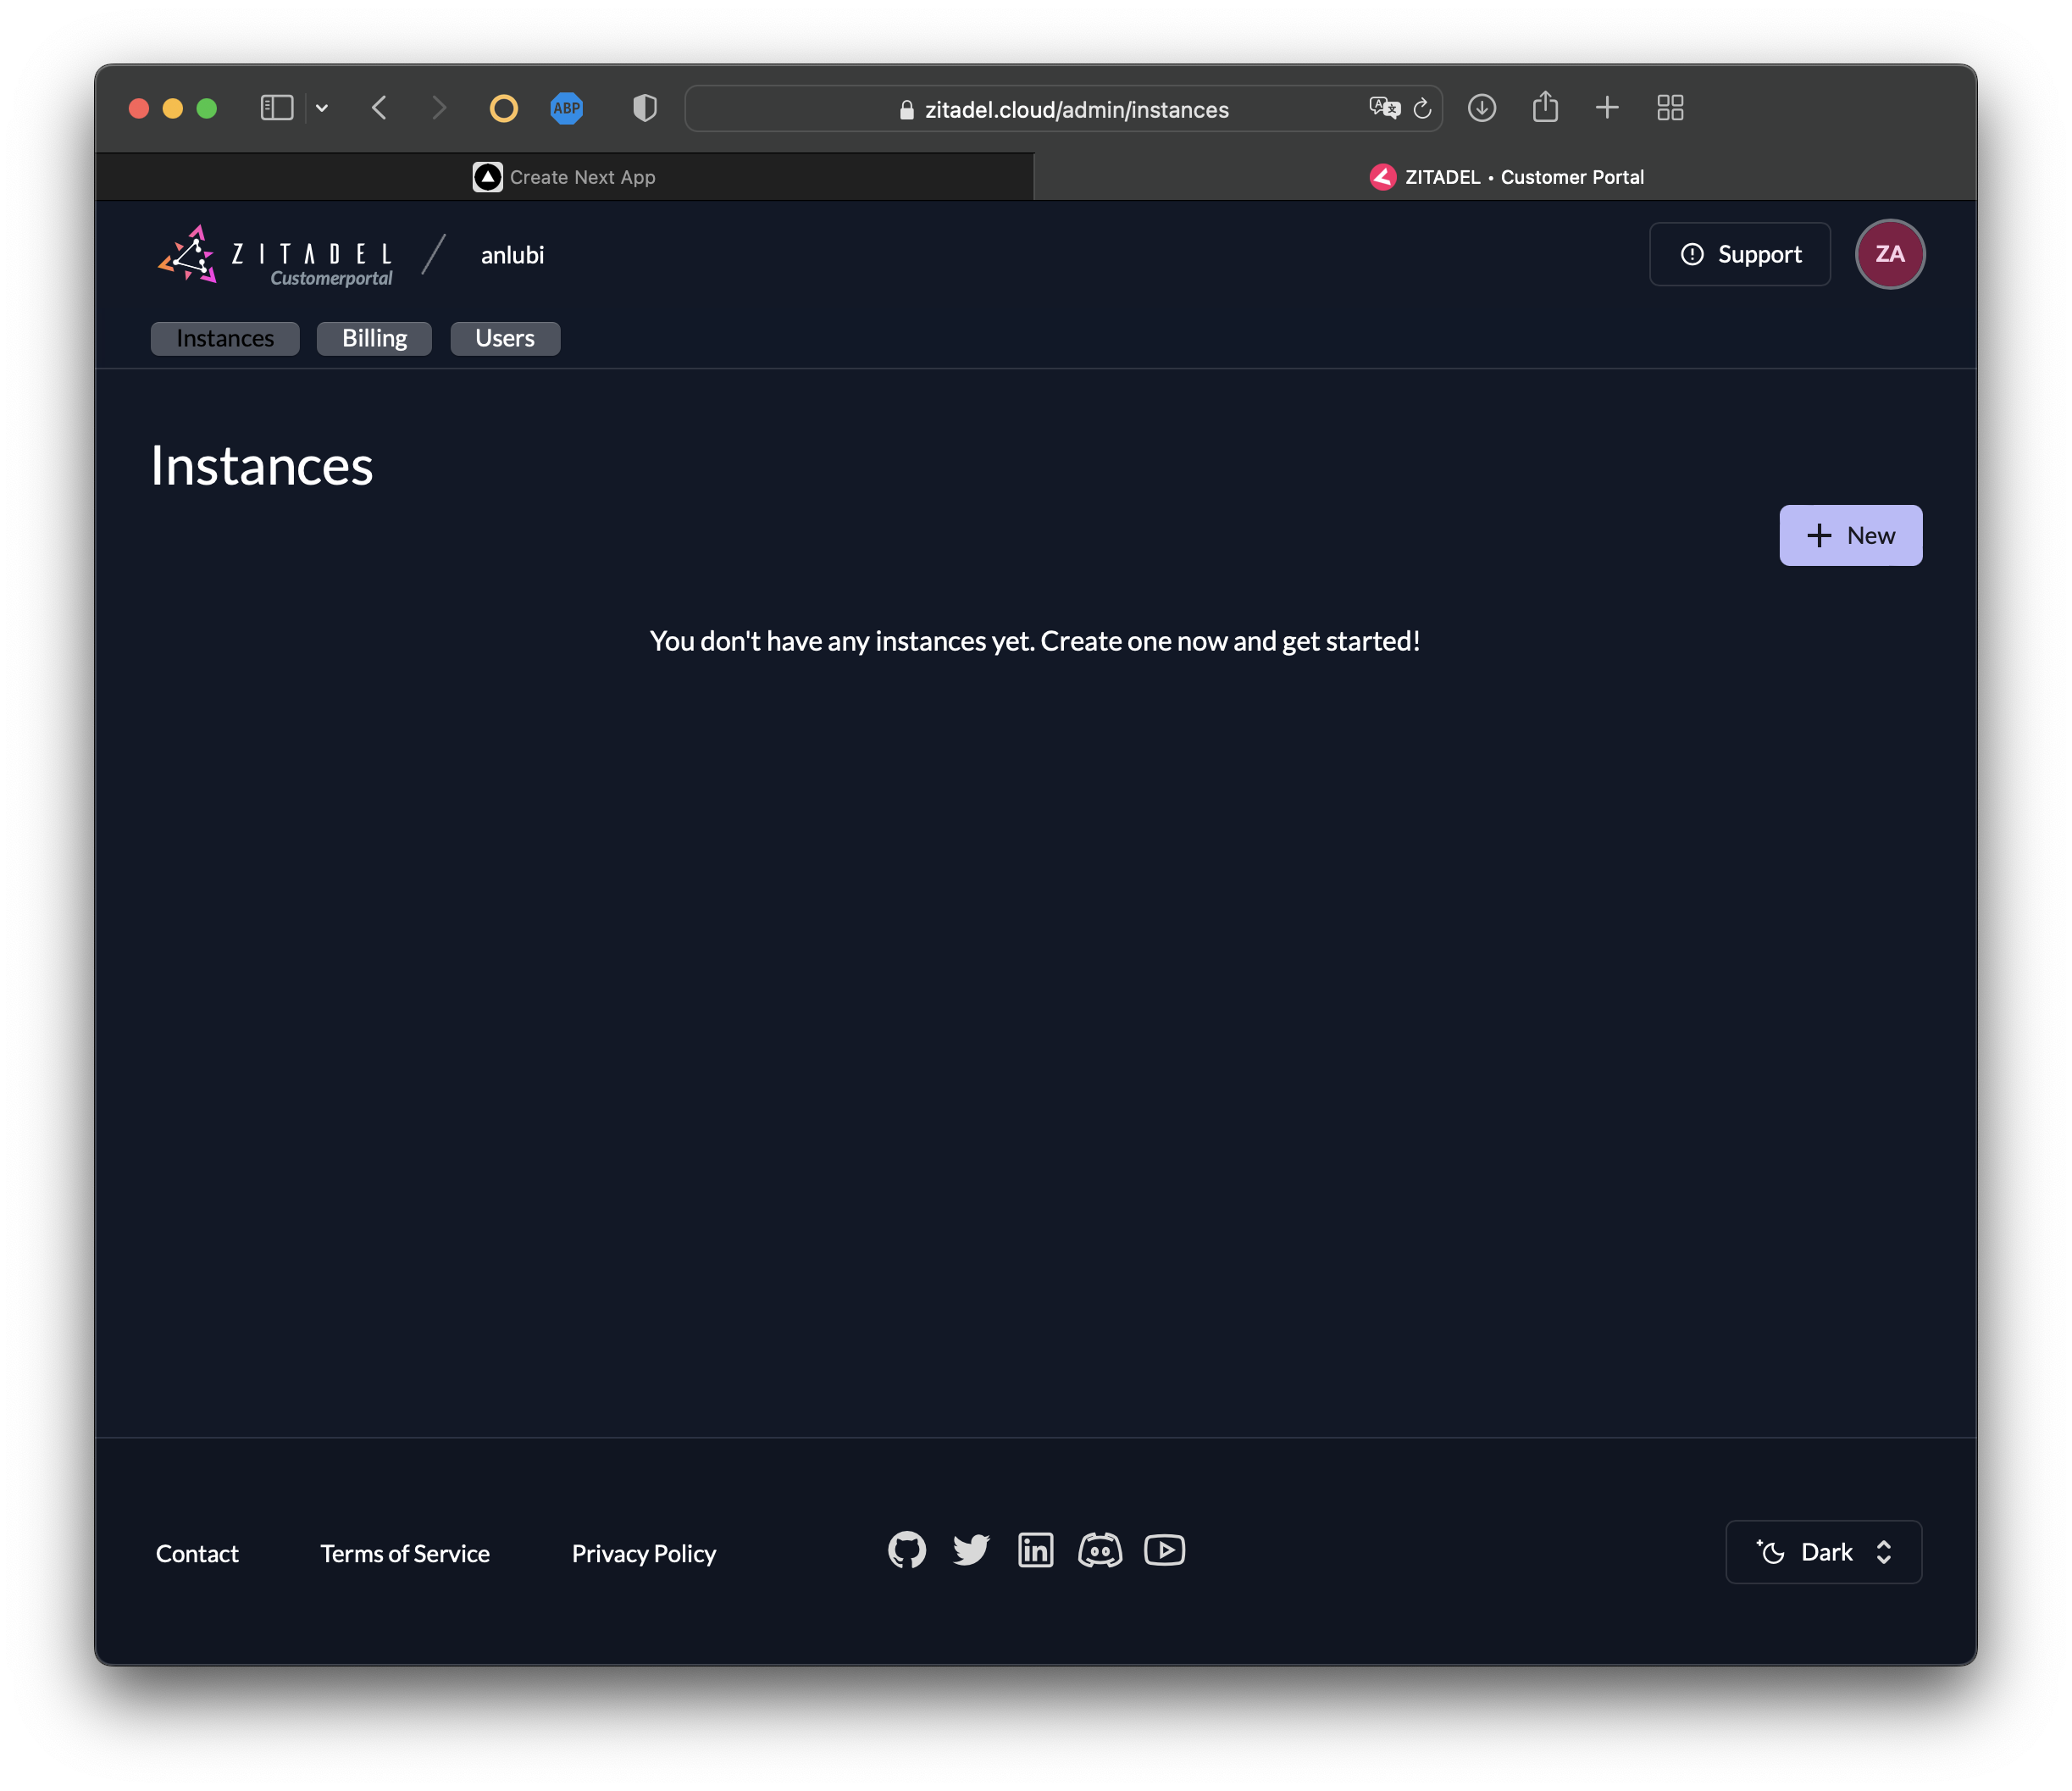
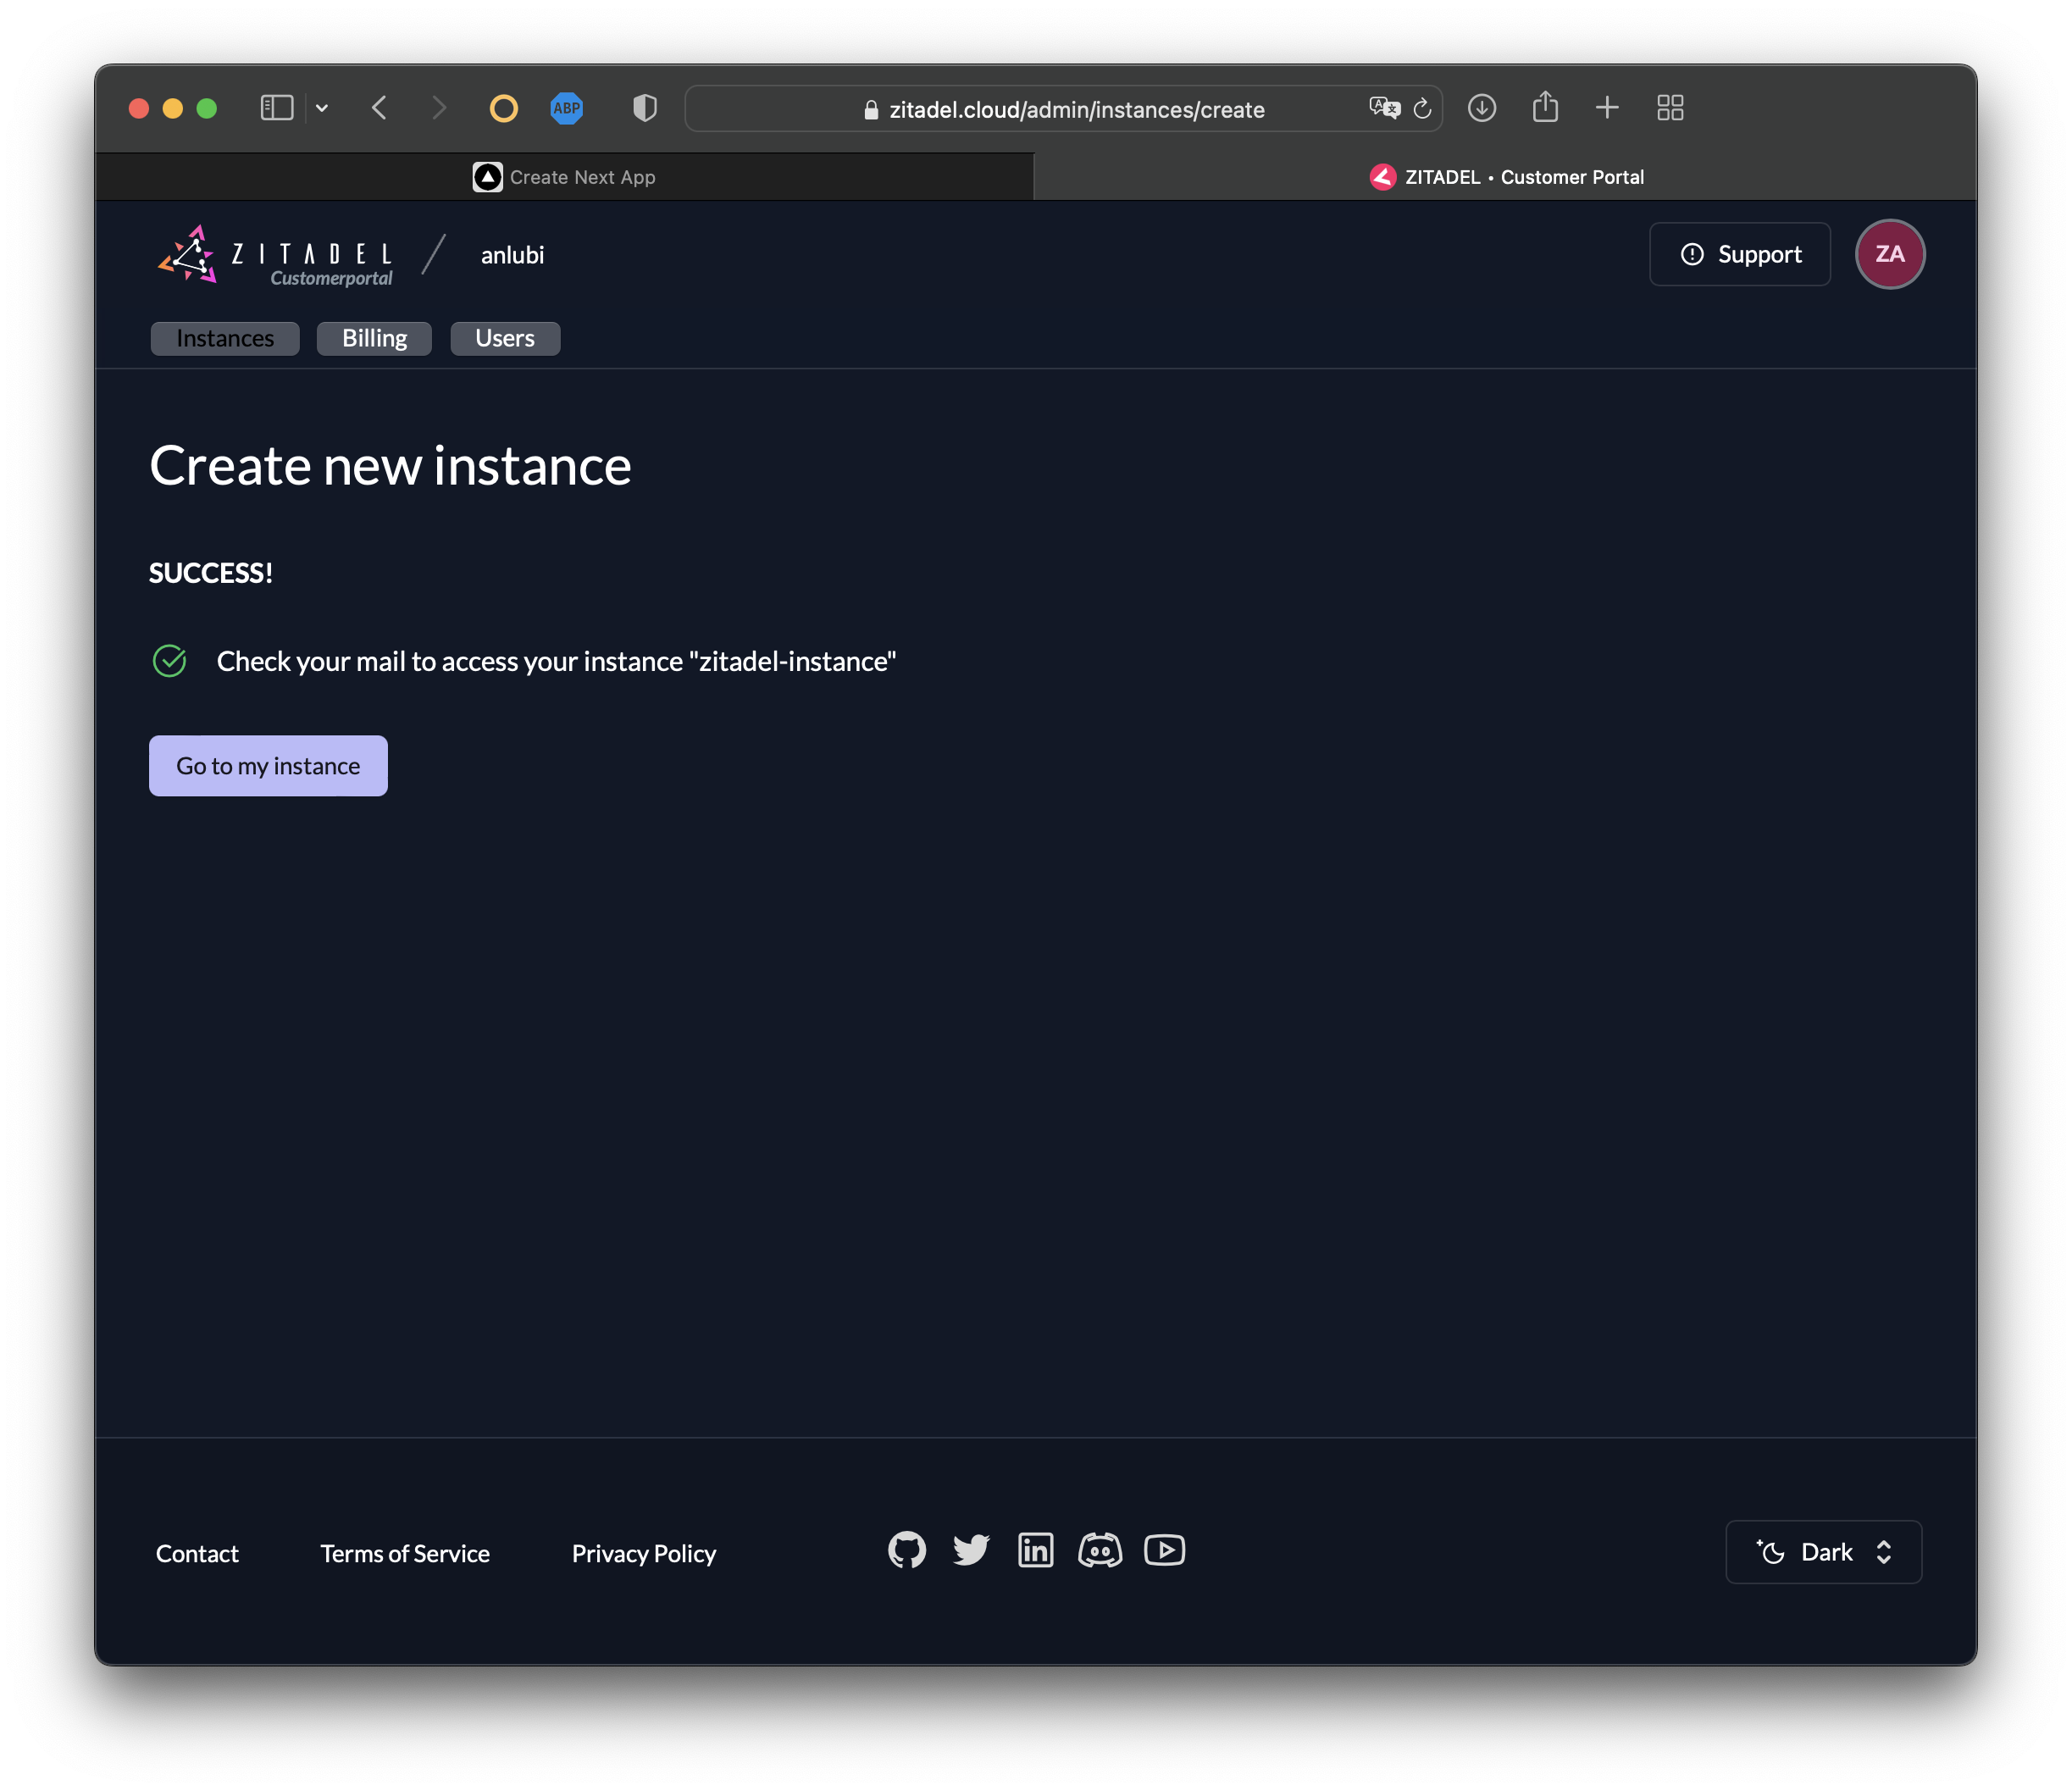
Now it's time to set up your ZITADEL instance. To create a new instance, click on + New:
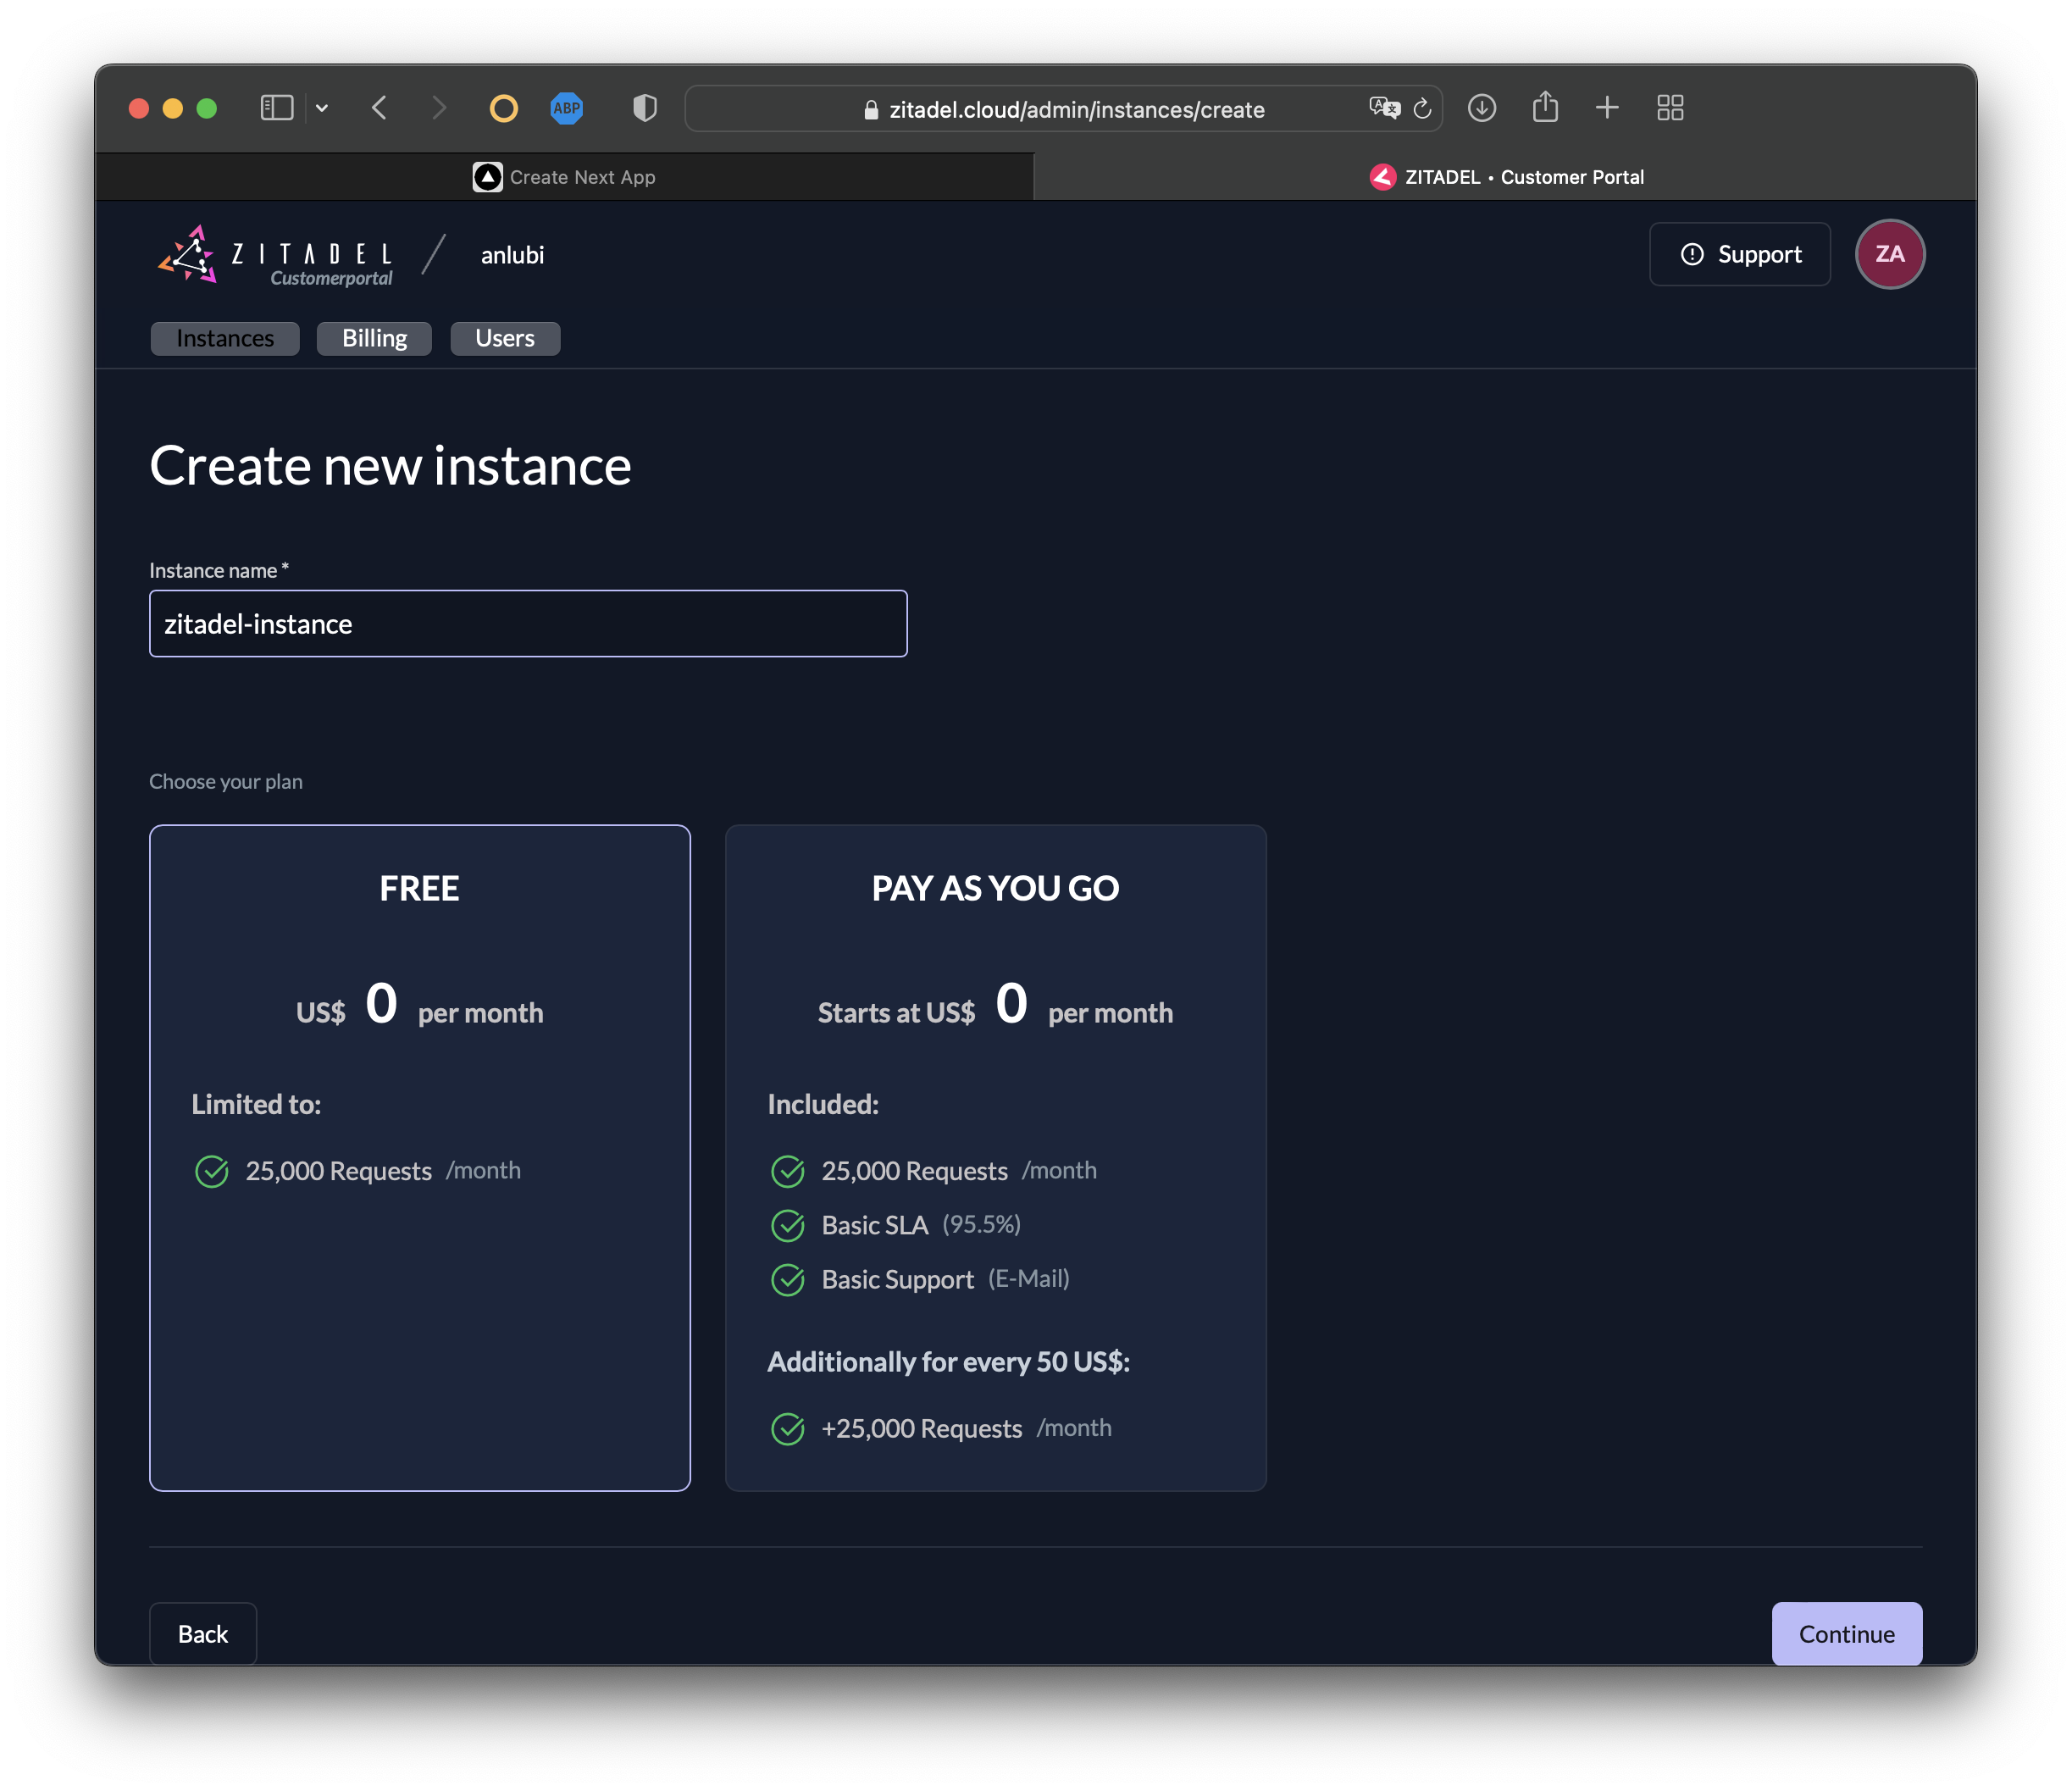
Select Continue then Confirm the creation of a new instance:
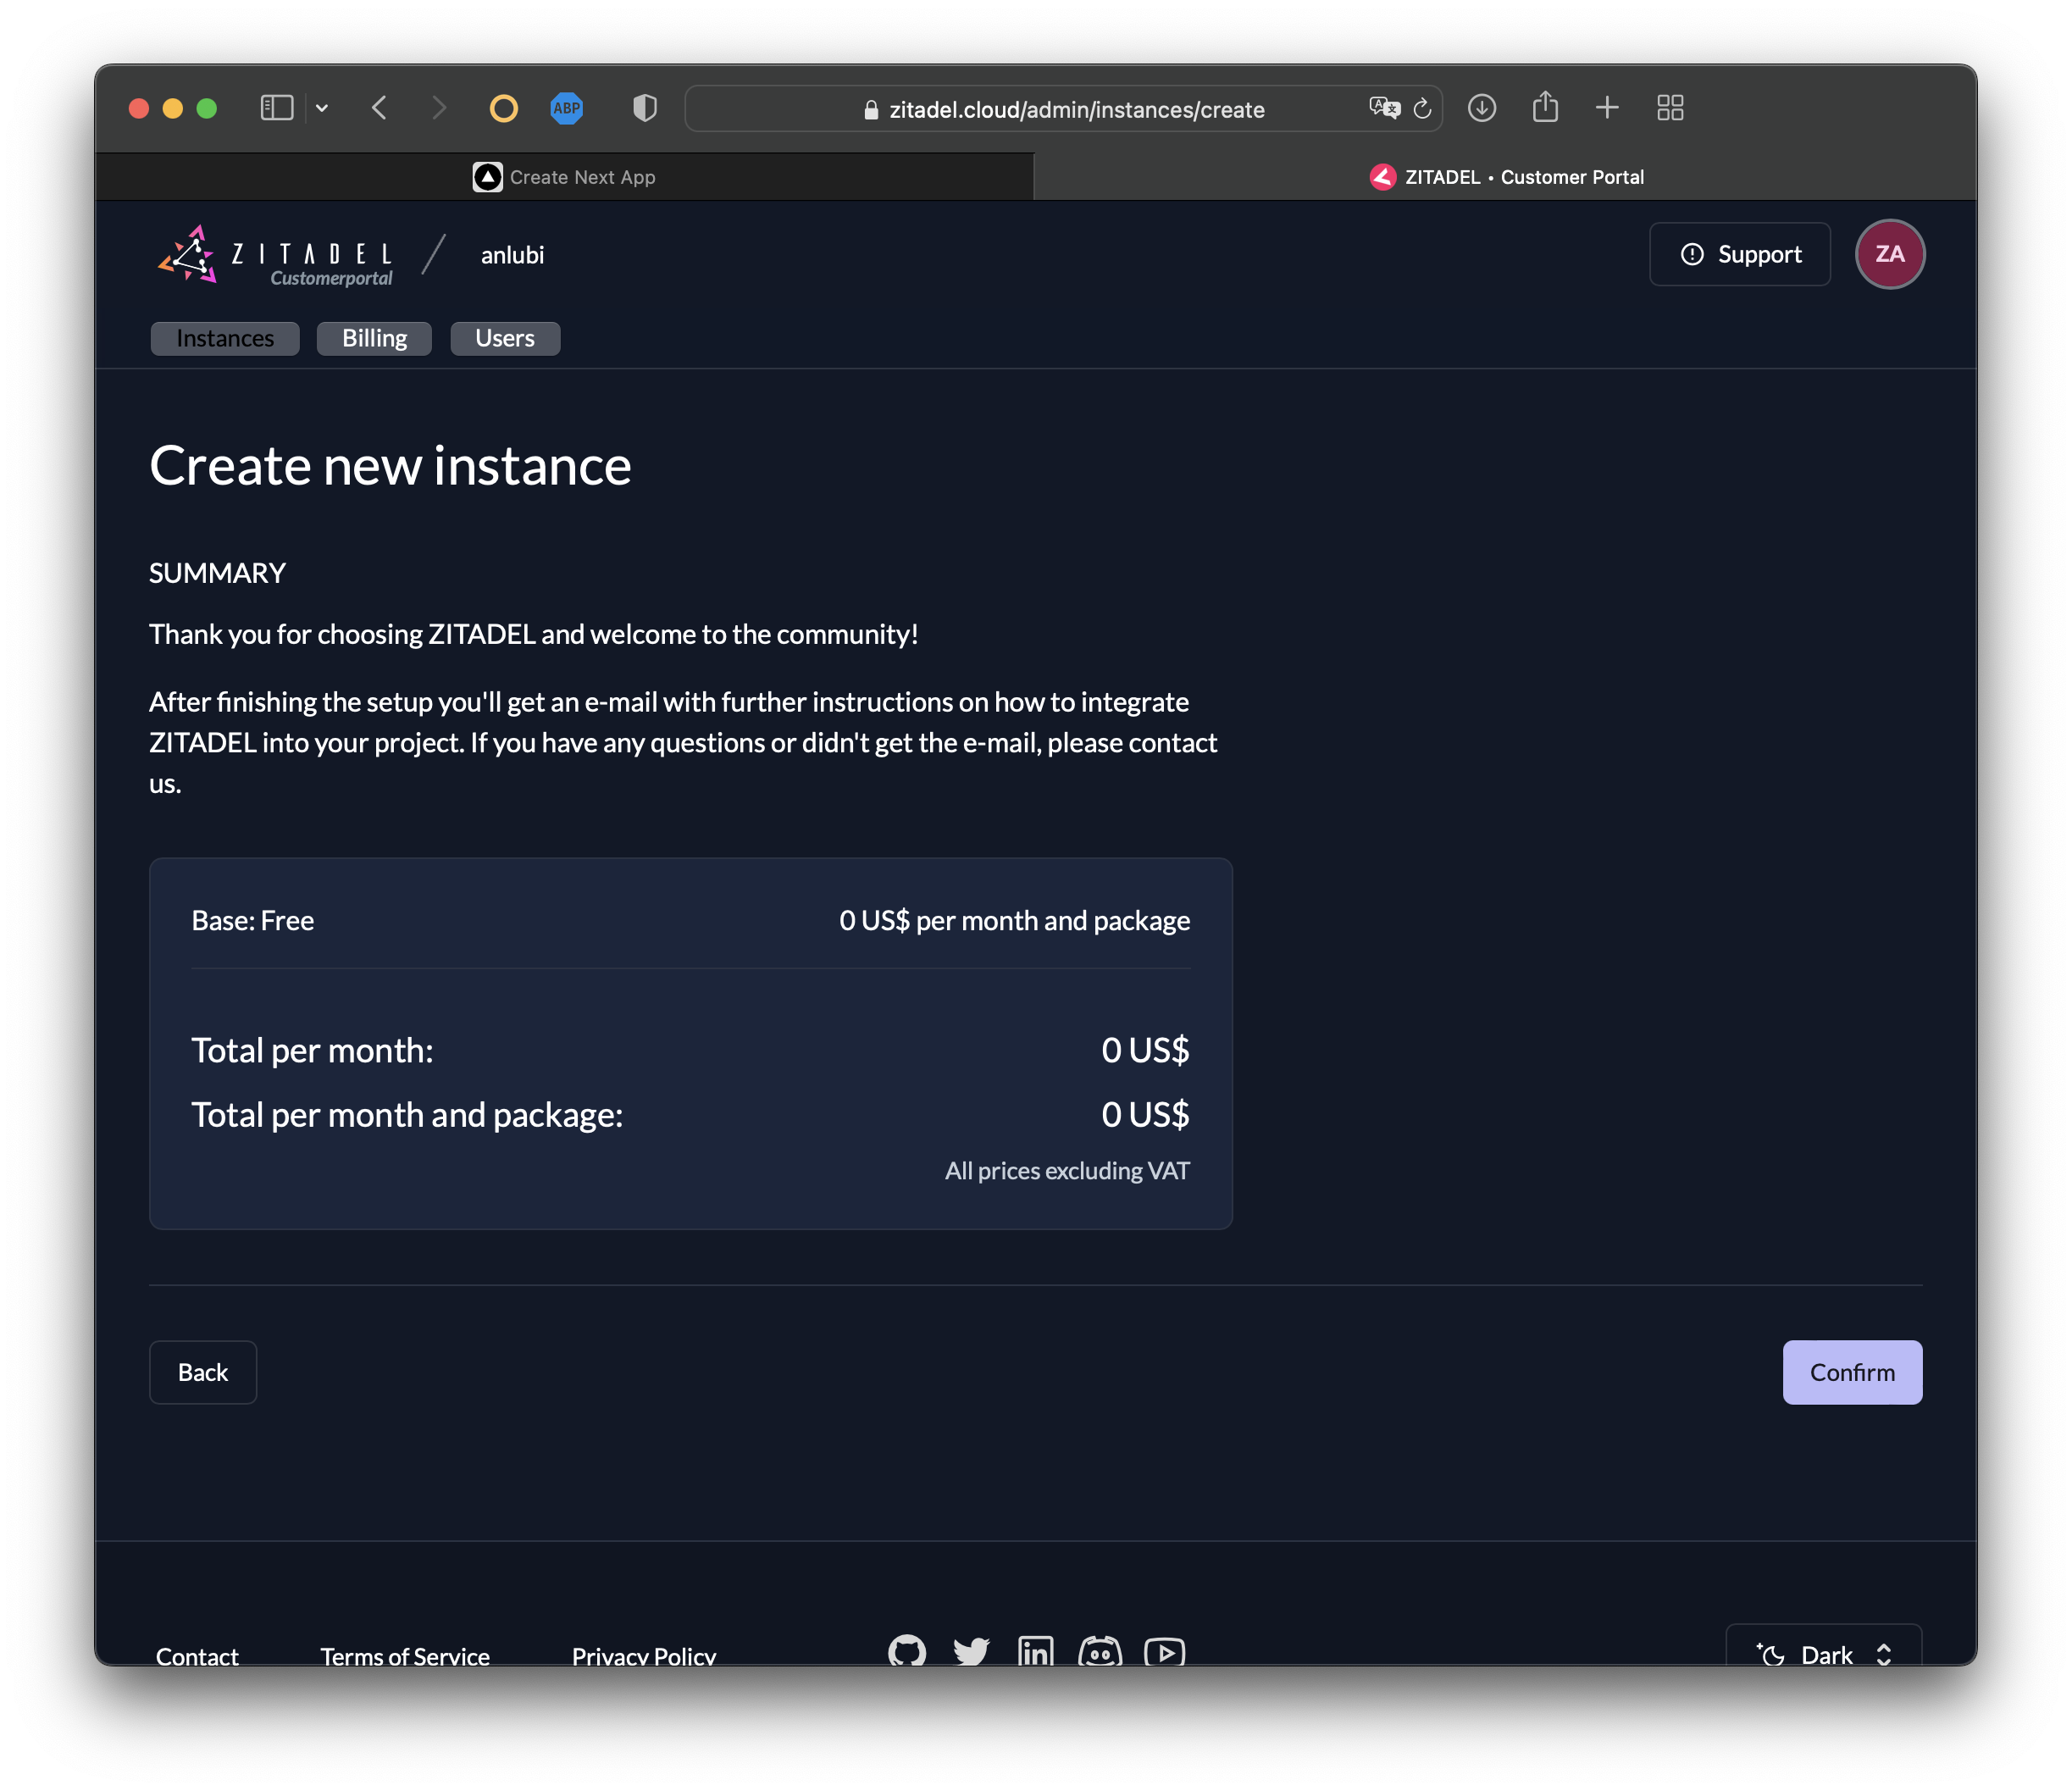
In a few seconds, your ZITADEL instance will be created:
Now you'll receive another email from ZITADEL titled Initialize User. Open the email and select Finish Initialization. You should receive a prompt to create a new password for your ZITADEL instance. Create it, and then click Next.
Follow the prompts to login with your new credentials. Then select skip to skip creating multi-factor authentication.
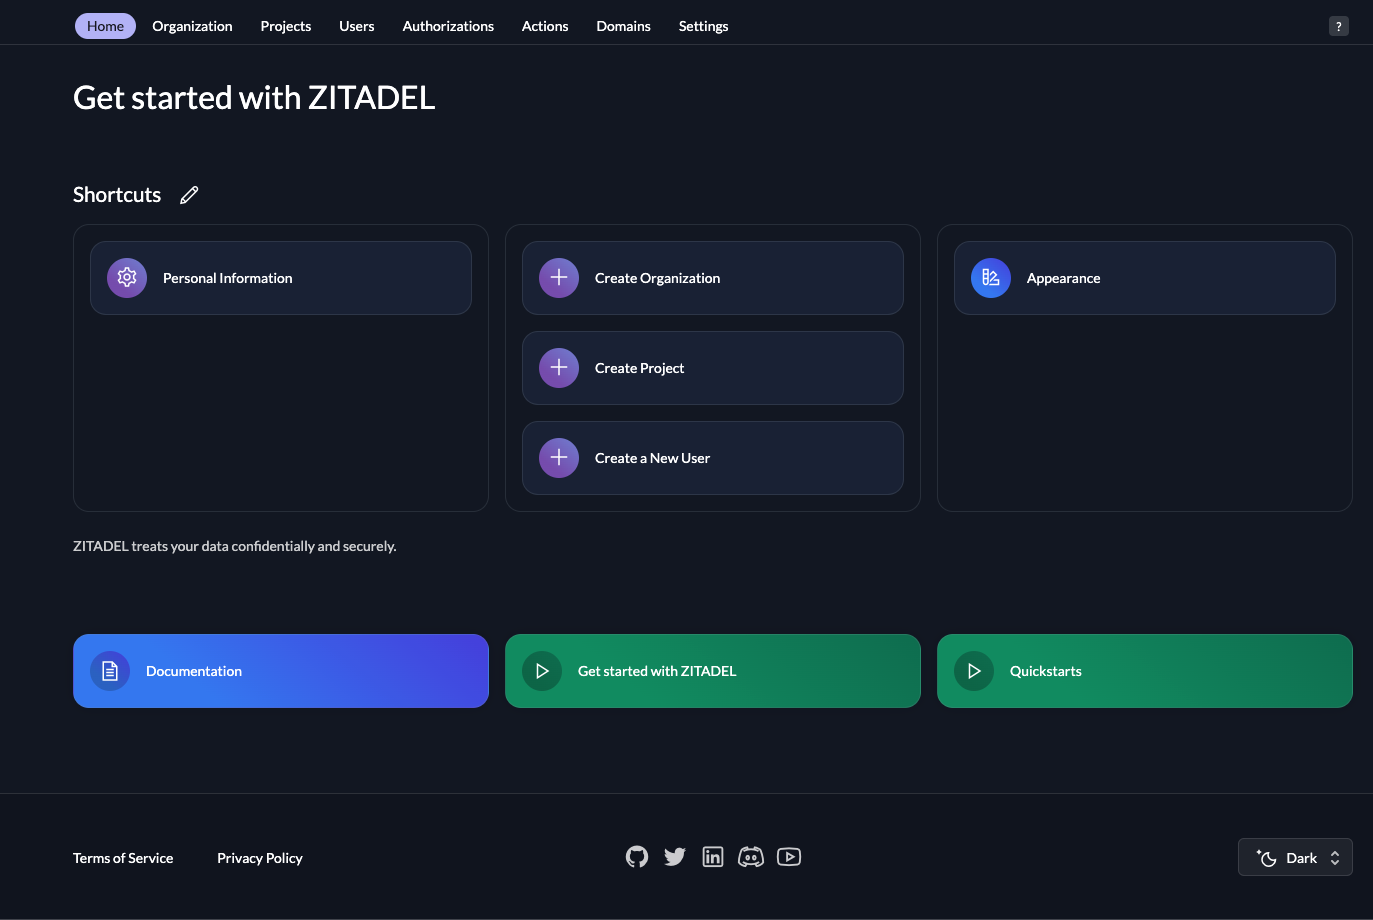
Now you should be logged in to the instance UI console:
Please note: The credentials you created in the first part of this setup differ from the credentials you just created. The first credentials are for the customer portal and the second are for the ZITADEL instance. When working with different environments you can create ZITADEL instances for each environment (ie one instance for development and another one for production environments).
After you've created your ZITADEL instance, you need to create a ZITADEL project. Projects in ZITADEL represent a container for applications and other artifacts. You can think of each project as a separate OIDC environment.
In the instance UI console, click on the Projects tab. Then select Create New Project to set up a new OIDC provider.
Give your project a name (nextjs-zitadel-project):
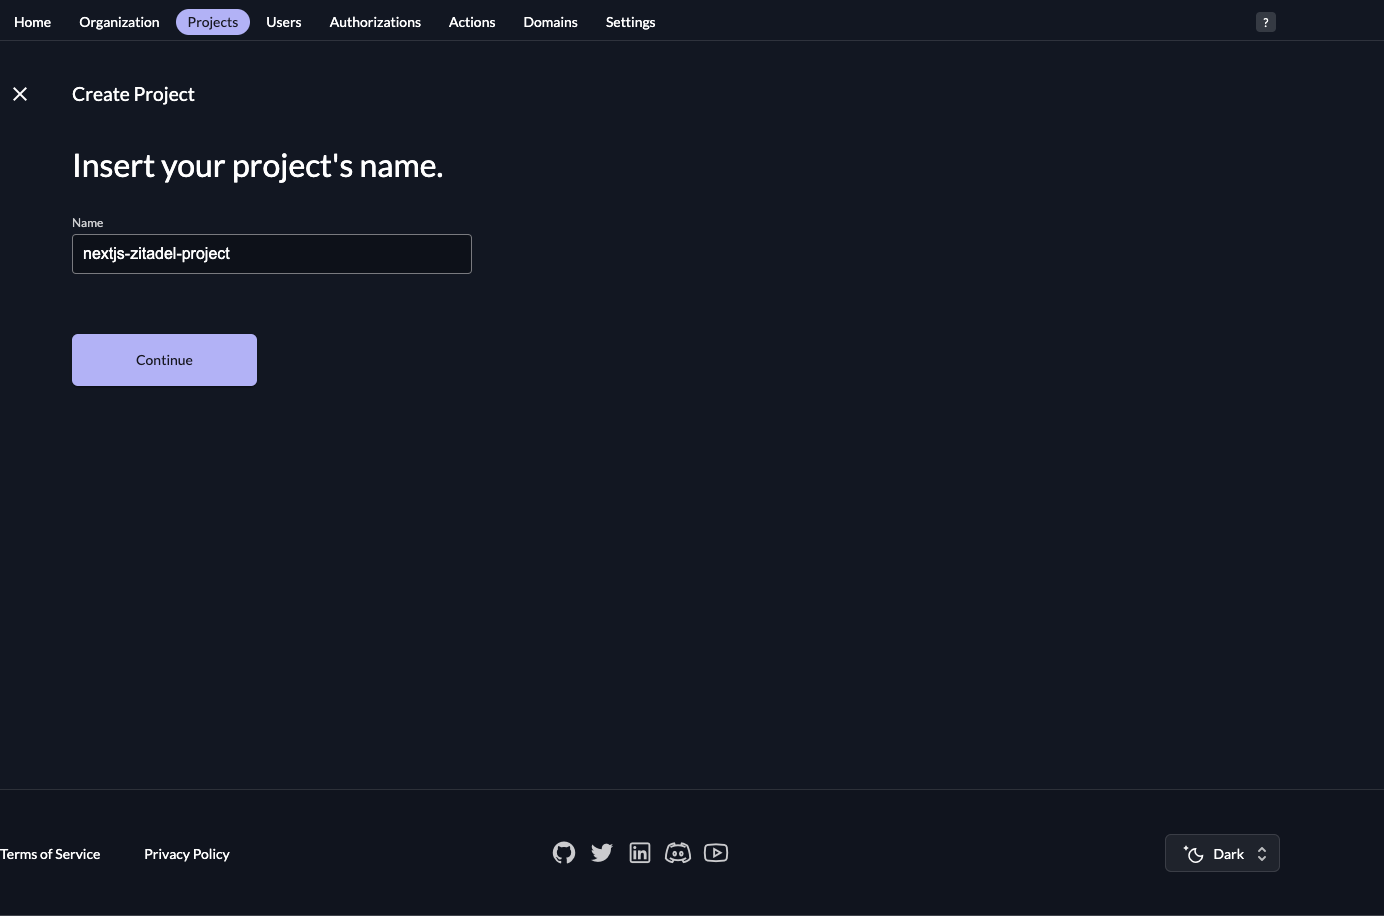
Then click Continue. ZITADEL will create your project and redirect you to the project settings:
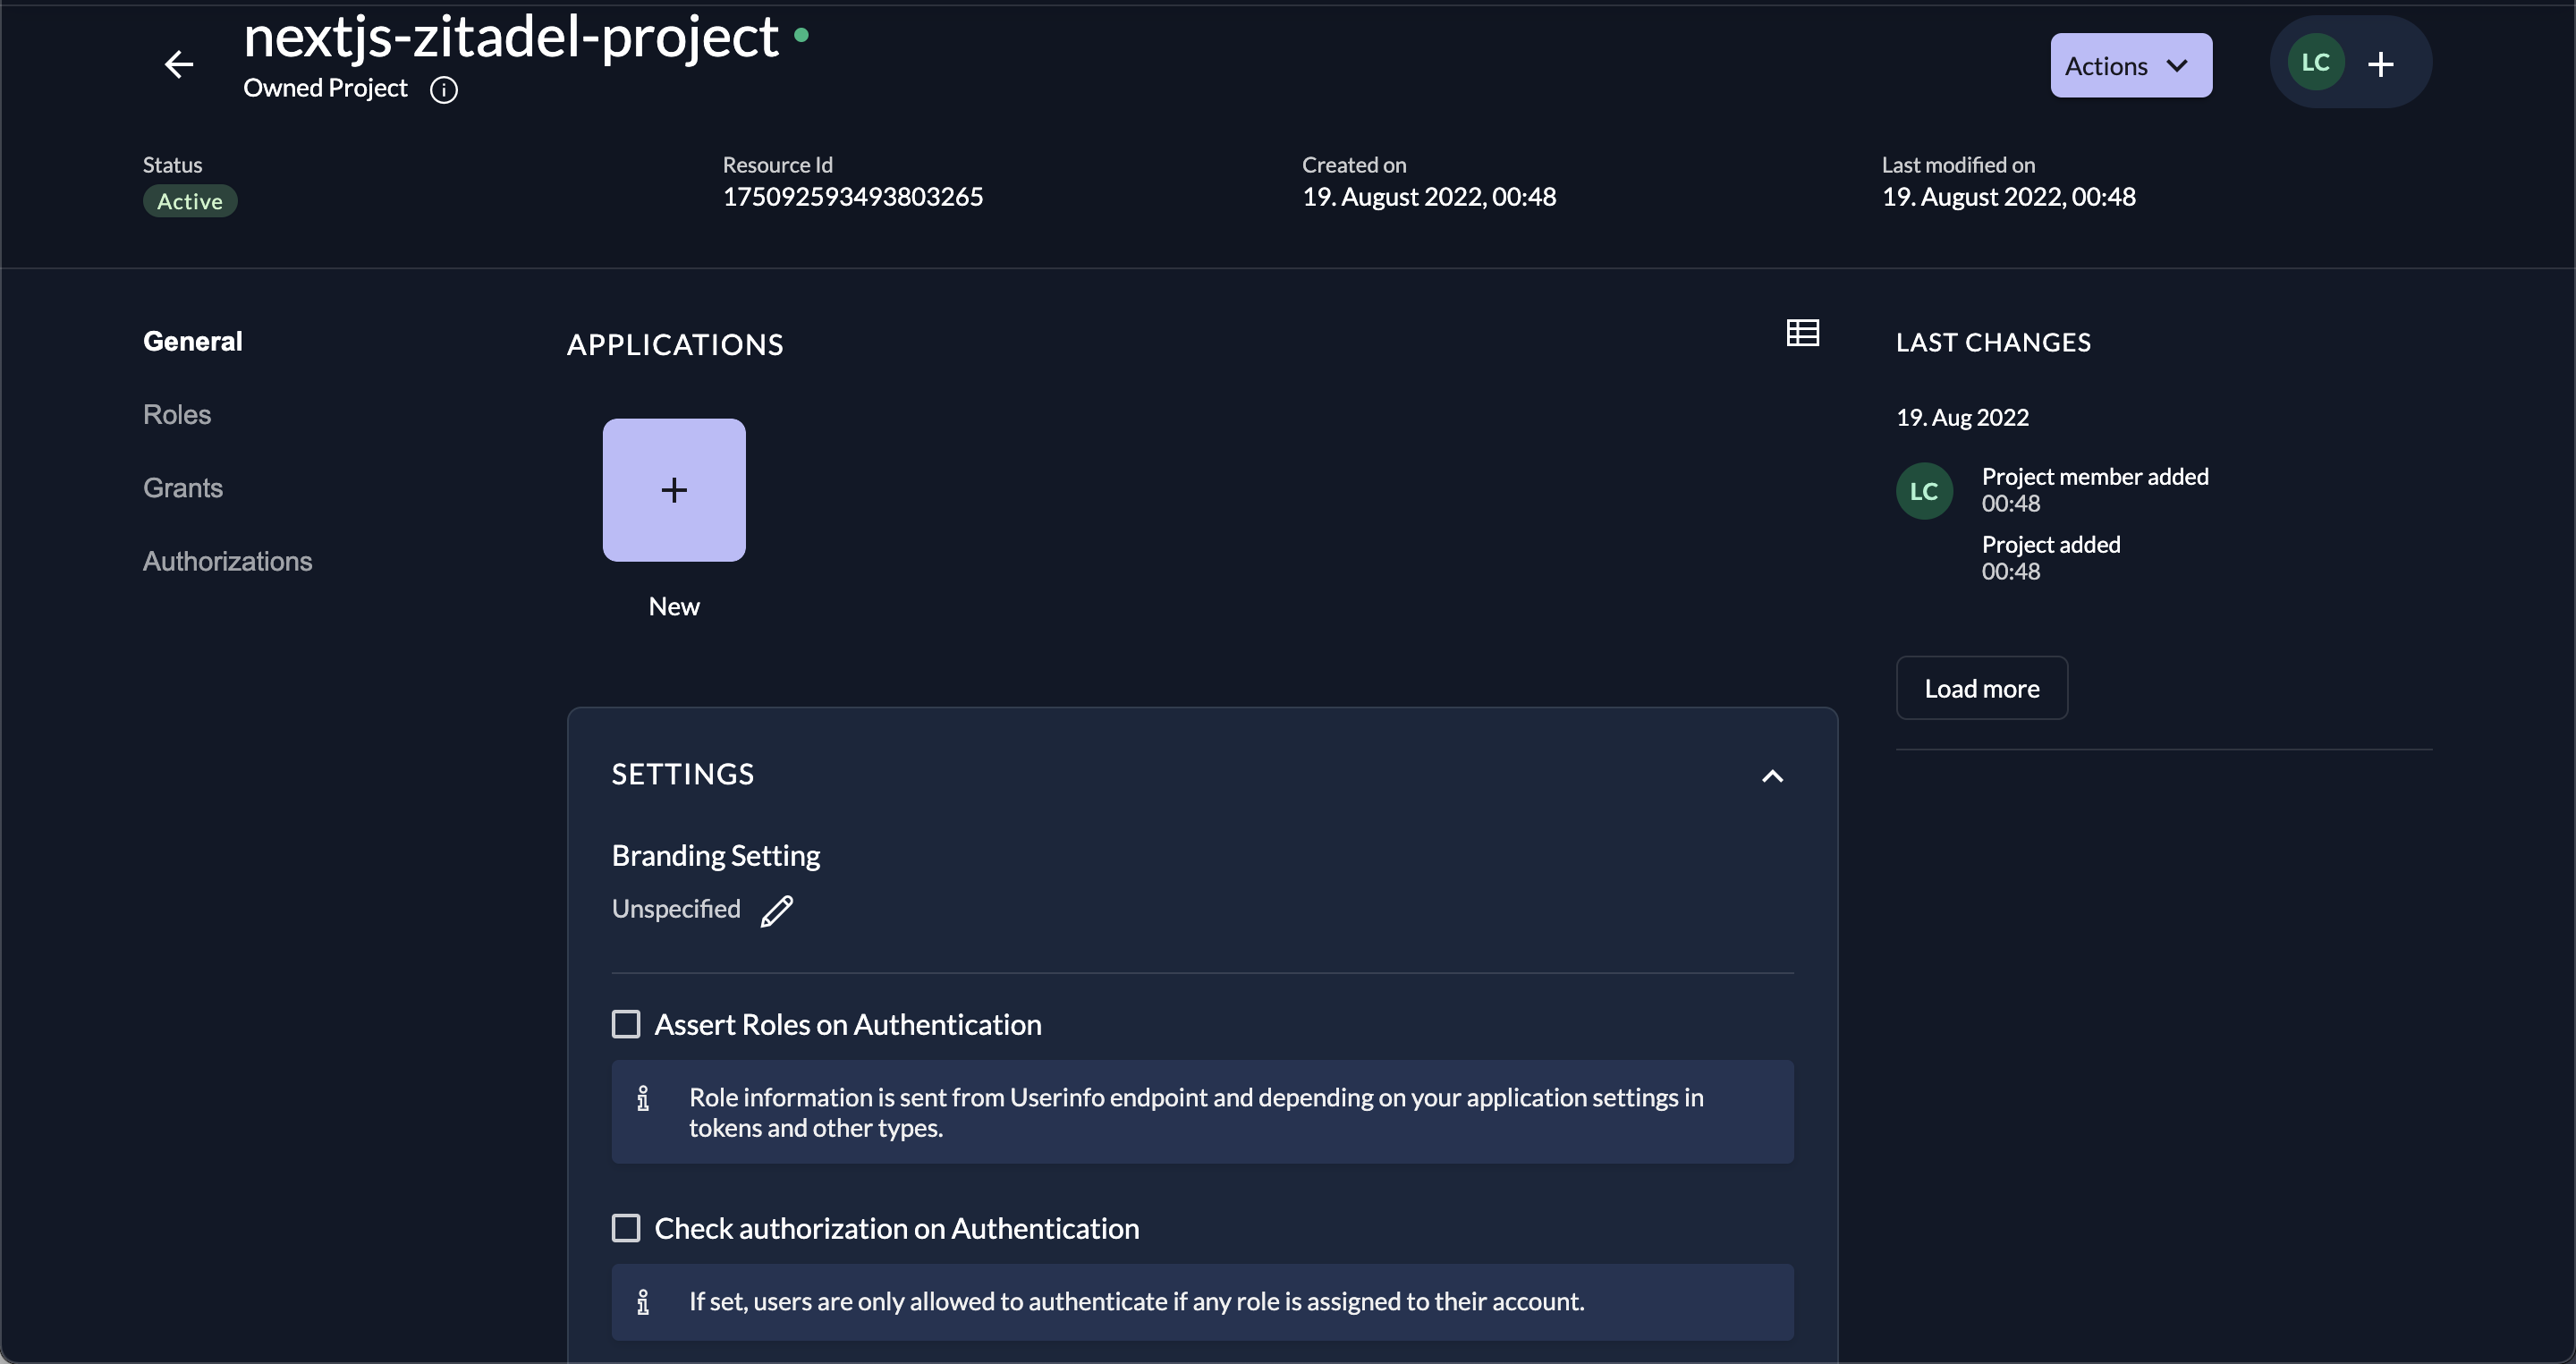
Click on + New under APPLICATIONS and name your application (web-nextjs), then click Continue:
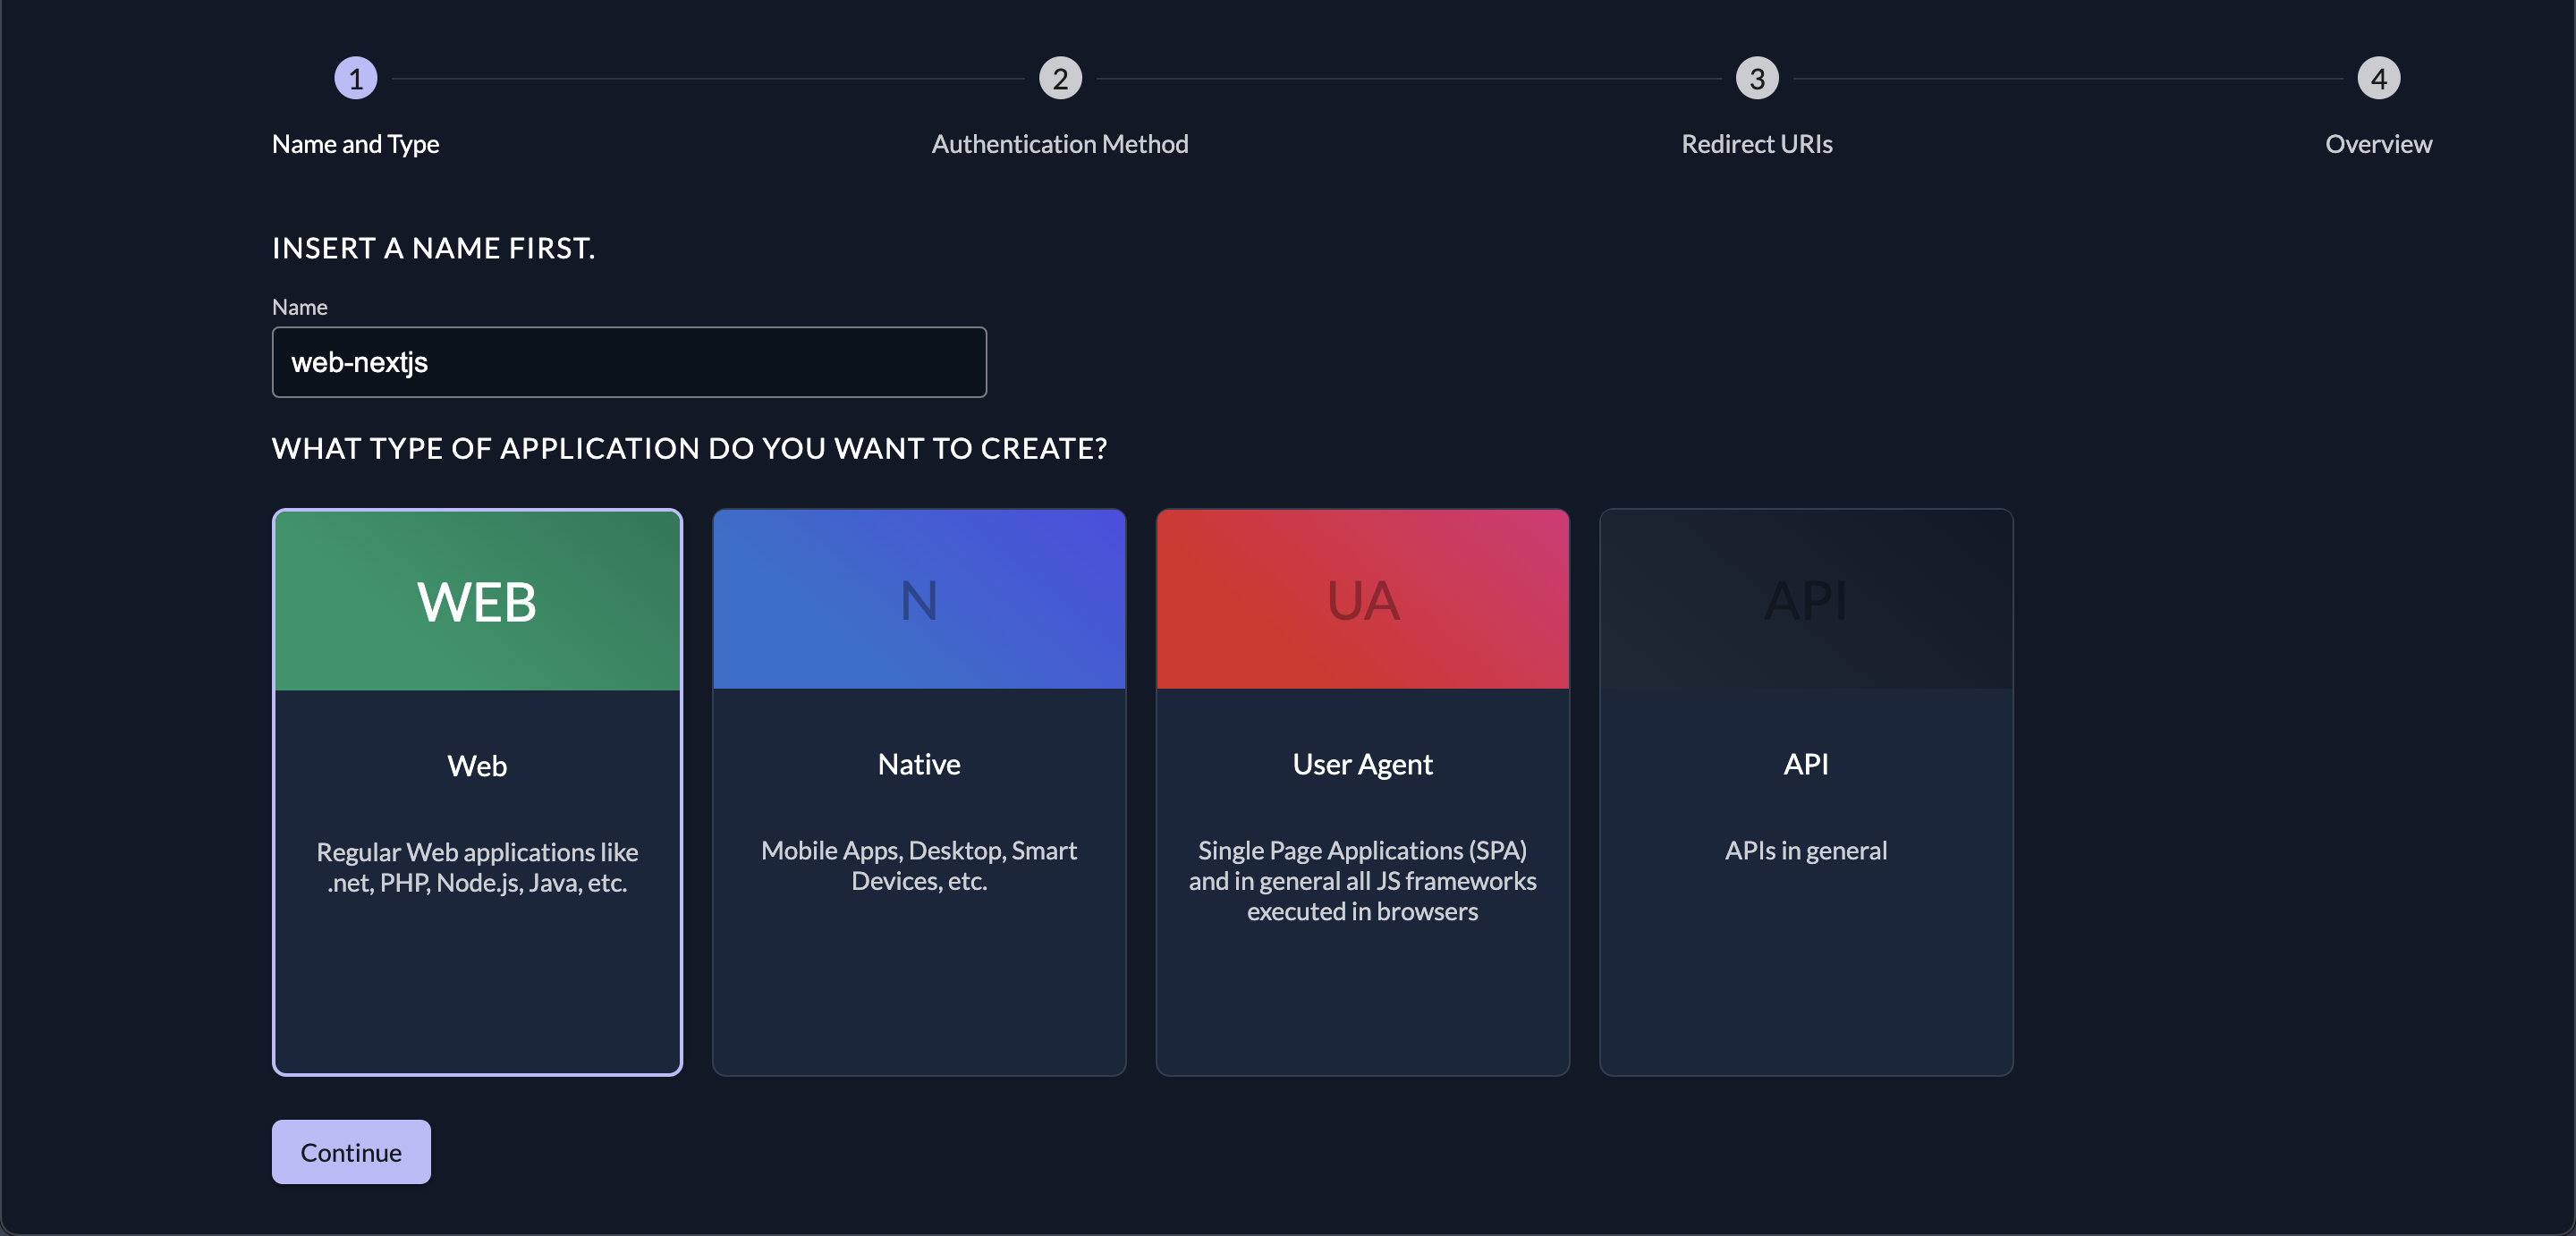
Select PKCE, then Continue and add http://localhost:3000/api/auth/callback/zitadel as a redirect URL to your app.
Finally select Continue and then Create.
Take note of your client ID as you will need it in the next step.
Make sure you grab the instance's domain name from the URL of the instance (you can get it from your browser, or from the customer portal under instances); it should have the following format: https:/[your-domain]-[random-string].zitadel.cloud. You will need this information to point your code to this domain in order to enable user authentication.
Creating Environment Variables
To create an environmental variable, you need to create an env file in the root directory and add it to .gitignore so it won't be committed to your Git repository (according to the Twelve-Factor App methodology).
Your env file should look like this:
NEXTAUTH_URL=http://localhost:3000
ZITADEL_CLIENT_ID=[yourClientId]
ZITADEL_ISSUER=https:/[your-domain]-[random-string].zitadel.cloud
Here, NEXTAUTH_URL is the URL where the user will be redirected after authentication by ZITADEL. ZITADEL_CLIENT_ID is the client ID you can get from ZITADEL's instance's interface (for example, structured like this 175094091363713281@nextjs-zitadel-project). ZITADEL_ISSUER is a URL structured like this: https://zitadel-instance-w2iqk1.zitadel.cloud.
Implementing Authentication Flow Using NextAuth.js and ZITADEL
With ZITADEL's authentication you can use the Proof Key for Code Exchange (PKCE), which is the most recommended authentication mechanism. PKCE is a security mechanism that is a part of the OAuth 2.x protocol for public clients and outlines a secure way of exchanging authorization codes between public clients. If you want to read more about PKCE and its importance, check out how the Dropbox engineering implemented a secure exchange in accordance with OAuth flow.
ZITADEL is a fully compliant OIDC/PKCE solution that implements the entire flow using its infrastructure. On the Next.js side, both frontend and backend legs of the OIDC/PKCE flow are completed using the next-auth library.
To implement your authentication flow, in your root directory, go to pages/api, create an auth directory, and then create a file named pages/api/auth/[...nextauth].js with the following configuration of the next-auth custom provider:
** Please note:** The
[...nextauth].jsin/pages/api/authis an actual API endpoint that will catch all requests of thenext-authlibrary.
import NextAuth from "next-auth";

const profile = async (profile) => ({
  id: profile.sub,
  name: profile.name,
  firstName: profile.given_name,
  lastName: profile.family_name,
  email: profile.email,
  loginName: profile.preferred_username,
  image: profile.picture,
})

const wellKnown = process.env.ZITADEL_ISSUER
const clientId = process.env.ZITADEL_CLIENT_ID

export const ZITADEL = {
  id: "zitadel",
  name: "zitadel",
  type: "oauth",
  version: "2",
  wellKnown,
  authorization: {
    params: {
      scope: "openid email profile",
    },
  },
  idToken: true,
  checks: ["pkce", "state"],
  client: {
    token_endpoint_auth_method: "none",
  },
  profile,
  clientId
};

export default NextAuth({
  providers: [ZITADEL],
});
Now, Next.js will listen on http://localhost:3000/api/auth/callback/<provider-name>, which, in this case, is http://localhost:3000/api/auth/callback/zitadel. This is a critical step since the frontend of the Next.js framework will redirect to this callback after talking to ZITADEL's instance (that you created previously).
Implementing OpenID Connect Flow on the Client Side
To implement OIDC on the client side, go to pages > pages/index.js and then edit your source code:
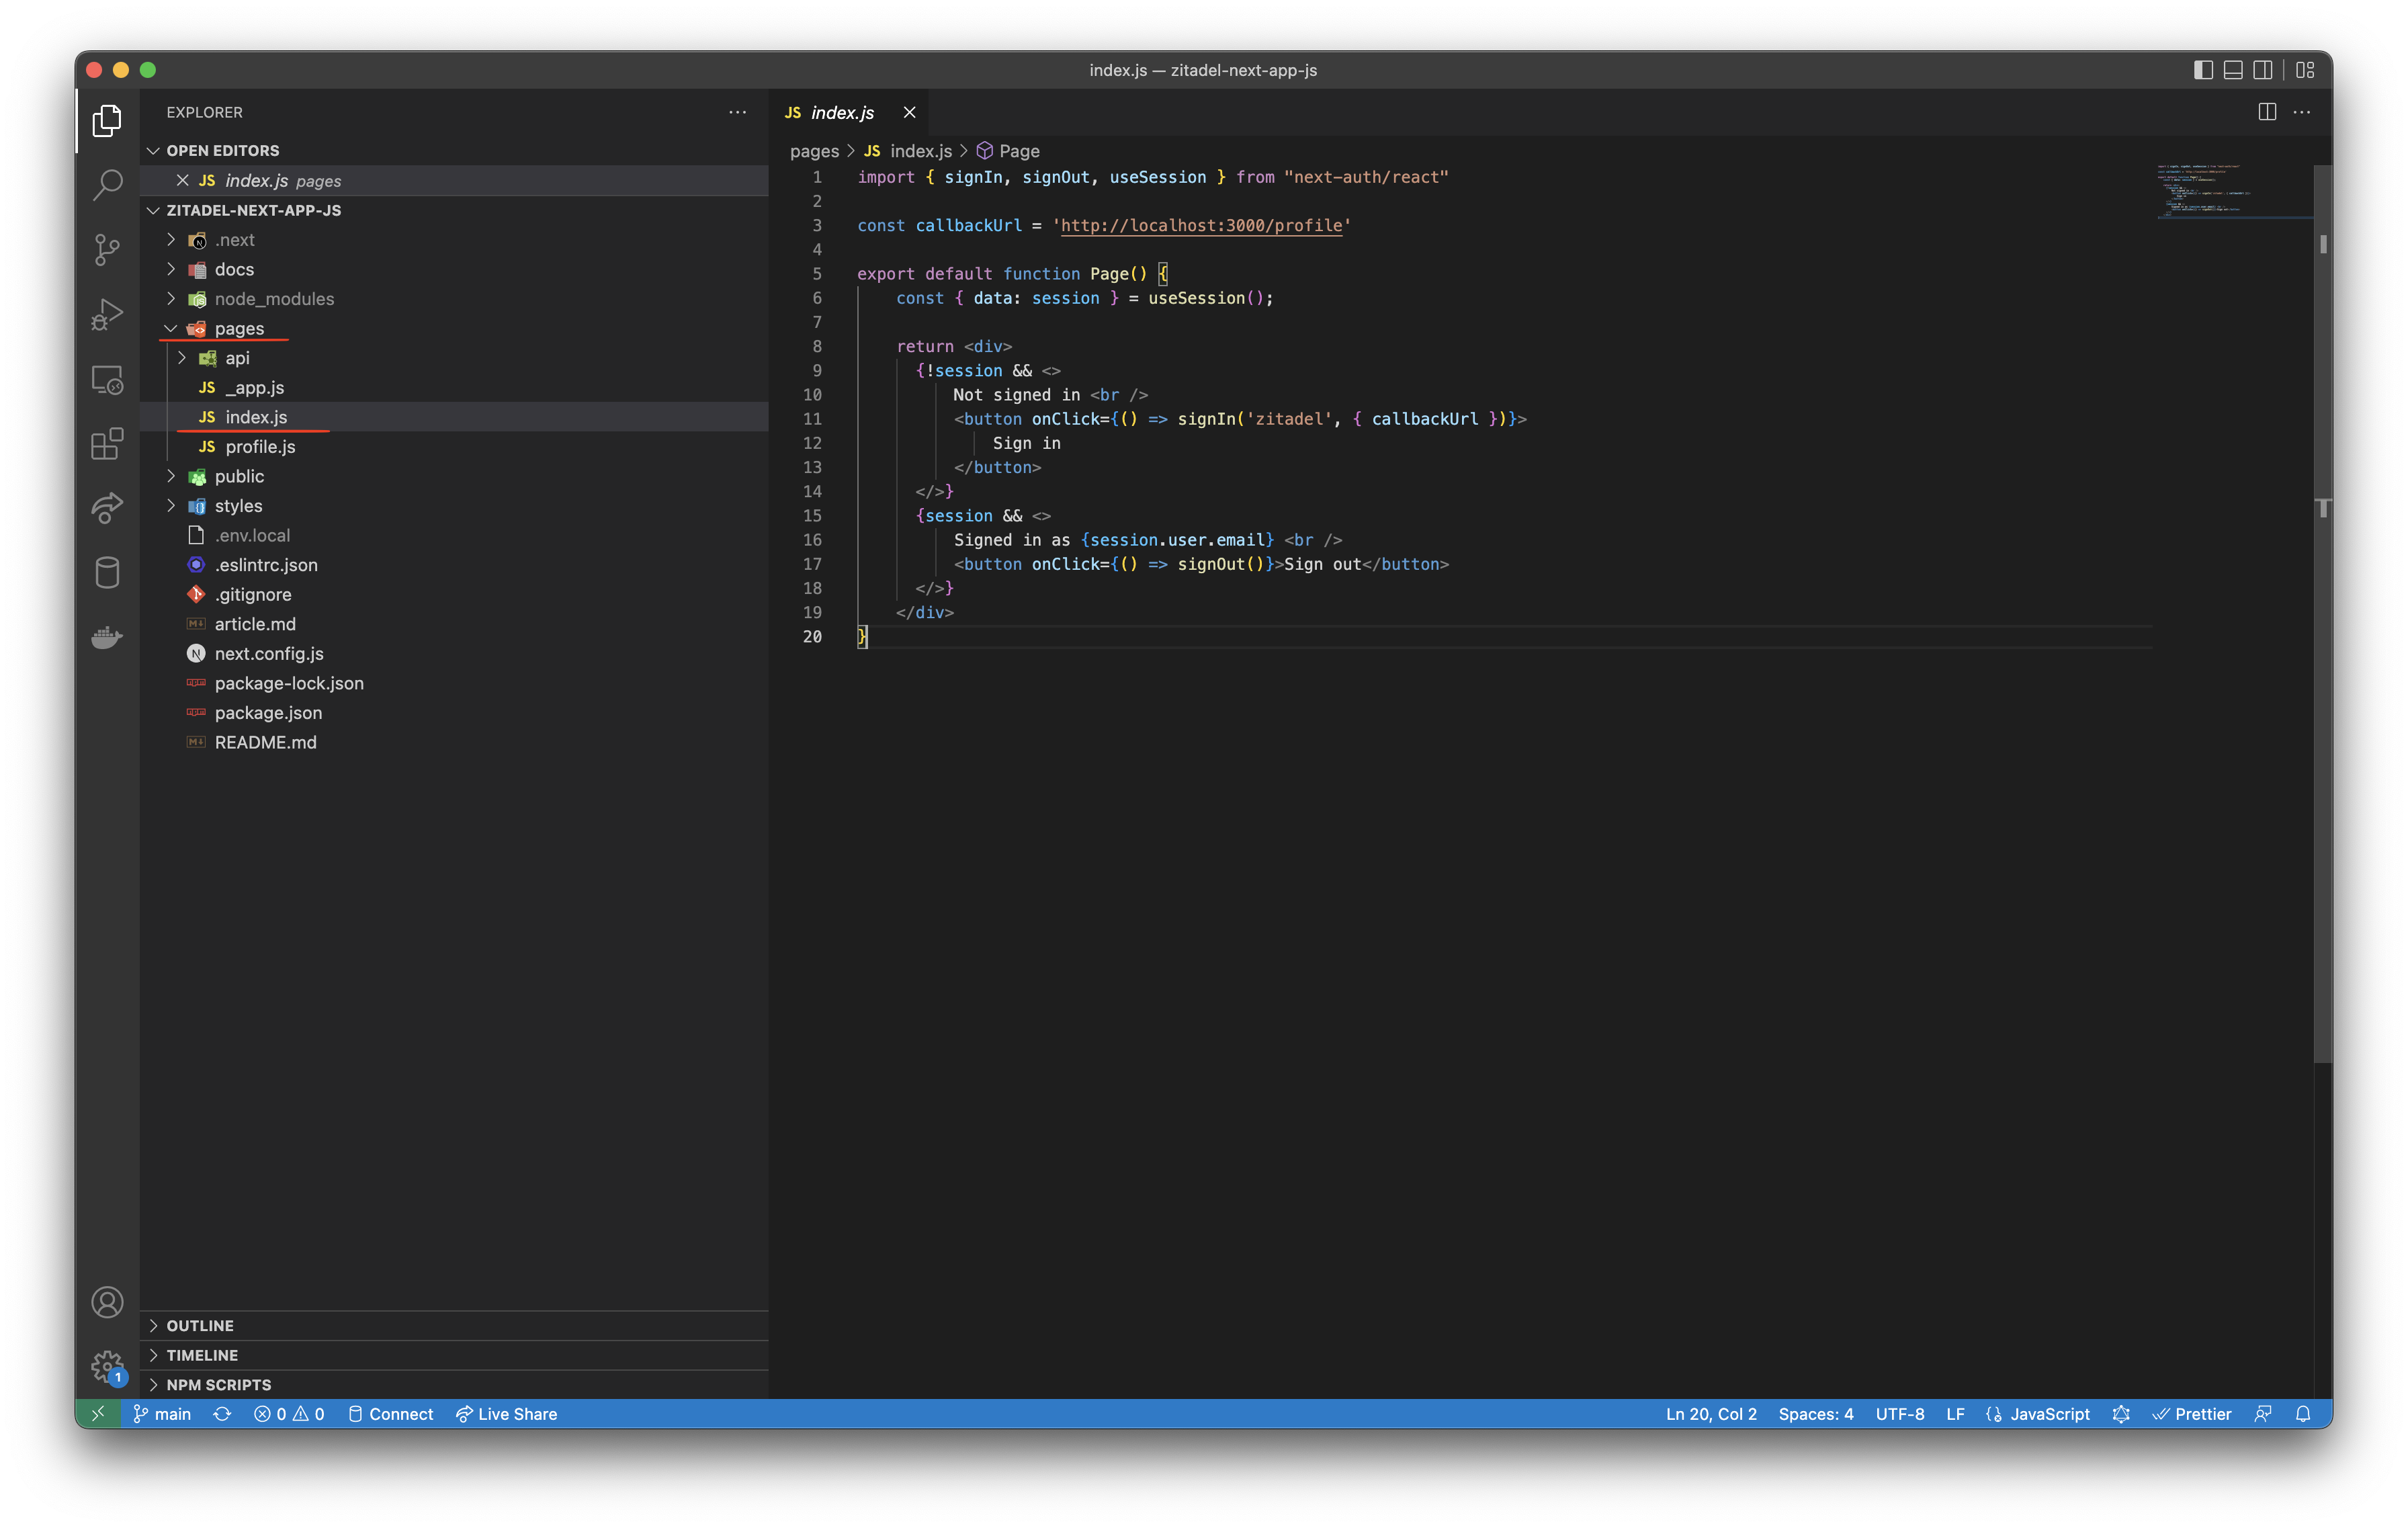
Then add the following content to your index.js page:
import { signIn, signOut, useSession } from "next-auth/react"

const callbackUrl = 'http://localhost:3000/profile'

export default function Page() {
  const { data: session } = useSession();

 return <div>
  {!session && <>
    Not signed in <br />
    <button onClick={() => signIn('zitadel', { callbackUrl })}>
      Sign in
    </button>
  </>}
  {session && <>
    Signed in as {session.user.email} <br />
    <button onClick={() => signOut()}>Sign out</button>
  </>}
 </div>
}
To make useSession() work, you need to enhance pages/_app.js with the SessionProvider. This will act as a React context provider for the useSession hook:
import { SessionProvider } from "next-auth/react";

function App({ Component, pageProps }) {
return (
  <SessionProvider session={pageProps.session}>
    <Component {...pageProps} />
  </SessionProvider>
);
}

export default App;
To finish, you need to create pages/profile.js with the content for the http://localhost:3000/profile page. On the end-user page, you'll be able to see if they've successfully logged in using ZITADEL's instance:
import Link from "next/link";
import styles from "../styles/Home.module.css";

export default function Profile() {
  return (
    <div className={styles.container}>
      <h1>Login successful</h1>
      <Link href="/">
        <button>Back to Home</button>
      </Link>
    </div>
  );
}
At this point, you've installed next and next-auth, and you've created an api route called auth/[...nextauth].js. Then you've created a profile page that requires authentication. After that, you enhanced _app.js to inject SessionProvider into all Next.js pages, including profile.js and index.js pages. Inside the main page, index.js, you added conditional buttons for Sign In and Sign out.
Now, go to http://localhost:3000/ then click on Sign in:
You'll be redirected to https://zitadel-instance-w2iqk1.zitadel.cloud and can login using your ZITADEL account.
You should now be signed in and redirected to http://localhost:3000/profile with Login successful:
![Login successful] (https://i.imgur.com/CVy1D5j.png)
Select Back to Home, then Sign out.
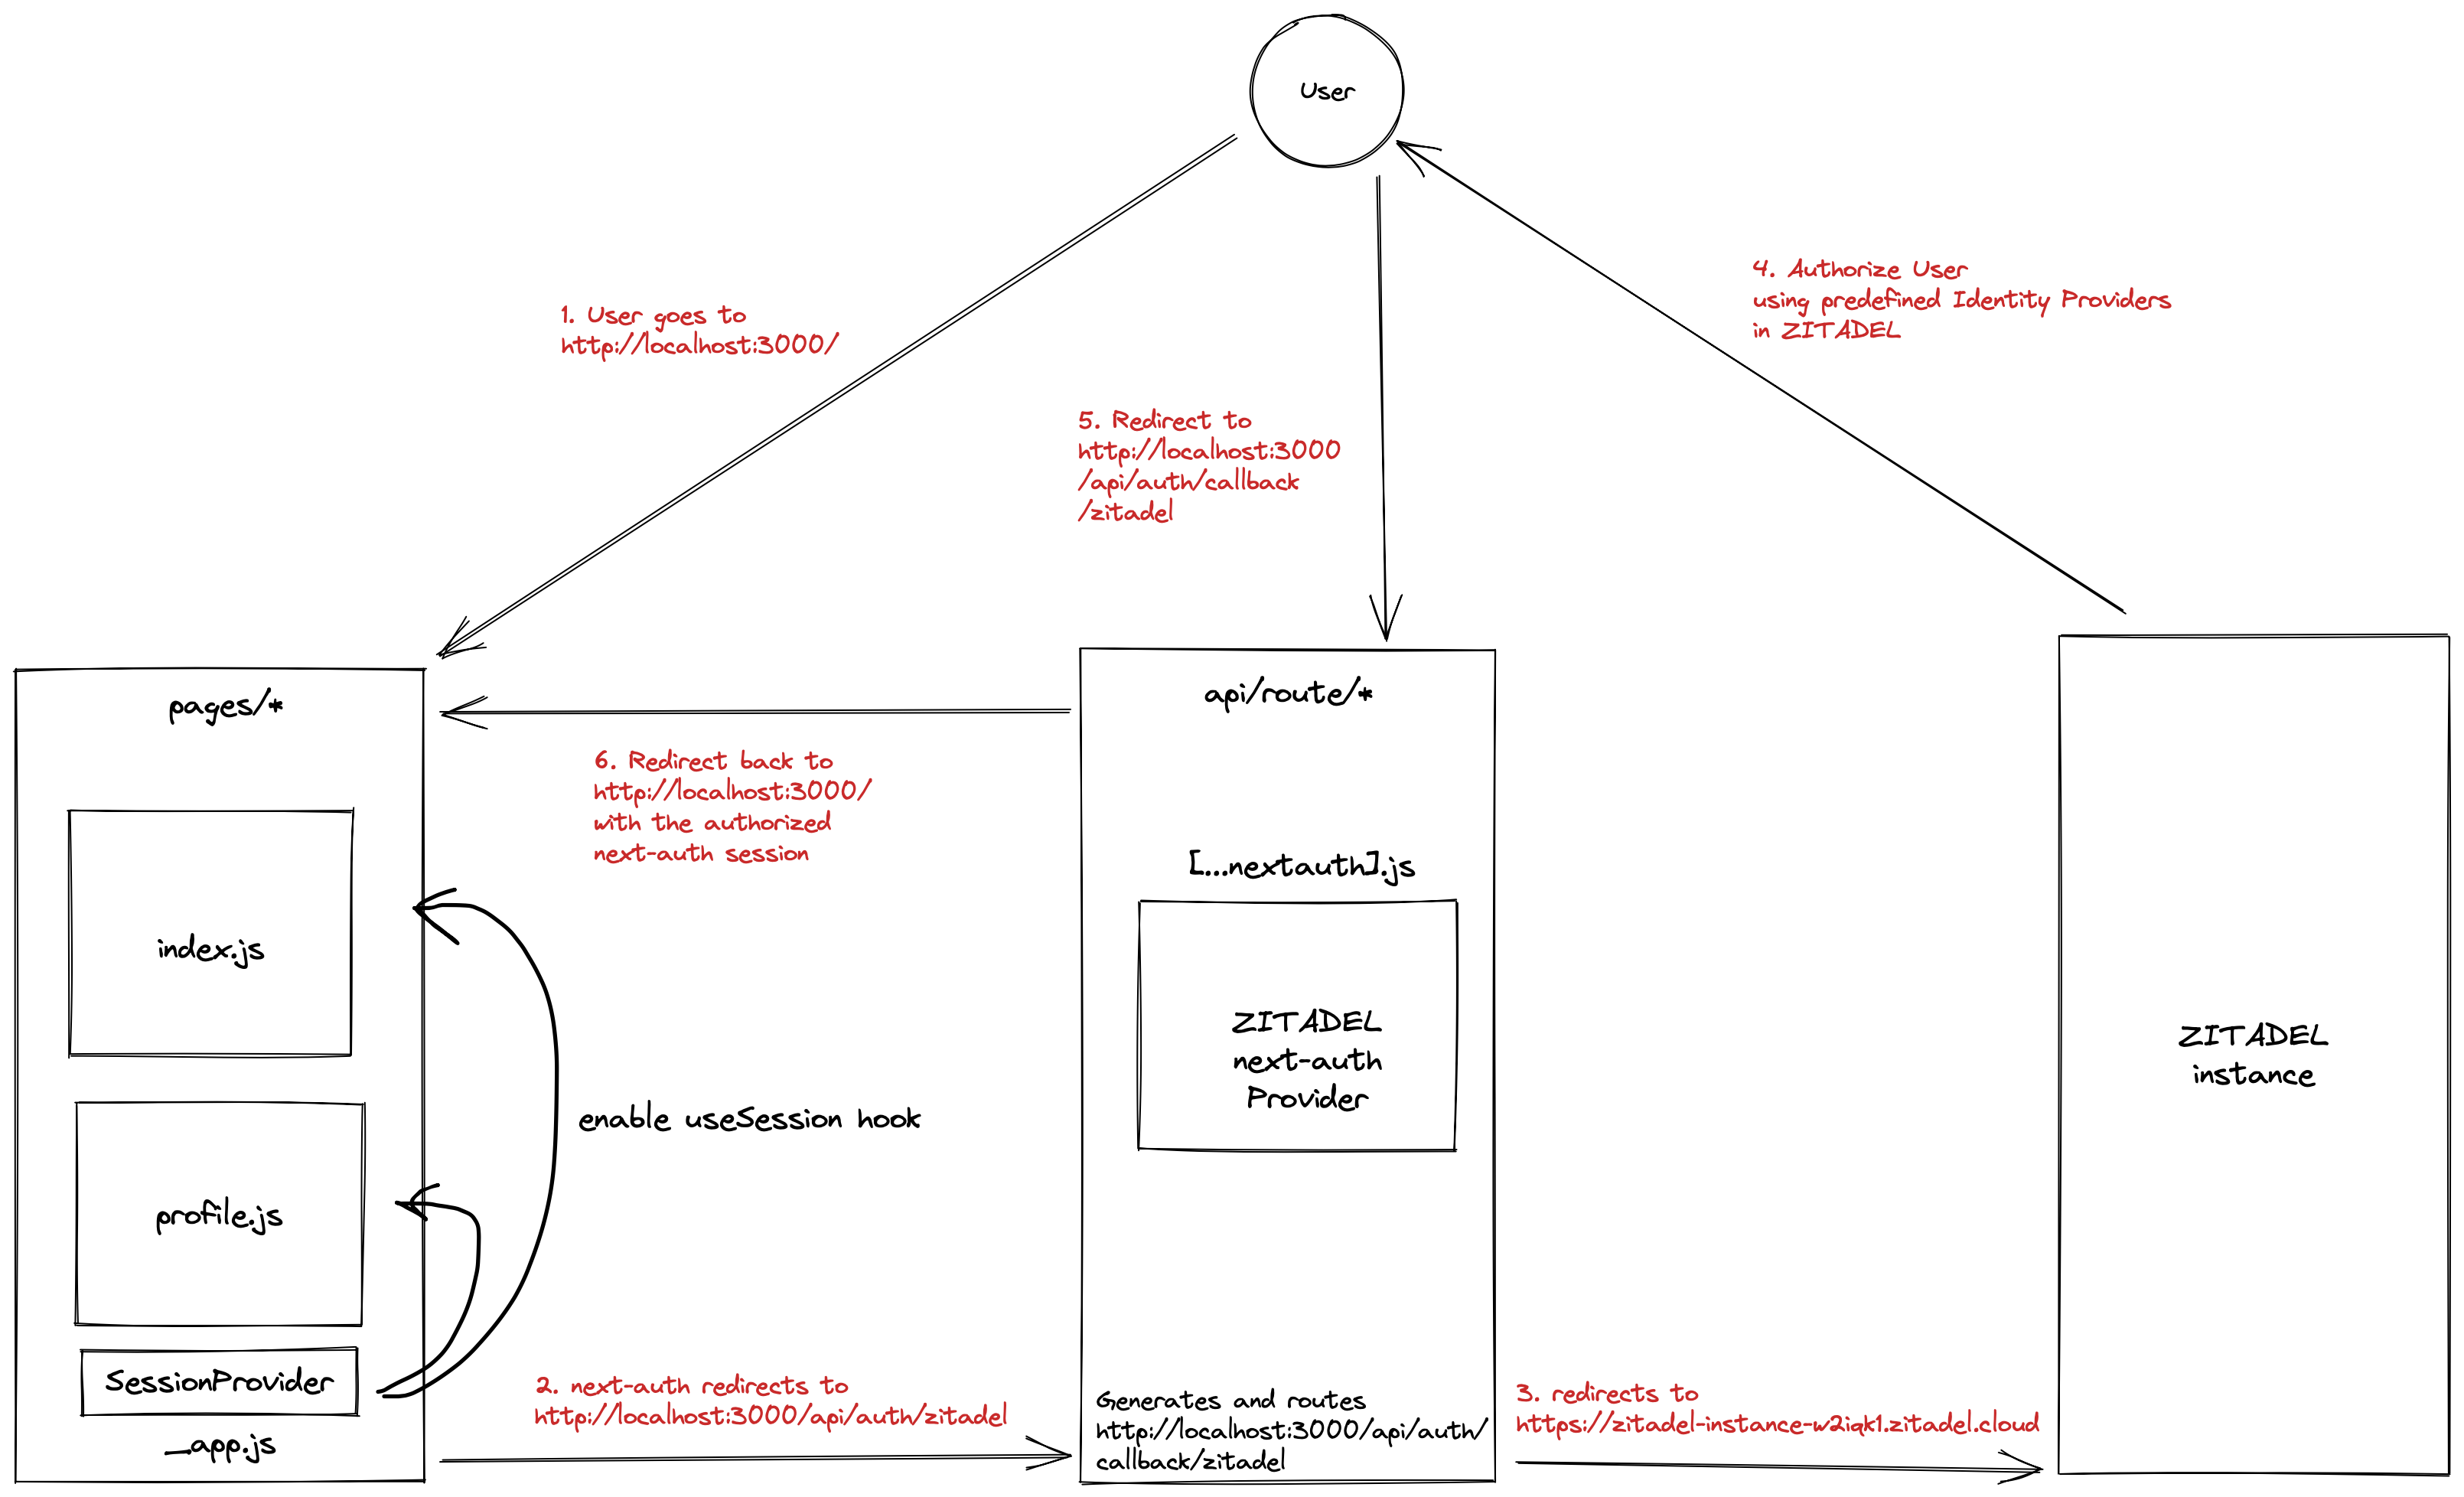
Following is a model of how all the pieces work together:
Conclusion
In this tutorial, you learned how to set up a Next.js project and integrate it into ZITADEL identity management. You used the OIDC flow as part of PKCE using standard RFC 7636 implementation via the open source library next-auth inside a Next.js full stack project.
ZITADEL is an open source identity management platform that provides you with a wide range of features like OpenID Connect, SAML 2.0, OAuth 2, FIDO2, OTP, and an unlimited audit trail. With ZITADEL, you can solve all your authentication and authorization needs. Check out our repo and give us a GitHub star. We appreciate the feedback.
This article was contributed by Eugene Hauptmann.
Note: In the meantime we published a nextauth provider that makes integration with your NextJS application even easier.