Secure Pylon API Application with ZITADEL
This integration guide demonstrates the recommended way to incorporate ZITADEL into your Pylon service. It explains how to check the token validity in the API and how to check for permissions.
By the end of this guide, your application will have three different endpoint which are public, private(valid token) and private-scoped(valid token with specific role).
ZITADEL setup
Before we can start building our application, we have to do a few setup steps in ZITADEL Management Console.
Create application
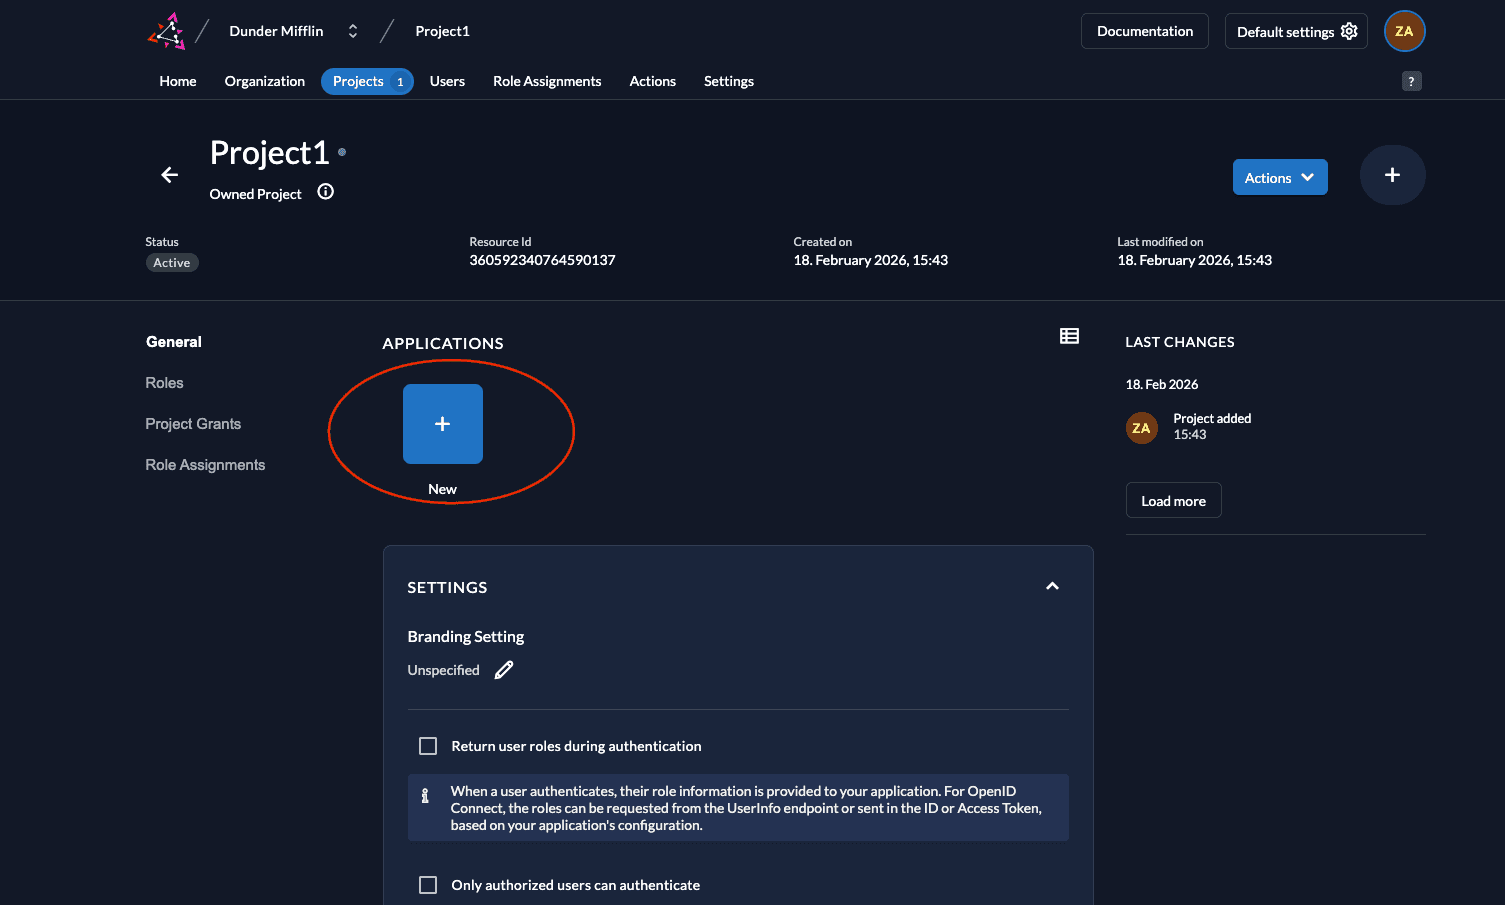
- Go to your Project and click on the New button as shown below.
- Give a name to your application (Test API is the name given below) and select type API.

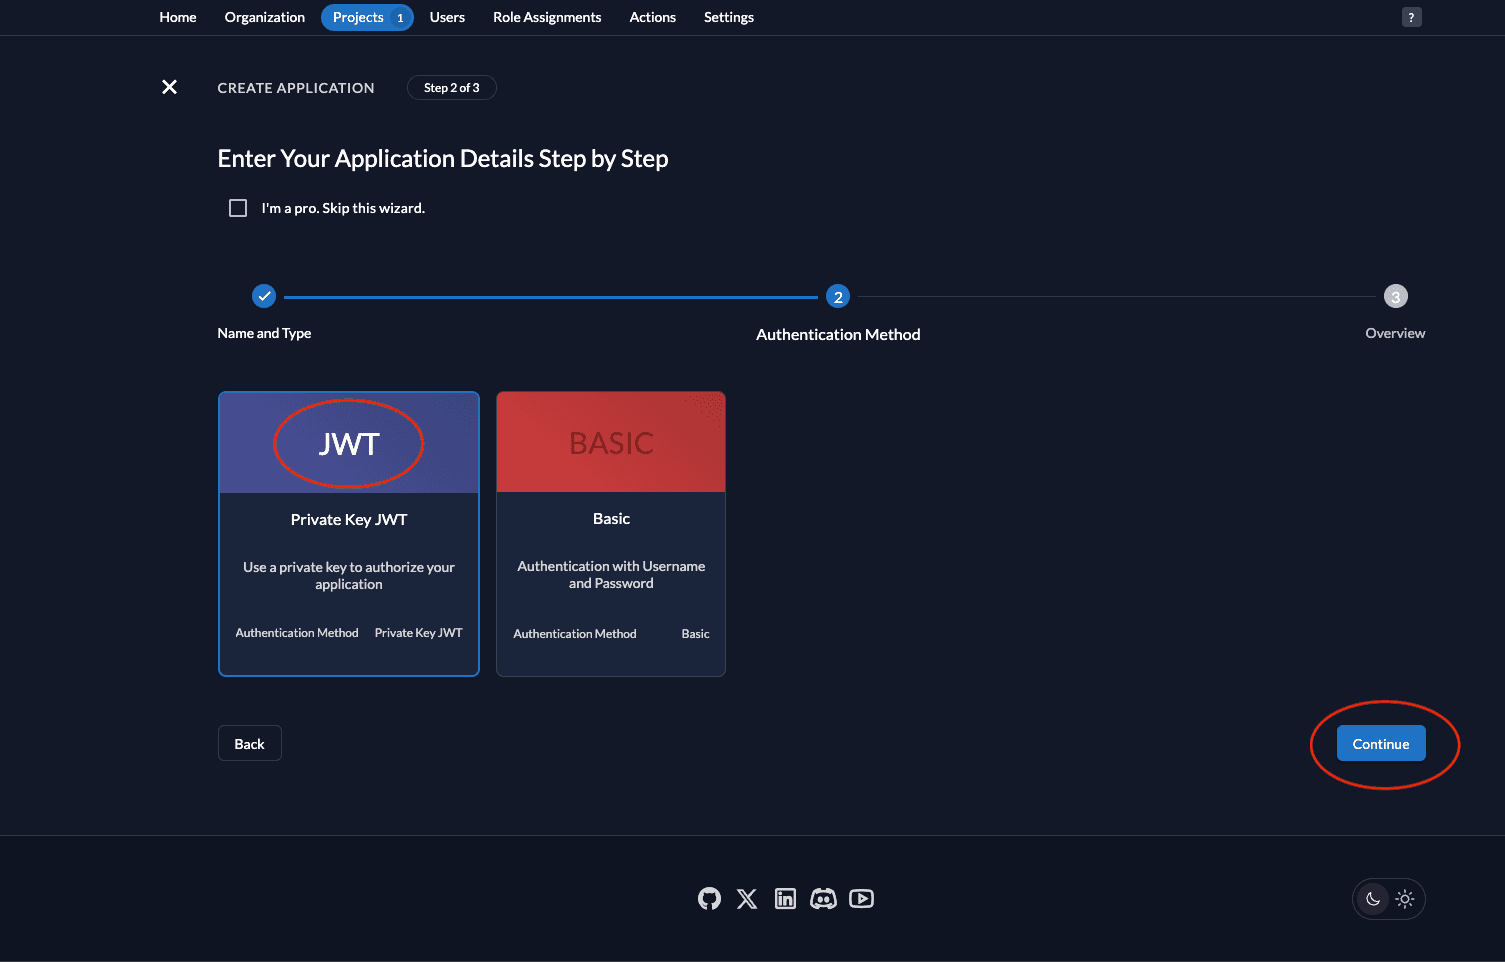
- Select JWT as the authentication method and click Continue.
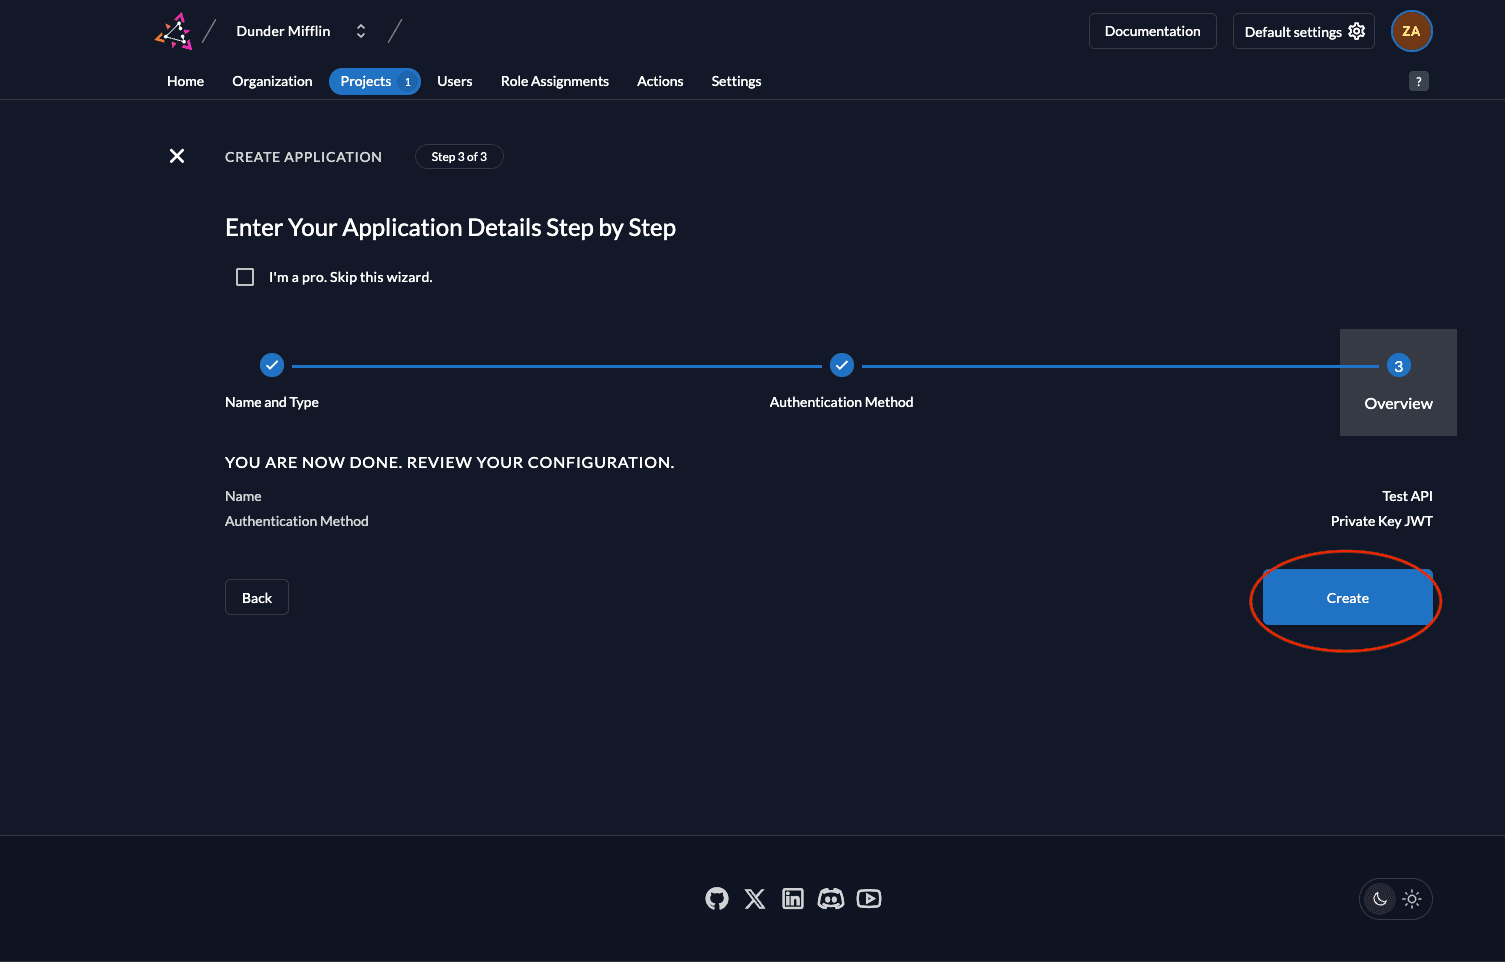
- Now review your settings and click Create.
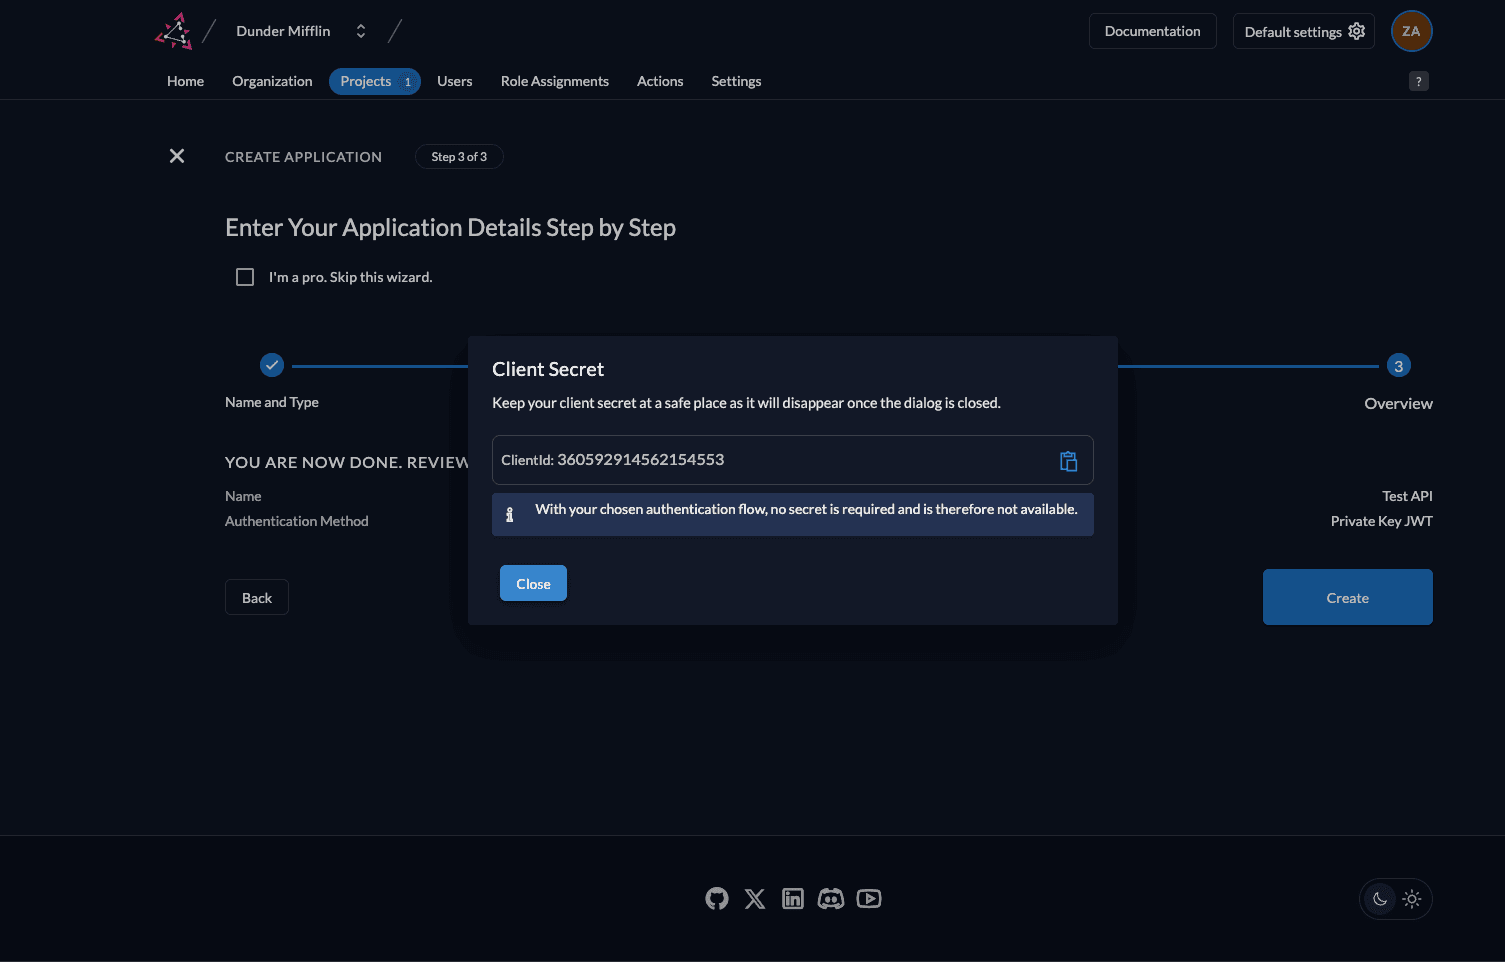
- You will now see the API’s Client ID. You will not see a Client Secret because we are using a private JWT key.
- Next, we must create the key pairs. Click on New.

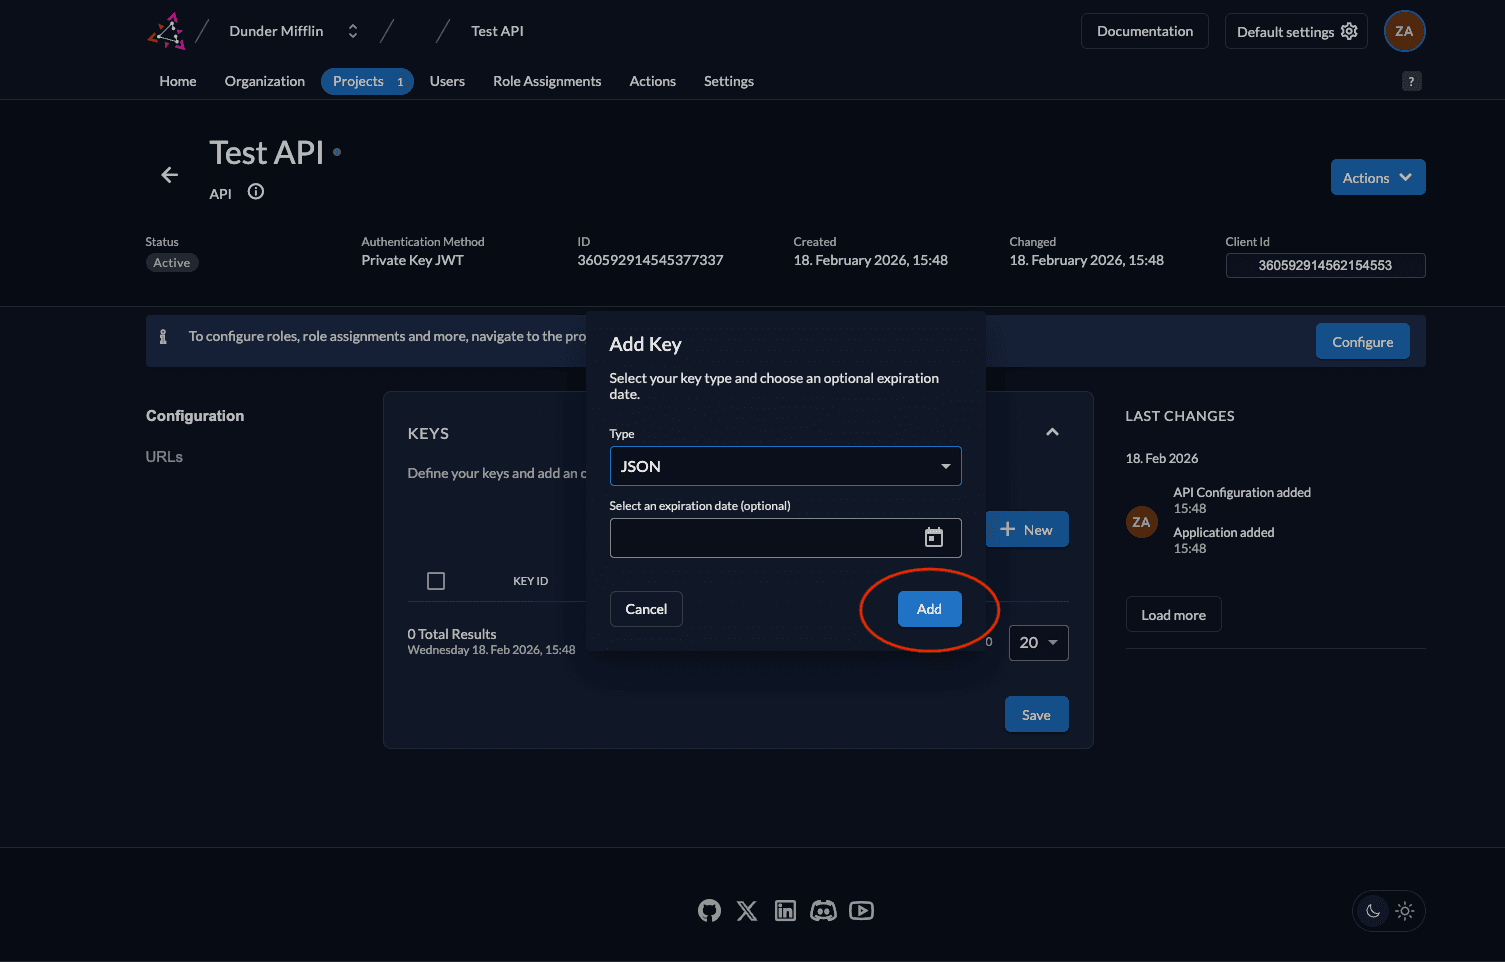
- Select JSON as the type of key. You can also set an expiration time for the key or leave it empty. Click on Add.
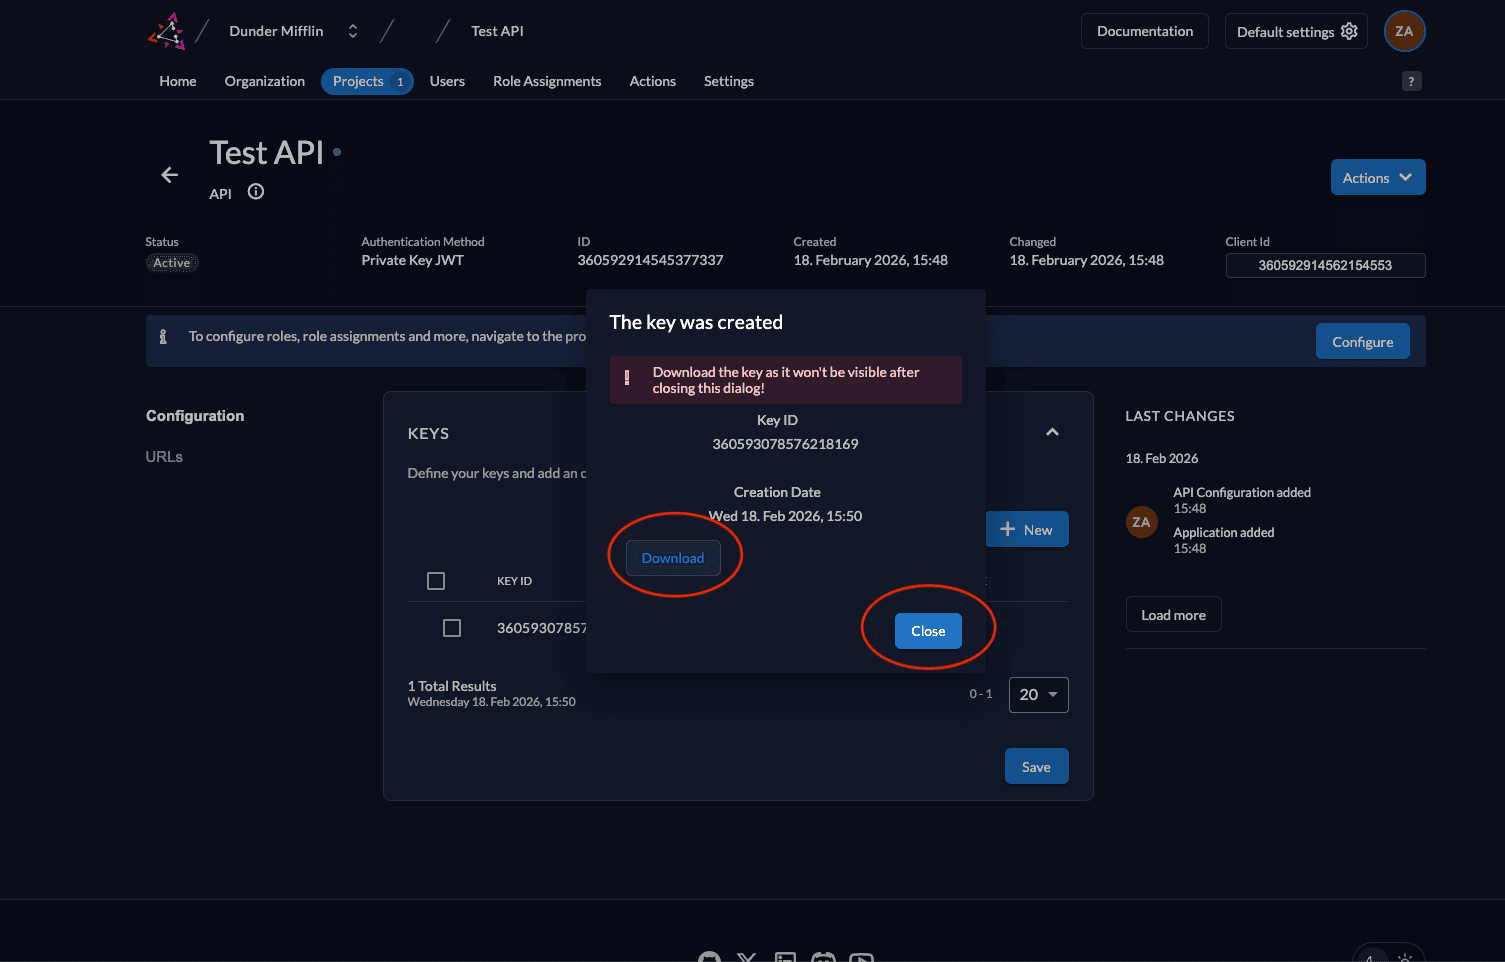
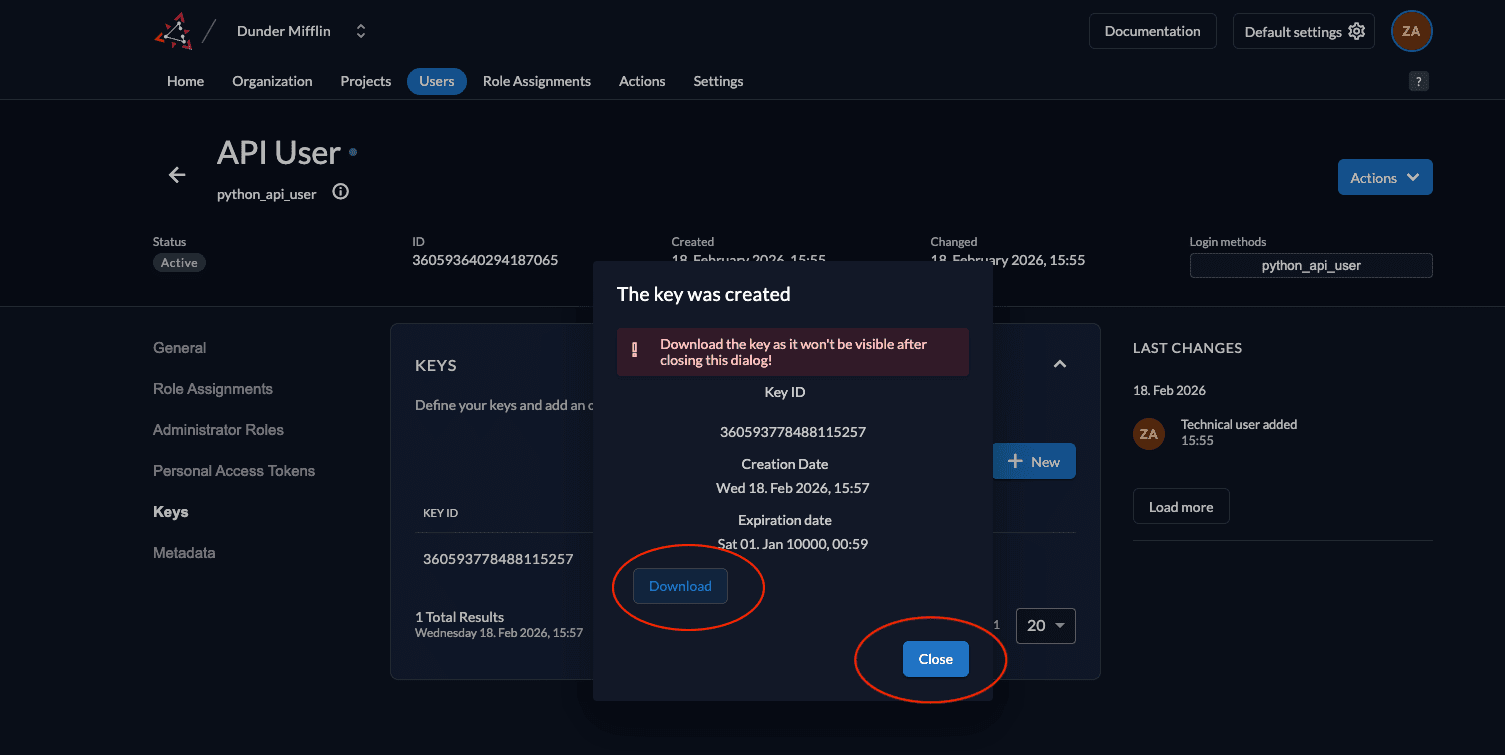
- Download the created key by clicking the Download button and then click Close.
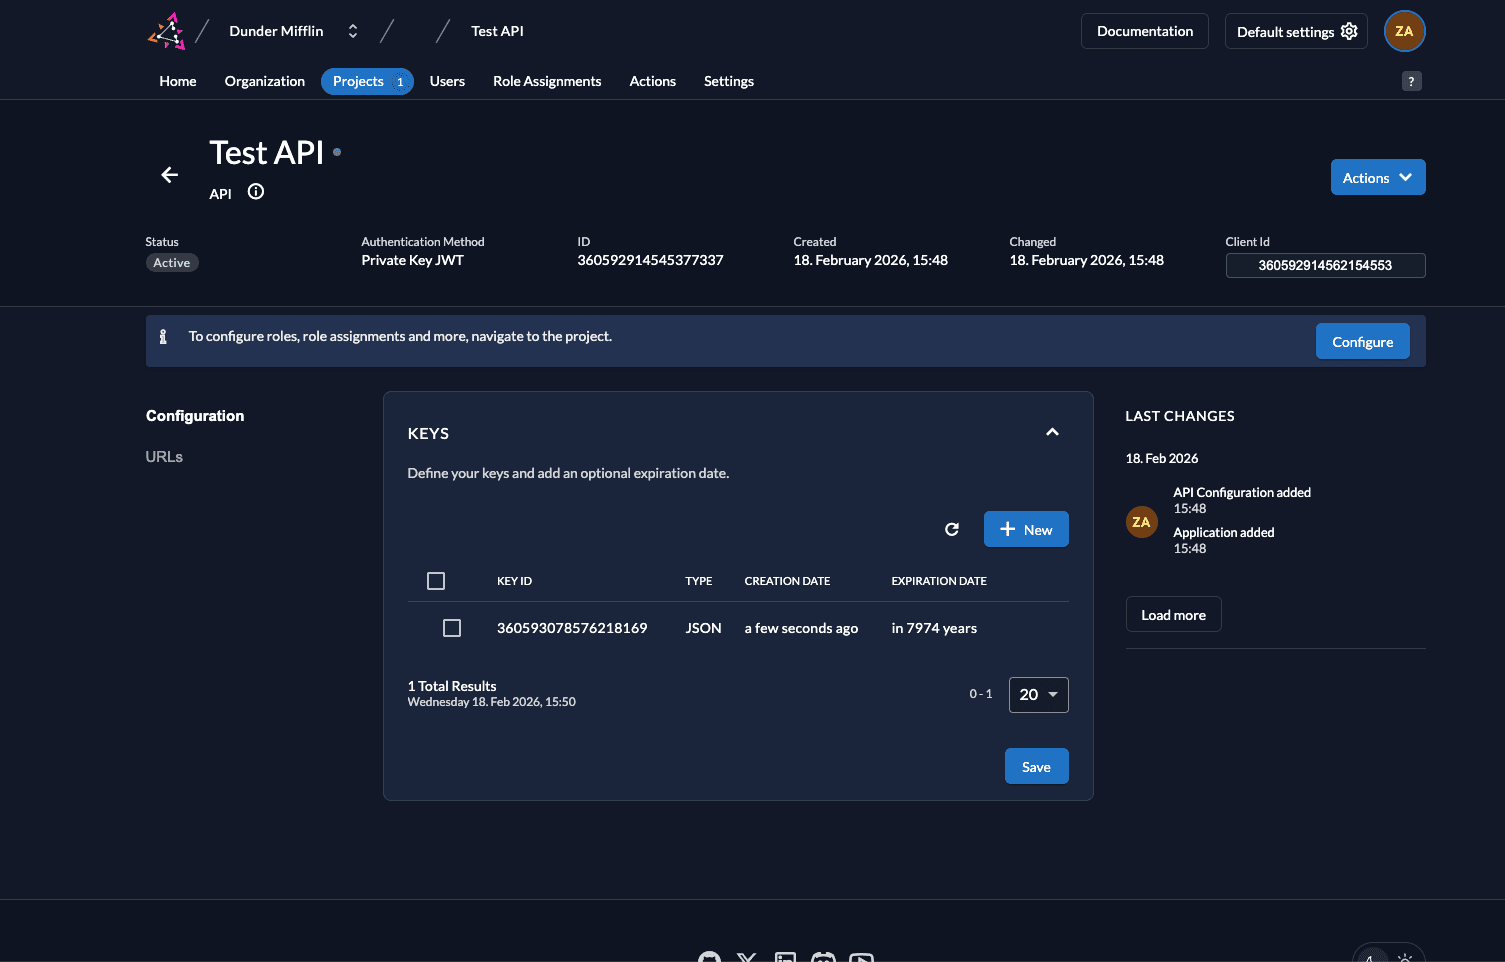
- The key will be downloaded.
- When you click on URLs on the left, you will see the relevant OIDC URLs. Note down the issuer URL, token_endpoint and introspection_endpoint.

- The key that you downloaded will be of the following format.
{
  "type":"application",
  "keyId":"<YOUR_KEY_ID>",
  "key":"-----BEGIN RSA PRIVATE KEY-----\<YOUR_PRIVATE_KEY>\n-----END RSA PRIVATE KEY-----\n",
  "appId":"<YOUR_APP_ID>",
  "clientId":"<YOUR_CLIENT_ID>"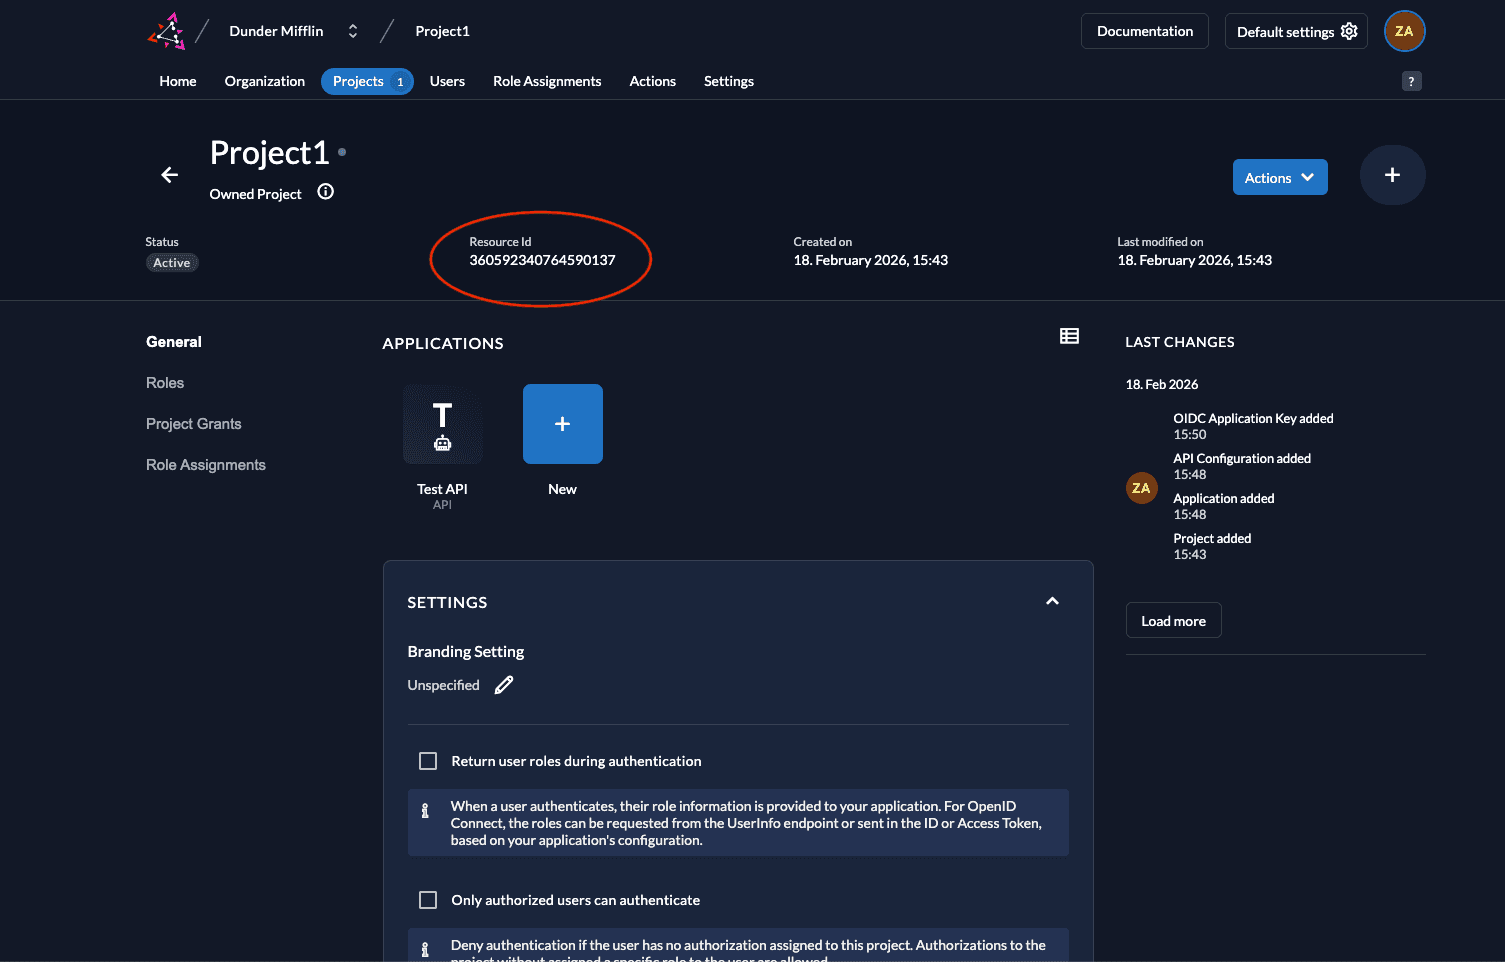
}- Also note down the Project ID of your project.
Create Service Account
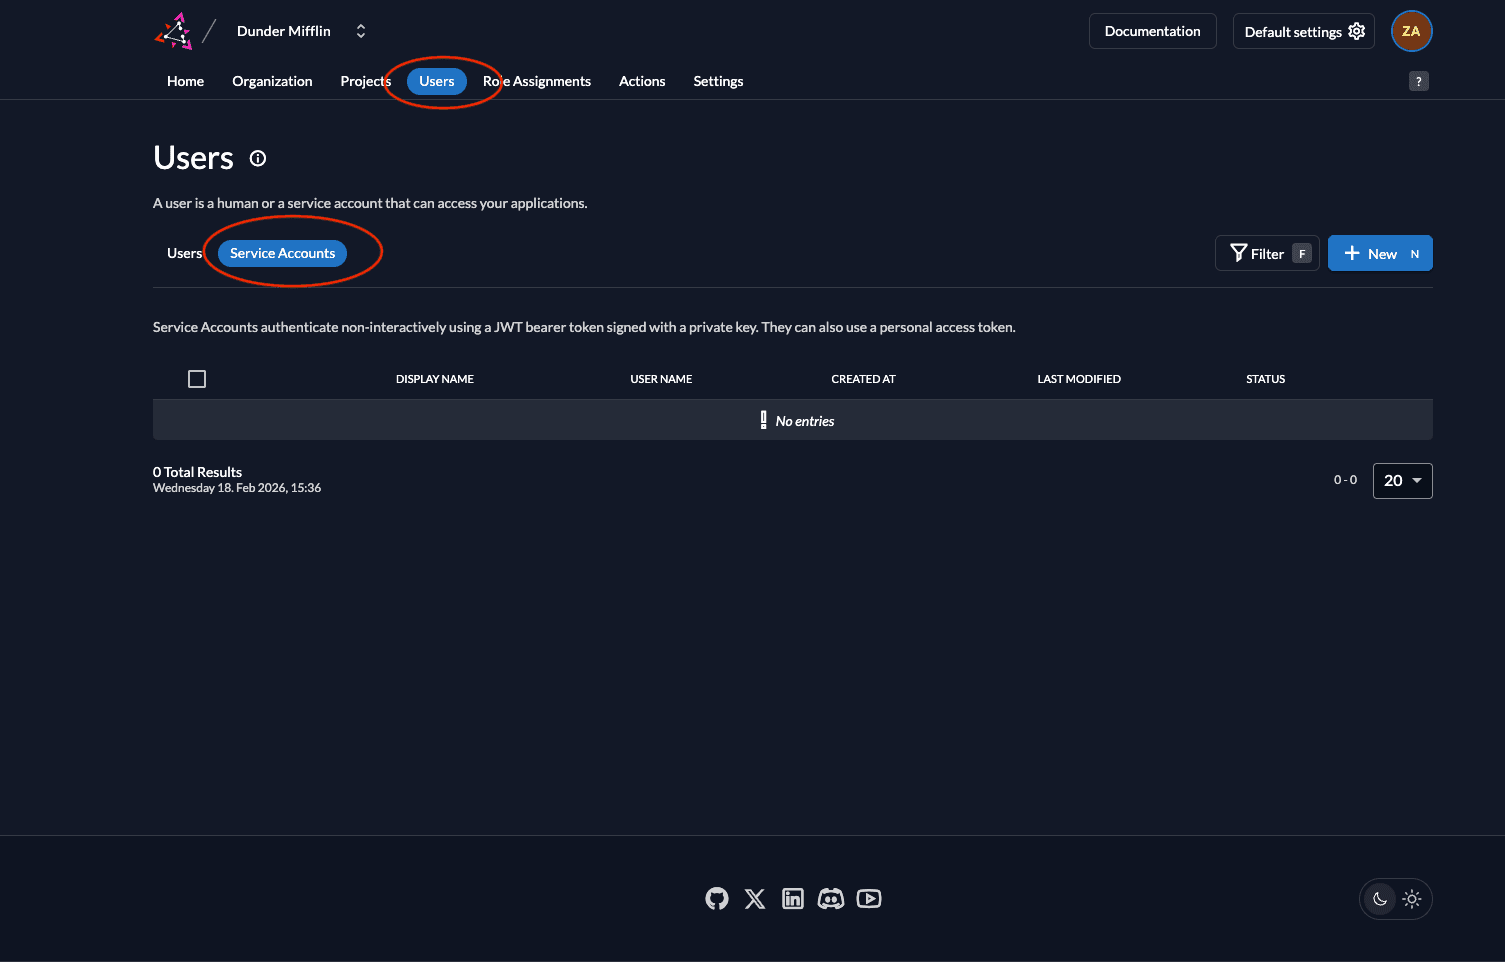
- Go to the Users tab in your organization as shown below and click on the Service Accounts tab.
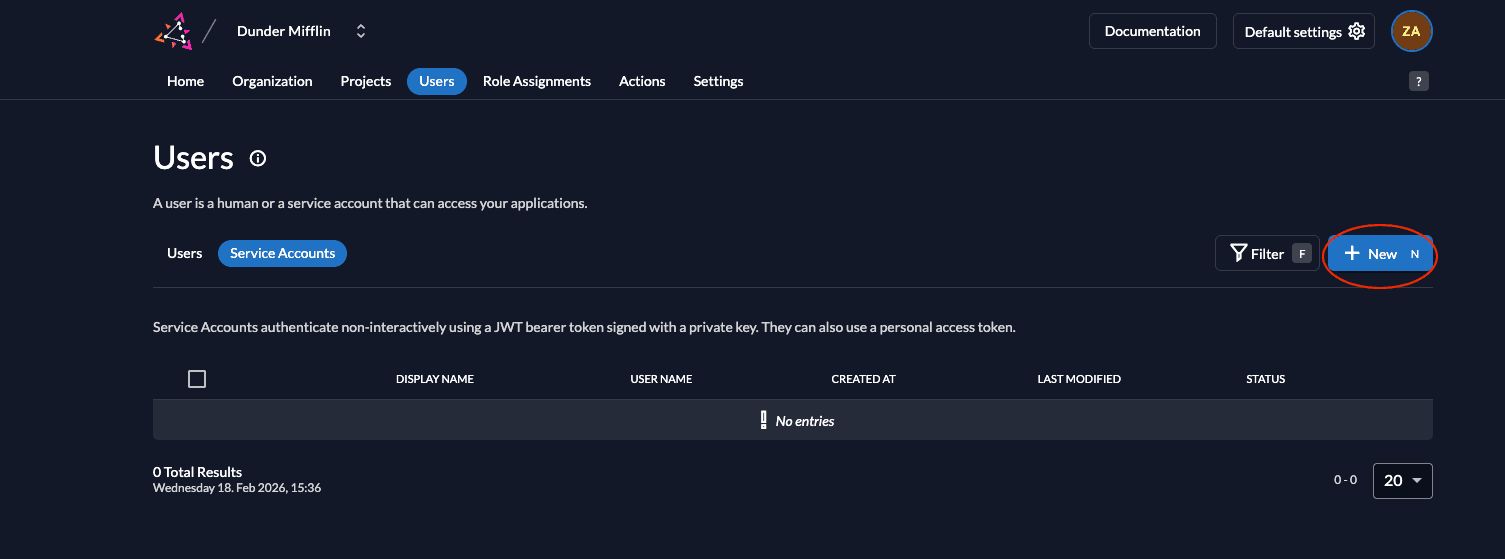
- To add a service account, click on the New button.
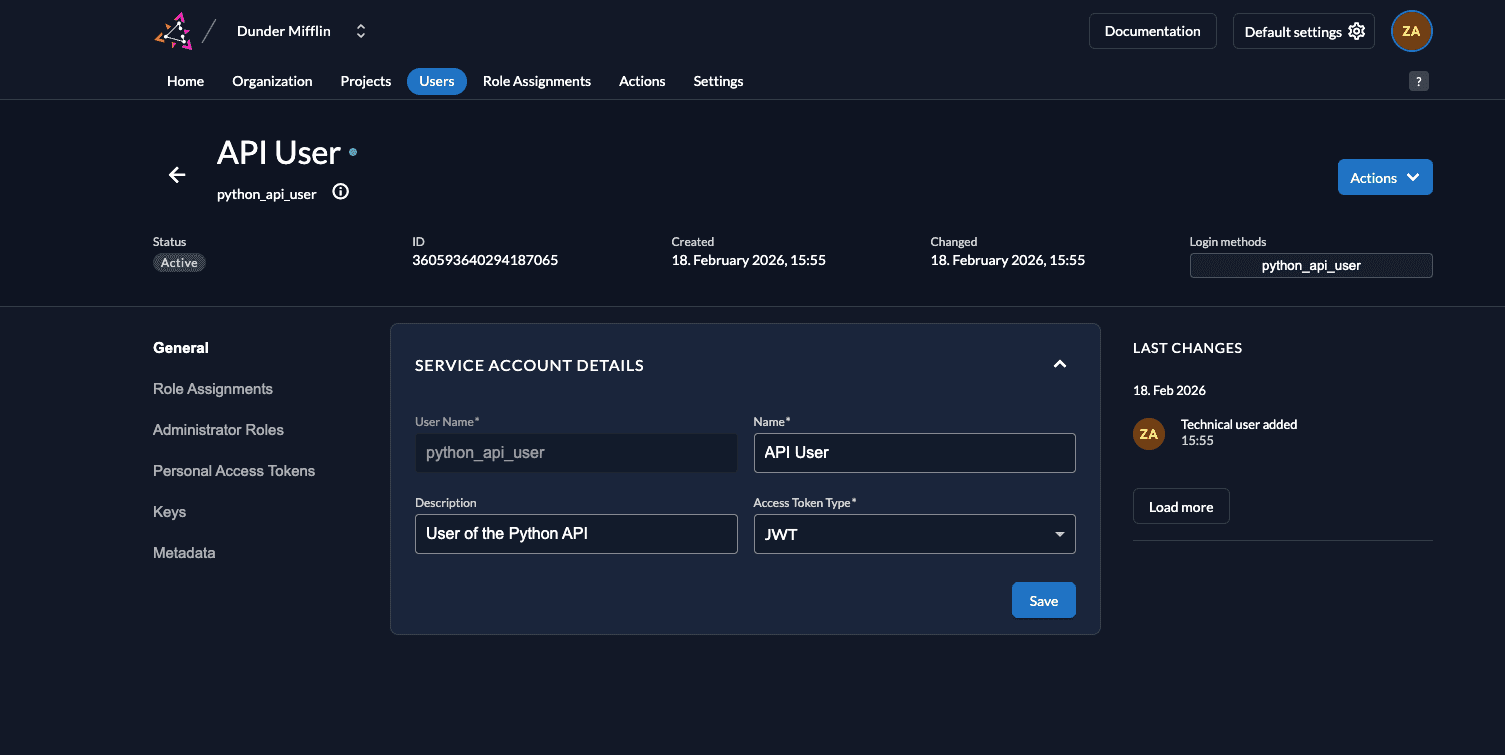
- Next, add the details of the service account and select either Bearer or JWT for Access Token Type and click on Create. For this example, we will select JWT.

- Now you will see the saved details.
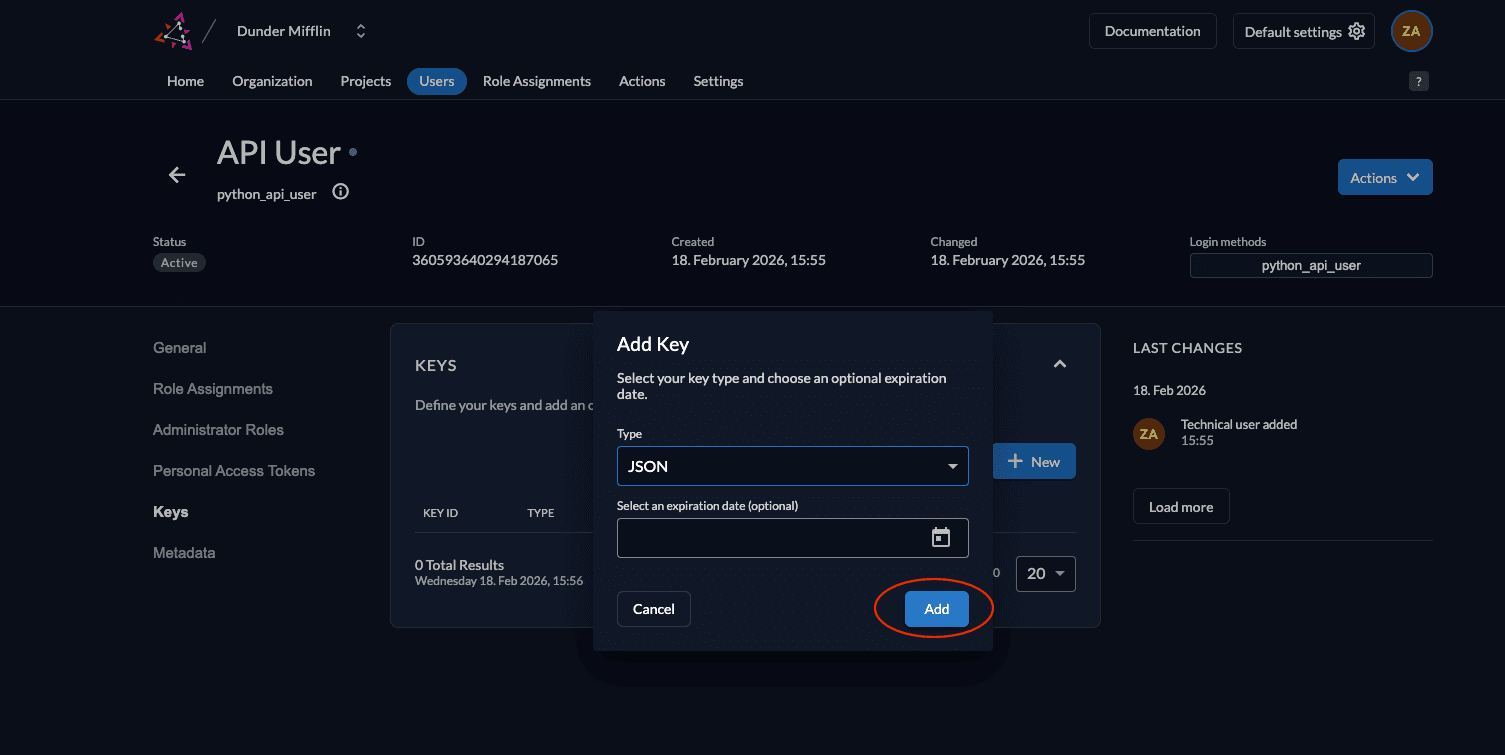
- Next, we need to generate a private-public key pair in ZITADEL and you must get the private key to sign your JWT. Go to Keys and click on New.

- Select type JSON and click Add.
- Download the key by clicking Download. After the download, click Close.
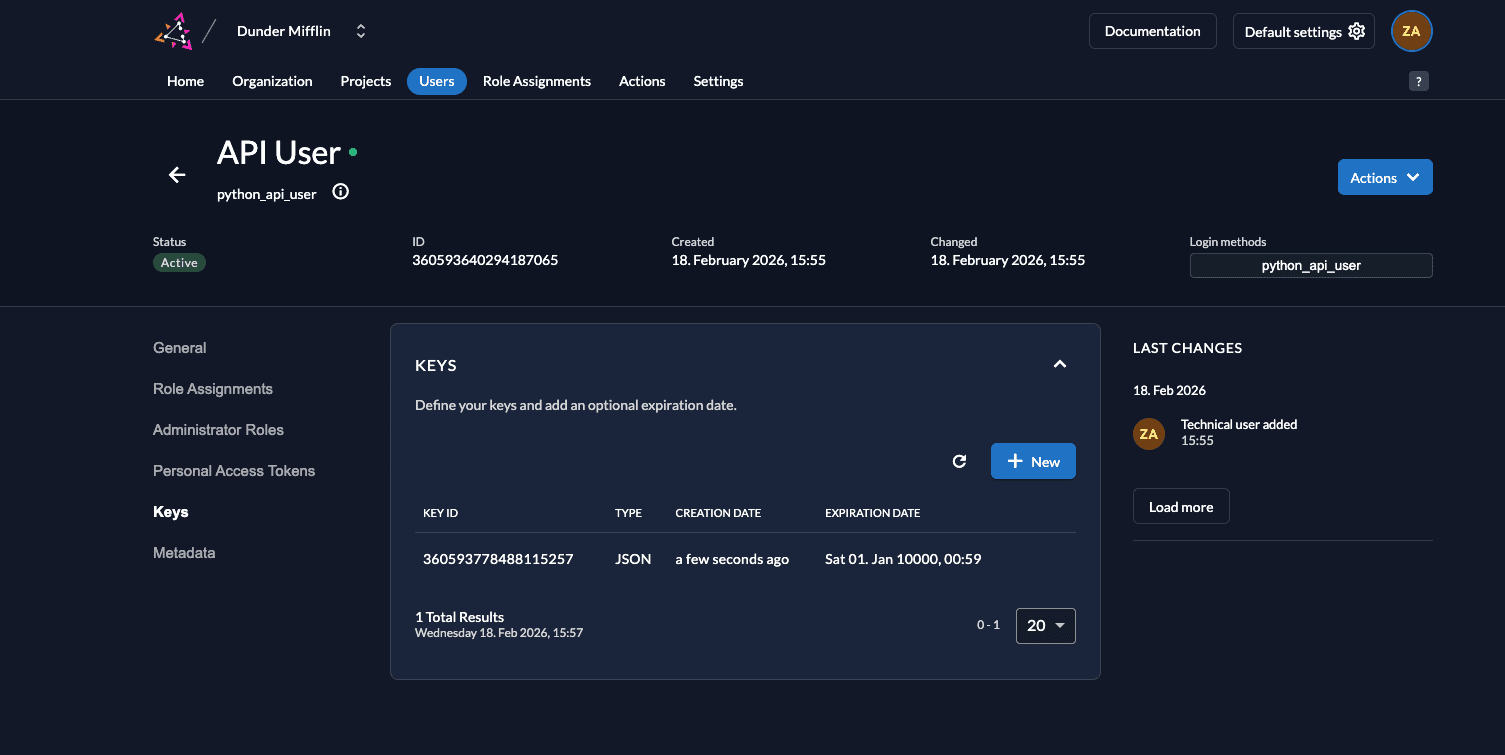
- You will see the following screen afterward.
- The downloaded key will be of the following format:
{
    "type":"serviceaccount",
    "keyId":"<YOUR_KEY_ID>",
    "key":"-----BEGIN RSA PRIVATE KEY-----\n<YOUR_KEY>\n-----END RSA PRIVATE KEY-----\n",
    "userId":"<YOUR_USER_ID>"
}
Assign a role to the Service Account
In order to access this route, you must create the role read:messages in your ZITADEL project and also assign a role to the service account you created by adding the role to the user. Follow these steps to do so:
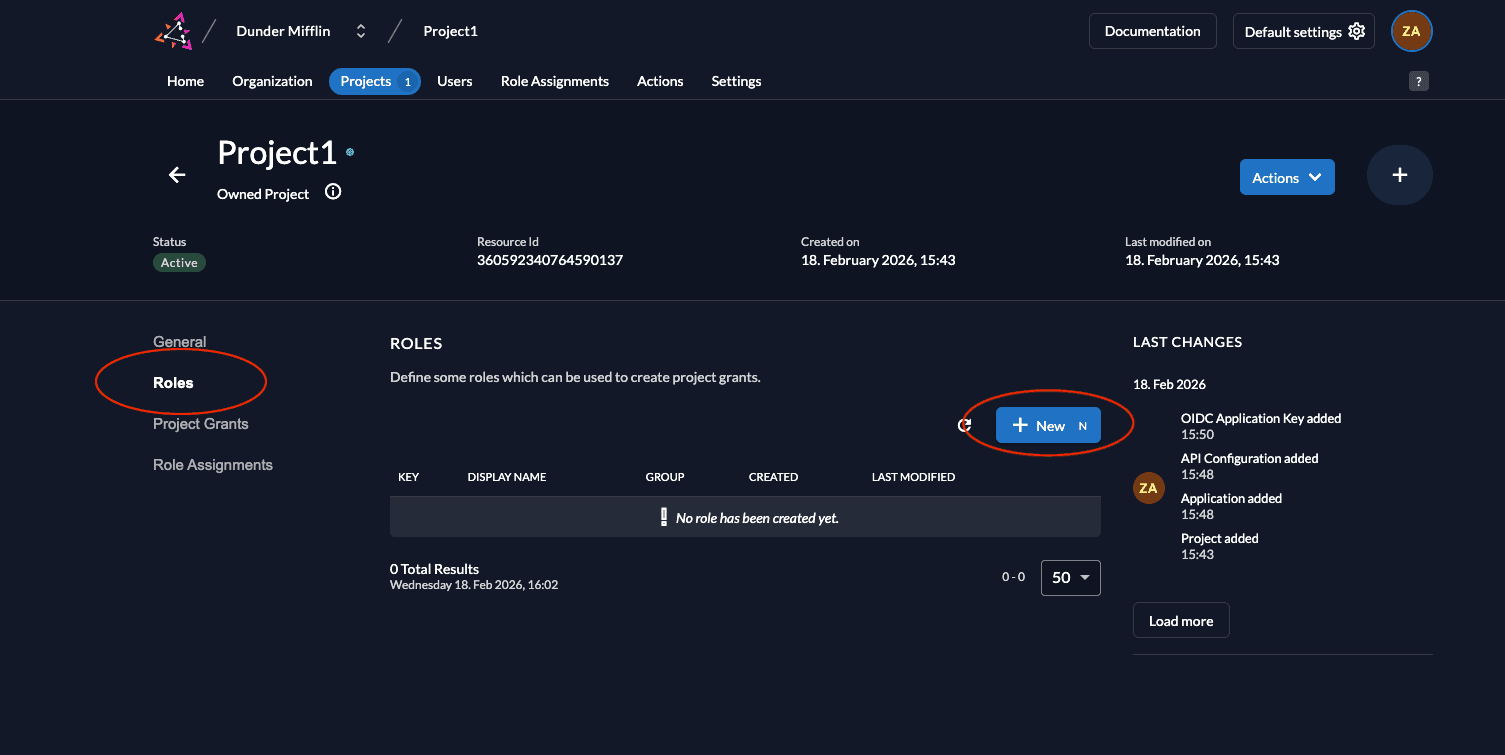
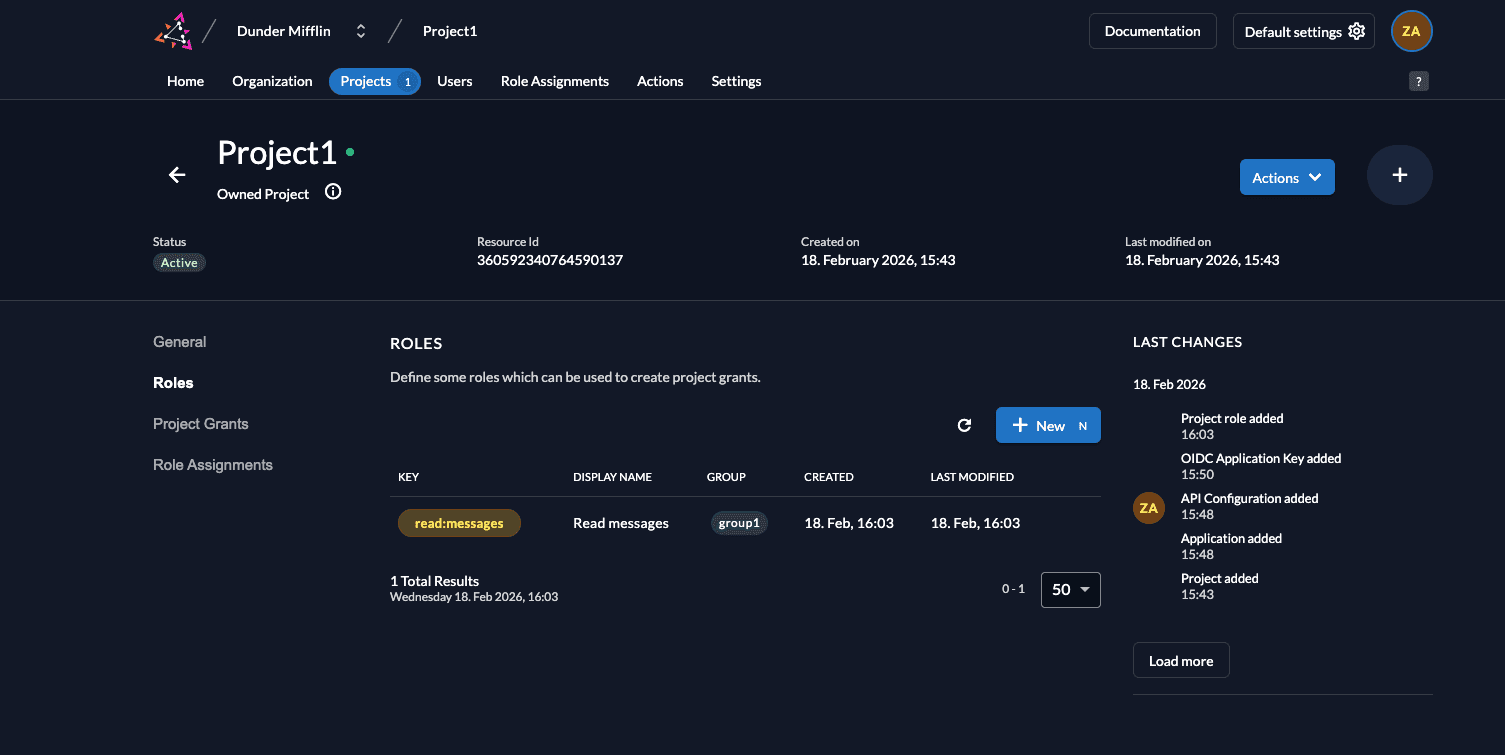
- Go to your project and select Roles. Click New.
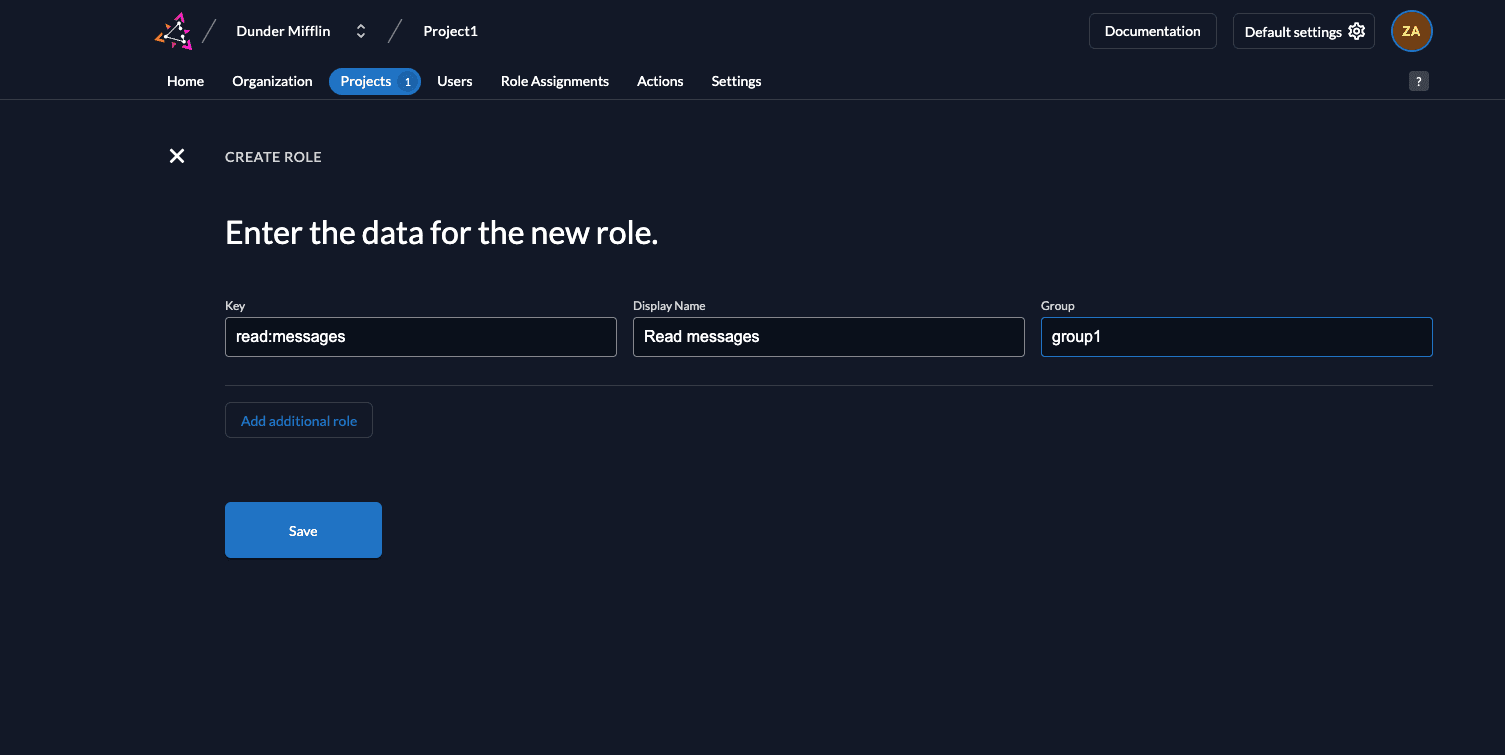
- Add the
read:messagesrole as shown below and click Save.
- You will see the created role listed.
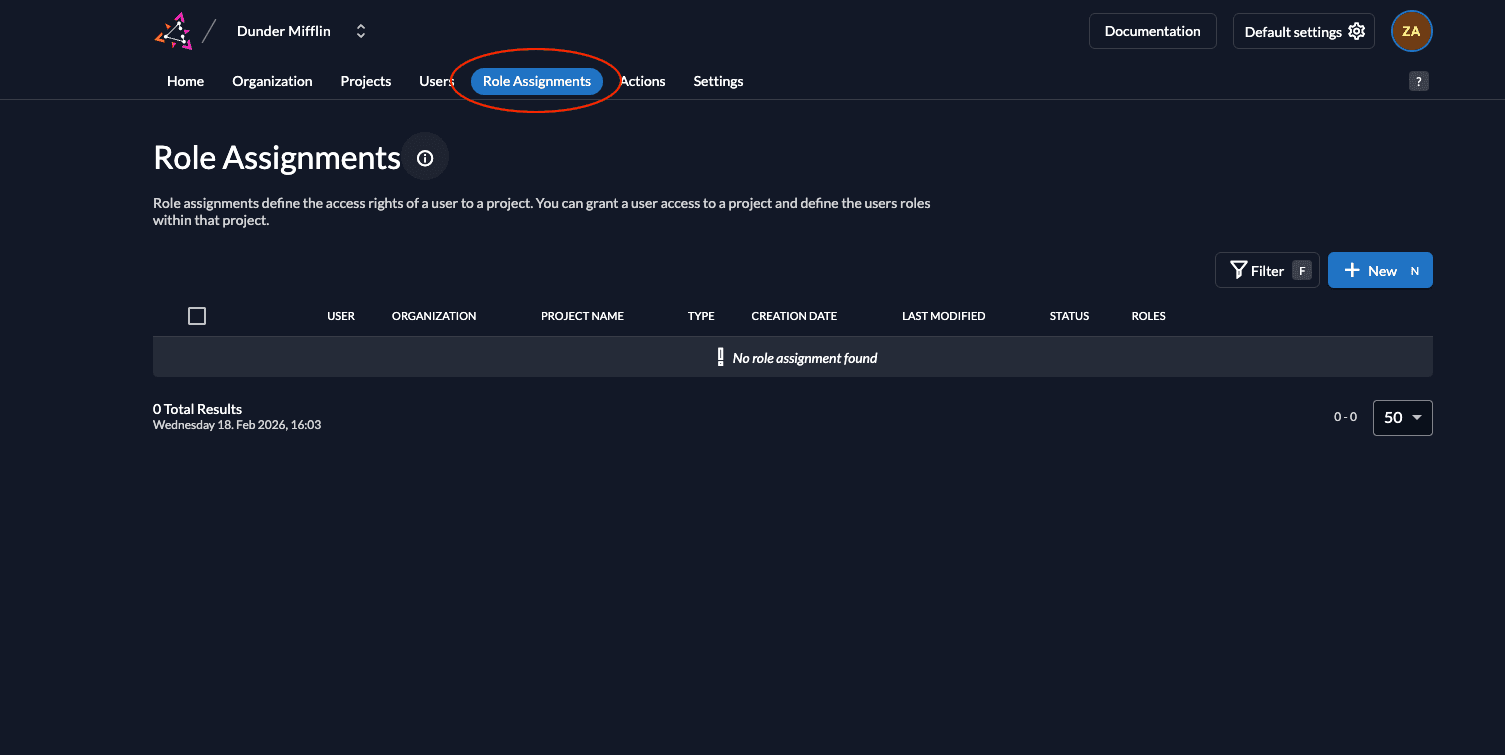
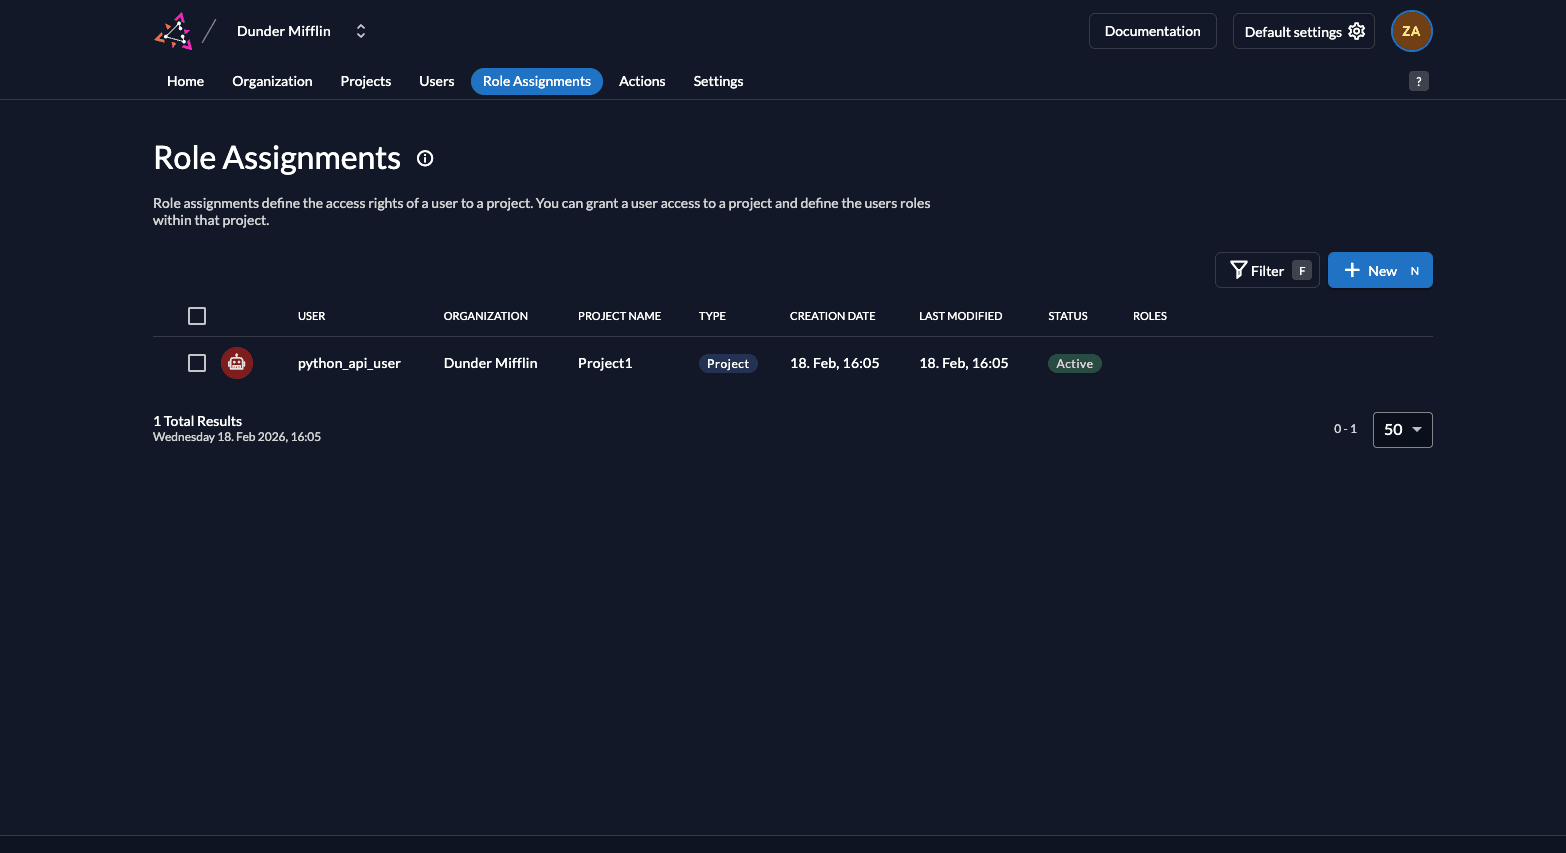
- To assign this role to a user, click on Role Assignments.
- Select the user you want to assign the role to.
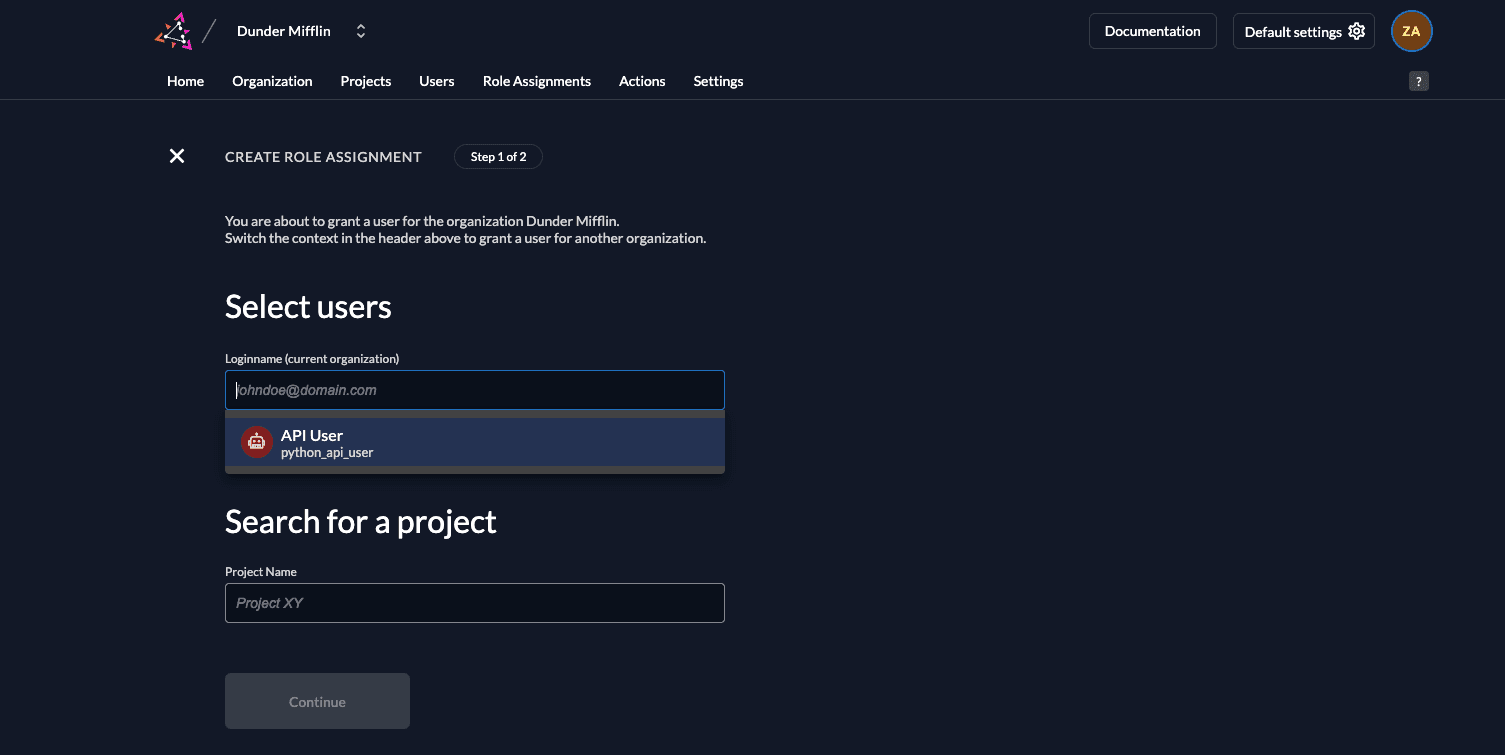
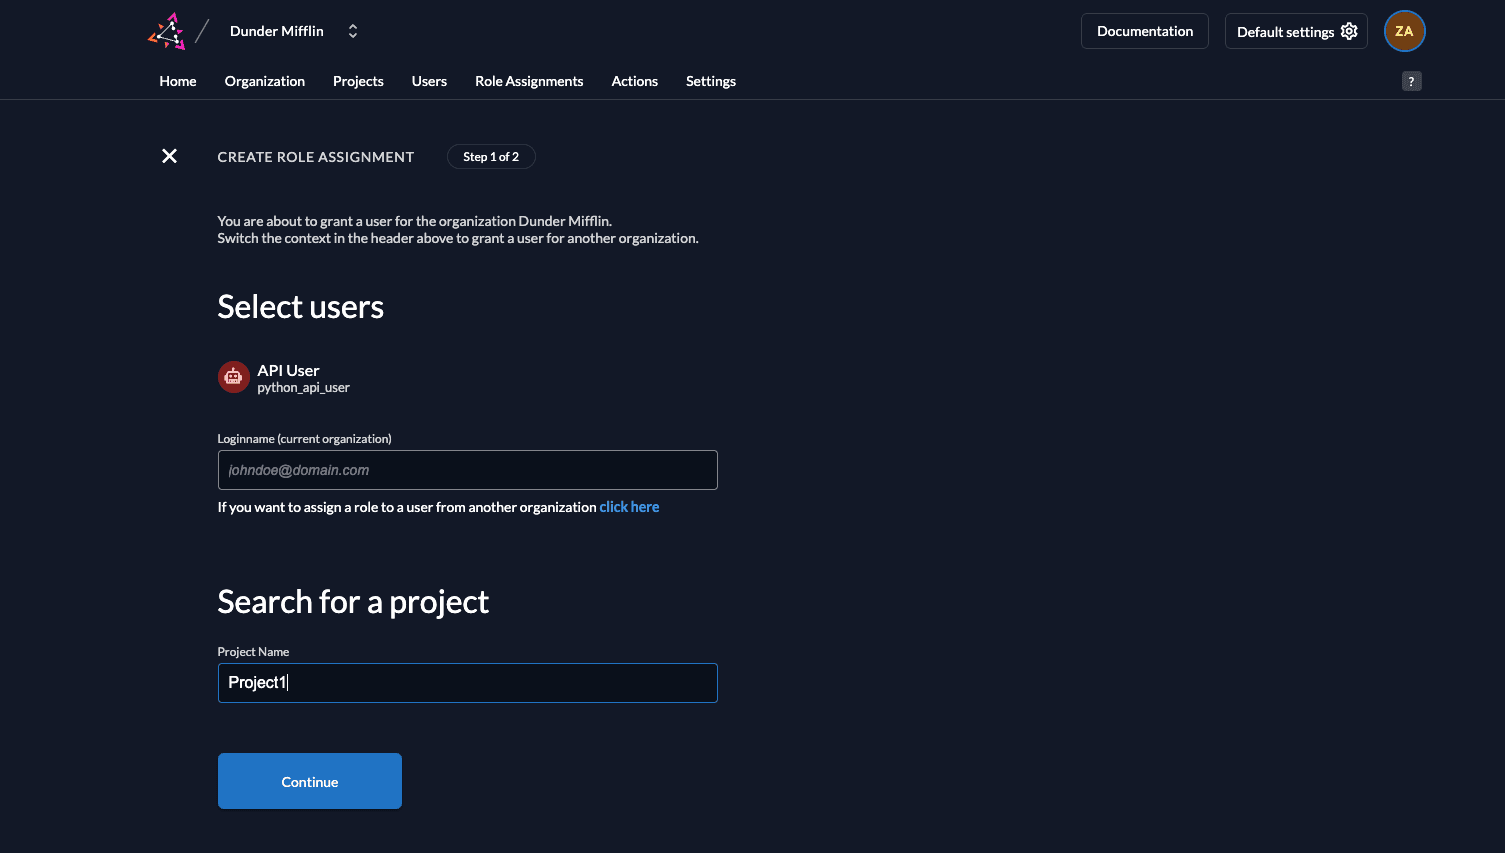
- Select the project where this role assignment is applicable.
 7. Click Continue.
- Select the role read:messages and click Save.
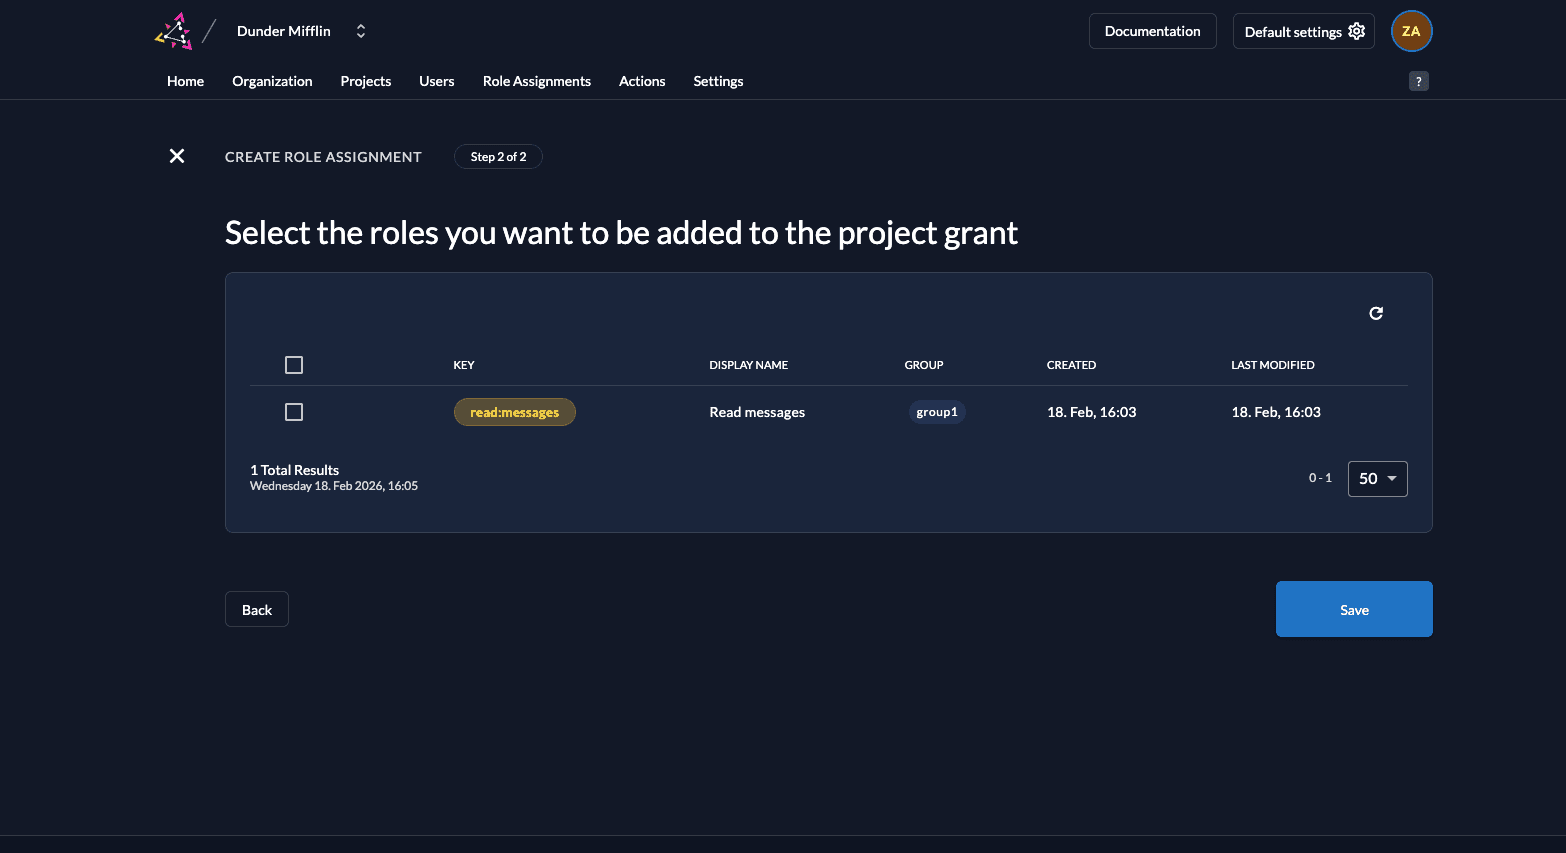
- You will now see the service account has been assigned the role read:messages.
Prerequisites
At the end you should have the following for the API:
- Issuer, something like
https://example.zitadel.cloudorhttp://localhost:8080 .json-key-file for the API, from the application- ID of the project
And the following from the Service Account:
.json-key-file from the service account
Setup new Pylon service
Pylon allows you to create a new service using the npm create pylon command. This command creates a new Pylon project with a basic project structure and settings.
During the setup process, you can choose your preferred runtime, such as Bun, Node.js, or Cloudflare Workers.
This guide uses the Bun runtime.
Creating a new project
To create a new Pylon project, run the following command:
npm create pylon my-pylon@latestThis will create a new directory called my-pylon with a basic Pylon project structure.
Project structure
Pylon projects are structured as follows:
my-pylon/
├── .pylon/
├── src/
│   ├── index.ts
├── package.json
├── tsconfig.json.pylon/: Contains the production build of your project.src/: Contains the source code of your project.src/index.ts: The entry point of your Pylon service.package.json: The npm package configuration file.tsconfig.json: The TypeScript configuration file.
Basic example
Here's an example of a basic Pylon service:
export const graphql = {
  Query: {
    sum: (a: number, b: number) => a + b,
  },
  Mutation: {
    divide: (a: number, b: number) => a / b,
  },
};

export default app;
Secure the API
Add ZITADEL info to the service
- Create a
.envfile in the root folder of your project and add the following settings:
AUTH_ISSUER='URL to the zitadel instance'
AUTH_PROJECT_ID='ID of the project'
It should look something like this:
AUTH_ISSUER='https://example.zitadel.cloud'
AUTH_PROJECT_ID='250719519163548112'-
Copy the
.json-key-file that you downloaded from the ZITADEL Management Console into the root folder of your project and rename it tokey.json. -
(Optional) For added convenience in production environments, you can include the content of the .json key file as
AUTH_KEYin the .env file or as an environment variable.
Auth
Pylon provides a auth module and a decorator to check the validity of the token and the permissions.
auth.initialize(): Initializes the authentication middleware.auth.require(): Middleware to check if the token is valid.auth.require({roles: ['role']}): Middleware to check if the token is valid and has the specified roles.requireAuth(): Decorator to check if the token is valid.requireAuth({roles: ['role']}): Decorator to check if the token is valid and has the specified roles.
Build the Pylon service
Now we will create a new Pylon service with the following endpoints:
/api/public: Public endpoint/api/private: Private endpoint/api/private-scoped: Private endpoint with specific role/graphql: GraphQL endpoint- Query:
me: Private endpoint that returns the current user and the messages if the role isread:messages - Query:
info: Public endpoint
- Query:
Create the service
The following code demonstrates how to create a Pylon service with the required endpoints, it must be added to the src/index.ts file of your project:
import {
  app,
  auth,
  requireAuth,
  getContext,
  ServiceError,
} from "@getcronit/pylon";

class User {
  id: string;
  name: string;
  #messages: string[];

  constructor(id: string, name: string, messages: string[]) {
    this.id = id;
    this.name = name;
    this.#messages = messages;
  }

  @requireAuth({ roles: ["read:messages"] })
  async messages() {
    return this.#messages;
  }

  static users: User[] = [];

  @requireAuth()
  static async me() {
    const ctx = getContext();
    const id = ctx.get("auth")!.sub;

    const user = User.users.find((user) => user.id === id);

    if (!user) {
      throw new ServiceError("User not found", {
        statusCode: 404,
        code: "USER_NOT_FOUND",
      });
    }

    return user;
  }

  @requireAuth()
  static async create() {
    const ctx = getContext();

    const auth = ctx.get("auth")!;

    // Check if the user already exists

    if (User.users.find((user) => user.id === auth.sub)) {
      throw new ServiceError("User already exists", {
        statusCode: 400,
        code: "USER_ALREADY_EXISTS",
      });
    }

    const user = new User(auth.sub, auth.username || "unknown", [
      "Welcome to Pylon with ZITADEL!",
    ]);

    User.users.push(user);

    return user;
  }
}

export const graphql = {
  Query: {
    me: User.me,
    info: () => "Public Data",
  },
  Mutation: {
    createUser: User.create,
  },
};

// Initialize the authentication middleware
app.use("*", auth.initialize());

// Automatically try to create a user for each request for demonstration purposes
app.use(async (_, next) => {
  try {
    await User.create();
  } catch {
    // Ignore errors
    // Fail silently if the user already exists
  }

  await next();
});

app.get("/img/api/info", (c) => {
  return new Response("Public Data");
});

// The `auth.require()` middleware is optional here, as the `User.me` method already checks for it.
app.get("/img/api/me", auth.require(), async (c) => {
  const user = await User.me();

  return c.json(user);
});

// A role check for `read:messages` is not required here, as the `user.messages` method already checks for it.
app.get("/img/api/me/messages", auth.require(), async (c) => {
  const user = await User.me();

  // This will throw an error if the user does not have the `read:messages` role
  return c.json(await user.messages());
});

export default app;
Call the API
To call the API you need an access token, which is then verified by ZITADEL.
Please follow this guide here, ignoring the first step as we already have the .json-key-file from the serviceaccount.
You can also create a PAT for the service account and use it to test the API. For this, follow this guide.
Optionally set the token as an environment variable:
export TOKEN='MtjHodGy4zxKylDOhg6kW90WeEQs2q...'Now you have to start the Pylon service:
bun run devWith the access token, you can then do the following calls:
- GraphQL:
curl -H "Authorization: Bearer $TOKEN" -G http://localhost:3000/graphql --data-urlencode 'query={ info }'
curl -H "Authorization: Bearer $TOKEN" -G http://localhost:3000/graphql --data-urlencode 'query={ me { id name } }'
curl -H "Authorization: Bearer $TOKEN" -G http://localhost:3000/graphql --data-urlencode 'query={ me { id name messages } }'
You can also visit the GraphQL playground at http://localhost:3000/graphql and execute the queries there.
- Routes:
curl -H "Authorization: Bearer $TOKEN" -X GET http://localhost:3000/api/info
curl -H "Authorization: Bearer $TOKEN" -X GET http://localhost:3000/api/me
curl -H "Authorization: Bearer $TOKEN" -X GET http://localhost:3000/api/me/messages
Completion
Congratulations! You have successfully integrated your Pylon with ZITADEL!
If you get stuck, consider checking out their documentation. If you face issues, contact Pylon or raise an issue on GitHub.
Was this page helpful?