Set up ZITADEL for your Scenario
Each customer does have different needs and use-cases. In ZITADEL you are able to adjust settings depending on your needs. In this section we show you the different use-cases we have already experienced, that could interest you.
Automatically redirect users if the organization has only one identity provider
You have different customers (organizations) in your ZITADEL instance and they have different needs on how to authenticate their users. One of your customers does only allow login with an external identity provider like Google, Entra ID, and so on. If a user of this organization wants to login, you don't want them to enter their username in the ZITADEL Login UI, they should be redirected directly to the identity provider without their interaction.
Settings
- Go to the "Identity Providers" Settings of the organization
- Set up the needed identity provider: Read this guide if you don't know how
- Go to the "Login Behavior and Security" settings of the organization
- Disable "Username Password Allowed" and enable "External IDP allowed" in the Advanced Section
Now your application can send either the organizations id (urn:zitadel:iam:org:id:{id}) or Organization Domain (urn:zitadel:iam:org:domain:primary:{domainname}) scope on your authorization request to identify on which organization the users should be logged in.
More about the scopes
Custom Application Domain per Organization
If you have an application that runs a dedicated domain for each customer you need to instruct ZITADEL to allow redirection for each domain specifically to safeguard against phishing attacks.
Example:
MyApplication: customer-a.app.com
ZITADEL Login: login.app.com
In the OIDC Authorization request you always have to send the redirect URI to where you like to be redirected after login. To handle this scenario it is possible to register multiple URIs on each application in ZITADEL, the only criteria is that the requested URI has to match one of the registered URIs.
Read more about applications and the redirect urls
Trigger organization in ZITADEL login
It is possible to trigger the organization directly with the authorization request to ZITADEL.
This will have the following impacts:
- Trigger organization login behavior settings
- Trigger organization branding
- Only allow users from selected organization to login
To request the organization send either the the organization id (urn:zitadel:iam:org:id:{id}) or Organization Domain (urn:zitadel:iam:org:domain:primary:{domainname}) scope on your authentication request from your application.
More about the scopes
Use email to login
There are two different possibilities to achieve login with an email.
- Use an email address as username
- Use the email field of the user as additional login to the username
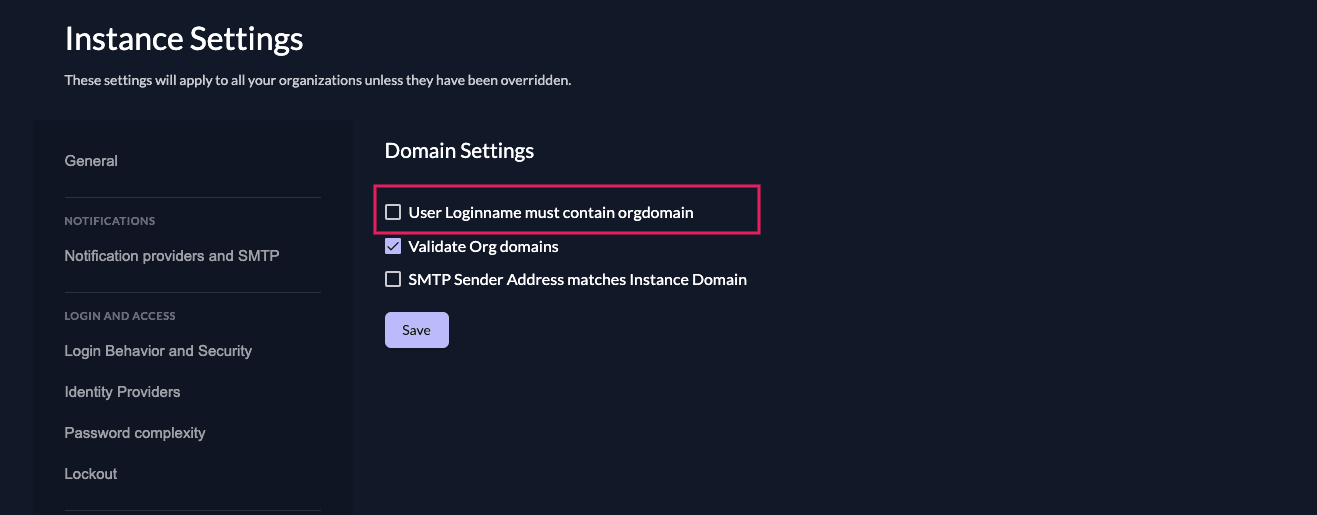
Use an email address as username
To be able to use the email as username you have to disable the attribute "User Loginname must contain orgdomain" on your domain settings. This means that all your users will not be suffixed with the domain of your organization and you can enter the email as username. All usernames will then be globally unique within your instance.
You can either set this attribute on your whole ZITADEL instance or just on some specific organizations.
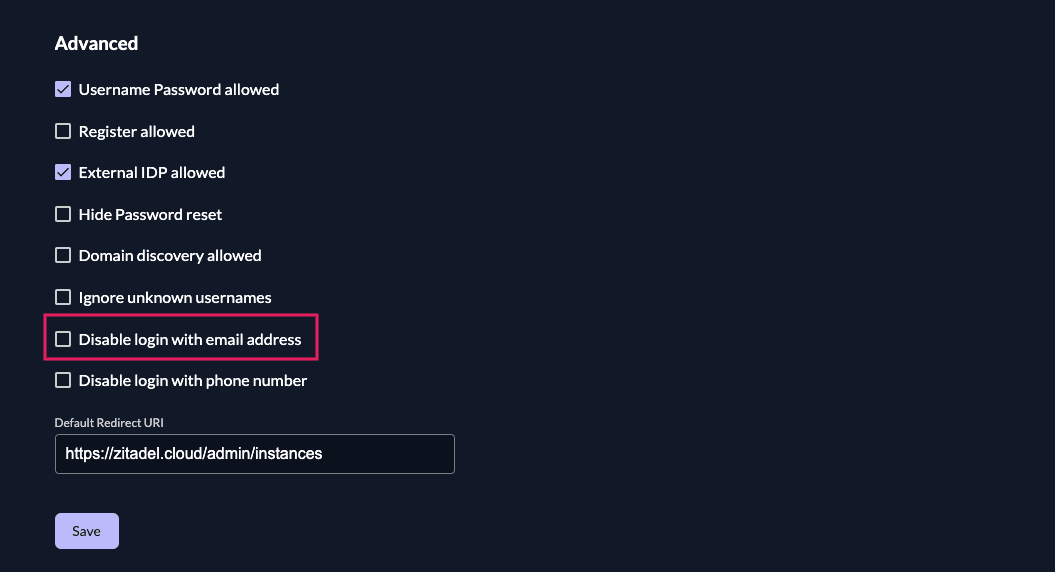
Use the email field of the user as additional login to the username
No matter how the username of your user does look like. You can additionally allow login with the email attribute of the user.
You can find this in the "Login Behavior and Security" Setting of your instance or organizations. Go to the "Advanced" section, per default login with email address should be allowed. It is possible to disable it.
Use phone number to login
There are two different possibilities to achieve login with a phone number.
- Use a phone number as username
- Use the phone number field of the user as additional login to the username
Use a phone number as username
To be able to use the phone number as username you have to disable the attribute "User Loginname must contain orgdomain" on your domain settings. This means that your users will not be suffixed with the domain of an organization and you can enter the phone number as username. All usernames will then be globally unique within your instance.
You can either set this attribute on your whole ZITADEL instance or just on some specific organizations.
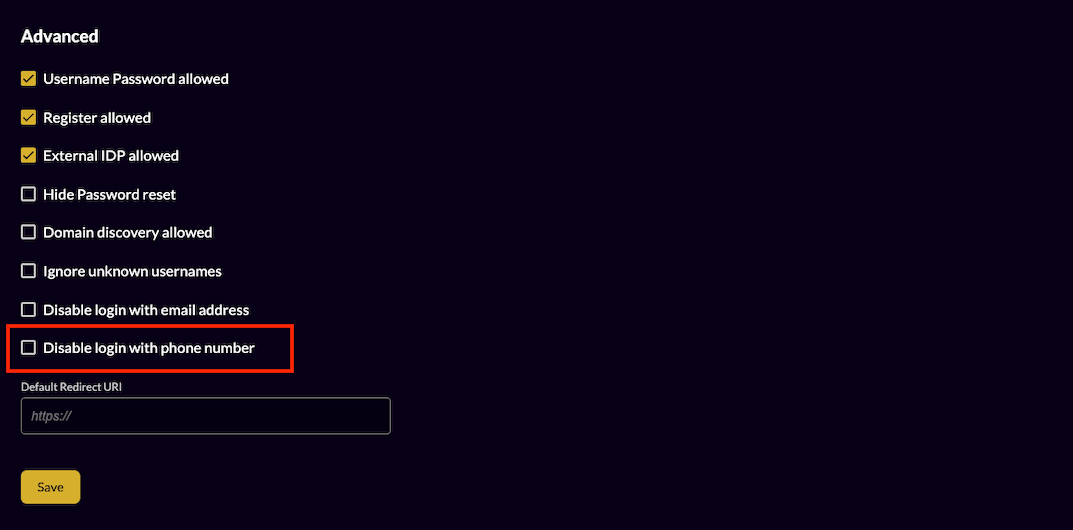
Use the phone number field of the user as additional login to the username
No matter how the username of your user looks like, you can additionally allow login with the phone number attribute of the user.
You can enable this feature in the "Login Behavior and Security" Setting of your instance or organizations. Go to the "Advanced" section, per default login with phone number should be allowed. It is possible to disable it.
Embedding ZITADEL in an iFrame
To maximize the security during login and in the Management Console UI, ZITADEL follows security best practices by setting a Content-Security-Policy (CSP), X-Frame-Options and cookies with SameSite Lax:
Content-Security-Policy: frame-ancestors 'none'
X-Frame-Options: deny
These settings block the use of serving it in an iframe to prevents clickjacking attacks.
Enable iFrame embedding
This change can make you vulnerable to clickjacking attacks.
If your applications need to load ZITADEL inside an iframe, e.g. for a silent login or silent refresh, you can enable the use on an instance level.
- Navigate to the Default Settings.
- Click on the Security Policy tab.
- Enable the "Allow IFrame" and add the host(s) you load the iframe from.
You can add further hosts later on.
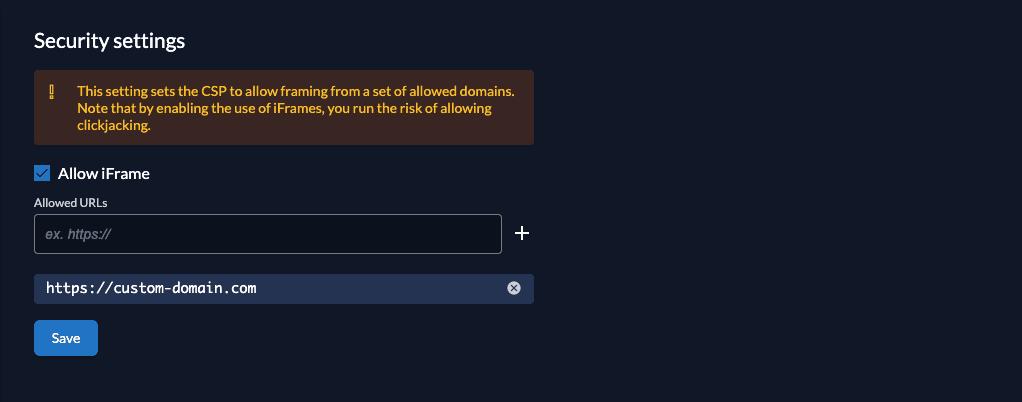
This will change the CSP to the following:
Content-Security-Policy: frame-ancestors https://custom-domain.comremove the X-Frame-Options header and change the SameSite to None.
Please note, that SameSite None requires the cookie to be flagged secure, which means it must be sent over TLS (HTTPS) or localhost.
This also means that domains other than localhost must use TLS for this option to work.
This is due to browser restrictions: https://developer.mozilla.org/en-US/docs/Web/HTTP/Headers/Set-Cookie#none
Disable Multi-factor (MFA) Prompt
To encourage the users to more security for their accounts, a multi-factor prompt is shown after a certain time, to prompt them to configure an additional factor. This prompt is shown even if multi-factor is not enforced for the users.
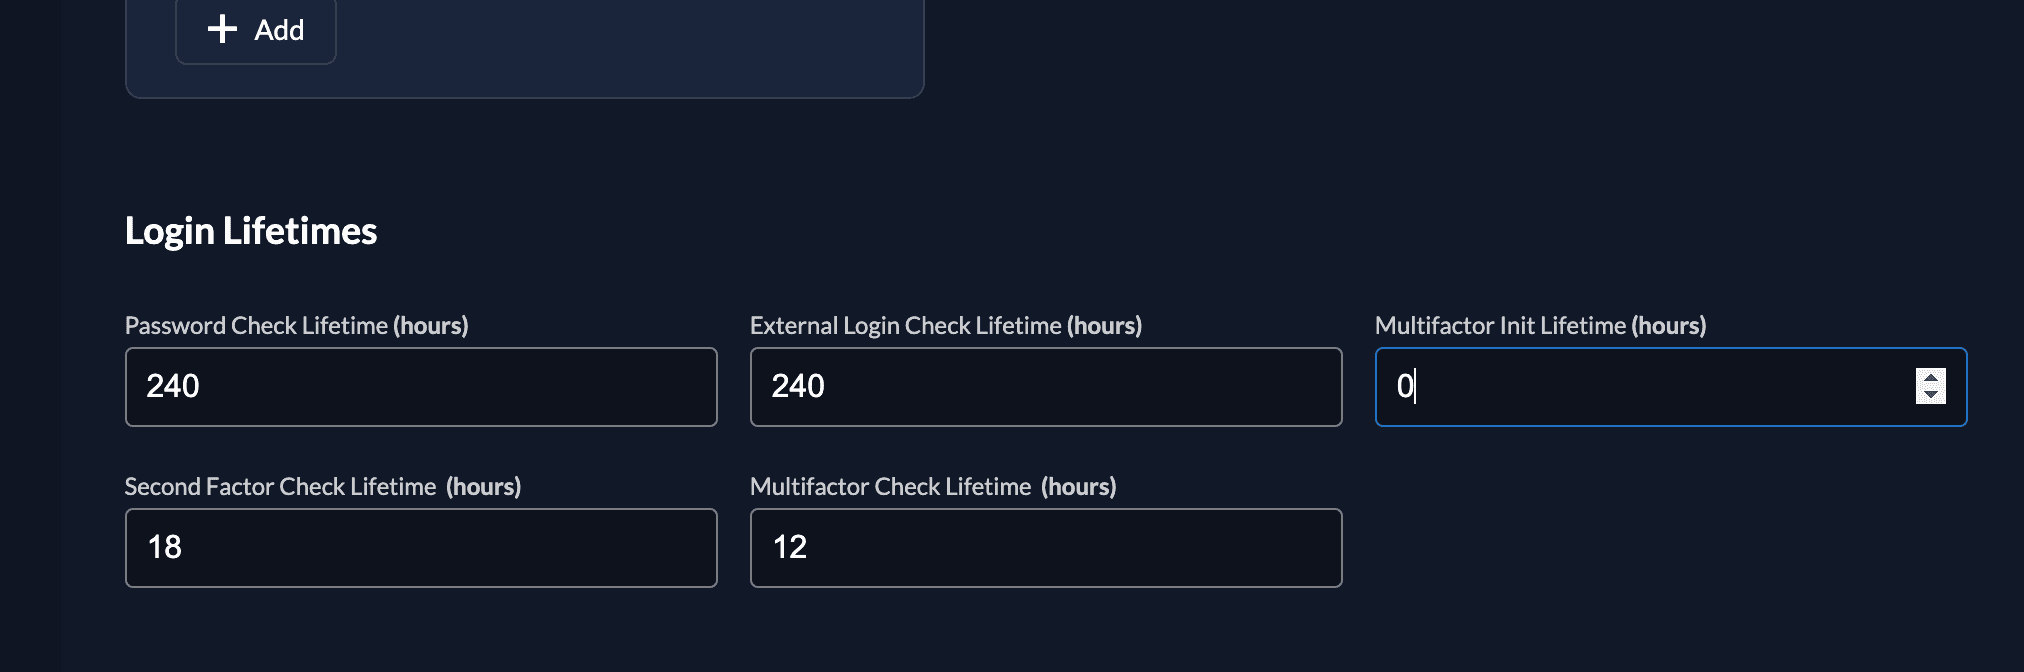
If you do want to disable the prompt for your users, go to the login behavior settings and set the "Multifactor Init Lifetime" to 0. If the setting is not configured to 0, it means that after that time, the user will be asked again to setup a factor.
Was this page helpful?