ZITADEL Users
ZITADEL differs two different types of users:
- Users (Humans)
- Service Users (Machine Accounts)
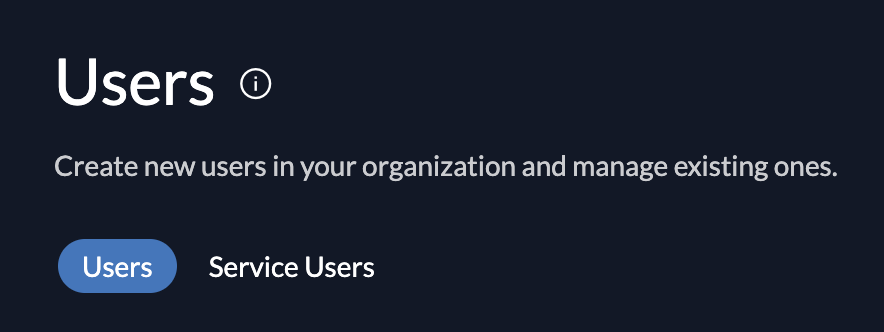
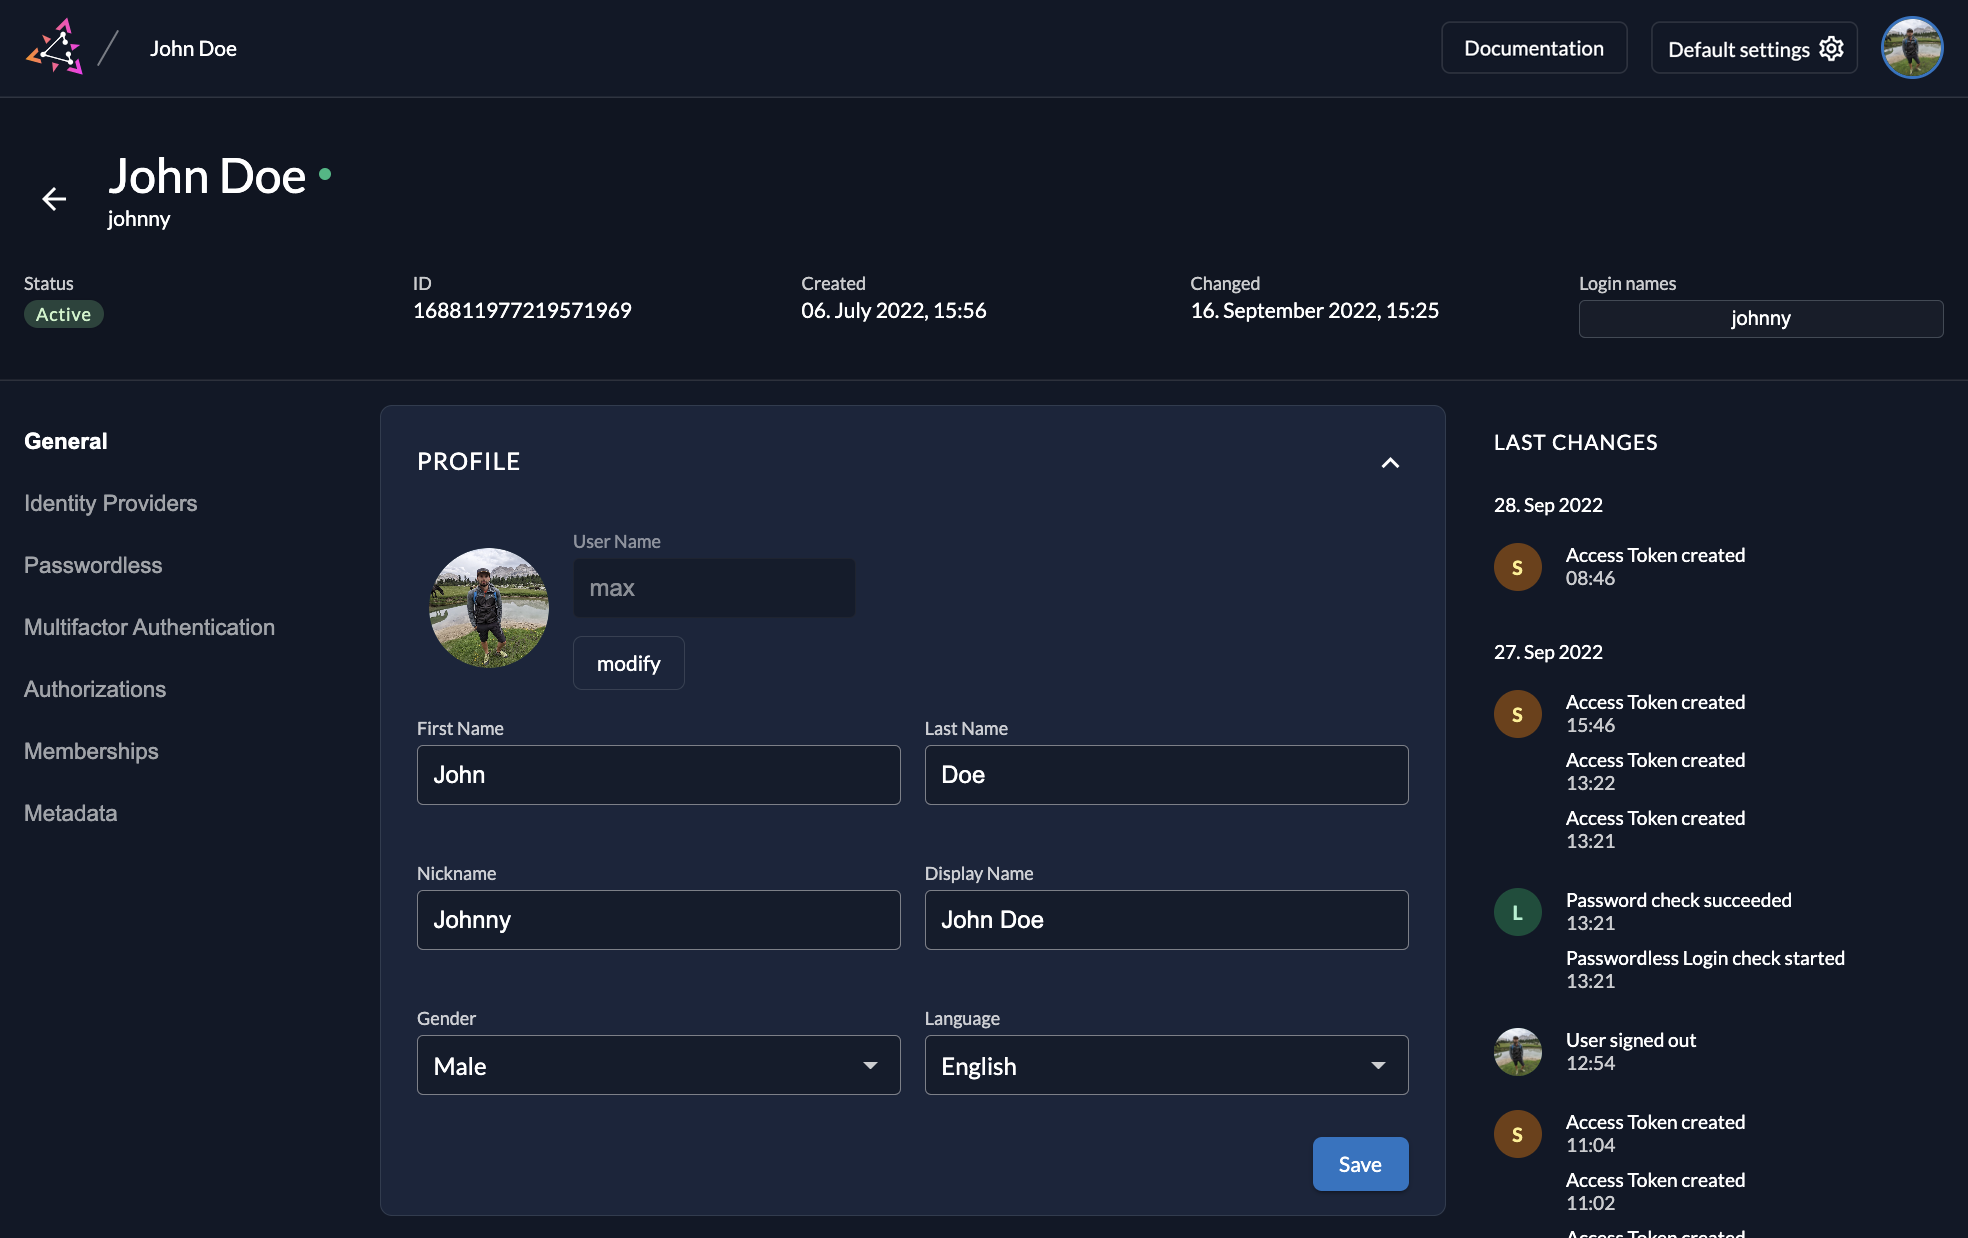
A user has an email address and a password, and can additionally save information about phone, nickname, gender, language. A service account only has a name and a description aside his username.
A service account can be authenticated with JWT profile or Personal Access Tokens. Both methods can specify an expiry. A user can authenticate itself with his password, add multiple factors for additional security, and enable passkey authentication.
Service users are primarily used to gain access for a backend service or iot device. The fact that service accounts can also be ZITADEL administrators is used to restrict access to specific projects or organizations. To get an understanding on how service accounts are used, take a look at our NextJS B2B Demo application.
Create User
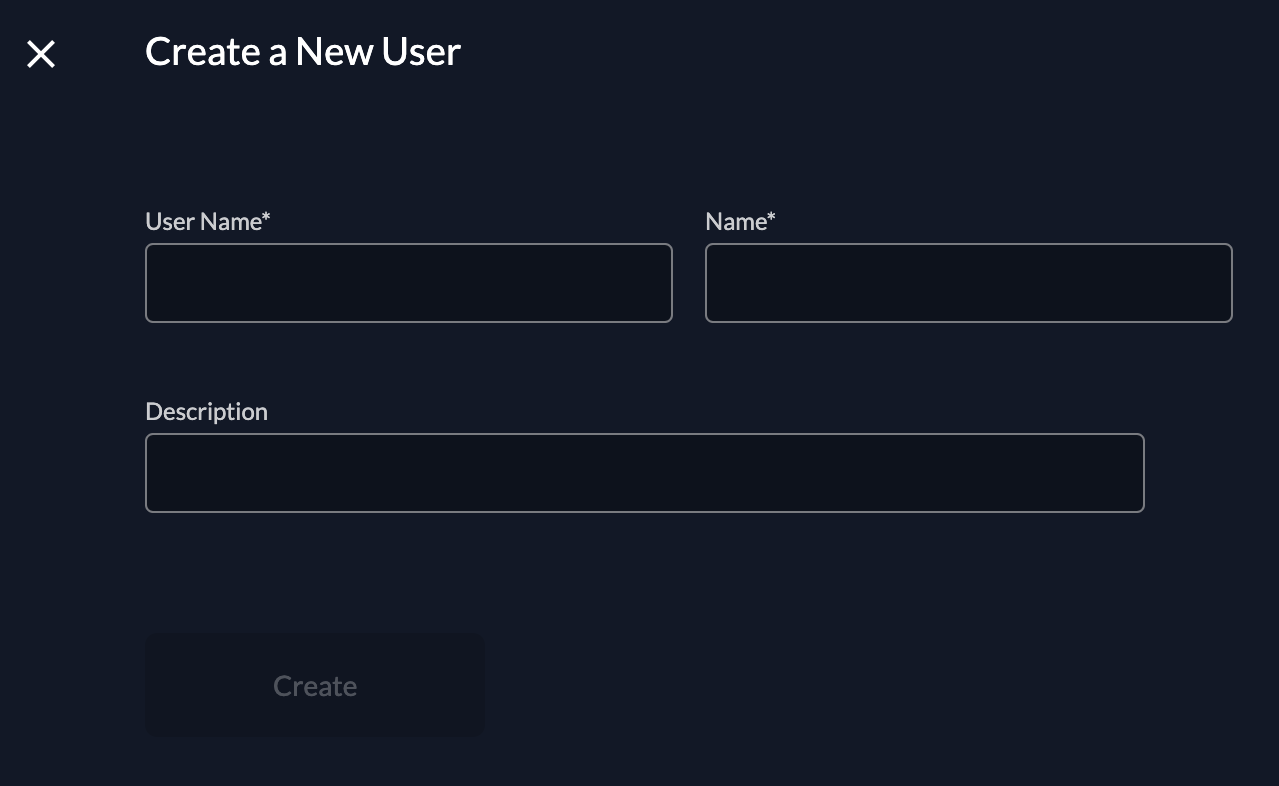
To create a new user, go to Users and click on New. Enter the required contact details and save by clicking “Create”.
If you started with Zitadel before version 3, you might have the "Human User [deprecated]" UI. In this case please enable the Feature Flag "Use V2 Api in Management Console for User creation" in the Default Settings.
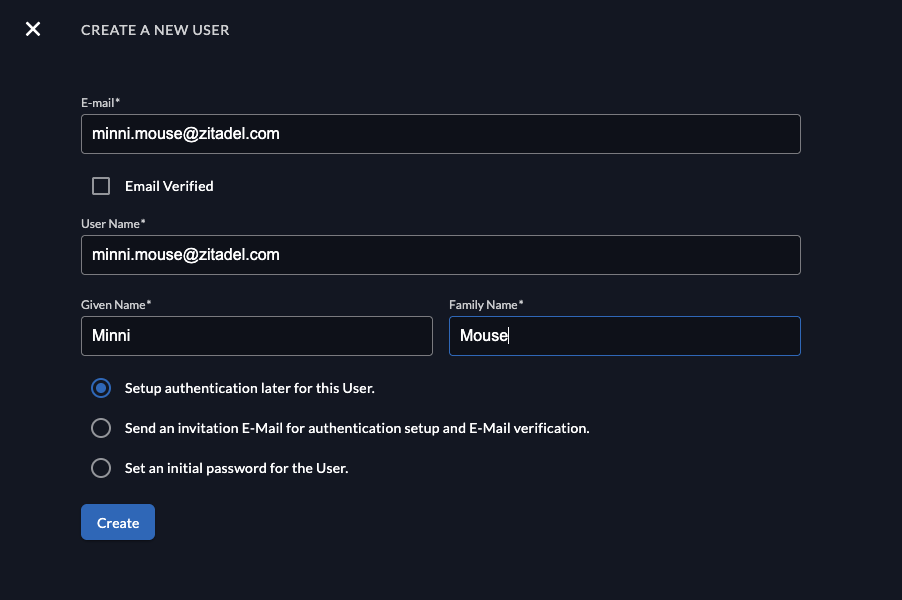
When creating a new user you have different options. First add the email, and select if the email address should be added automatically as "verified".
In the last section you can choose the authentication options:
- Setup authentication later for this user: This flow might be useful if an employee starts at a later point but you already want to prepare the account. The user will not have an authentication method, before they will be able to login, they need to setup a method.
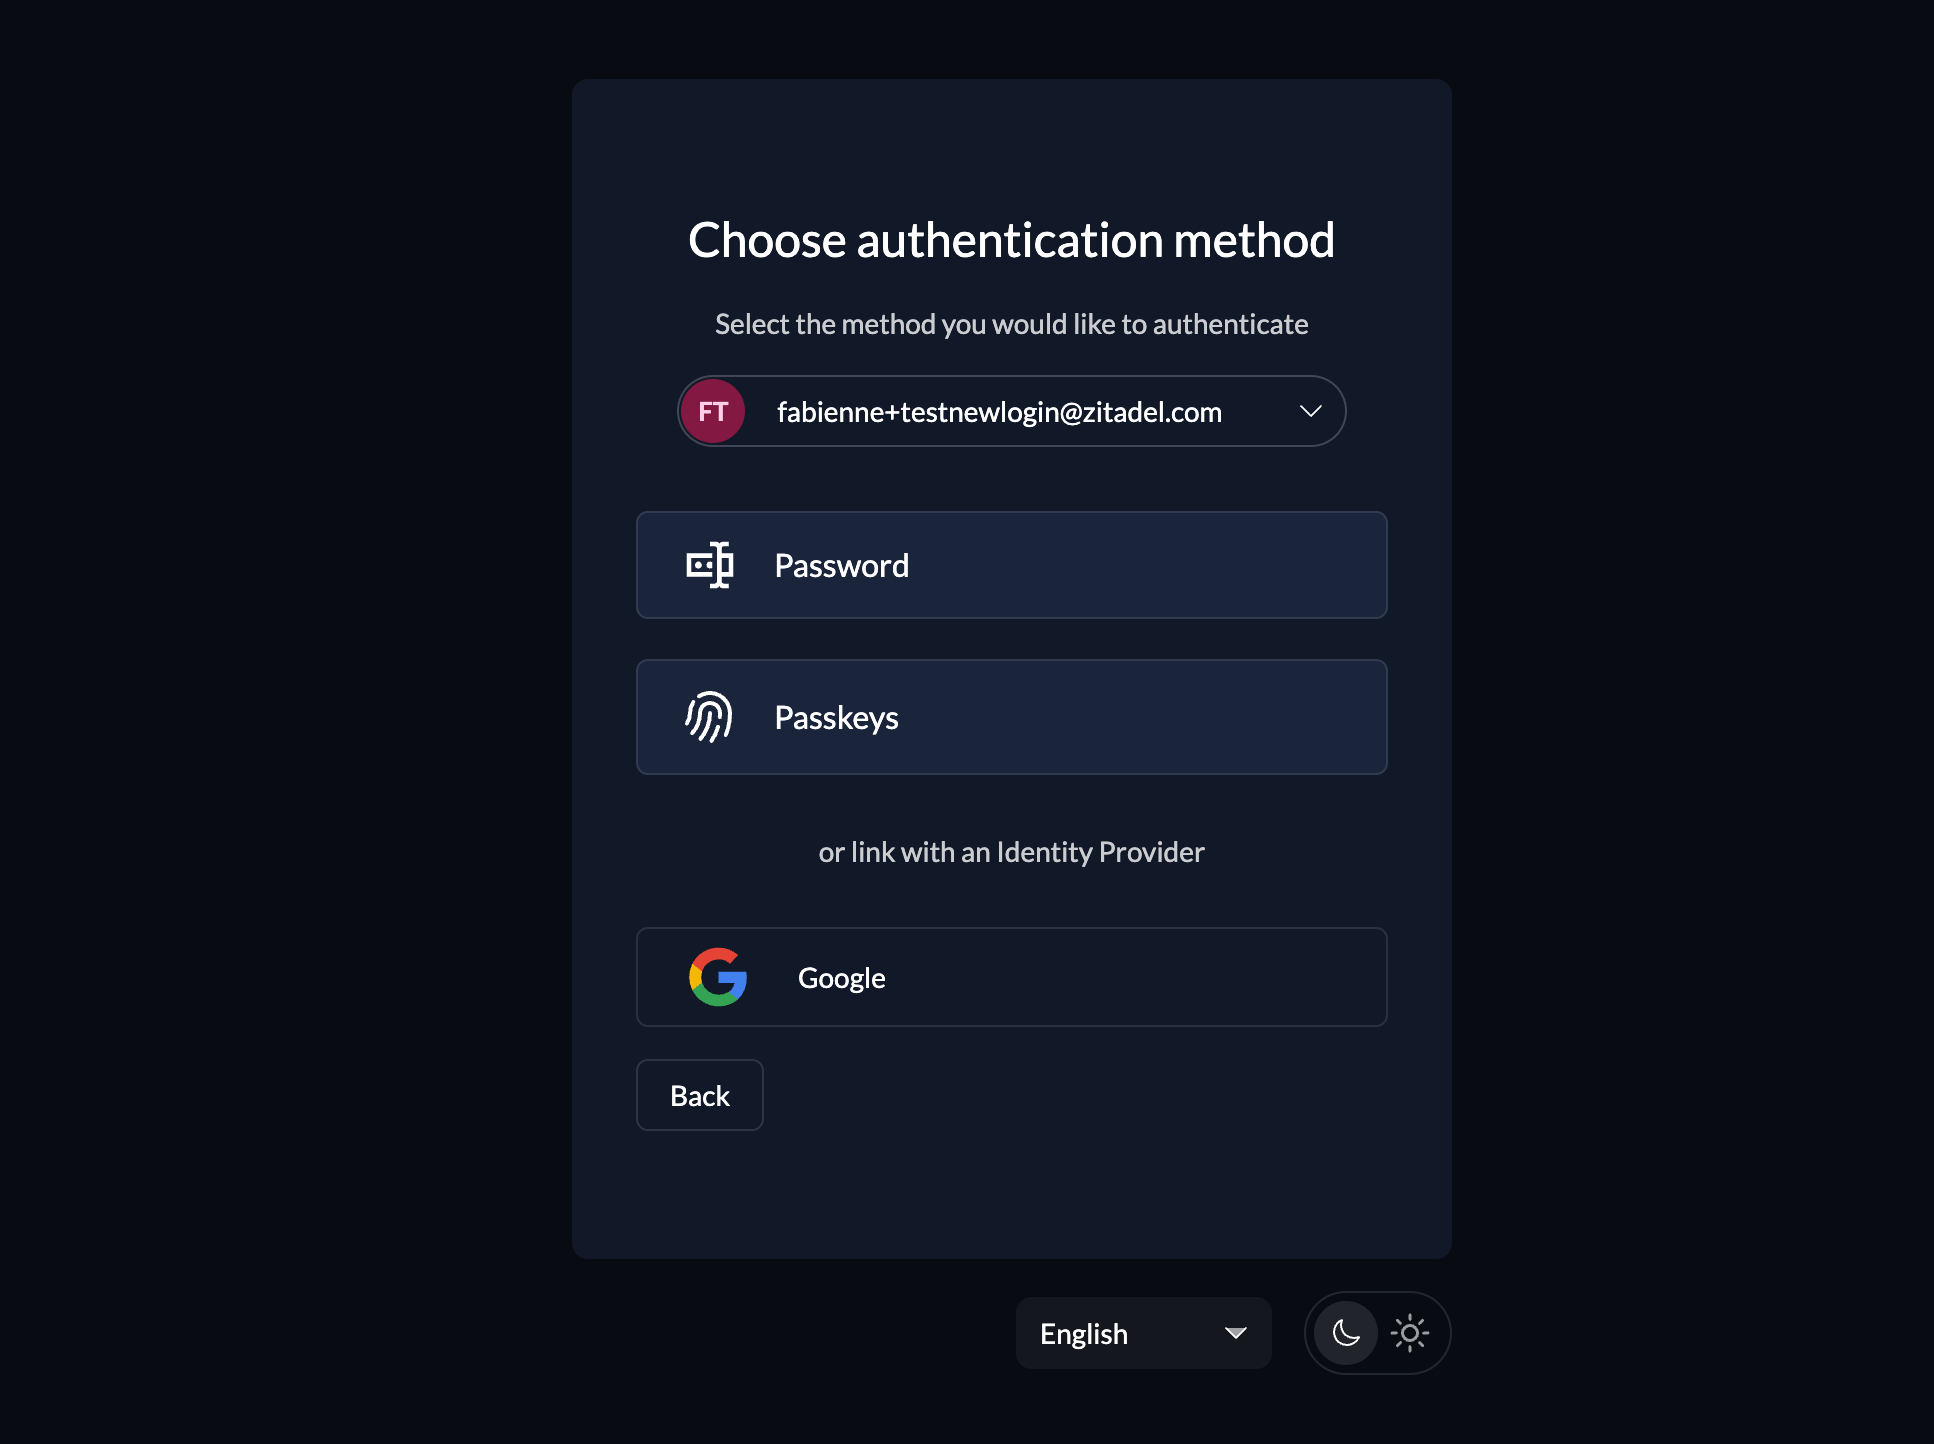
- Send an invitation E-Mail for authentication setup and E-Mail verification: The user will receive an email and be able to setup an authentication method (e.g Password, Passkey, External SSO).
- When using the Zitadel Login V1 the user will be prompted to setup a password
- When using the Zitadel Login V2 the user has the option to choose the authentication method (password, passkey, identity provider), based on the configuration of the organization
- Set an initial password for the user: The user will receive an email and be able to setup an authentication method (e.g Password, Passkey, External SSO)
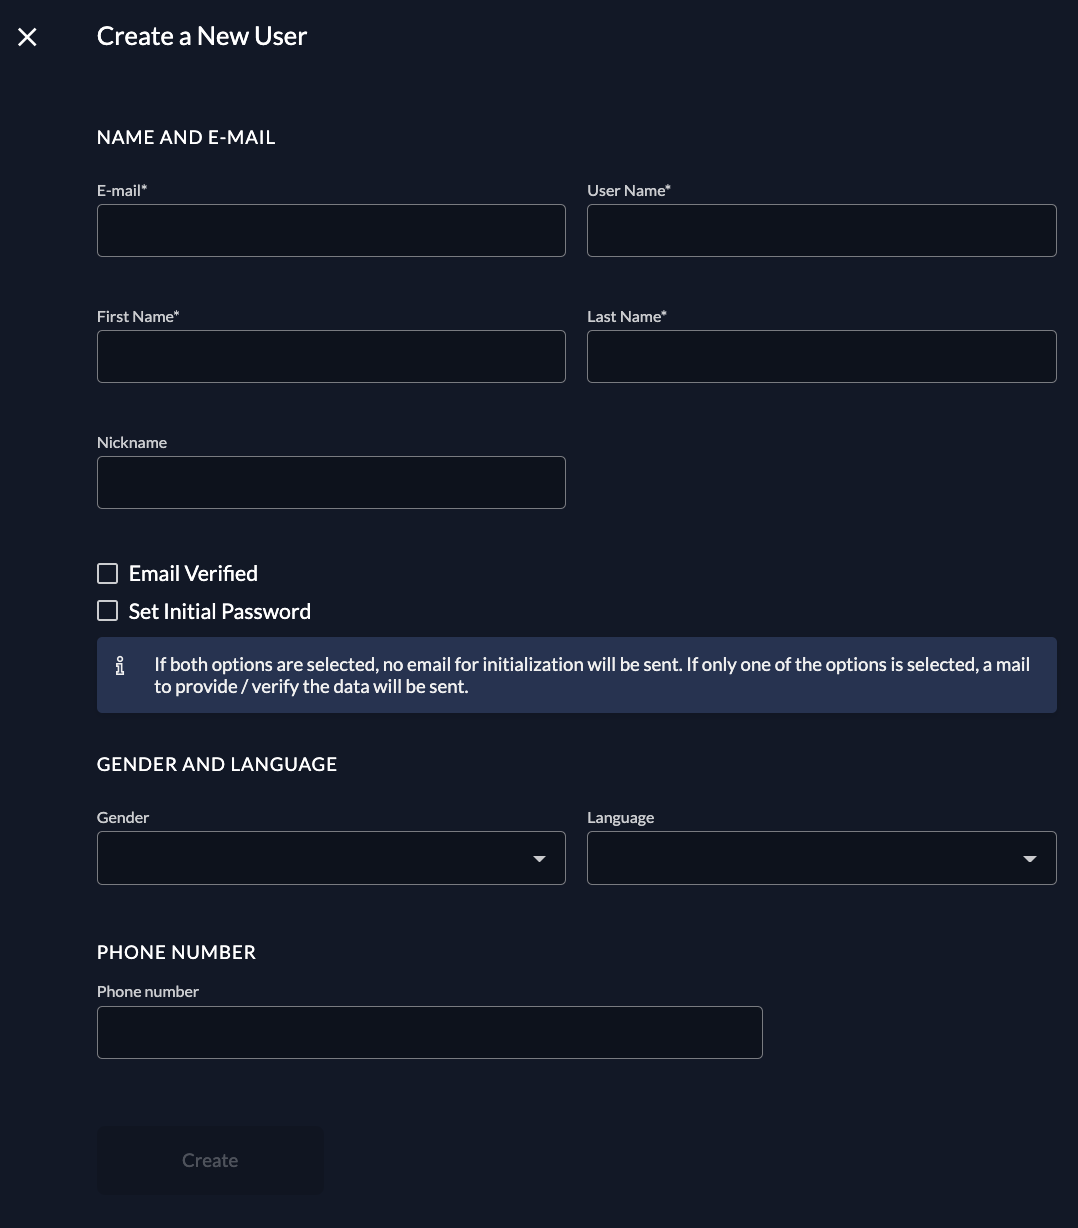
After a user is created, by default, an initialization mail with a code is sent to the registered email. This code then has to be verified on first login. If you want to omit this mail, you can check the email verified and set initial password toggle. If no password is set initially, the initialization mail prompting the user to set his password is sent.
You can prompt the user to add a second factor method too by checking the Force MFA toggle in Login behaviour settings.
When logged in, a user can then manage the profile in the management console, adding a profile picture, external IDPs and Passkeys.
Metadata
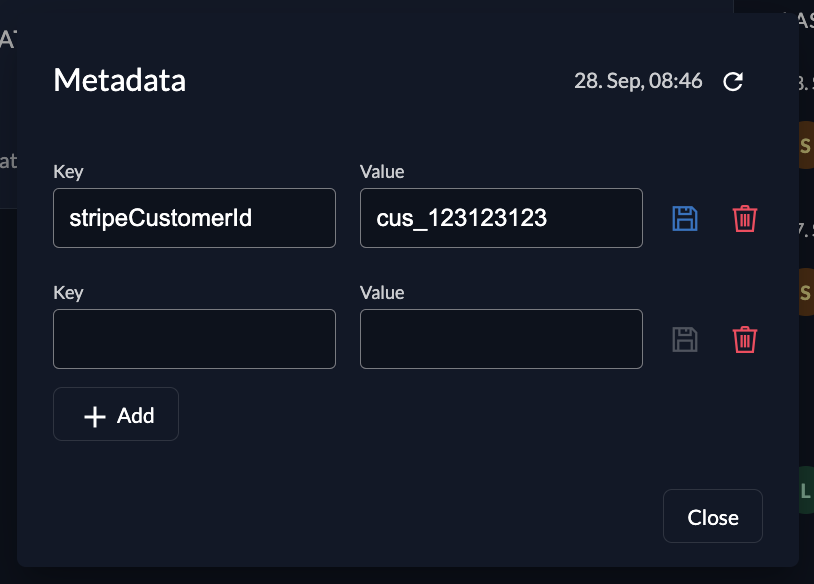
When building complex applications, having the possibility to add metadata is essential. ZITADEL provides a key value storage for users on the user pages. Just navigate to the section Metadata and click on edit.
In our Point of Sales example from the projects guide, you could add a
stripeCustomerIdas a metadata key. In your client application you could then easily fetch the customer from Stripe APIs for your payments.
Metadata can be requested via our auth and management APIs, from userinfo endpoint or ID Token.
To get your metadata from the userinfo endpoint, add urn:zitadel:iam:user:metadata to your authentication request. Take a look at our reserved scopes here or take a look at our metadata guide.
You can then toggle User Info inside ID Token in your application settings if you need this information in the ID Token too.

Authorizations
As described in Roles and Authorizations, authorizations are shown on user profile pages too. If you need user roles in the user info endpoint, check the Assert roles on authentication checkbox in your project as described in Authorizations. If you need them in your ID Token, toggle User roles inside ID Token in application settings.
Was this page helpful?