ZITADEL Instances
The ZITADEL Customer Portal is used to manage all your different ZITADEL instances. Instances are containers for your organizations, users and projects. A recommended setup could look like the following:
- Instance: "Dev Environment"
- Instance: "Test Environment"
- Instance: "Prod Environment"
In the free subscription model you have one instance included. To be able to add more instances please upgrade to "ZITADEL Pro".
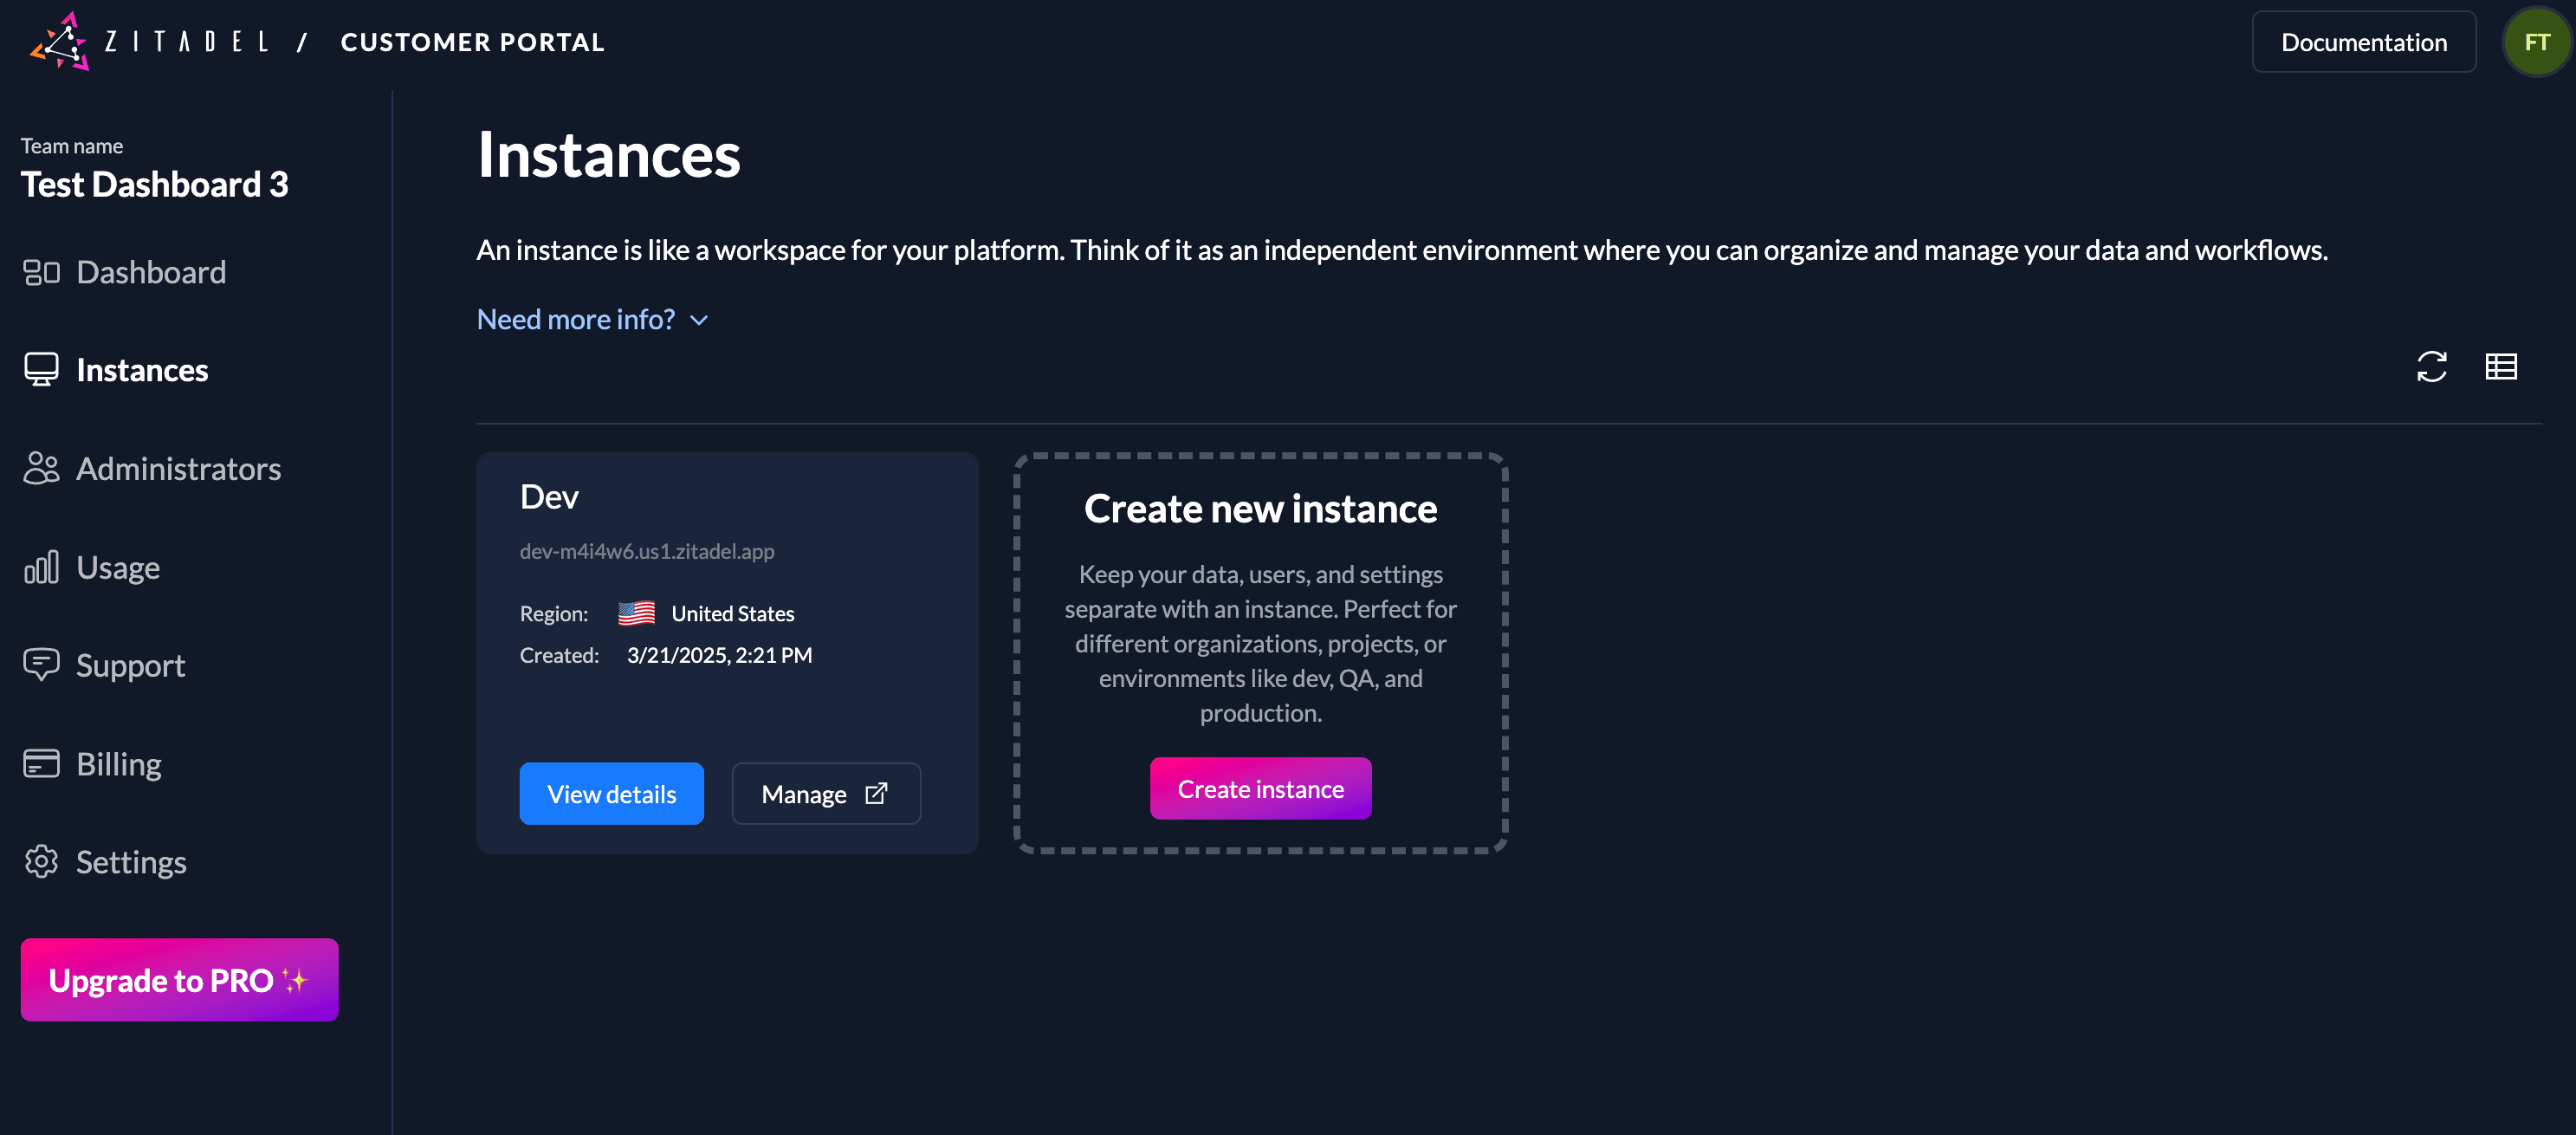
Overview
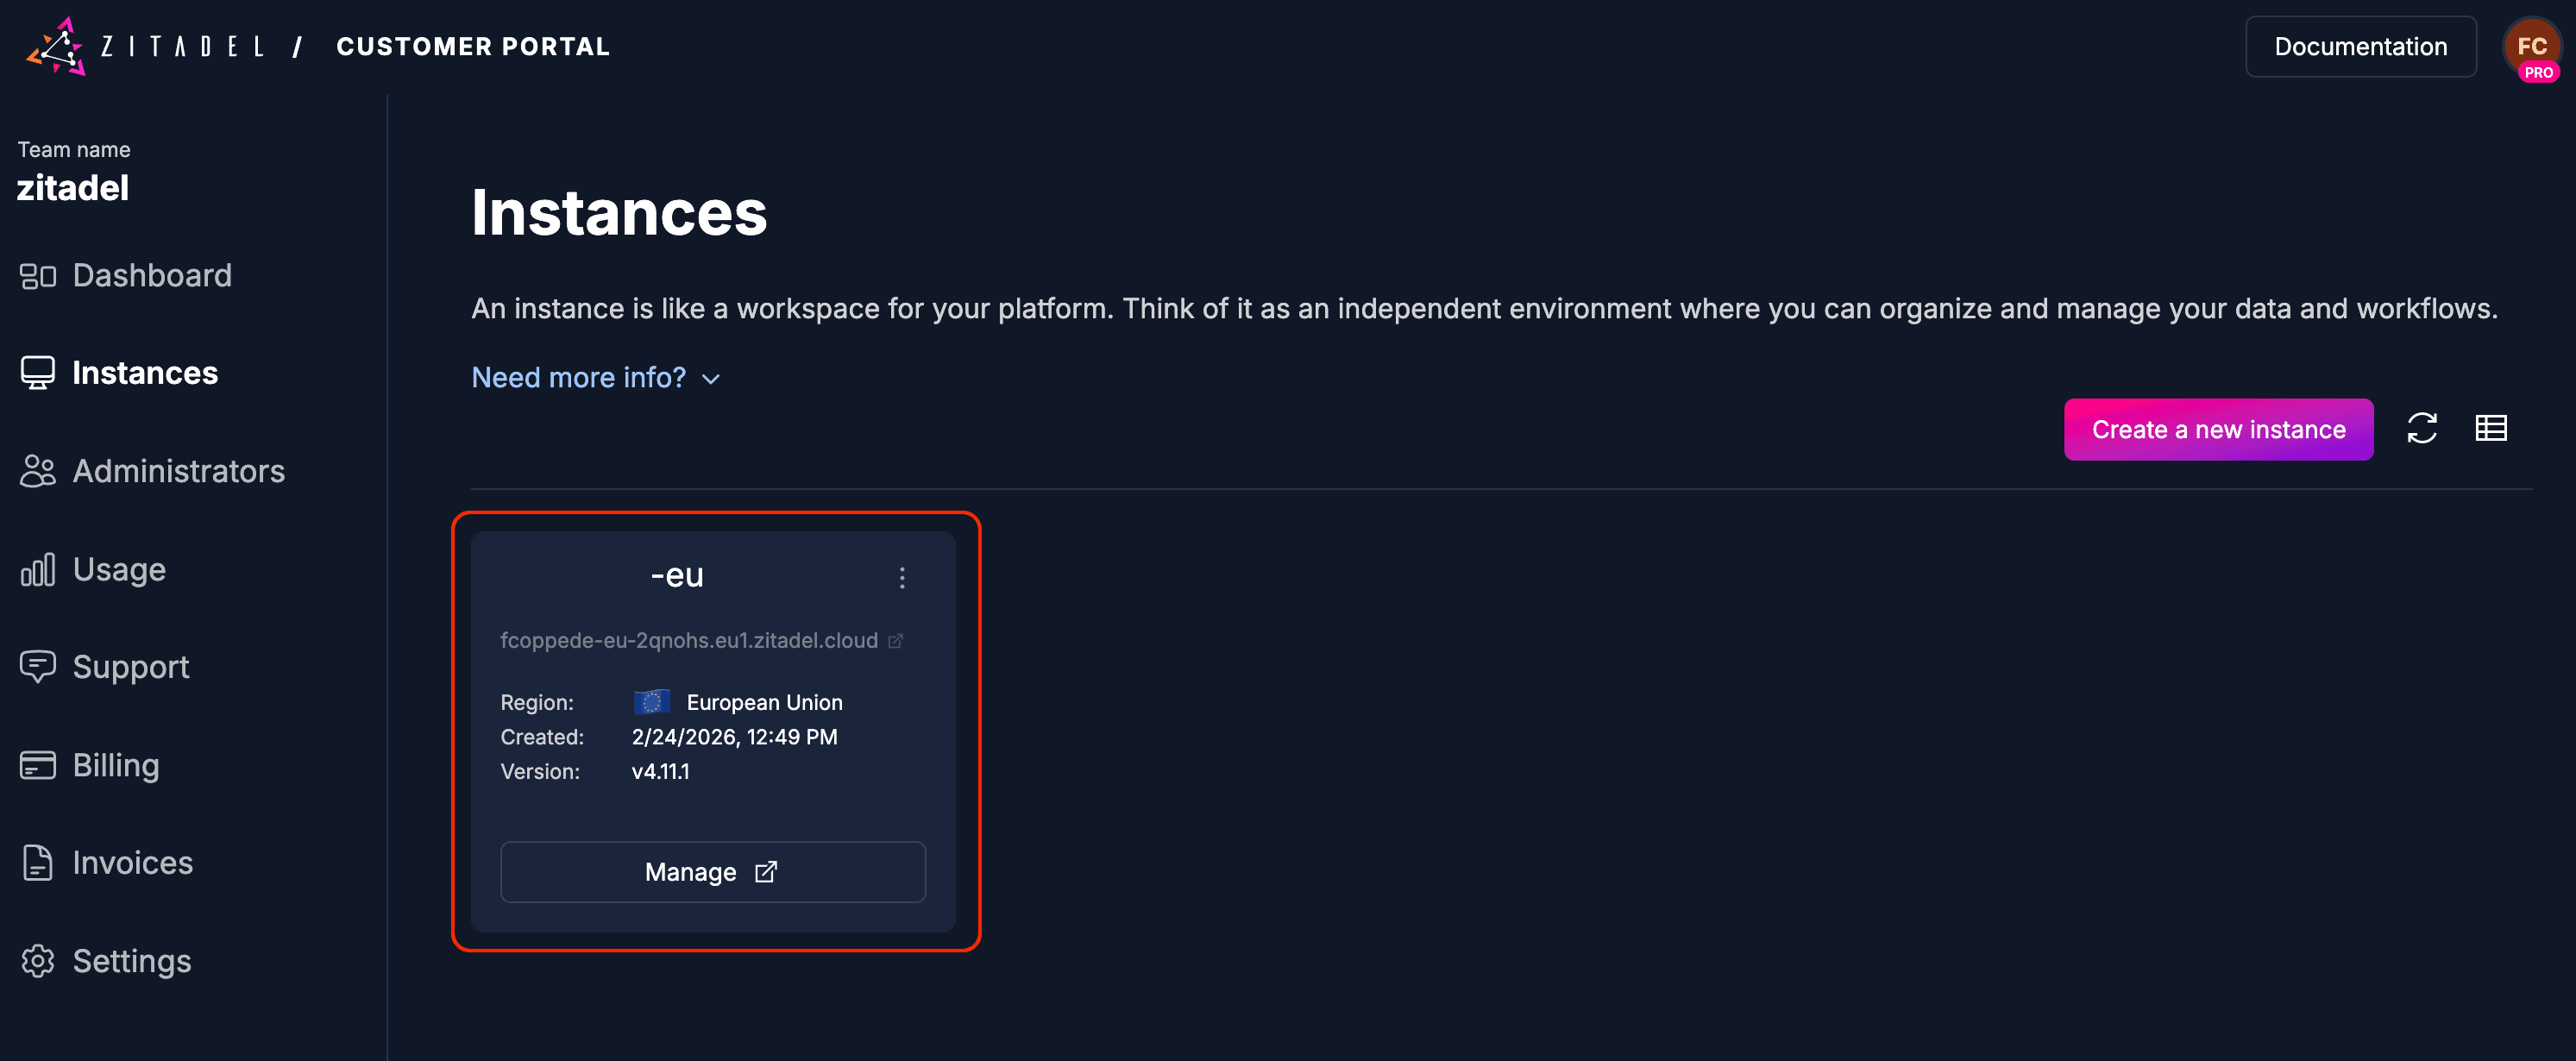
The overview shows all the instances that are registered for your customer. You can directly see the Custom Domain and data region. With a click on an instance you get to the detail of the chosen instance.
New instance
Click on the new button above the instance table to create a new instance.
- Enter the name of your new instance
- Add the credentials for your first administrator
- Username (prefilled)
- Password
- Instance created! You can now see the details of your first instance.
Every new instance gets a generated domain of the form [instancename][randomnumber].zitadel.cloud
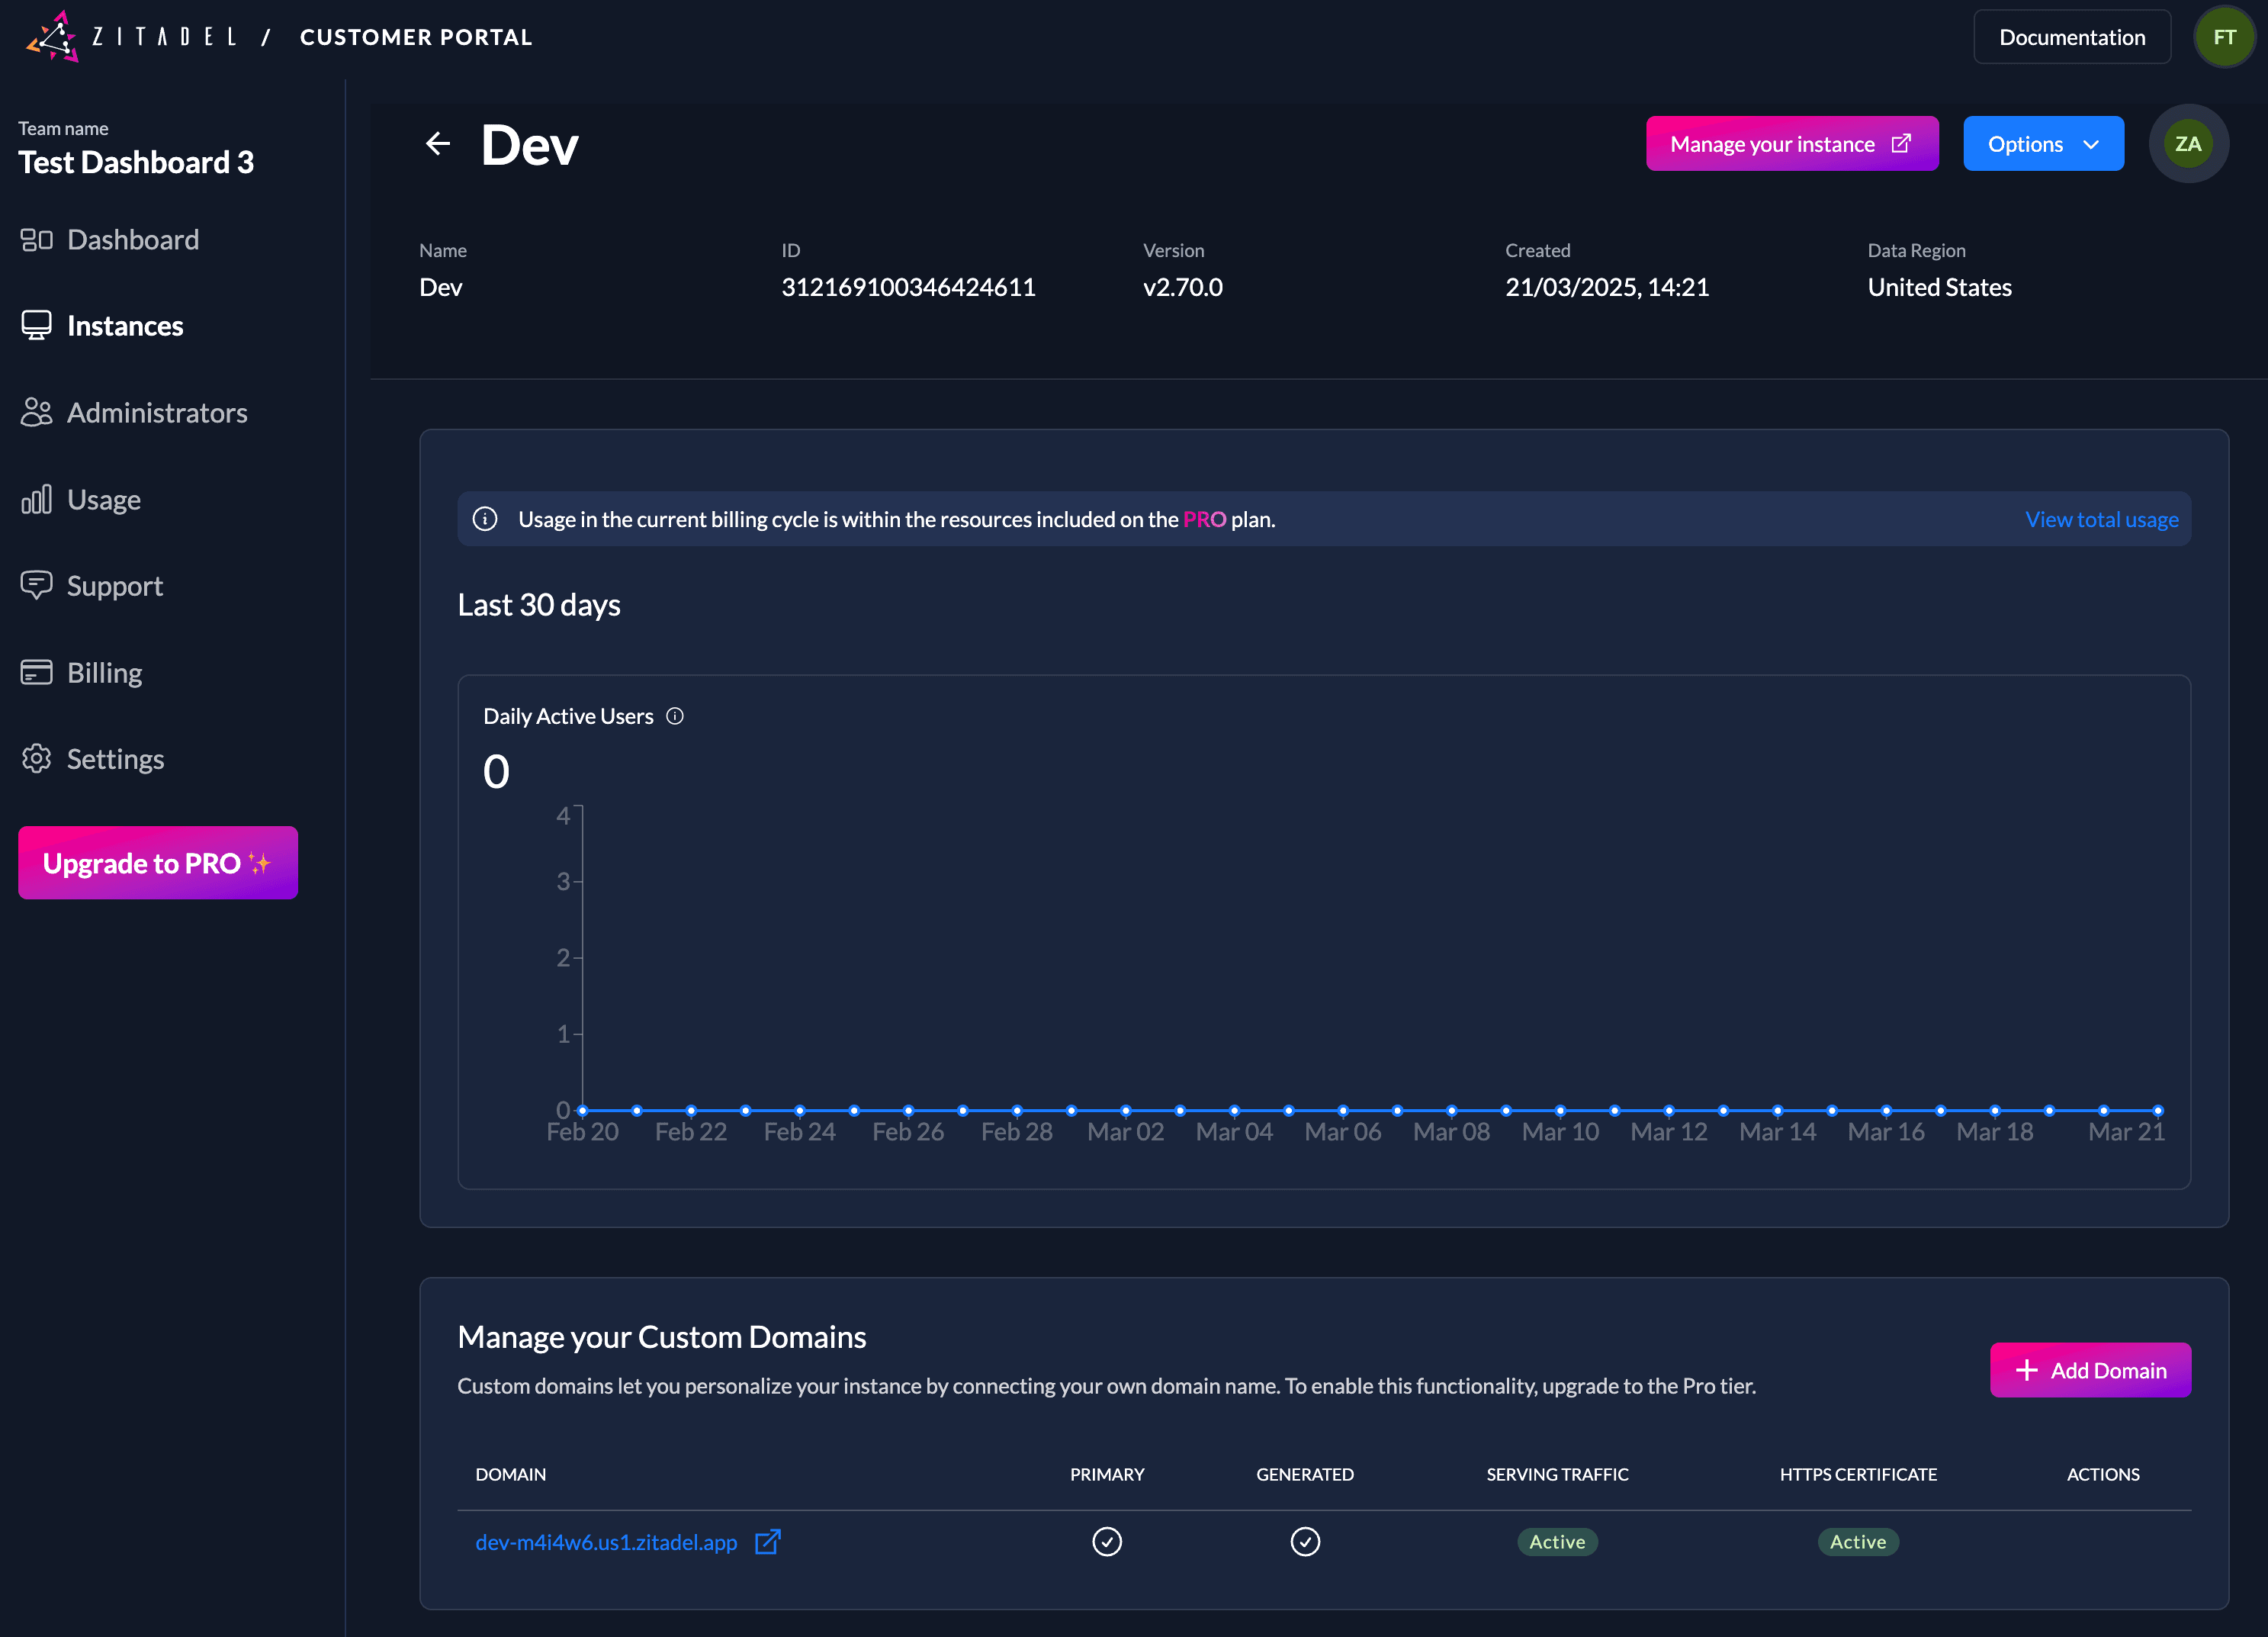
Detail
The detail shows you general information about your instance, the region and your usage.
Upgrade to Pro
Your first instance is included in the free subscription. As soon as you want to create your second instance or use a "pro" feature like choosing the region, you will have to upgrade to the Pro subscription. To upgrade you must enter your billing information.
If you hit a limit from the free tier you will automatically be asked to add your credit card information and to subscribe to the pro tier. You can also upgrade manually at any time.
- Click the "Upgrade to PRO" button in the menu or go to the billing menu
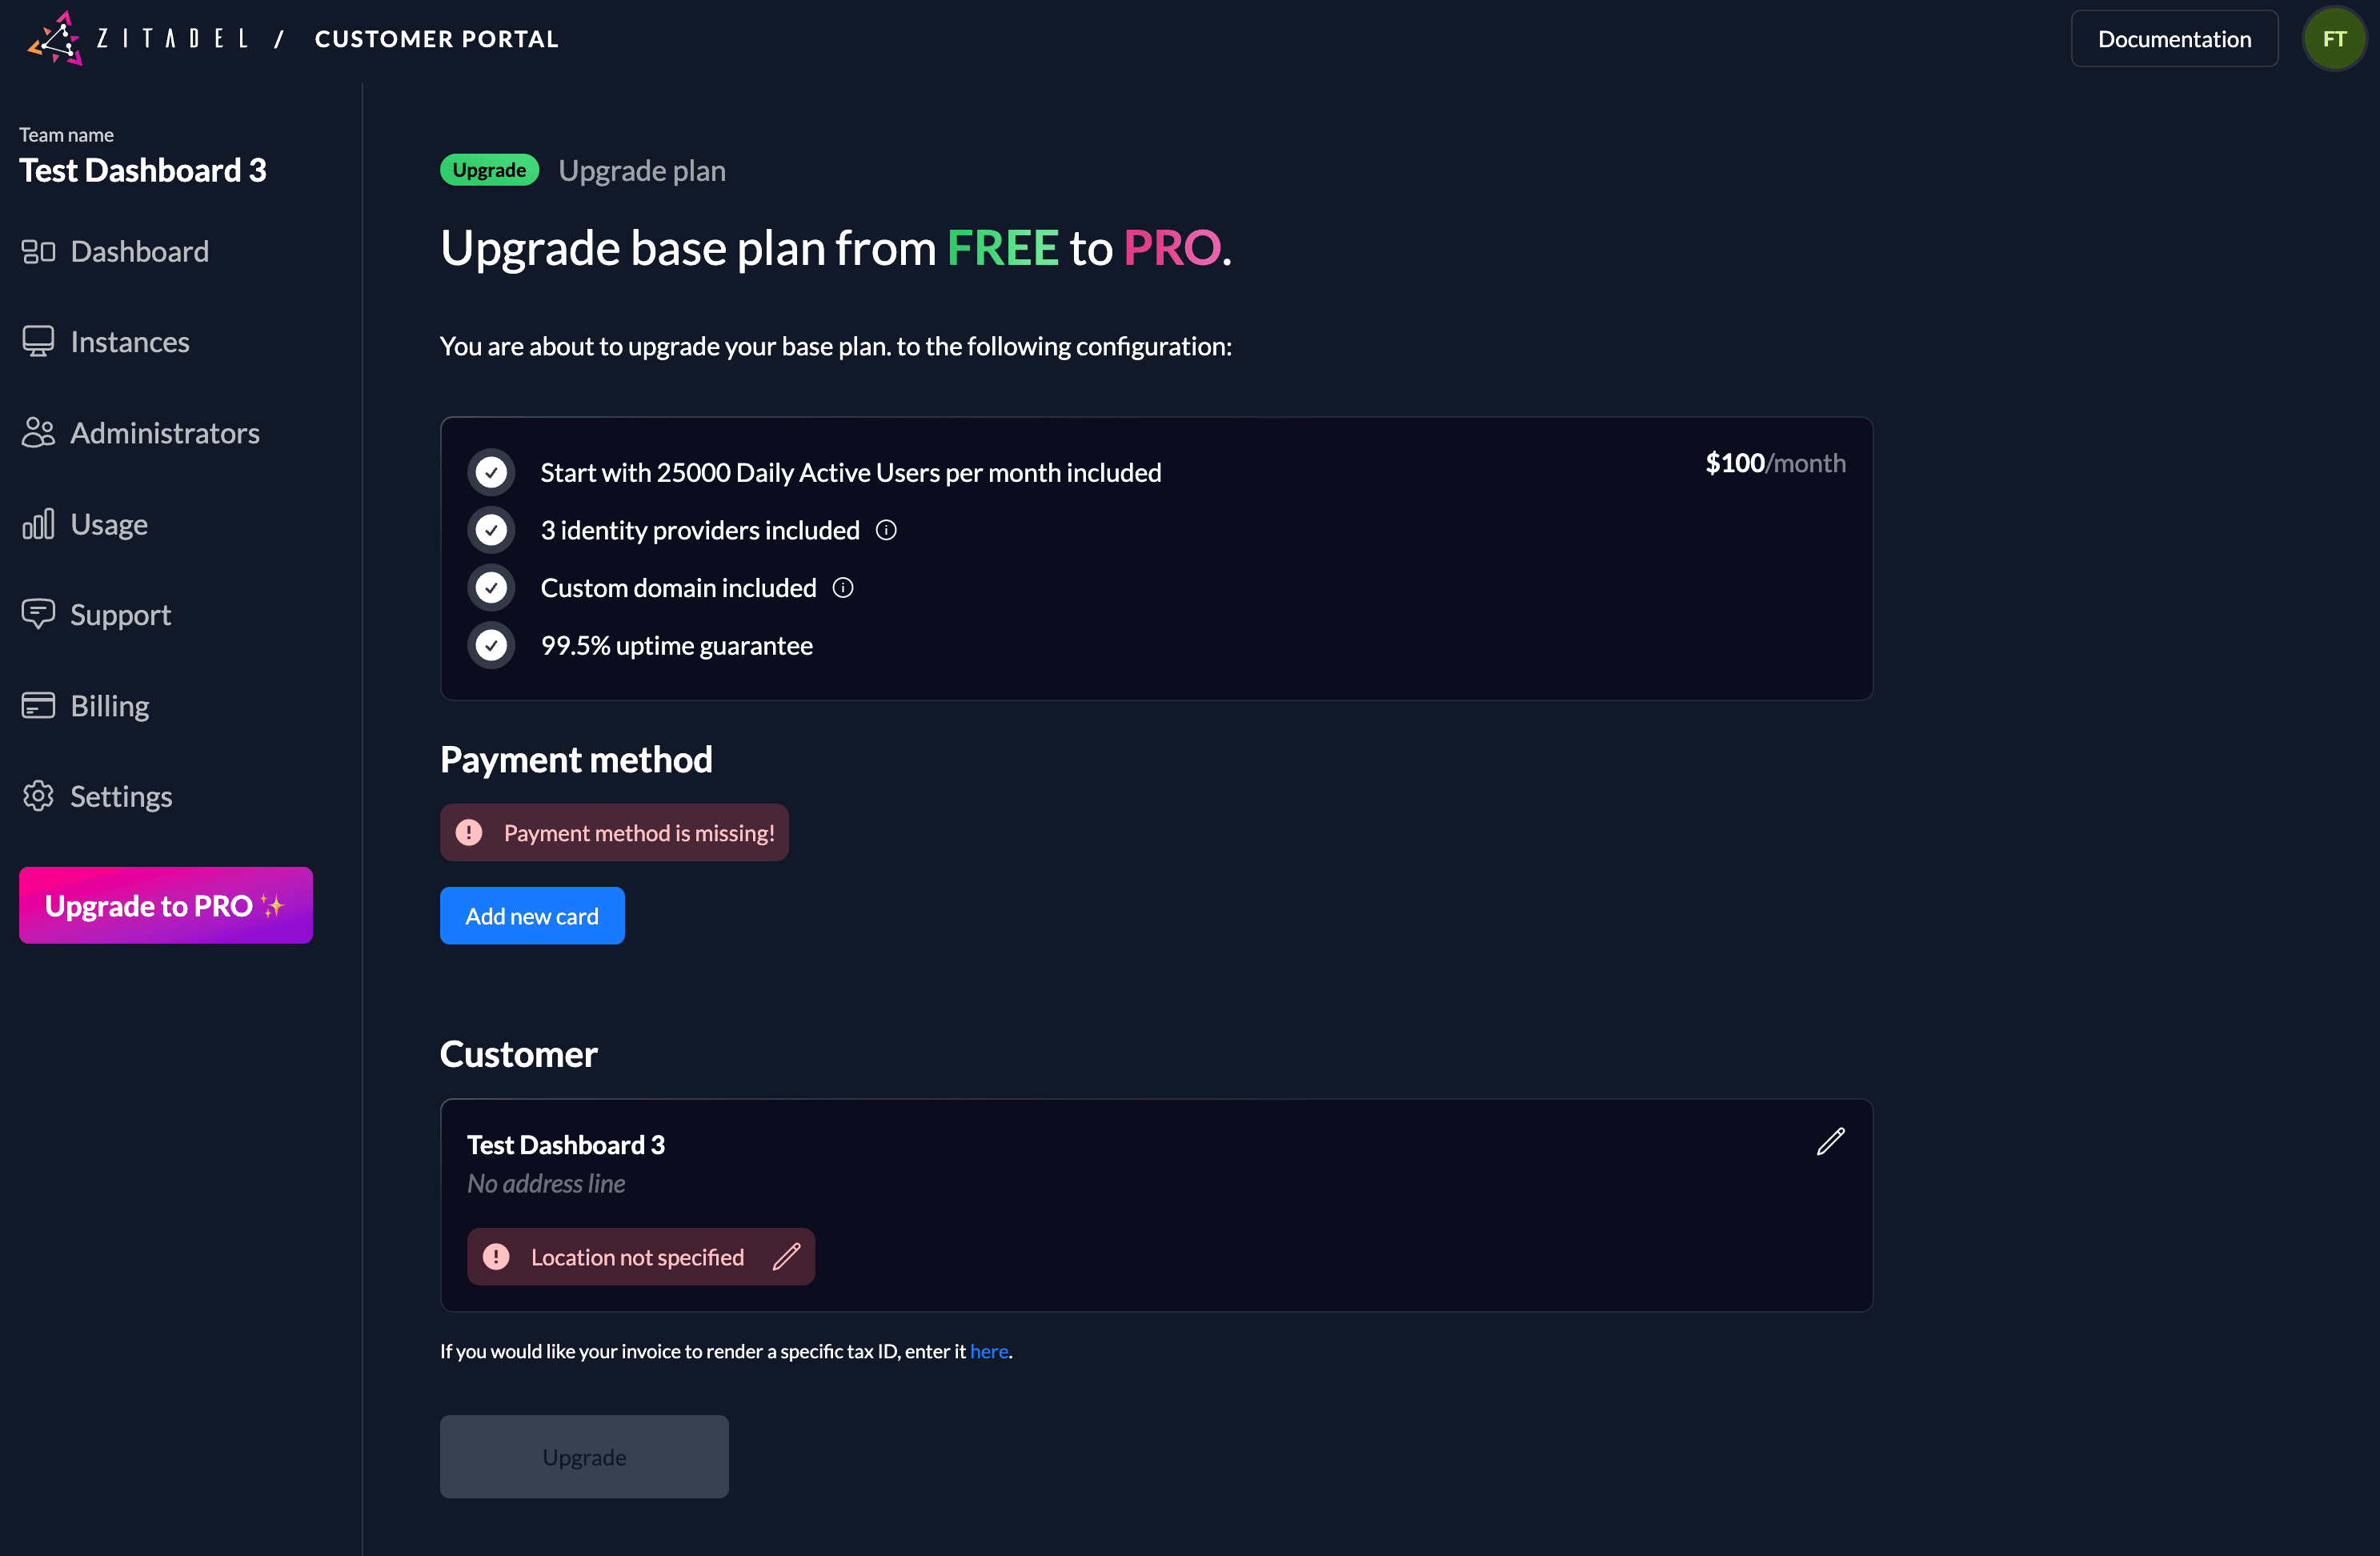
- If you choose the billing menu, you can now see your Free plan, click "Upgrade to Pro"
- Add the missing data
- Payment method: Credit Card Information
- Customer: At least you have to fill the country
- Save the information
Add Custom Domain
We recommend register a Custom Domain to access your ZITADEL instance. The primary Custom Domain of your ZITADEL instance will be the issuer of the instance. All other Custom Domains can be used to access the instance itself
- Browse to the "Instances" Tab
- Click on the instance box to open the instance detailed view
- Scroll down to the Custom Domains section
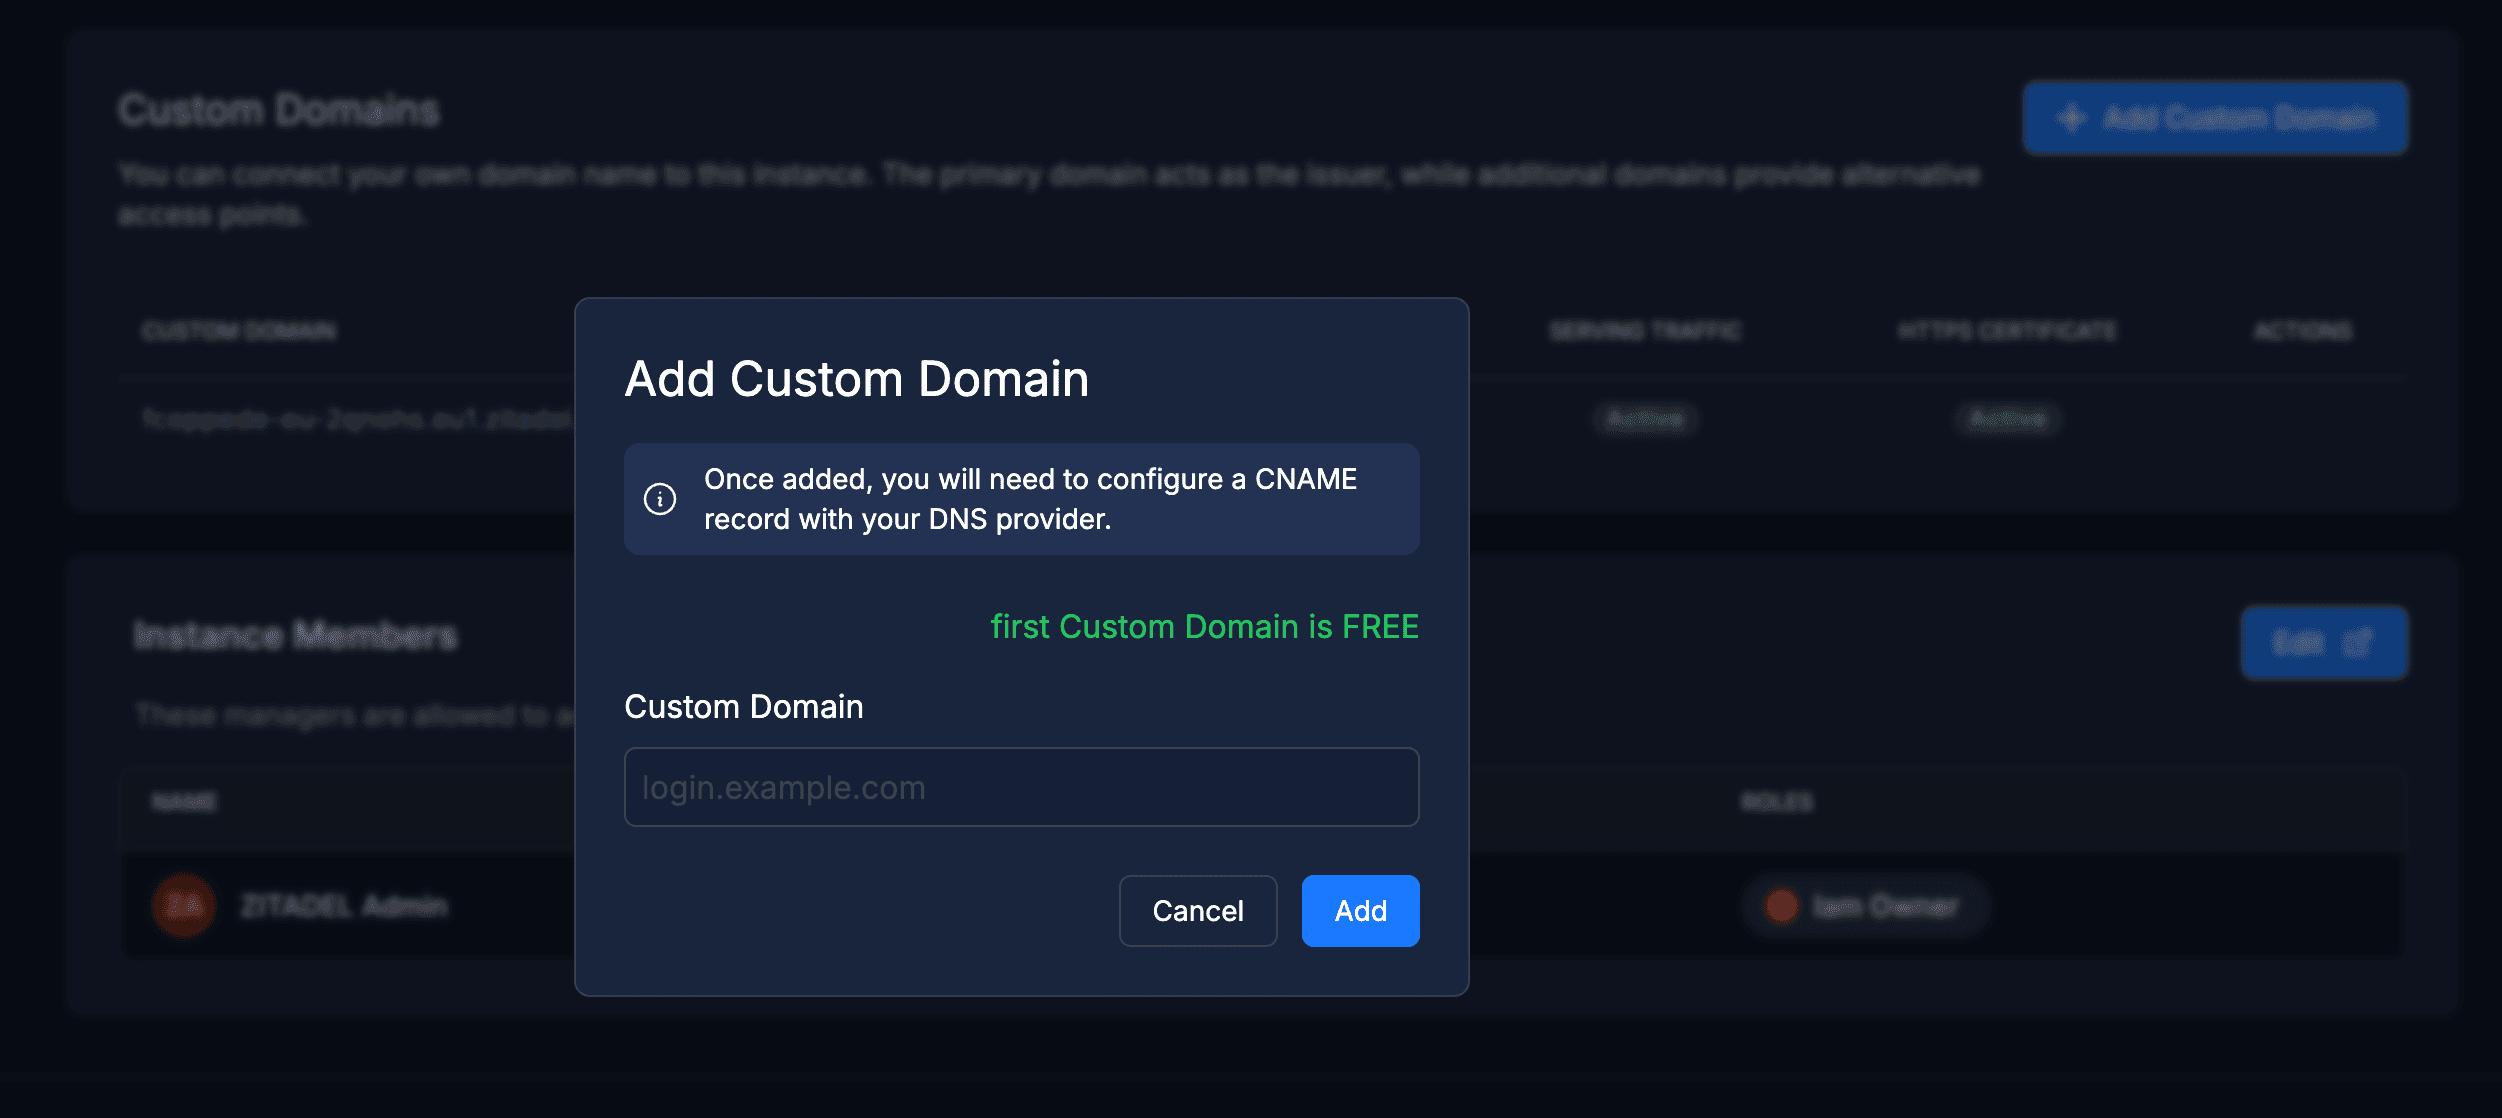
- Click on + Add Custom Domain
- Enter the domain you want
- In the next screen you will get all the information you will have to add to your DNS provider to verify your domain
Be aware that it has some impacts if you change the primary domain of your instance.
- The urls and issuer have to change in your app
- Passkey authentication is based on the domain, if you change it, your users will not be able to login with the registered passkey authentication
Verify Custom Domain
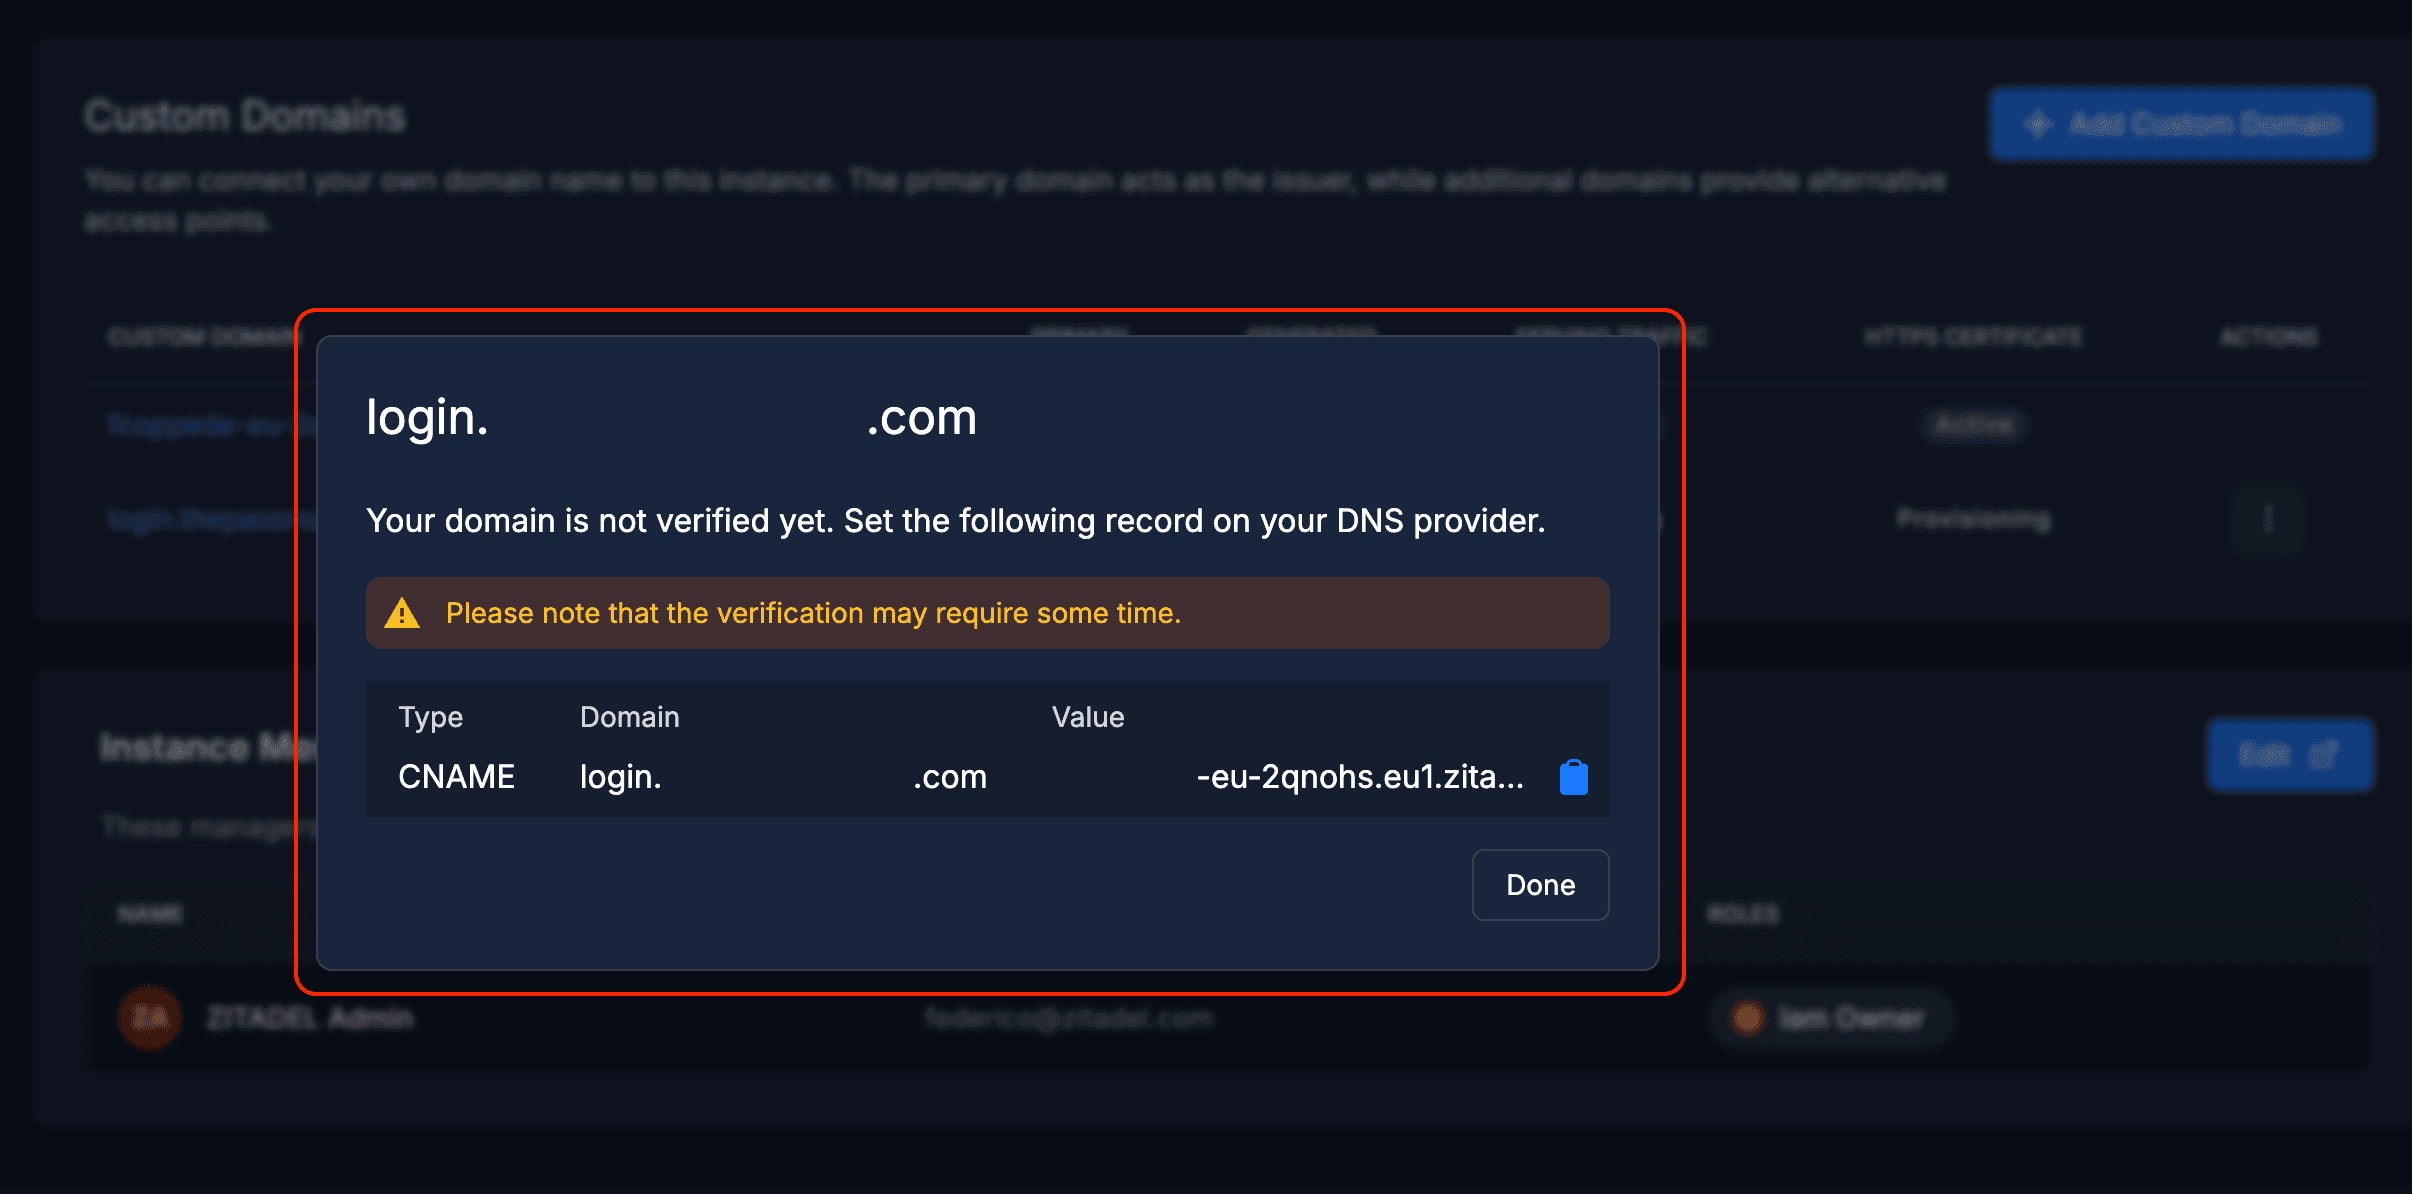
As soon as you have added your Custom Domain you will have to verify it, by adding a CNAME record to your DNS provider.
- Go to your DNS provider
- Add a new CNAME record (You can find the target on the detail page of your instance)
- After adding the CNAME you need to wait till the domain is verified (this can take some time)
Please note: Do not delete the verification code, as ZITADEL Customer Portal will re-check the ownership of your domain periodically.
You will now be able to use the added Custom Domain to access your ZITADEL instance
Was this page helpful?