SCIM Provisioning from Okta
This guide provides step-by-step instructions to configure SCIM provisioning from Okta into ZITADEL.
Pre-requisites:
-
Access to your ZITADEL Organization with an Org Owner role.
-
Access to your Okta Admin dashboard.
-
An existing SAML app integration between Okta (Identity Provider) and ZITADEL (Service Provider).
Step 1: Set Up SCIM Provisioning in ZITADEL
SCIM provisioning in ZITADEL is accomplished by authenticating a Service Account with appropriate permissions.
-
Create a Service Account:
- Follow this guide to create a Service Account within your ZITADEL Organization.
-
Assign the Role:
- Grant the Service Account the Org User Manager role. No higher managerial role is required.
-
Choose an Authentication Method:
-
Select one of these two supported authentication methods:
-
Personal Access Token - PAT
-
Client Credentials Grant
-
-
-
Detailed instructions to authenticate the Service Account can be found here.
Step 2: Set Up SCIM in Okta
Follow these precise steps to configure SCIM provisioning in Okta:
-
Log in to your Okta Admin Console.
-
Navigate to Applications → Application and the existing SAML app linked to ZITADEL.
-
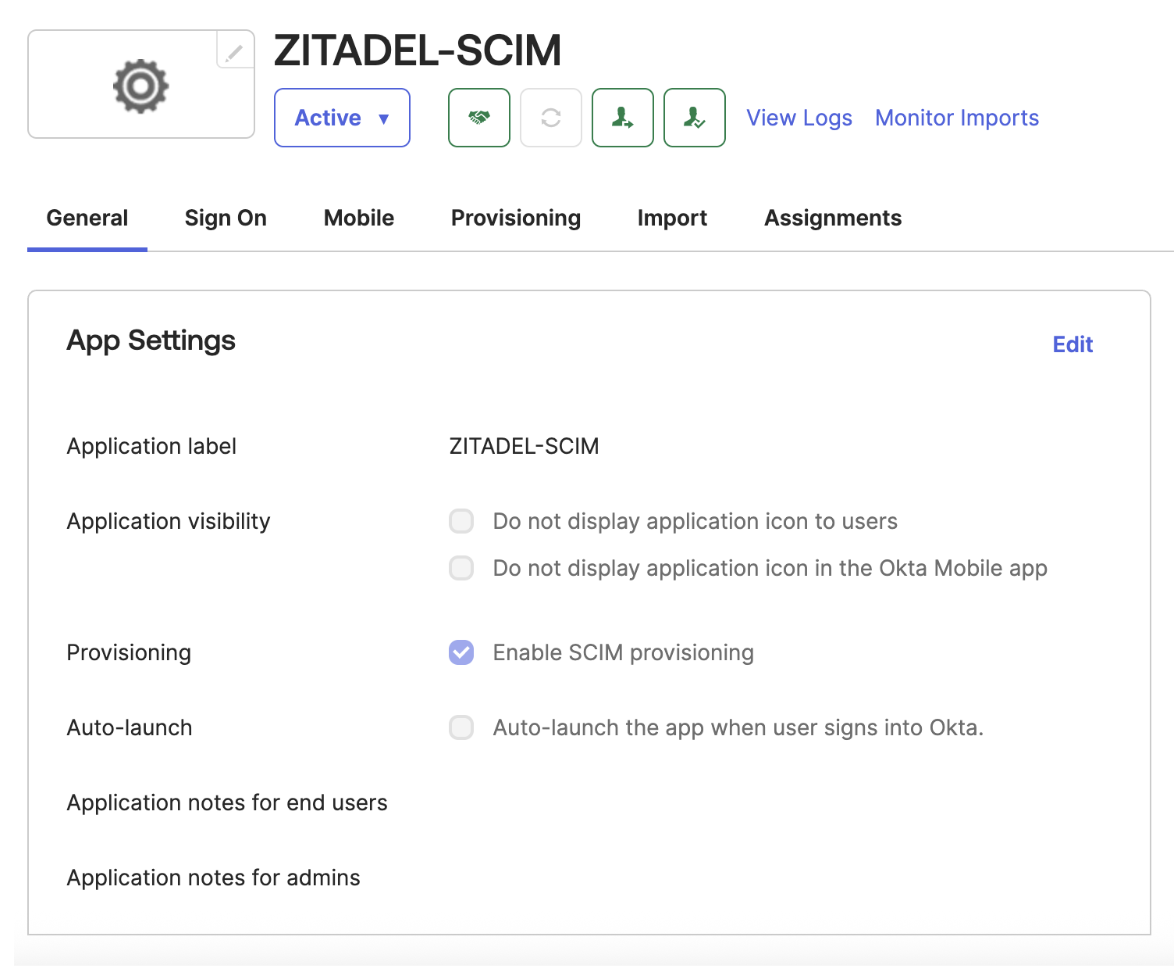
Select the General tab, then choose Edit for App Settings.
-
In the Provisioning section, select SCIM and then Save.
-
Under the General tab, also confirm that Federation Broker Mode is disabled.
-
Click on the Provisioning tab, then go to the Integration tab and select Edit.
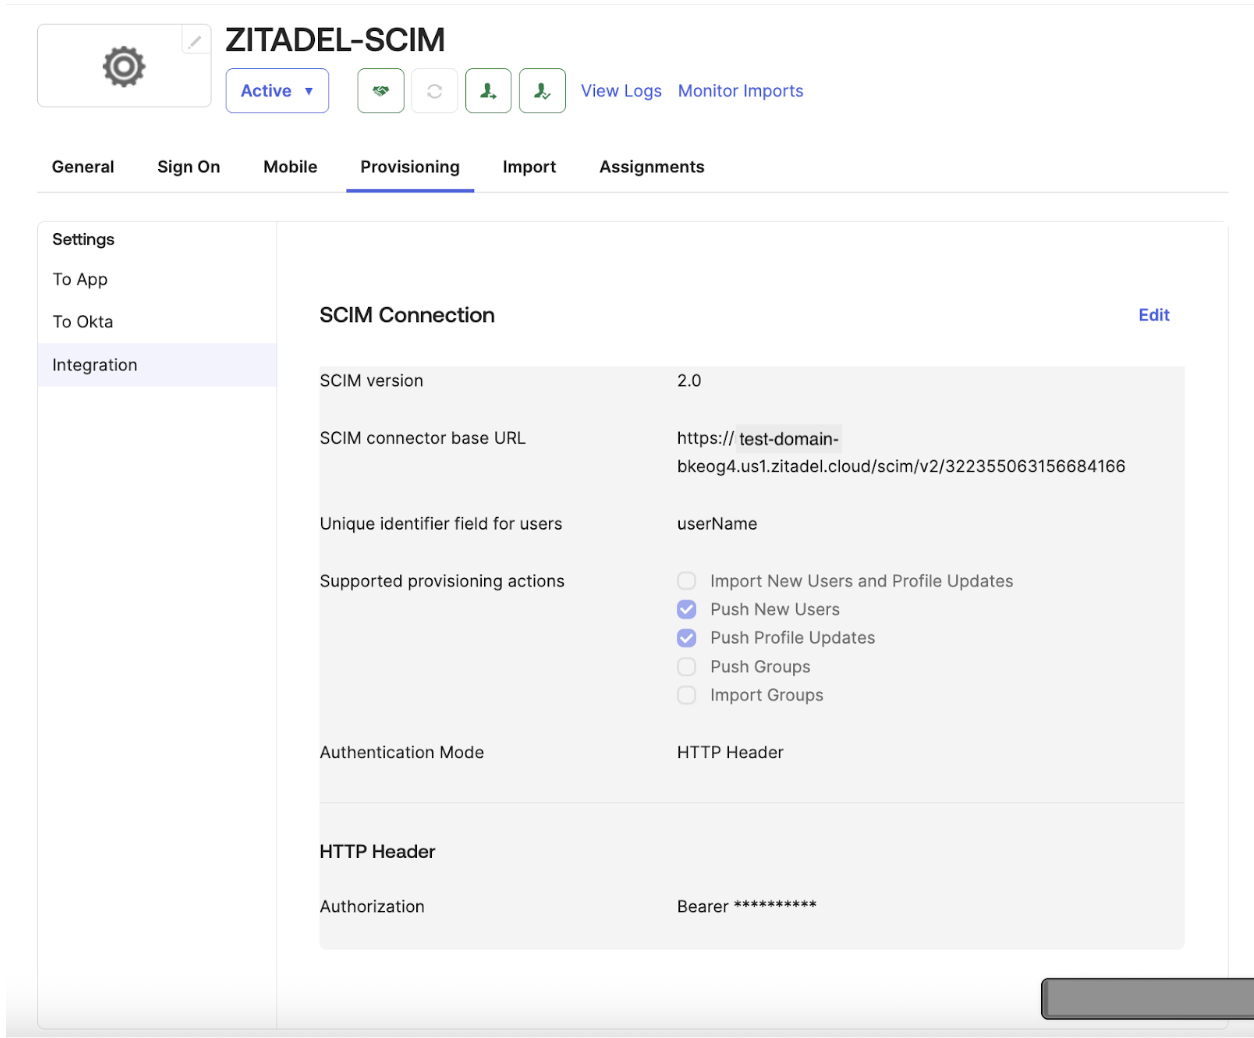
- Enter the SCIM connector base URL using this format:
https://${ZITADEL_DOMAIN}/scim/v2/{orgId}
Like the example in the above image:
https://test-domain-bkeog4.us1.zitadel.cloud/scim/v2/322355063156684166
(Find more details about endpoints here).
-
For Unique identifier field for users, enter userName.
-
Under Supported provisioning actions, select Push New Users and Push Profile Updates.
-
Choose your authentication method under Authentication Mode:
-
HTTP Header if using a Personal Access Token (PAT).
-
OAuth 2 if using Client Credentials Grant.
-
-
Provide the authentication details according to your chosen method:
-
For HTTP Header (PAT), enter the PAT token generated from ZITADEL.
-
For OAuth 2, provide the client credentials (Client ID, Client Secret, token URL, authorization URL).
-
-
Click Test Connection Settings to verify the integration (optional but recommended), then click Save.
-
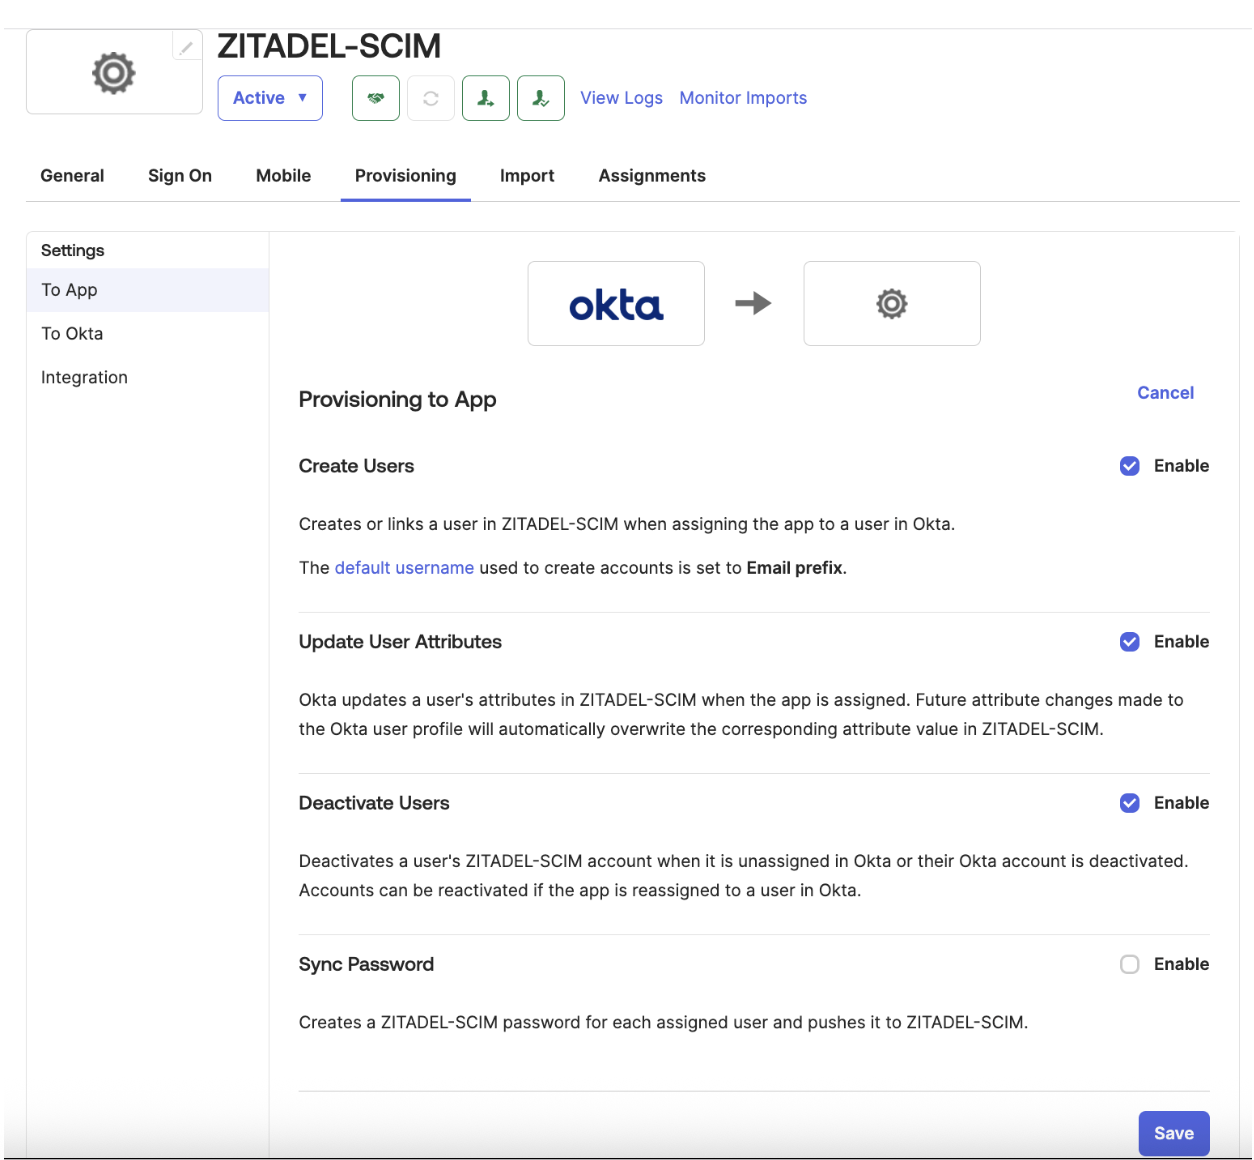
Under the Provisioning to App settings, enable:
-
Create Users
-
Update User Attributes
-
Deactivate Users
-
-
Click Save to apply these settings.
Step 3: Attribute Mapping (Recommended)
Review and adjust attribute mappings in Okta as needed:
- Ensure standard attributes such as
userName,email,name.givenName, andname.familyNameare correctly mapped.
Step 4: Verify SCIM Provisioning
-
Assign the configured application to test users/groups in Okta.
-
Verify that users are automatically provisioned into ZITADEL by checking under Users in your ZITADEL console.
-
Validate attribute synchronization and lifecycle management (activation, updates, deactivation).
Helpful Reference Links
Was this page helpful?