Testing Actions V2 with Webhook.site
1. Introduction
This guide explains how to test ZITADEL Actions V2 locally using Webhook.site. We will use Webhook.site’s XHR Redirect feature to forward requests from ZITADEL to your local machine.
What you will learn in this guide:
- How to add the required CORS headers to your local listener
- How to configure Webhook.site with XHR Redirect
- How to create a target in ZITADEL and link it to your Action
- How to verify forwarded requests in your terminal
2. Prerequisites
2.1. Local Listener
You should already have a local HTTP server (for example, the Go example listener from Testing a Request) running at http://localhost:8090/webhook.
2.2. CORS Headers
Because Webhook.site’s XHR redirect runs in your browser, your listener must allow CORS. Add the following headers in your handler:
w.Header().Set("Access-Control-Allow-Origin", "*")
w.Header().Set("Access-Control-Allow-Methods", "*")
w.Header().Set("Access-Control-Allow-Headers", "Content-Type, Authorization")
if req.Method == http.MethodOptions {
w.WriteHeader(http.StatusOK)
return
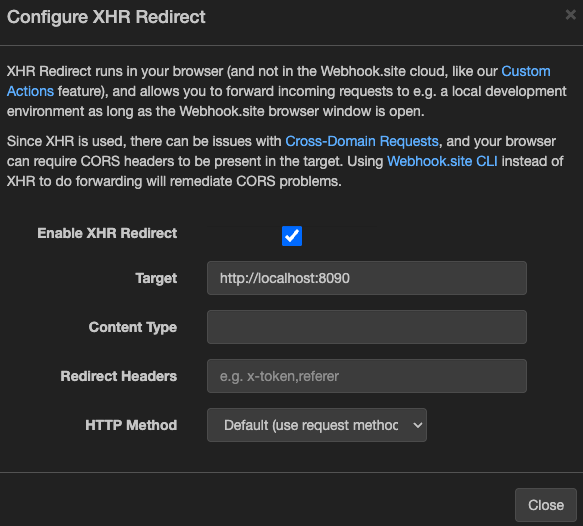
}3. Configure Webhook.site XHR Redirect
-
Open your unique Webhook.site URL.
-
Click Configure XHR Redirect.
-
Enable XHR Redirect.
-
Enter your local endpoint in Target, e.g.:
http://localhost:8090/webhook -
Leave other fields empty unless you need custom headers.
-
Keep the Webhook.site browser tab open while testing.
4. Run Your Listener
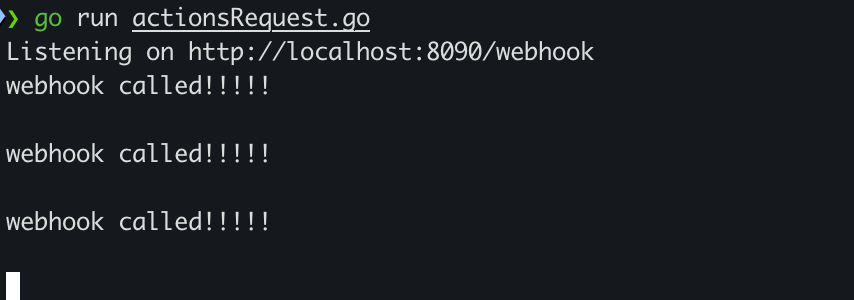
Start your local listener:
go run actionsRequest.goYou should see output in your console whenever the listener is called.
5. Create Target in ZITADEL
As shown in the example above, the target is created with HTTP and port '8090'. If you want to use it as a webhook, the target can be created as follows:
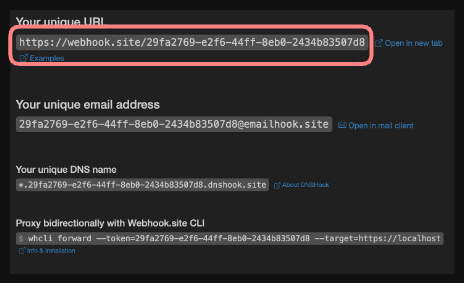
See Create a target for more detailed information. Notice that the endpoint is your Webhook.site URL.
curl -L -X POST 'https://${CUSTOM_DOMAIN}/v2/actions/targets' \
-H 'Content-Type: application/json' \
-H 'Accept: application/json' \
-H 'Authorization: Bearer <TOKEN>' \
--data-raw '{
  "name": "local webhook",
  "restWebhook": {
    "interruptOnError": true
  },
  "endpoint": "https://webhook.site/29fa2769-e2f6-44ff-8eb0-2434b83507d8/webhook",
  "timeout": "10s"
}'
Save the returned ID to use in the execution step. A sample response looks like this:
{
    "id": "337246363446151234",
    "creationDate": "2025-09-10T13:21:36.959699Z",
    "signingKey": "OpUHaCtEqh8swdJ5xUYbQ2bhej1abcXYZ"
}
6. Set execution
To configure ZITADEL to call the target when an API endpoint is called, set an execution and define the request condition.
See Set an execution for more detailed information.
Here, <TargetID returned> is the id from the previous step.
curl -L -X PUT 'https://${CUSTOM_DOMAIN}/v2/actions/executions' \
-H 'Content-Type: application/json' \
-H 'Accept: application/json' \
-H 'Authorization: Bearer <TOKEN>' \
--data-raw '{
    "condition": {
        "request": {
            "method": "/zitadel.user.v2.UserService/AddHumanUser"
        }
    },
    "targets": [
        "<TargetID returned>"
    ]
}'
7. Example Call
Now that you have set up the target and execution, you can test it by creating a user through the Management Console UI or by calling the ZITADEL API to create a user.
Here, we are creating a user via the API:
curl -L -X PUT 'https://${CUSTOM_DOMAIN}/v2/users/human' \
-H 'Content-Type: application/json' \
-H 'Accept: application/json' \
-H 'Authorization: Bearer <TOKEN>' \
--data-raw '{
"profile": {
"givenName": "Example_given",
"familyName": "Example_family"
},
"email": {
"email": "example@example.com"
}
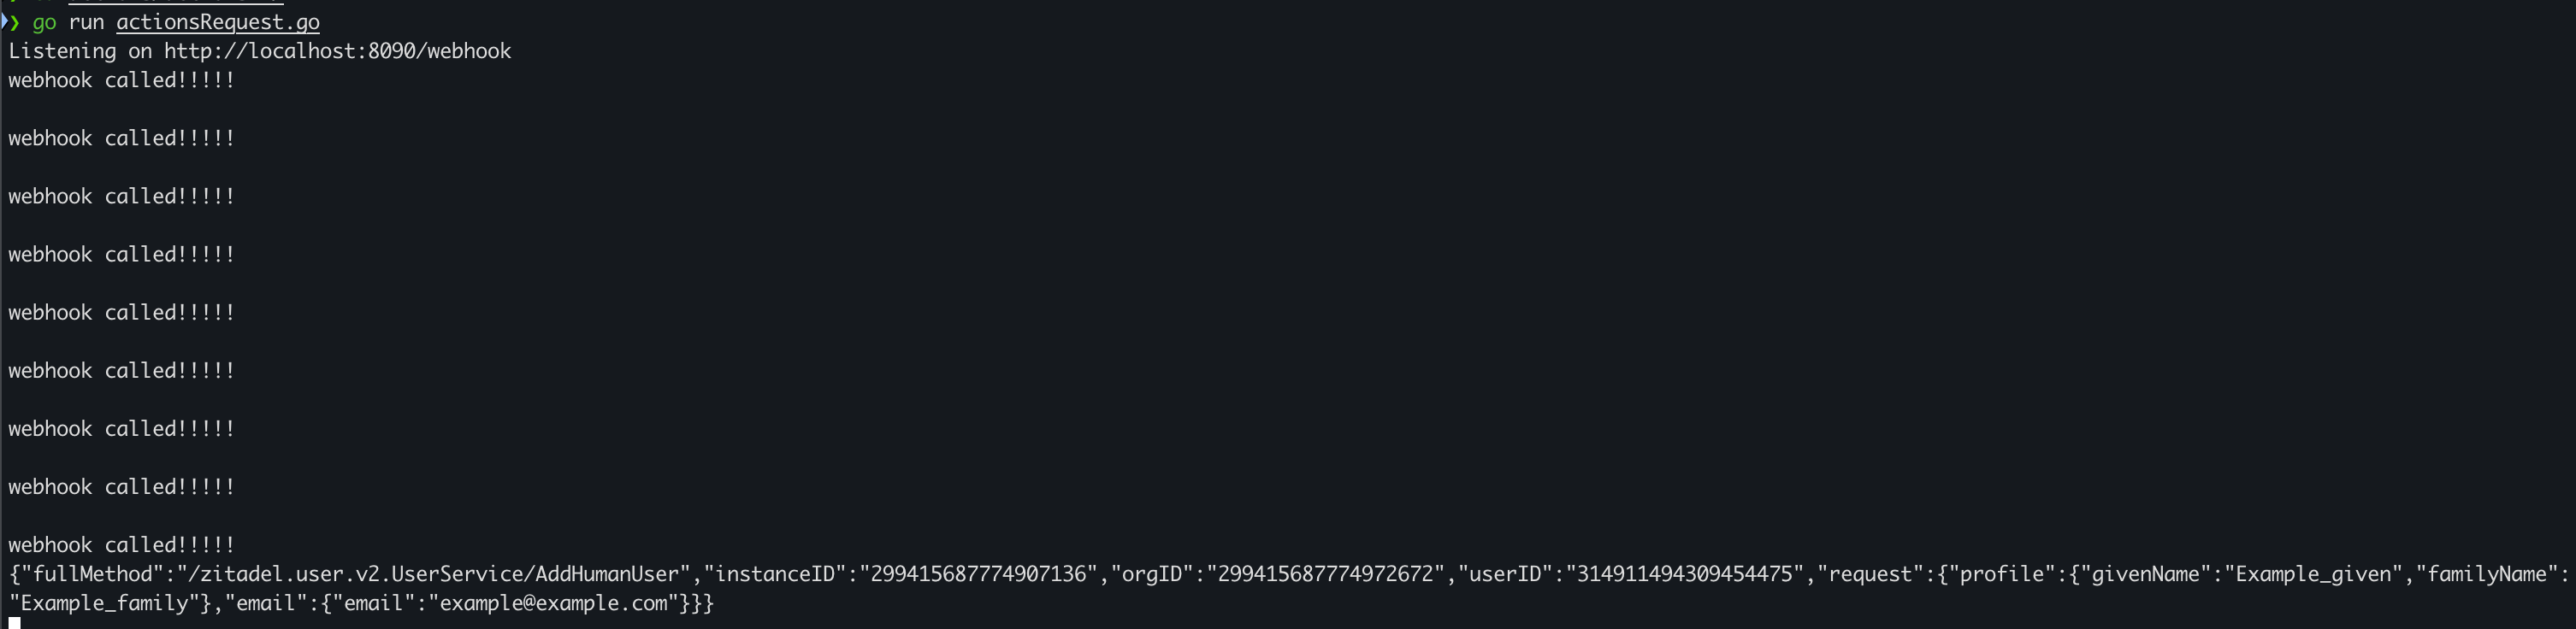
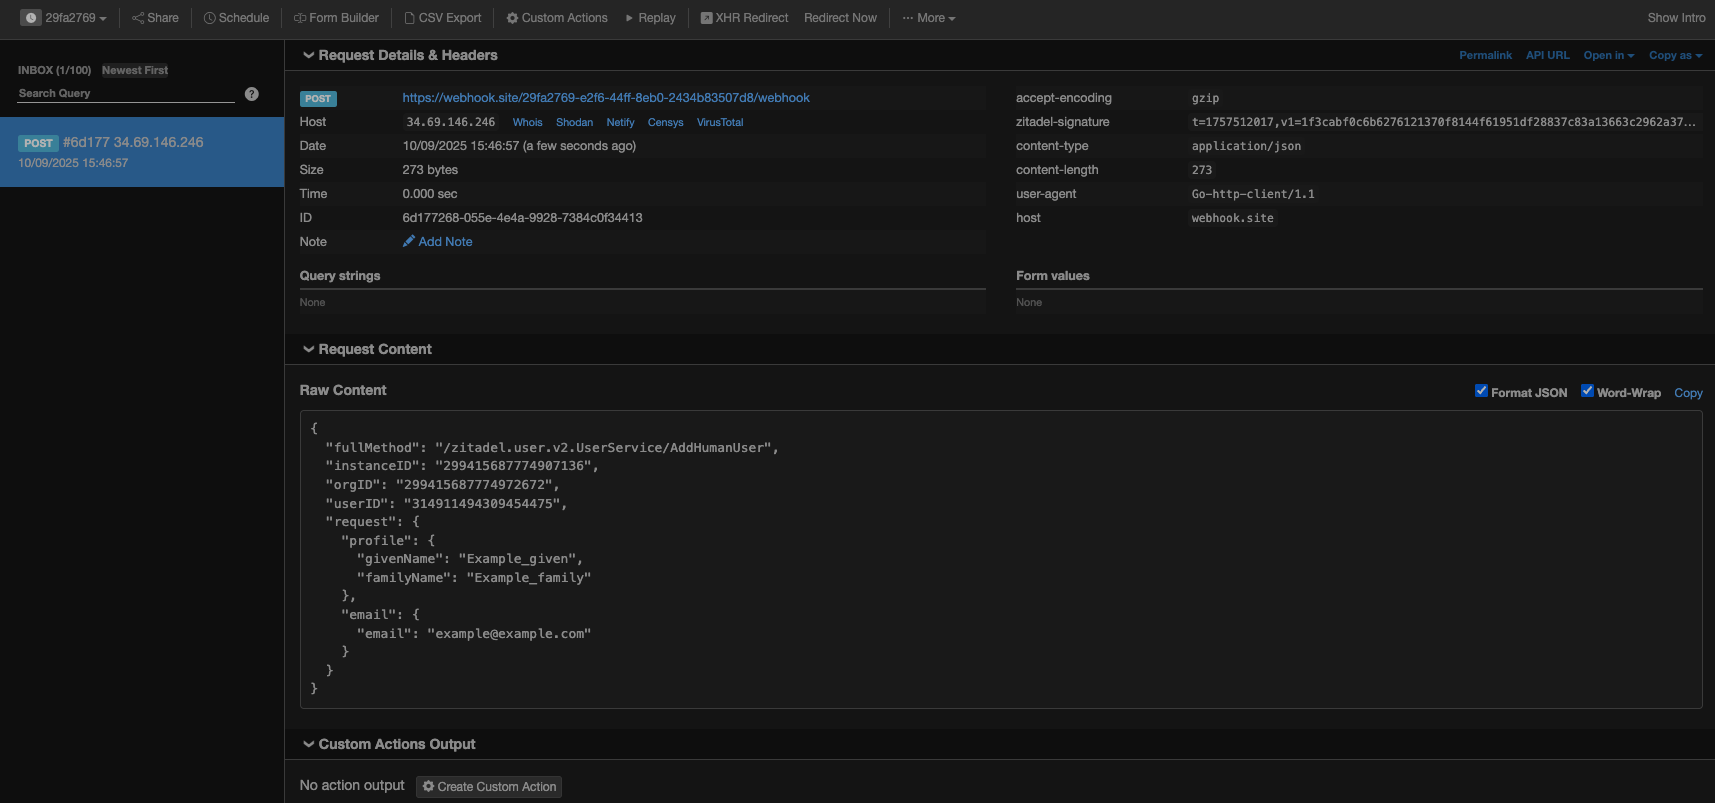
}'Both your Webhook.site and your local listener should now print out something like the following. See the Sent information Request payload description for details.
Your local listener should look like this:
Your Webhook.site should look like this:
8. Done
You now have a fully working setup for testing ZITADEL Actions V2 with Webhook.site. This allows you to forward requests securely from ZITADEL to your local environment without needing a public IP address or domain.
Was this page helpful?